What is Reverse Tie-Dye?
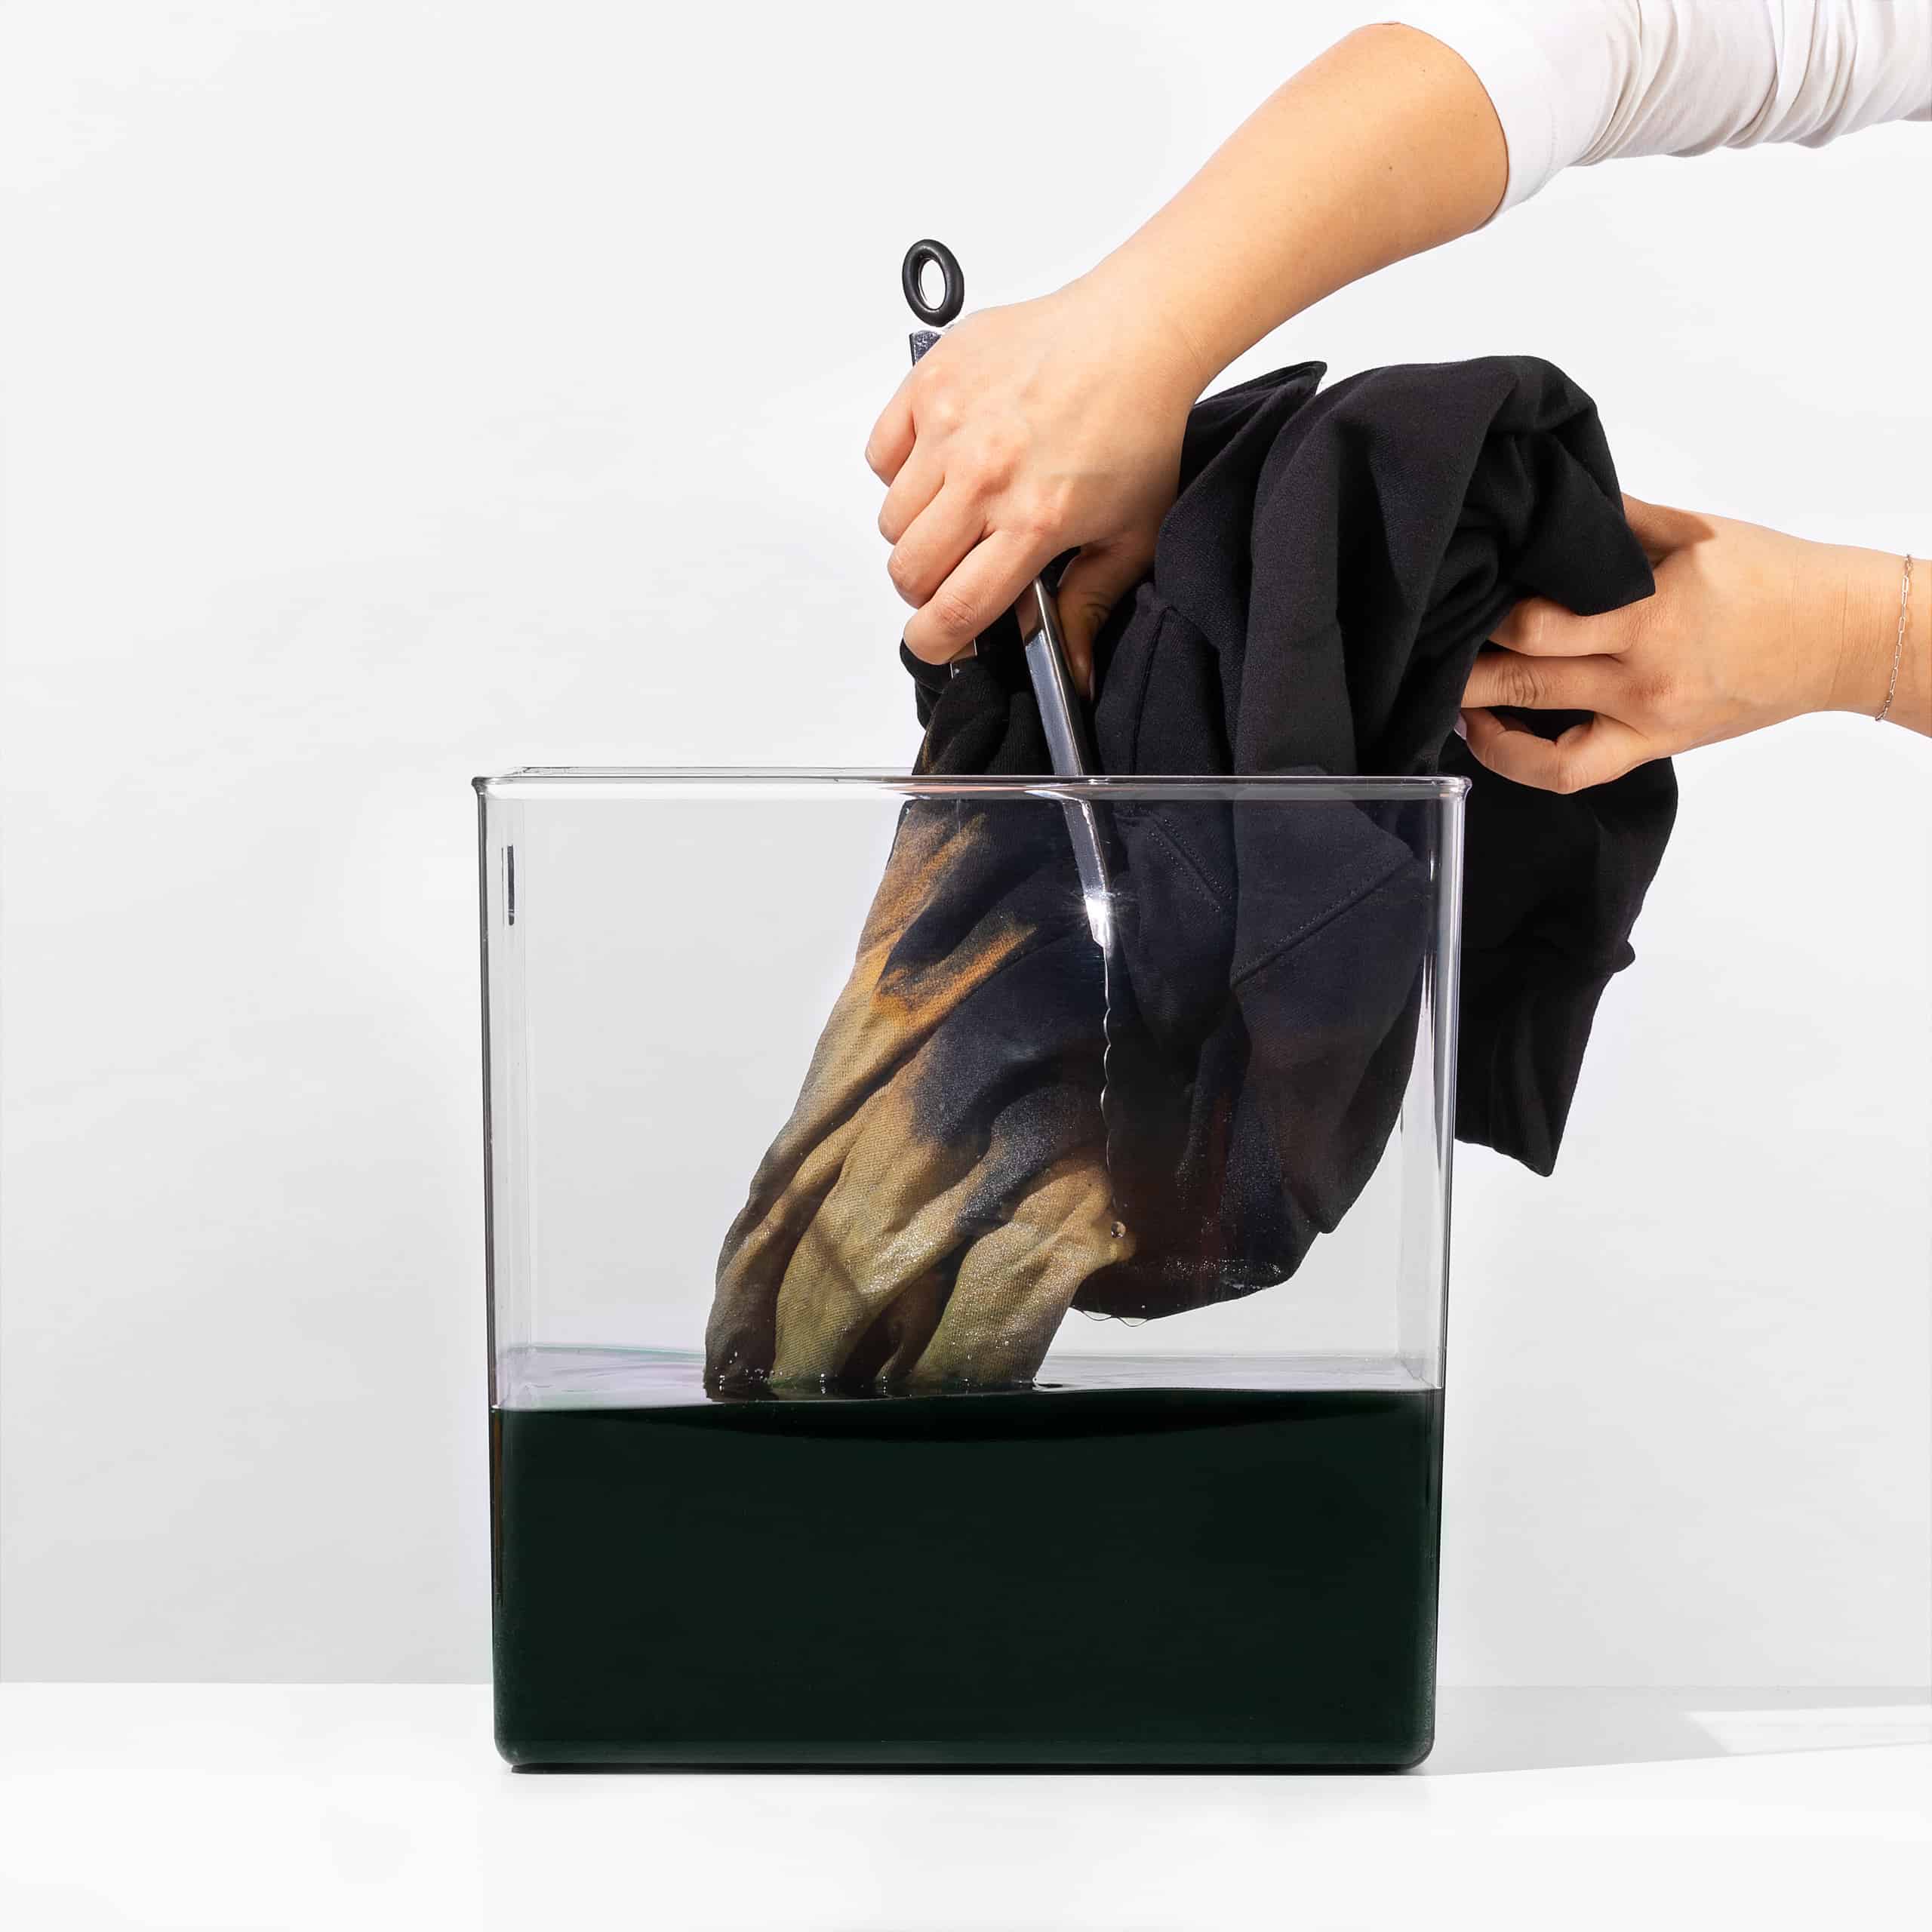
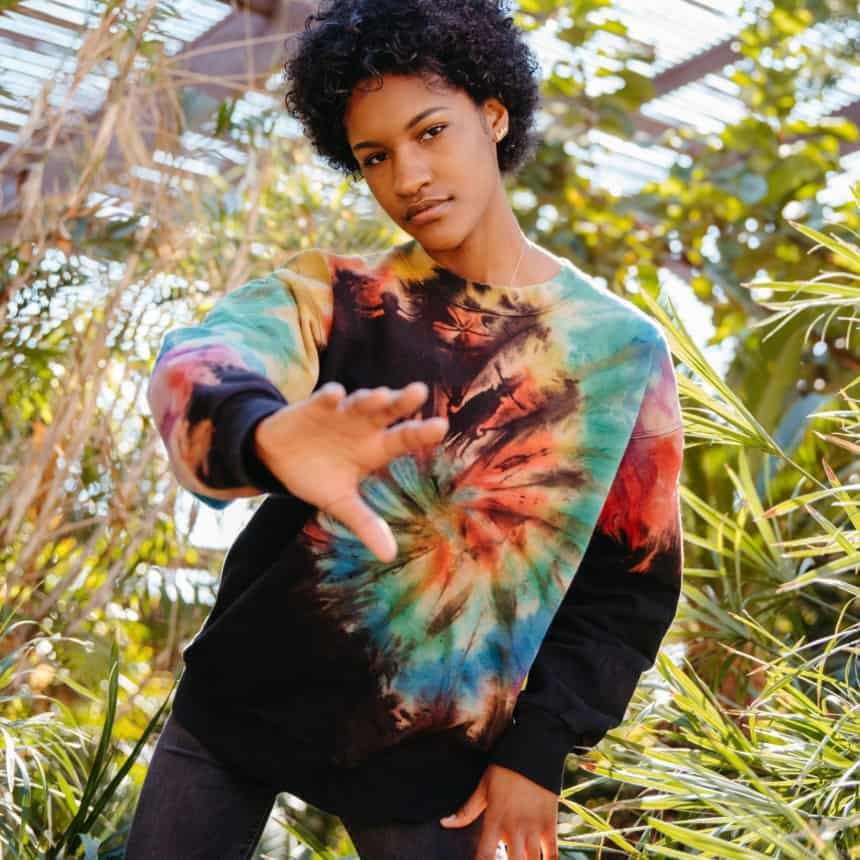
Unlike traditional tie-dye, reverse tie-dye removes the color of your garment to reveal a unique, high-contrast pattern. Household bleach is a popular method used to achieve this look but leave it on for too long and it will begin to eat away at your fabric. That’s why our Color Remover is perfect for creating this look. Our Color Remover formula is a non-chlorine, reductive type of bleach that won’t damage or deteriorate washable fabrics as chlorine bleach does.
How to Use Color Remover
For best results, we recommend using the stovetop method to maintain an almost boiling temperature.
Pick a Color
Once the color is removed, you’ll have to decide which color you want to add back in. We have many many colors to choose from. You can also use one of our thousand color formulas. If using our formulas, after you pick a color, select any item in the small category and cut the recipe in half.
{{ partial.t3BX.headline }}
Supplies Needed
You don’t need much! You’ll need our Color Remover, a dye pot, dye container and our Tie-Dye Accessory Kit, which contains 3 perfectly-sized squeeze bottles, rubber bands, 2 pairs of protective gloves and a microwavable tray to speed up the dyeing process. You could also source each of these items separately. You’ll also need a baking rack so that the dye doesn’t puddle under the fabric when you apply it. For a complete list of supplies, check out our full reverse tie-dye tutorial here.
Tie Your Fabric
After pre-washing the fabric (to remove any finishes), it’s time to tie the fabric. You can do the classic swirl tie-dye look by pinching the center of the fabric and twisting it into a spiral, as demonstrated here. Or try the bullseye technique with one or two colors. Feel free to get creative.
Add Color!


Prepare Your Squeeze Bottle(s)
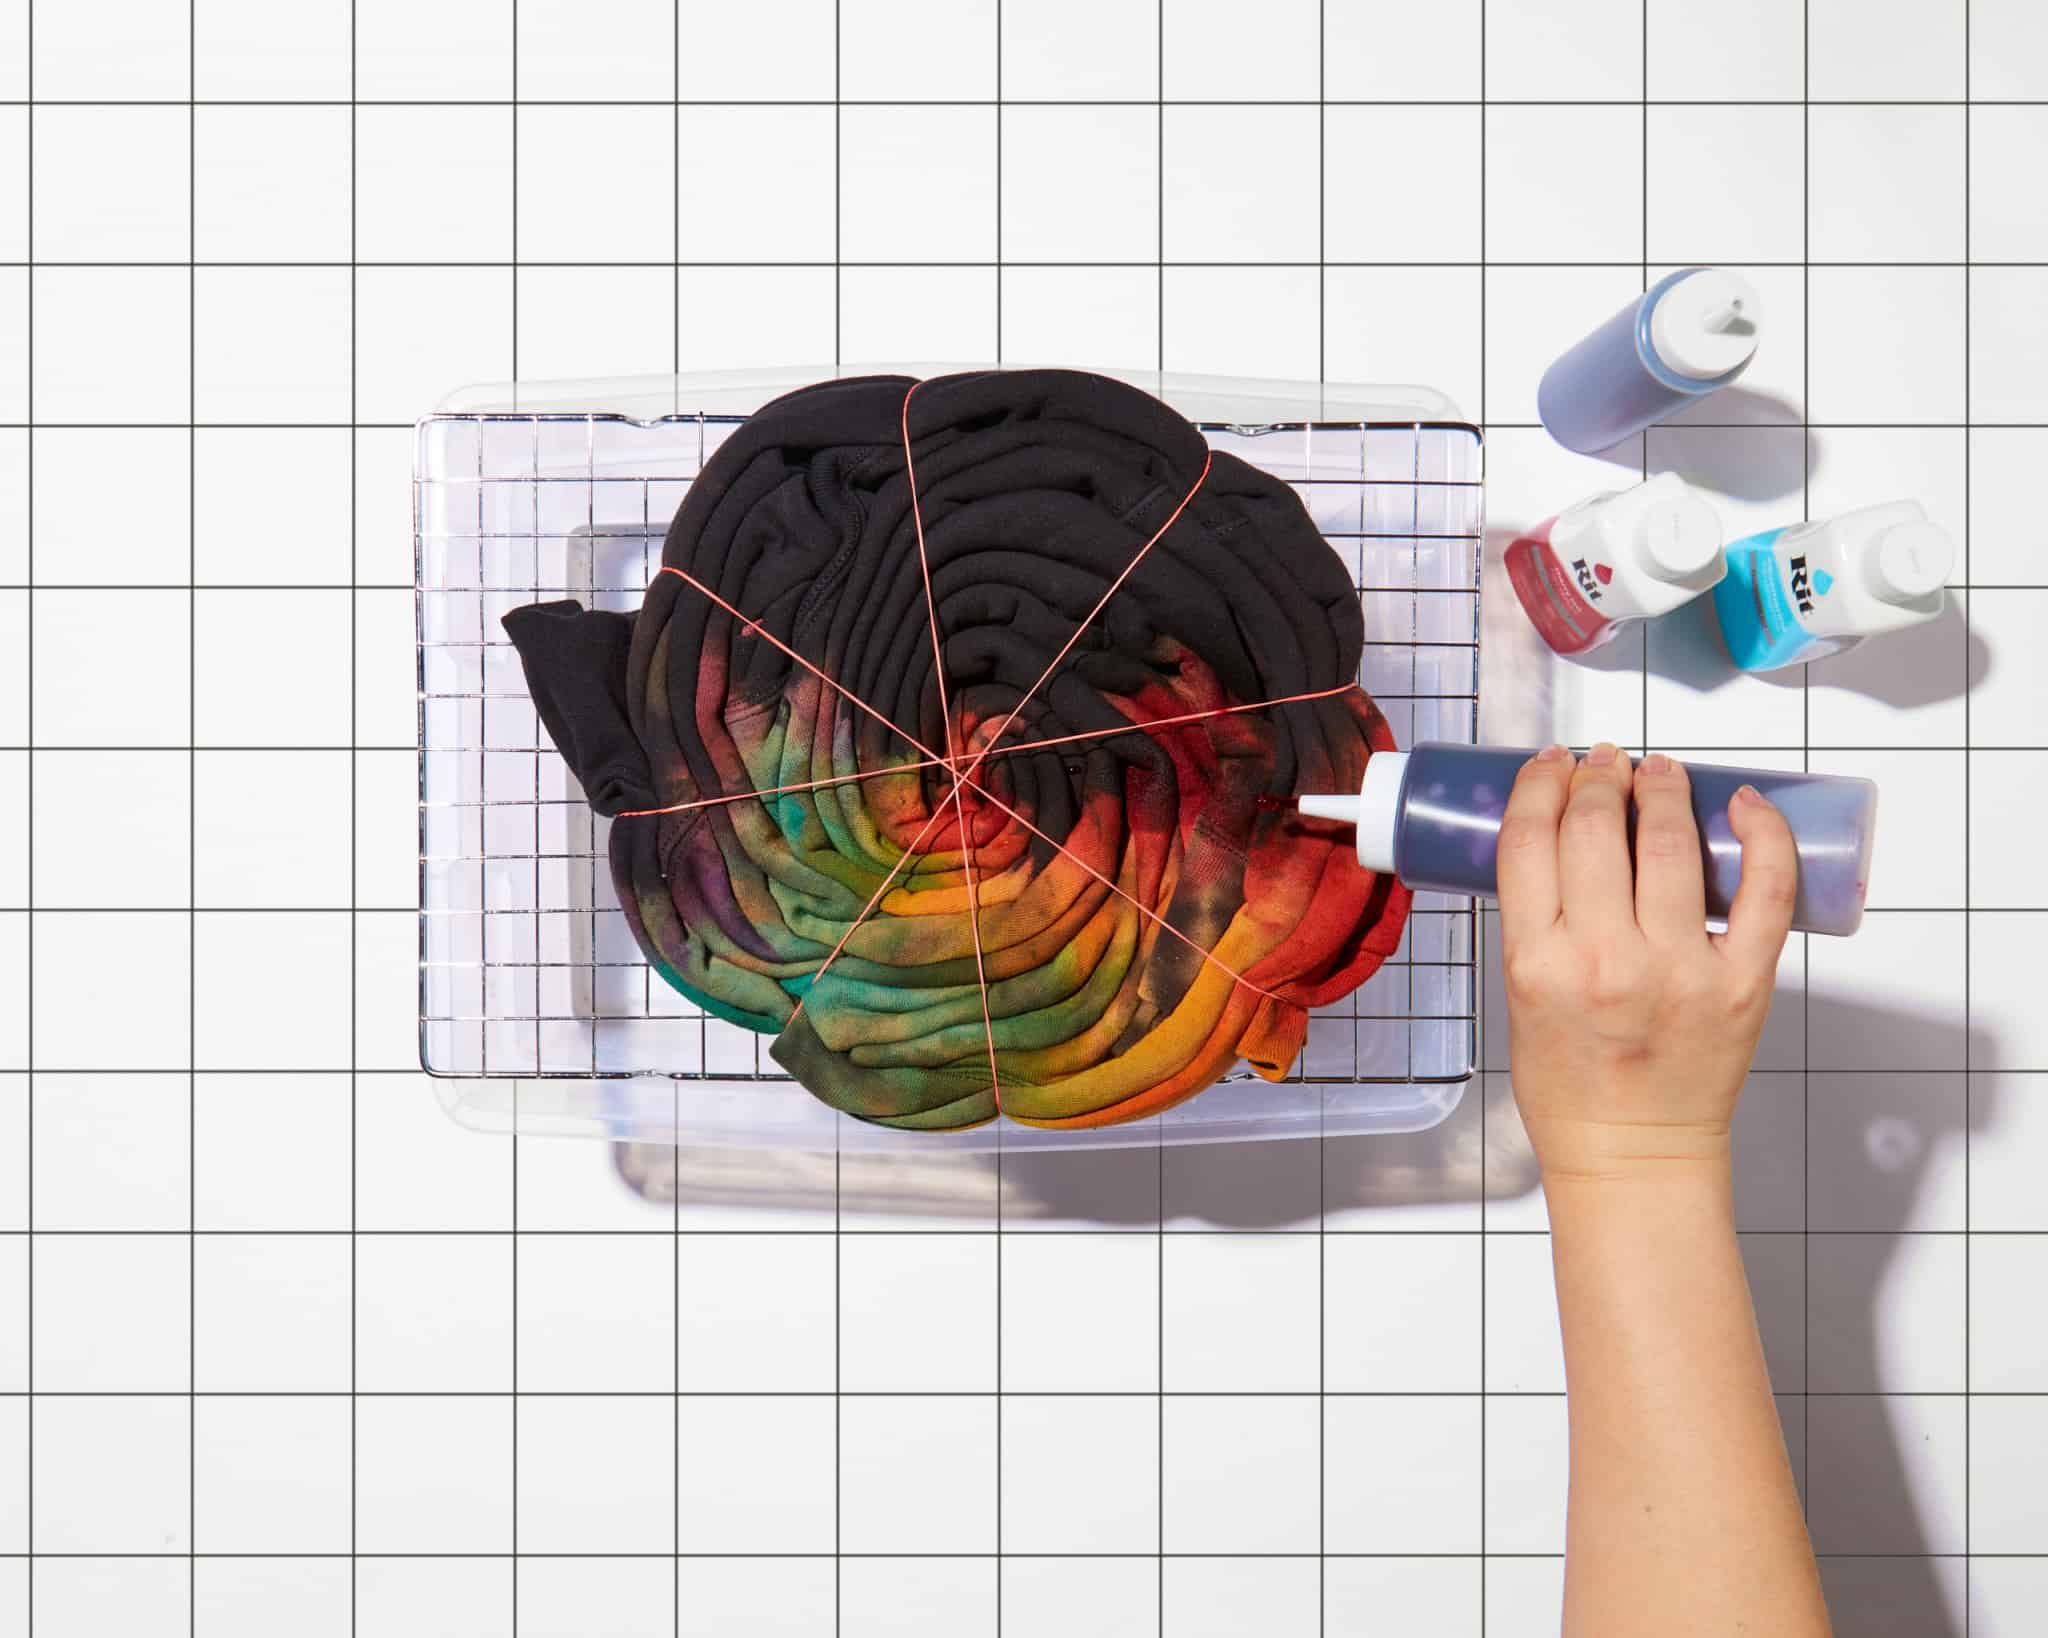
The squeeze bottle method gives you the most control when applying the dye and is needed when dyeing with multiple colors. If you are using squeeze bottles from our Tie-Dye Accessory Kit, add 2 teaspoons of dye to the bottle and fill the rest with hot water. If you are using your own squeeze bottle, mix 2 cups of water with 2 tablespoons of dye and pour into your squeeze bottle.
It's Dye Time
You can apply multiple colors or stick to just one. There is no right or wrong here! Make sure to dye both sides. If you’re using just one color, you can simply make a dyebath container and dip in the portion where the color was removed.
Set the Dye with Your Microwave
No need to wait 24 hours for the reveal anymore. By microwaving your item for two minutes, you can set the dye so that it can be revealed in a matter of minutes. The heat from the microwave opens up the fibers in the fabric to absorb the dye, ensuring that you get long lasting and vibrant color. You can use the microwavable tray that comes in our Tie-Dye Accessory Kit or wrap the item in plastic wrap. If the item has any metal parts on it, then this cannot be done. Instead, leave the fabric out in the sun for a couple of hours or apply heat with a hair dryer.
Find Us Now!
Rit products are available at most major retailers. Or, you can buy them online.


