Important Notes
Color
If the garment you are dyeing is white or off white, then you should be able to achieve true color. If the garment has an existing color, then please review our instructions on how to change the color of a garment.
Patterns and Logos
If the garment you are dyeing has a pattern or logo, the color you use will mix with the existing color(s) in the fabric and create new colors. To learn more about this, please review our instructions on overdyeing patterns and logos.
Bleach Stains and Sun Damage
Sun and bleach actually damage fabric, making it very difficult to dye. If you still want to try and dye a garment with bleach or sun damage, you could try using Rit Color Remover on the garment before dyeing. Unfortunately we cannot guarantee this will work.
Instructions
- To determine how much dye is needed, weigh the item to be dyed on a food scale or estimate the weight. As a general guideline, one liquid bottle / two powder packages dyes 2 pounds 1 kilogram of dry fabric. If you are trying to achieve a very bold color, then double the dye quantity.
- Fiber content and weight affect how color appears. If you are in doubt as to whether your fabric will accept dye or achieve the color you want, we recommend testing a swatch first.
- Before dyeing, remove any visible stains on the garment. This will help achieve uniform color results when dyeing. Pre-wash item in warm, soapy water without any fabric softener. This helps to remove any finishes that may interfere with dye absorption.
- Cover work area with plastic table cover and have paper towels handy to protect against any possible spills.
- Wear rubber gloves to protect hands from getting stained and to insulate them when working with hot water.
- Fill a plastic container or stainless steel sink with enough water for the fabric to move freely. We recommend using 3 gallons 11.5 L of water for every pound 1/2-kilogram of fabric. The water should ideally be 140°F 60°C . If tap water is not hot enough, heat water on the stove and add to the dyebath.
- To enhance the color: (1) add 1 cup 240 mL of salt when dyeing fabrics containing cotton, rayon, ramie or linen; (2) add 1 cup 240 mL of vinegar when dyeing fabrics containing nylon, silk or wool.
- Add 1 teaspoon 5 mL of dish detergent to help promote level dyeing.
- If using powder dye, dissolve thoroughly in 2 cups 470 mL of very hot water.
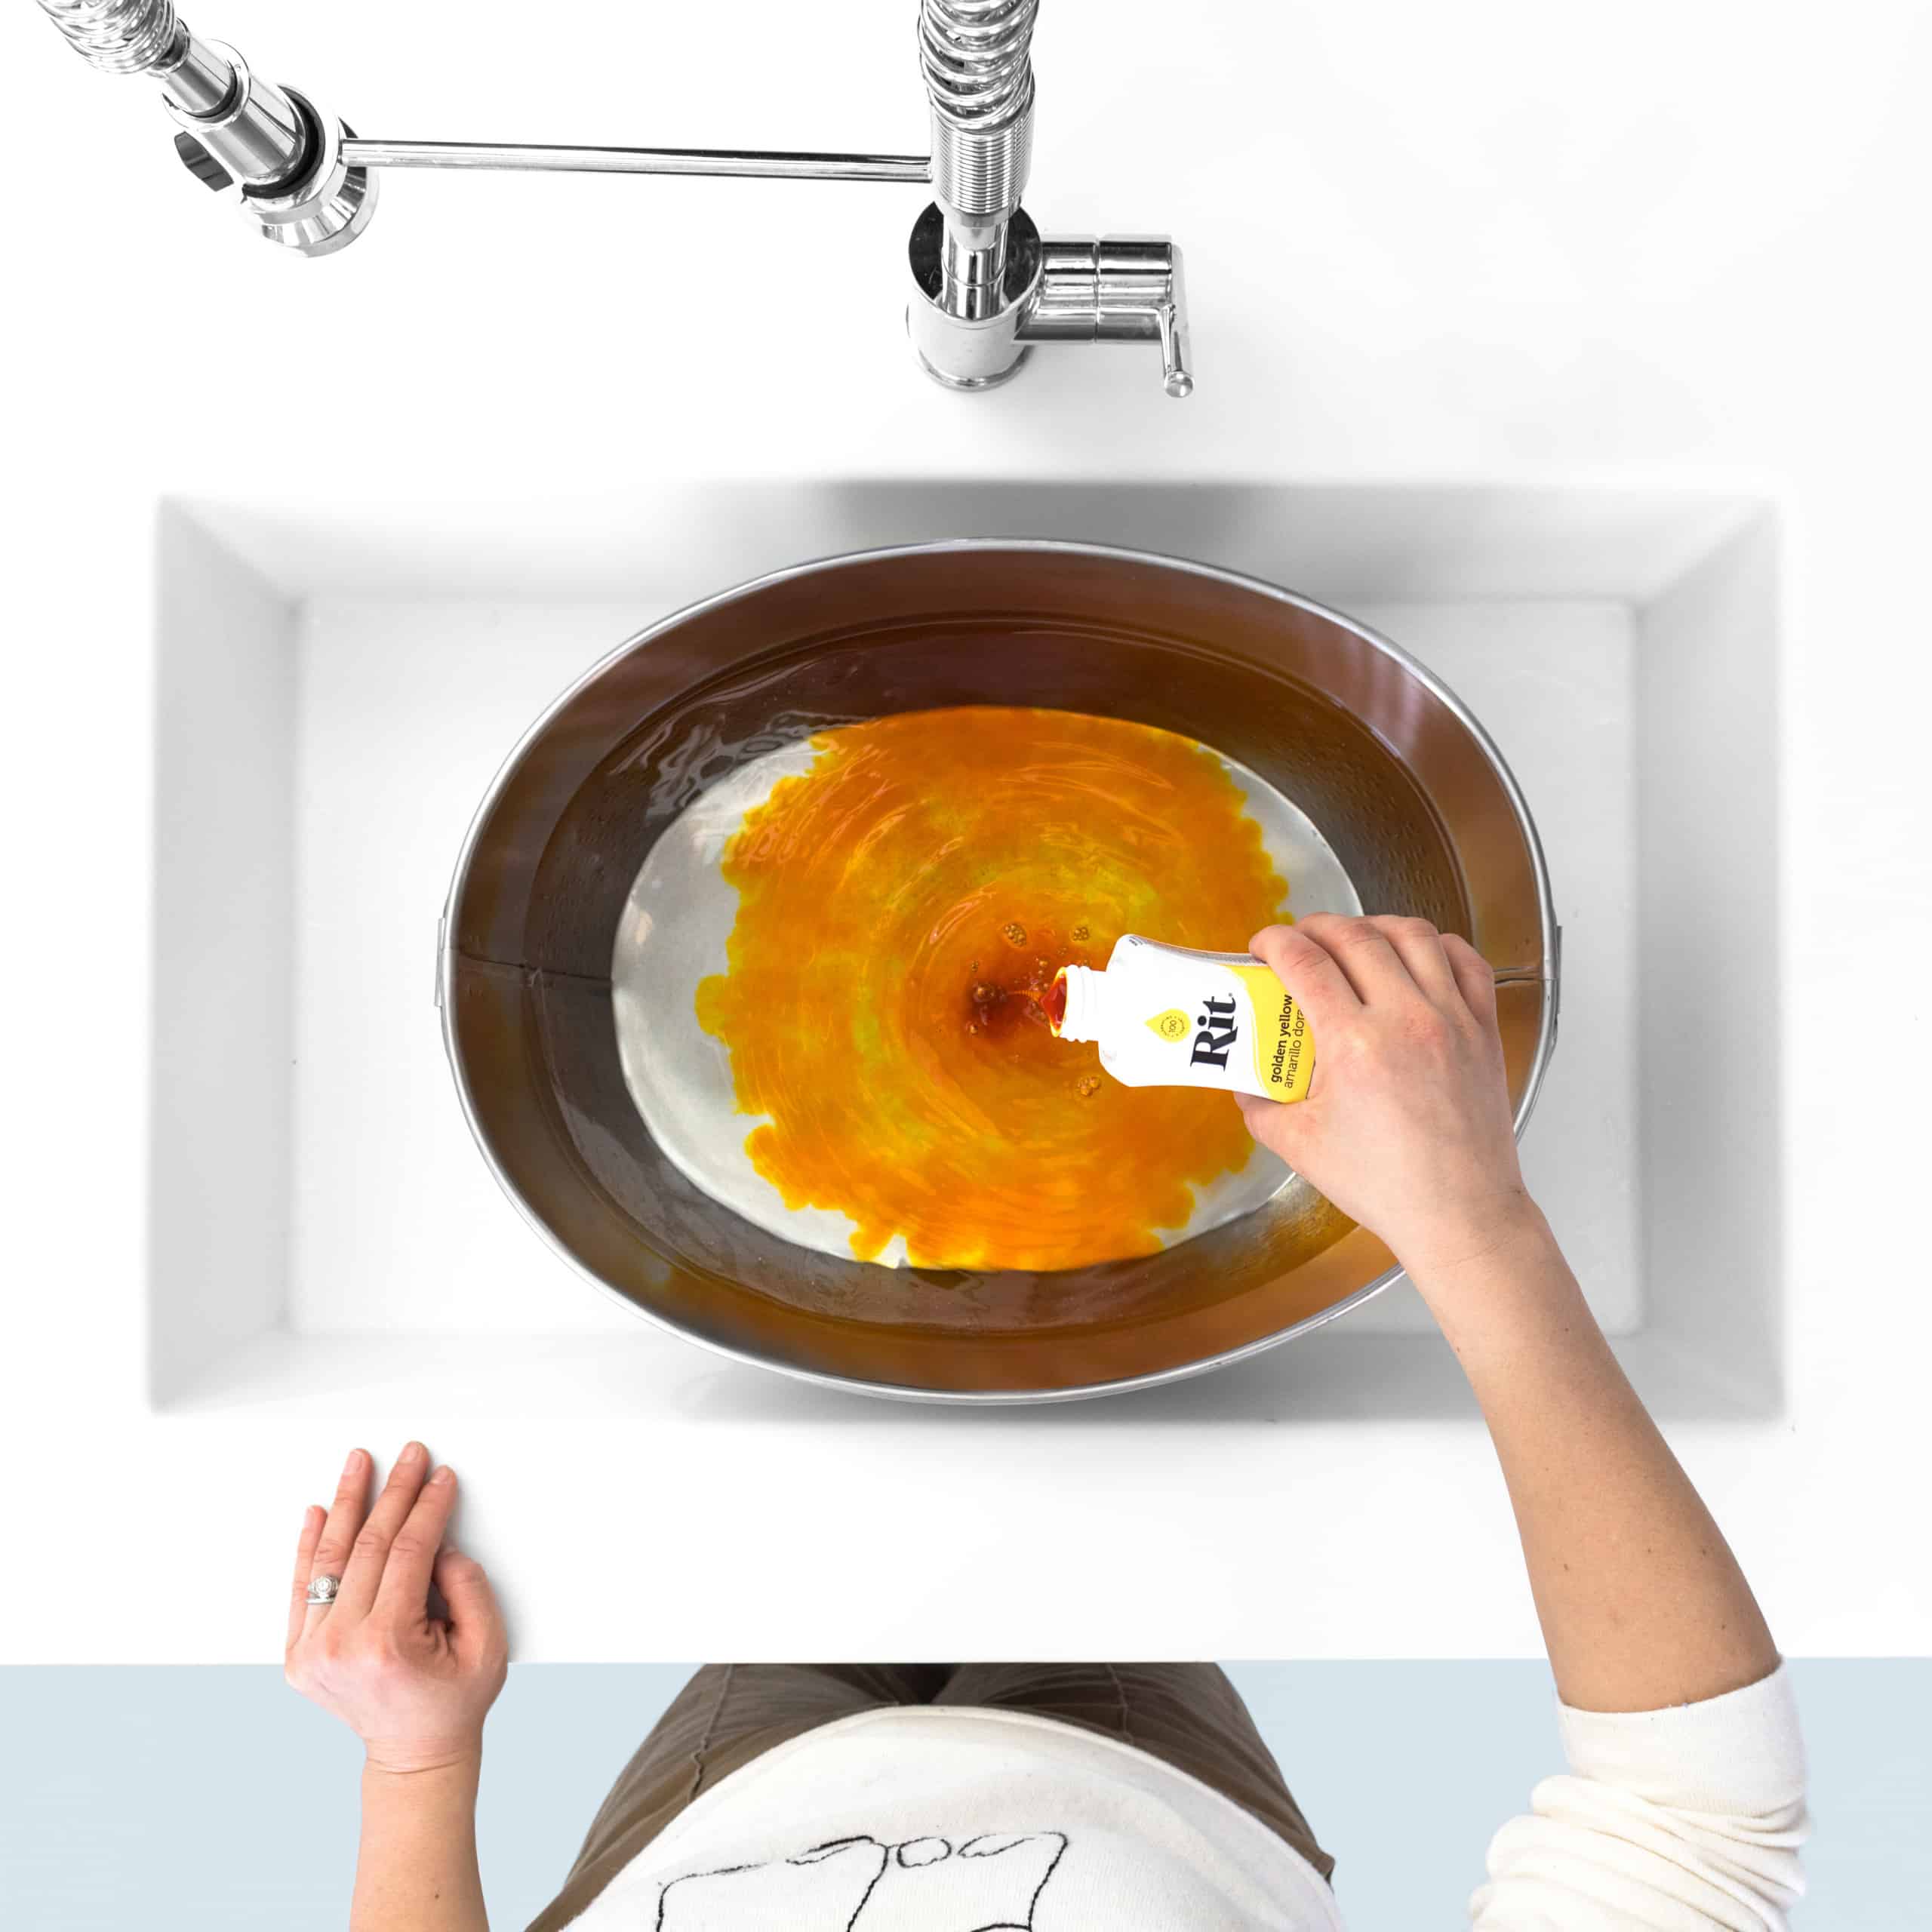
- Pour dissolved powder dye or well-shaken liquid dye into dyebath and mix well.
- Test color by dipping a paper towel into the dyebath. If color is too light, add more dye. If color is too dark, add more water.
- Wet the fabric, squeeze out any excess water and add it to the dyebath.
- Stir slowly and continuously. The first 10 minutes are the most critical. Stirring helps to ensure an even color with no splotches.
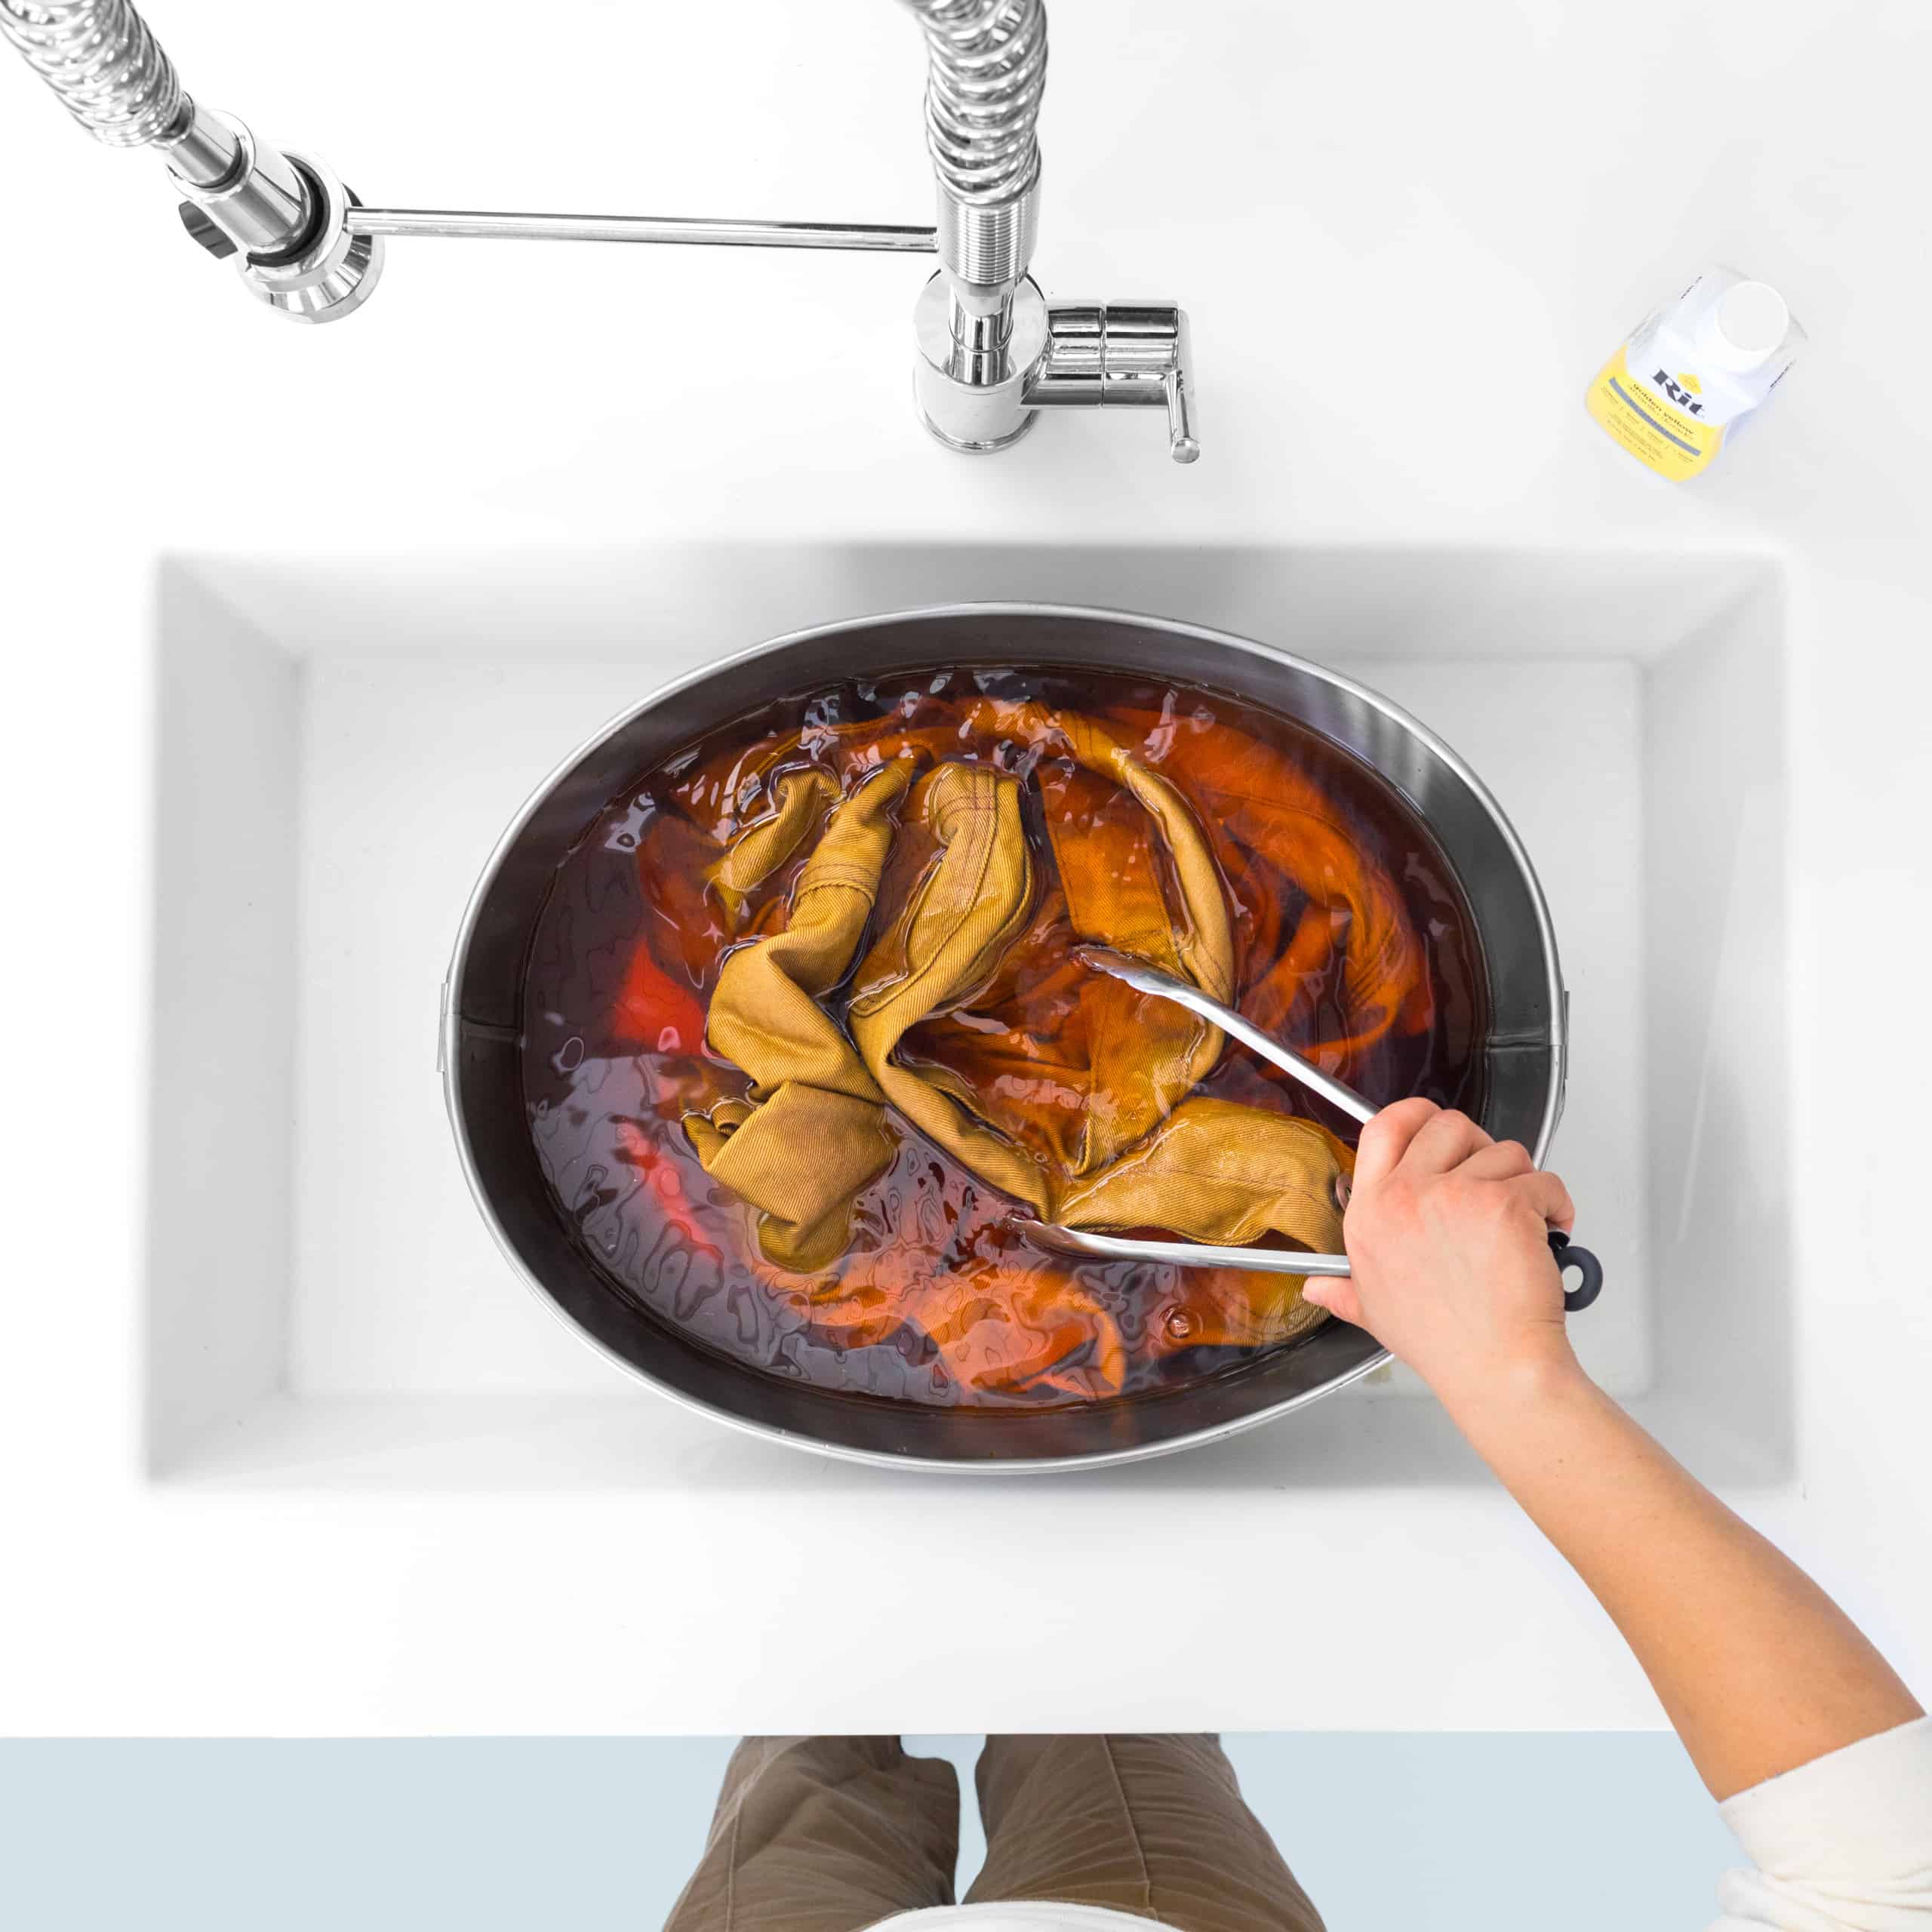
- Item can remain in dyebath from 10 minutes up to one hour with stirring. If dyeing a polyester cotton blend, keep the fabric in the dyebath for at least 30 minutes to ensure that the color takes fully. Nylon tends to dye very quickly and much darker than other fibers so the actual time needed in the dyebath is less.
- When desired color is achieved, remove from dyebath. Fabric will look darker when wet and will dry lighter.
- To enhance the color and reduce color bleeding, use Rit ColorStay Dye Fixative immediately after dyeing and before washing, following these instructions.
- Rinse in cool water until rinse water begins to run clear.
- Wash in warm water with a mild detergent, rinse and dry.


- To determine how much dye is needed, weigh the item to be dyed on a food scale or estimate the weight. As a general guideline, one liquid bottle / two powder packages dyes 2 pounds 1 kilogram of dry fabric. If you are trying to achieve a very bold color, then double the dye quantity.
- Fiber content and weight effect how color appears. If you are in doubt as to whether your fabric will accept dye or achieve the color you want, we recommend testing a swatch first.
- Before dyeing, remove any visible stains on the garment. This will help achieve uniform color results when dyeing. Pre-wash item in warm, soapy water without any fabric softener. This helps to remove any finishes that may interfere with dye absorption.
- Cover work area with plastic table cover or newspaper and have paper towels handy to protect against any possible spills.
- Wear rubber gloves to protect hands from getting stained and to insulate them when working with hot water.
- Fill a stainless steel pot with enough water for the fabric to move freely. We recommend using 3 gallons 11.5 L of water for every pound 1/2 kilogram of fabric.
- To enhance the color: (1) add 1 cup 240 mL of salt when dyeing fabrics containing cotton, rayon, ramie or linen; (2) add 1 cup / 240 mL of vinegar when dyeing fabrics containing nylon, silk or wool.
- Add 1 teaspoon 5 mL of dish detergent to help promote level dyeing.
- Cover pot and heat water on stove top to just below boiling (or around 200ºF / 93ºC).
- If using powder dye, dissolve thoroughly in 2 cups 470 mL of very hot water.
- When water begins to simmer, pour dissolved powder dye or well-shaken liquid dye into dyebath and mix well.
- Test color by dipping a paper towel into the dyebath. If color is too light, add more dye. If color is too dark, add more water.
- Wet the fabric, squeeze out any excess water and add it to the dyebath.
- Keep temperature at a low simmer for the duration of your dyeing.
- Stir slowly and continuously. The first 10 minutes are the most critical. Stirring helps to ensure an even color with no splotches.
- Item can remain in dyebath from 10 minutes up to one hour with stirring. If dyeing a polyester cotton blend, keep the fabric in the dyebath for at least 30 minutes to ensure that the color takes fully. Nylon tends to dye very quickly and much darker than other fibers so the actual time needed in the dyebath is less.
- When desired color is achieved, remove from dye bath. Fabric will look darker when wet and will dry lighter. Squeeze out excess dye.
- To enhance the color and reduce color bleeding, use Rit ColorStay Dye Fixative immediately after dyeing and before washing, following these instructions.
- Rinse in warm water and then gradually cool water until rinse water begins to run clear.
- Wash in warm water with a mild detergent, rinse and dry.
A note about dye and washing machines: If you have never used dye in a washing machine, we get why you would be nervous! Who wants a purple washing machine? Well, maybe us. Nonetheless, we can promise you Rit won’t permanently stain any metal component on your machine. Rit has been used in washing machines for decades, dating back to the time when the electric washing machine was invented in the 1950s. We coined the phrase “Push Button Color!” in the early 60s to promote the marriage between Rit and washing machines. We even launched liquid dye just so that it would be easier to use Rit in your machine. With that much history, you can feel confident that your washing machine will stay dye free for decades to come.
With the growing popularity of front loading washing machines, we have found that dye may stain the plastic parts around the machine if it is not cleaned up right away; so it’s important to clean up immediately after dyeing, which we detail how below.
Front Loader Instructions
To determine how much dye is needed, reference this load size guide. If you are trying to achieve a very bold color, then double the dye ratio. We do not recommend using a front loading washing machine to dye extra large items or multiple items.
Small
Gloves, lingerie, tights, socks, scarves, t-shirt, blouse, shirt, vest, pillow cover, placemats, doilies, sheer curtains
Dry Weight of Fabric
1/4 to 1 lbsUp to 0.5 kg
Liquid
1/4 to 1/2 bottle
Powder
1/2 to 1 box
Medium
Jeans, pants, dress, skirt, uniform, sweatshirt, tablecloth, dust ruffle, canvas tote bag
Dry Weight of Fabric
1 to 1 1/2 lbs0.5 kg to 0.7 kg
Liquid
1/2 to 1 bottle
Powder
1 to 2 boxes
Extra Medium
Jogging suit, sweater, robe, denim jacket, bath mat (not rubber-backed)
Dry Weight of Fabric
1 1/2 to 3 lbs0.7 kg to 1.5 kg
Liquid
1 to 2 bottles
Powder
2 to 3 boxes
Large
Curtains/draperies, 4 hand towels plus washcloths, sheet plus 2 pillowcases
Dry Weight of Fabric
4 to 6 lbs1.8 kg to 2.7 kg
Liquid
2 to 3 bottles
Powder
4 to 6 boxes
- Before dyeing, remove any visibile stains on the garment. This will help achieve uniform color results when dyeing. Pre-wash item in warm, soapy water without any fabric softener. This helps to remove any finishes that may interfere with dye absorption.
- Wet fabric and place item(s) in the washing machine.
- Set water temperature to the hottest possible setting and a wash cycle of at least 30 minutes or longer. The longer the item is in the dye, the darker the color will be.
- Wearing rubber gloves, mix powder or well-shaken liquid dye with 4 cups 950 mL of very hot water. Stir well.
- In a separate container, dissolve 1 cup 240 mL of salt in 4 cups 950 mL of very hot water if dyeing natural fibers like cotton or linen. If dyeing silk or nylon, mix 1 cup 240 mL of white vinegar with 2-4 cups 470-950 mL of hot tap water.
- Add 1 teaspoon 5 mL of dish detergent to the container to help promote level dyeing.
- Start the cycle.
- Remove detergent cup from detergent tray.
- Pour the dye solution into the dispenser. Then, pour the salt or vinegar solution. Flush the dispenser thoroughly with 4 cups 950 mL more of hot tap water.
- To enhance the color and reduce color bleeding, use Rit ColorStay Dye Fixative immediately after dyeing and before washing, following these instructions.
- Rewash item in warm water with mild detergent.
- To clean the washing machine: Wipe around the inside of the lid and pour a little bleach through the internal dispenser (if there is one) as dyes can get into these areas. Then, fill washer to the highest water level there is and select the hottest water temperature setting. Add detergent with 2 cups 470 mL of chlorine bleach and run a full wash cycle with 3 old towels.
Top Loader Instructions
To determine how much dye is needed, reference this load size guide. If you are trying to achieve a very bold color, then double the dye ratio.
Small
Gloves, lingerie, tights, socks, scarves, t-shirt, blouse, shirt, vest, pillow cover, placemats, doilies, sheer curtains
Dry Weight of Fabric
1/4 to 1 lbsUp to 0.5 kg
Liquid
1/4 to 1/2 bottle
Powder
1/2 to 1 box
Medium
Jeans, pants, dress, skirt, uniform, sweatshirt, tablecloth, dust ruffle, canvas tote bag
Dry Weight of Fabric
1 to 1 1/2 lbs0.5 kg to 0.7 kg
Liquid
1/2 to 1 bottle
Powder
1 to 2 boxes
Extra Medium
Jogging suit, sweater, robe, denim jacket, bath mat (not rubber-backed)
Dry Weight of Fabric
1 1/2 to 3 lbs0.7 kg to 1.5 kg
Liquid
1 to 2 bottles
Powder
2 to 3 boxes
Large
Curtains/draperies, 4 hand towels plus washcloths, sheet plus 2 pillowcases
Dry Weight of Fabric
4 to 6 lbs1.8 kg to 2.7 kg
Liquid
2 to 3 bottles
Powder
4 to 6 boxes
- Before dyeing, remove any visible stains on the garment. This will help achieve uniform color results when dyeing. Pre-wash item in warm, soapy water without any fabric softener. This helps to remove any finishes that may interfere with dye absorption.
- Using the hottest water setting, fill the machine with enough water for the fabric to move freely.
- Shake liquid dye bottle and add dye to machine. Powder dye should be pre-dissolved in 2 cups 470 mL of hot water and then added to machine. Mix well to evenly distribute the dye.
- Wet fabric and place item(s) in the washing machine.
- If dyeing natural fibers like cotton or linen, add 1 cup 240 mL of salt to the dyebath. If dyeing silk or nylon, add 1 cup 240 mL of white vinegar to the dyebath. Mix well.
- Add 1 teaspoon 5 mL of dish detergent to help promote level dyeing.
- Items should be in the dyebath for a minimum of thirty minutes to a maximum of one hour before the rinse cycle begins. Use an extended setting, or reset the setting before the rinse cycle starts to extend the wash time. Note that the longer the item is in the dyebath, the darker the color will be. For bulky items, such as draperies or large slipcovers, we recommend stopping the wash load periodically to detangle and unwind the item. This will help prevent uneven dyeing and lighter areas from forming. Remember to wear rubber gloves when handling the item mid-cycle.
- To enhance the color and reduce color bleeding, use Rit ColorStay Dye Fixative immediately after dyeing and before washing, following these instructions.
- Rewash item in warm water with mild detergent.
- To clean the washing machine: Wipe around the inside of the lid and pour a little bleach through the internal dispenser (if there is one) as dyes can get into these areas. Then, fill washer to the highest water level there is and select the hottest water temperature setting. Add detergent with 2 cups 470 mL of chlorine bleach and run a full wash cycle with 3 old towels.
