

Supplies
- Rit All-Purpose Liquid Dye in desired colors
- Rit ColorStay Dye Fixative
- Upcycled Fabric
- Rubber Bands
- Squirt Bottles
- Container for Dyeing
- Wood blocks (for Shibori Technique)
- Plastic Gloves
- Plastic Table Cover
Difficulty
Beginner Total: {{ partial.tYPX.total }}
Time
Total: {{ partial.t9AV.total }}
Instructions
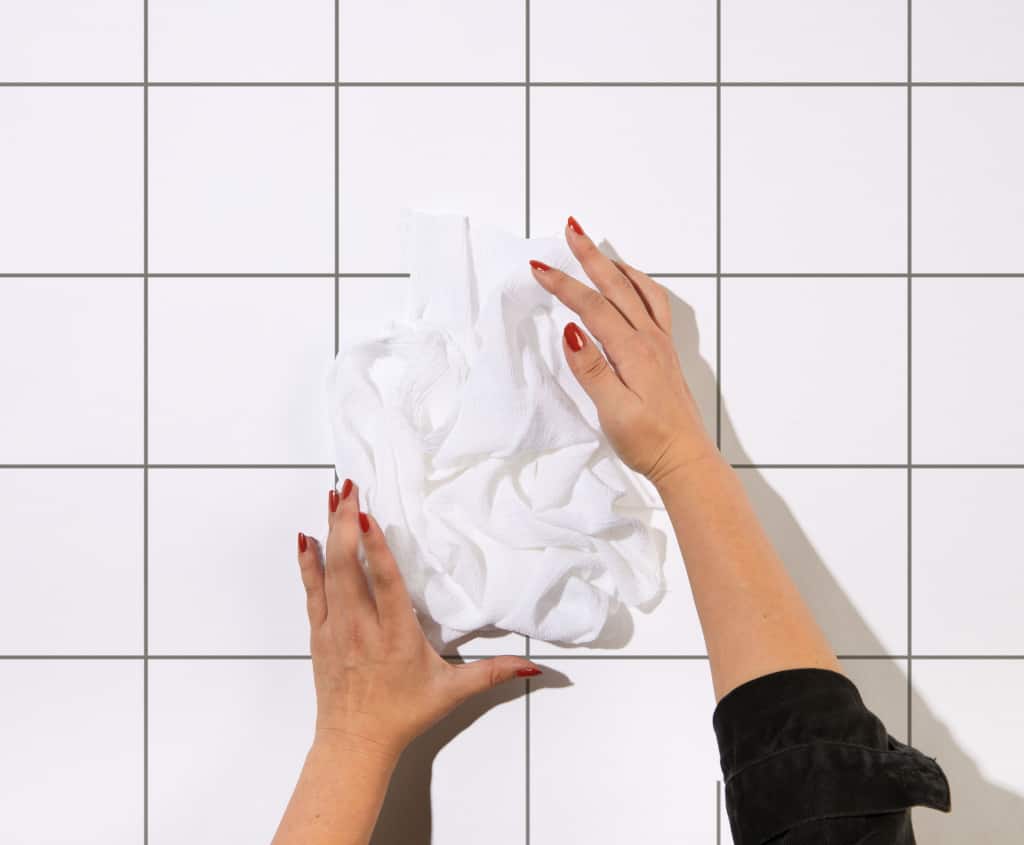
- Preparation: Cut upcycled fabric depending on the size and shape of your gift. Before dyeing, remove any visible stains on the fabric. This will help achieve uniform color results when dyeing. Prewash item in warm, soapy water without any fabric softeners, and leave fabric damp for dyeing. This helps to remove any finishes that may interfere with dye absorption. Lay damp fabric out on a flat surface.

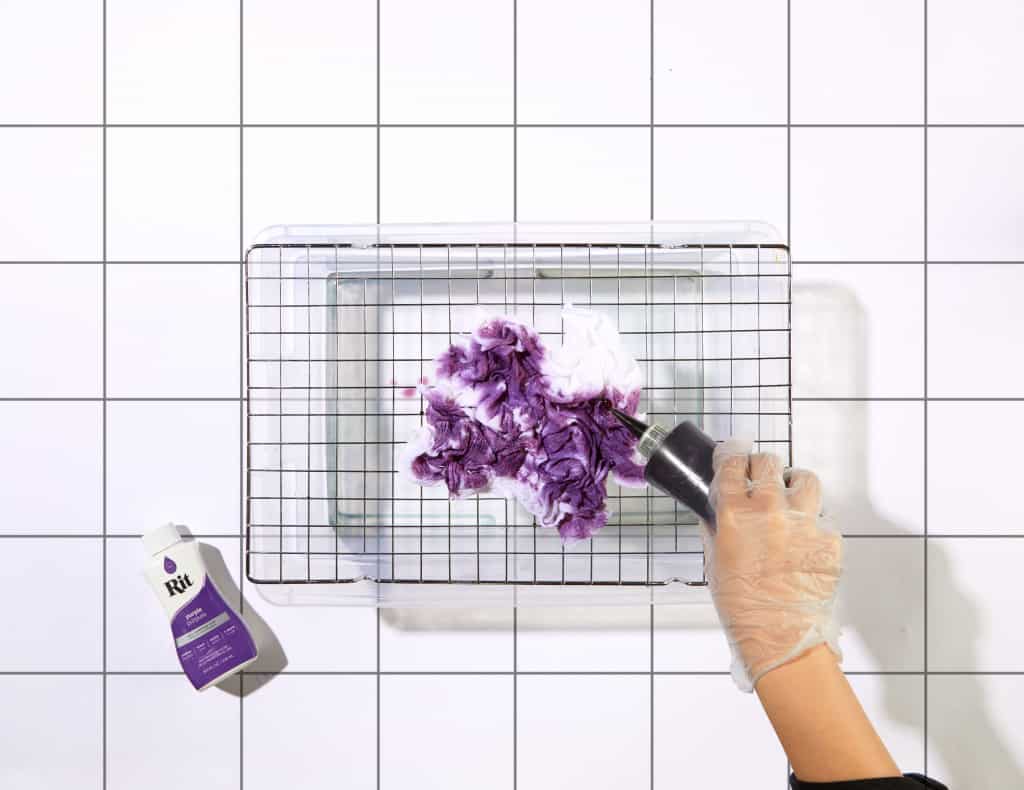
- Scrunch Technique: Scrunch the fabric and secure with rubber bands. For more color and less white space, forego the use of rubber bands. Apply dye using the squirt bottle method.
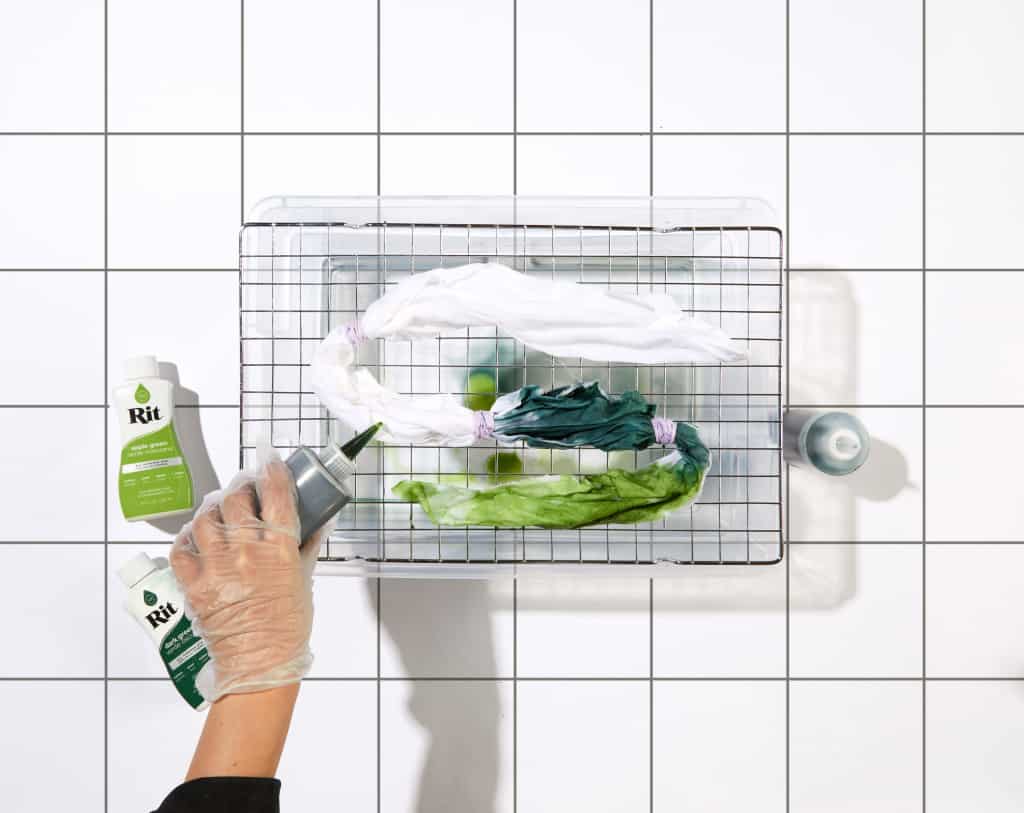
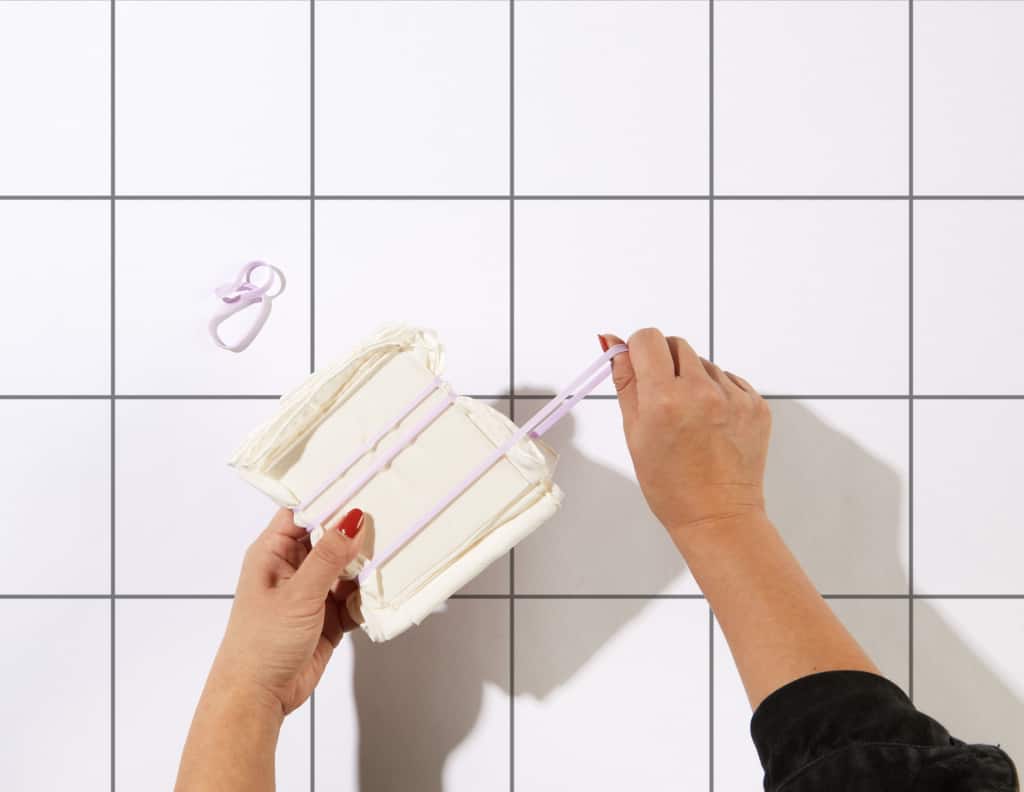
- Tie-Dye Technique: Scrunch fabric to create rough diagonal pleats. Secure with rubber bands every 3-4” down the length of the scrunched fabric as shown. Apply dye using the squirt bottle method.

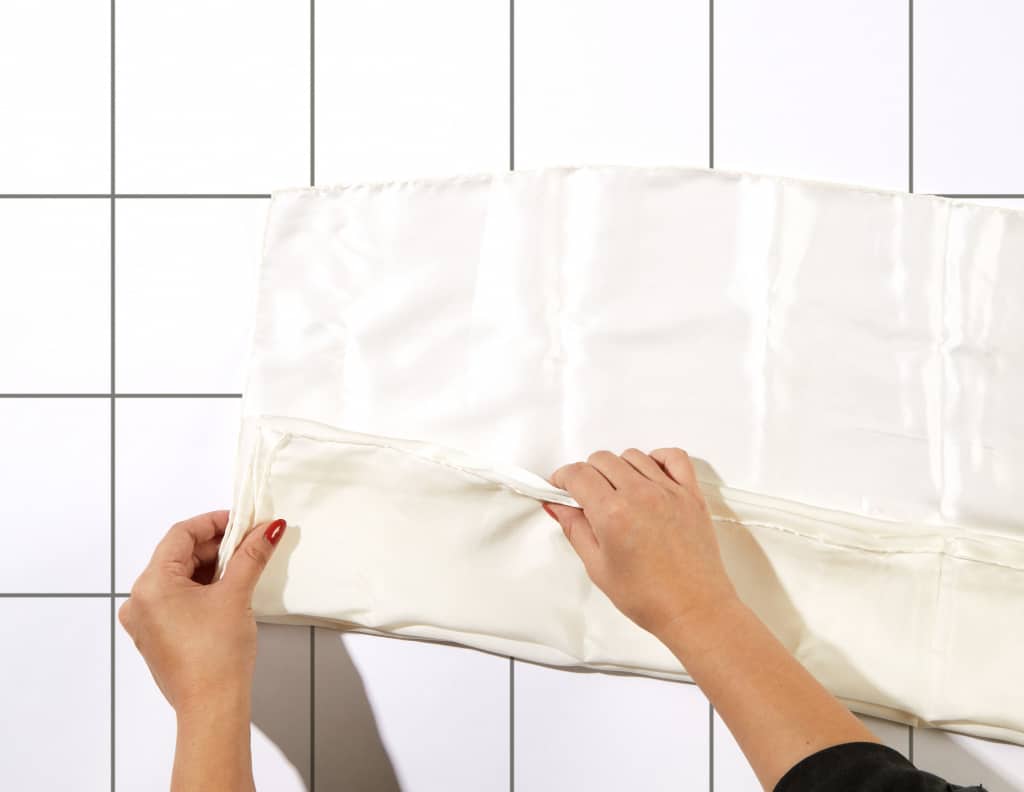
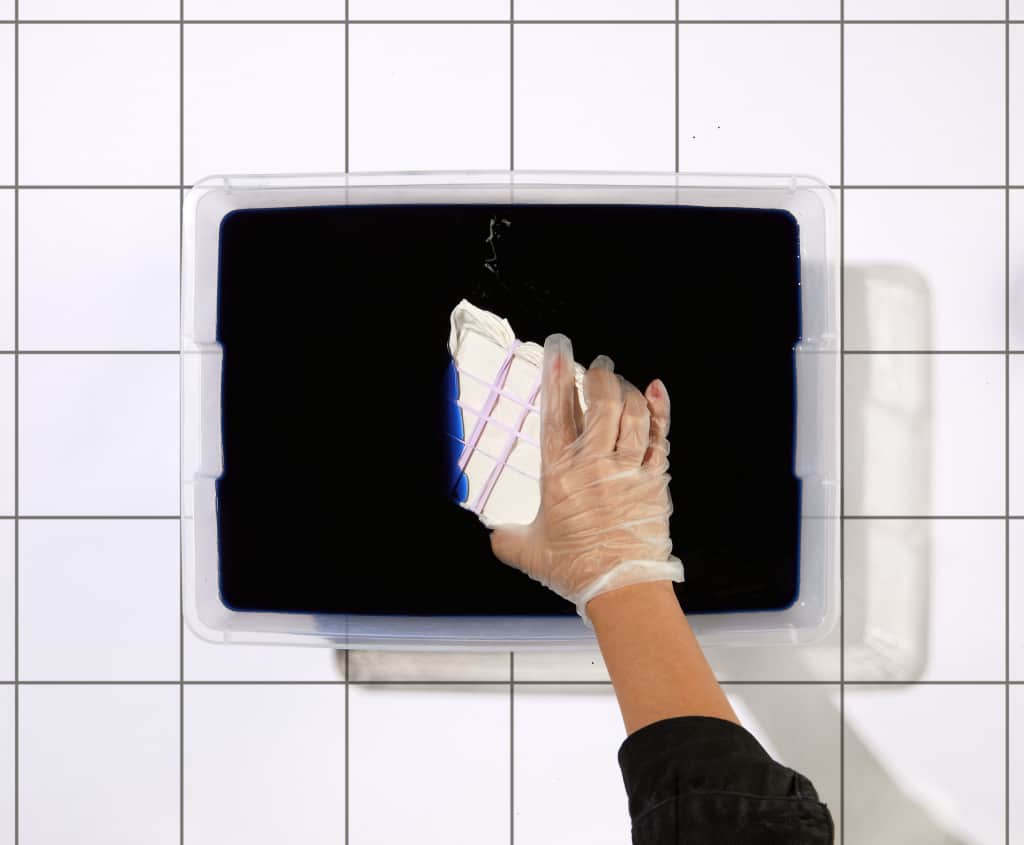
- Itajime Technique: Accordion fold or “fan fold” the fabric in 4 ½” wide folds down the length of the fabric. This will form a long rectangle. For more pattern variations, vary the size and width of the folds. Accordion fold or “fan fold” the long rectangle into a 4 ½” fabric square. Then sandwich the fabric square between the 4” blocks of wood. Dye using the immersion technique.
- We strongly recommend using Rit ColorStay Dye Fixative immediately after dyeing and before washing. It enhances the color, increases color retention and prevents dye from bleeding into white areas. Follow these instructions.
- Rinse in cool water until rinse water begins to run clear.
- Carefully remove rubber bands and resists. Unfold the fabric.
- Wash in warm water with a mild detergent, rinse and dry.
- Now it is time to wrap your gifts! To learn the traditional tying techniques, watch one of our quick videos by Sweet Paul below.


Posts You May Like
