

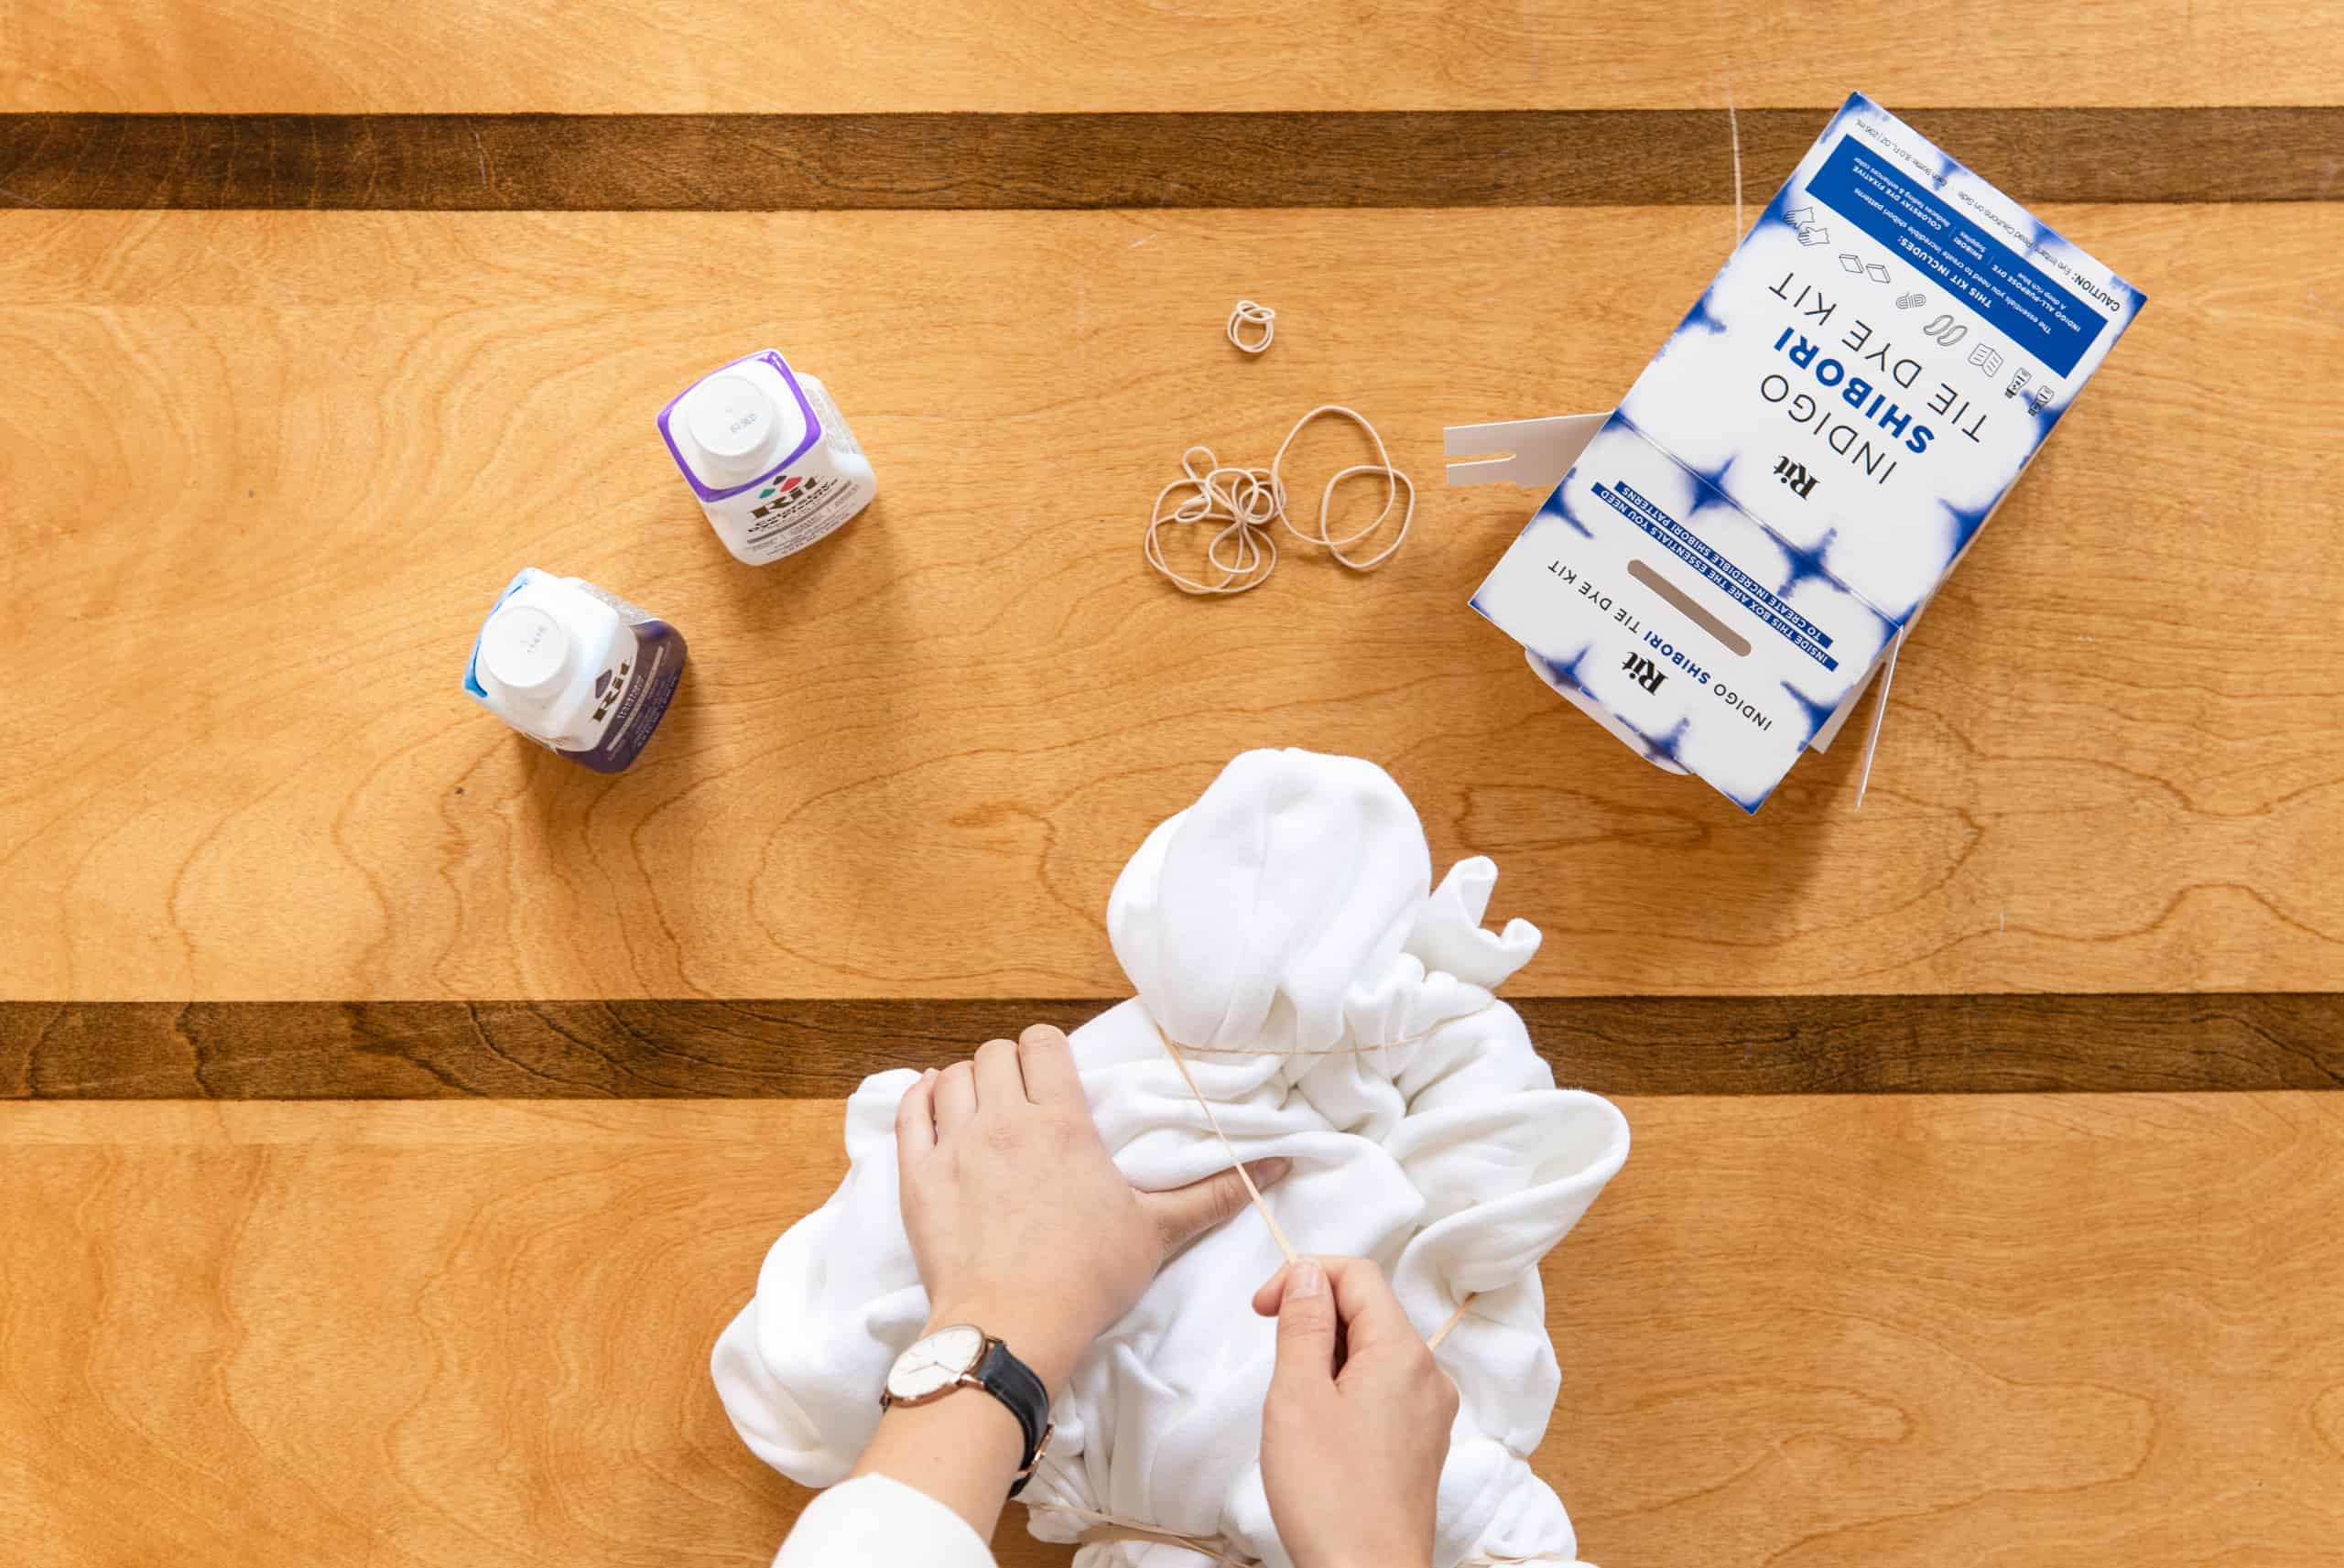
Supplies
- Indigo Shibori Tie-Dye Kit
- Cotton Hoodie
- Salt
- Container for Dyeing
- Measuring Cup
- Plastic Table Cover
Difficulty
Beginner Total: {{ partial.t2FS.total }}
Time
Total: {{ partial.t74W.total }}
Instructions
- Wash the hoodie with warm soapy water to remove any finishes. Do not dry.
- Lay the wet hoodie flat. Scrunch a section and secure with rubber bands. The more tightly you secure the scrunch, the more white space you will see in the final result. Repeat scrunching various sections of the hoodie. With each section, vary the amount of fabric scrunched. Continue until the majority of the hoodie is scrunched. Now shape the hoodie into a ball with more rubber bands.
- The following instructions are for applying the dye with a bucket. If you want to be more precise with where you place the dye, check out our instructions for how to dye with squeeze bottles. There is even a video tutorial!
- To prepare dyebath: fill a large container with 3 gallons of very hot water. The water should ideally be 140ºF. If tap water is not hot enough, heat water on the stove and add to the dyebath.
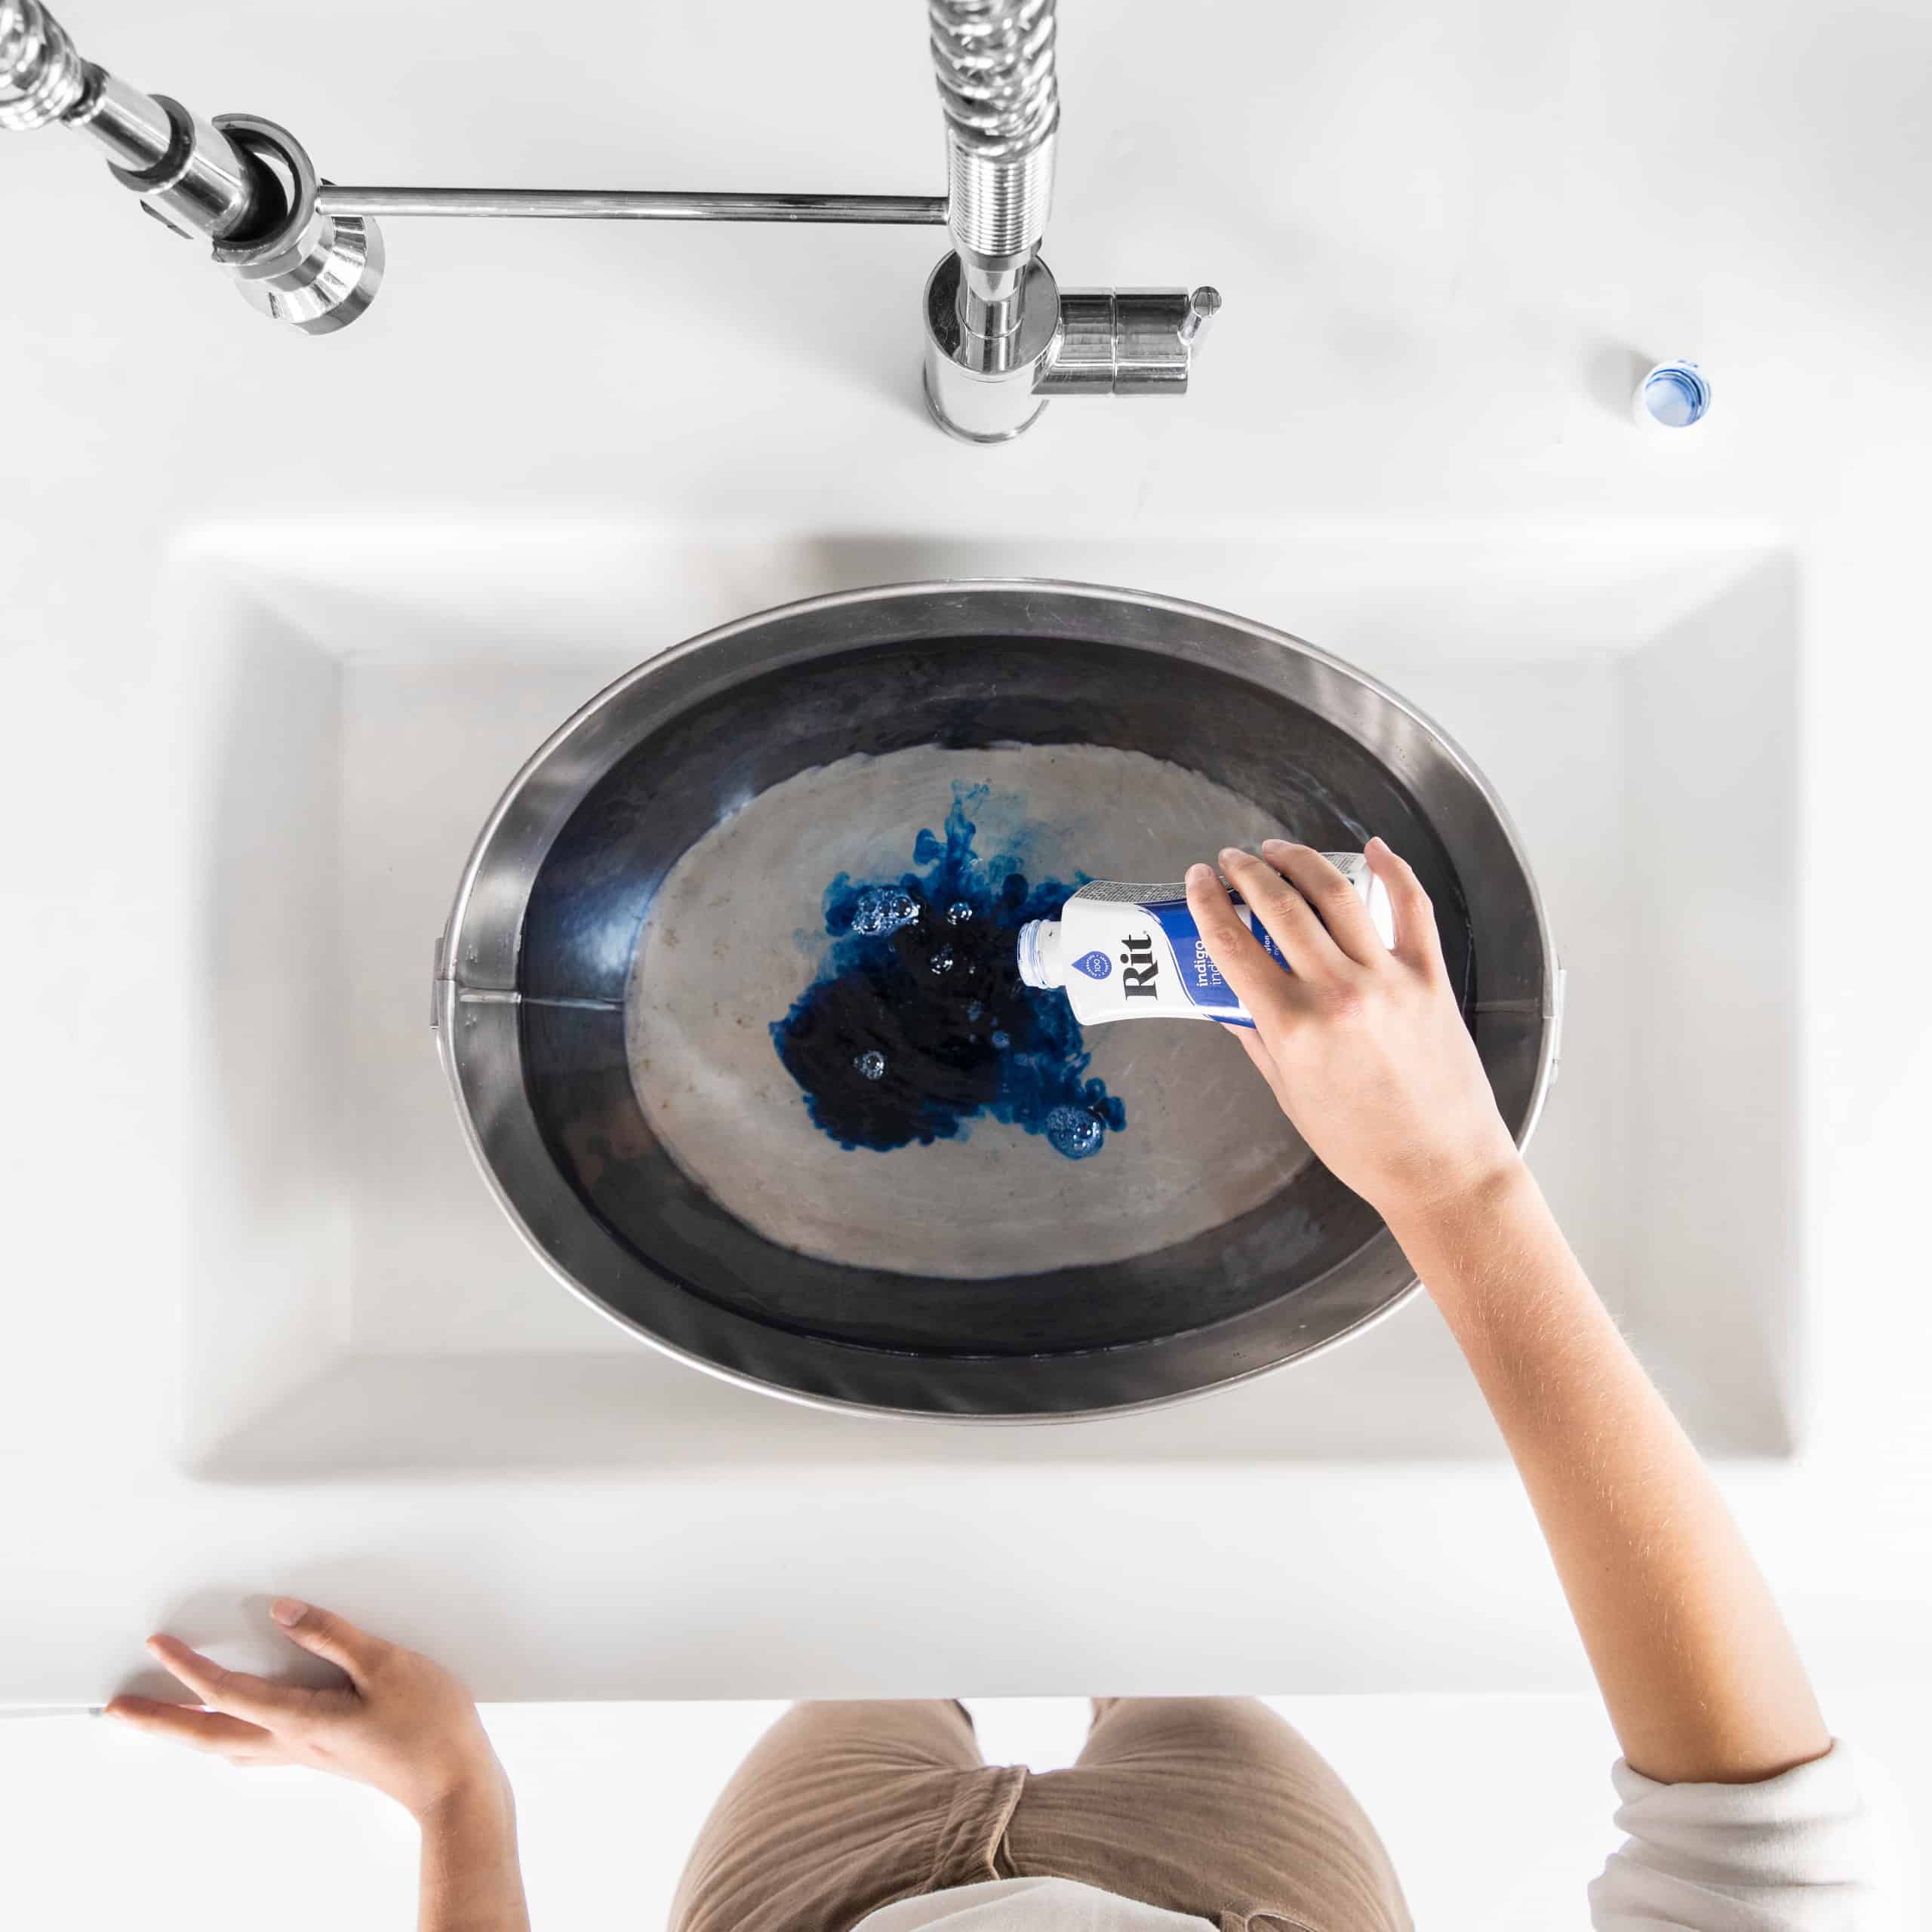
- Wearing rubber gloves, add 1/2 cup of well-shaken Indigo dye to dyebath. Stir well.
- Submerge scrunched fabric into dyebath. For a high contrast pattern, keep hoodie in dyebath for 3 to 5 minutes. For more color and less white space, leave scrunched fabric in the dyebath for 10 to 20 minutes.
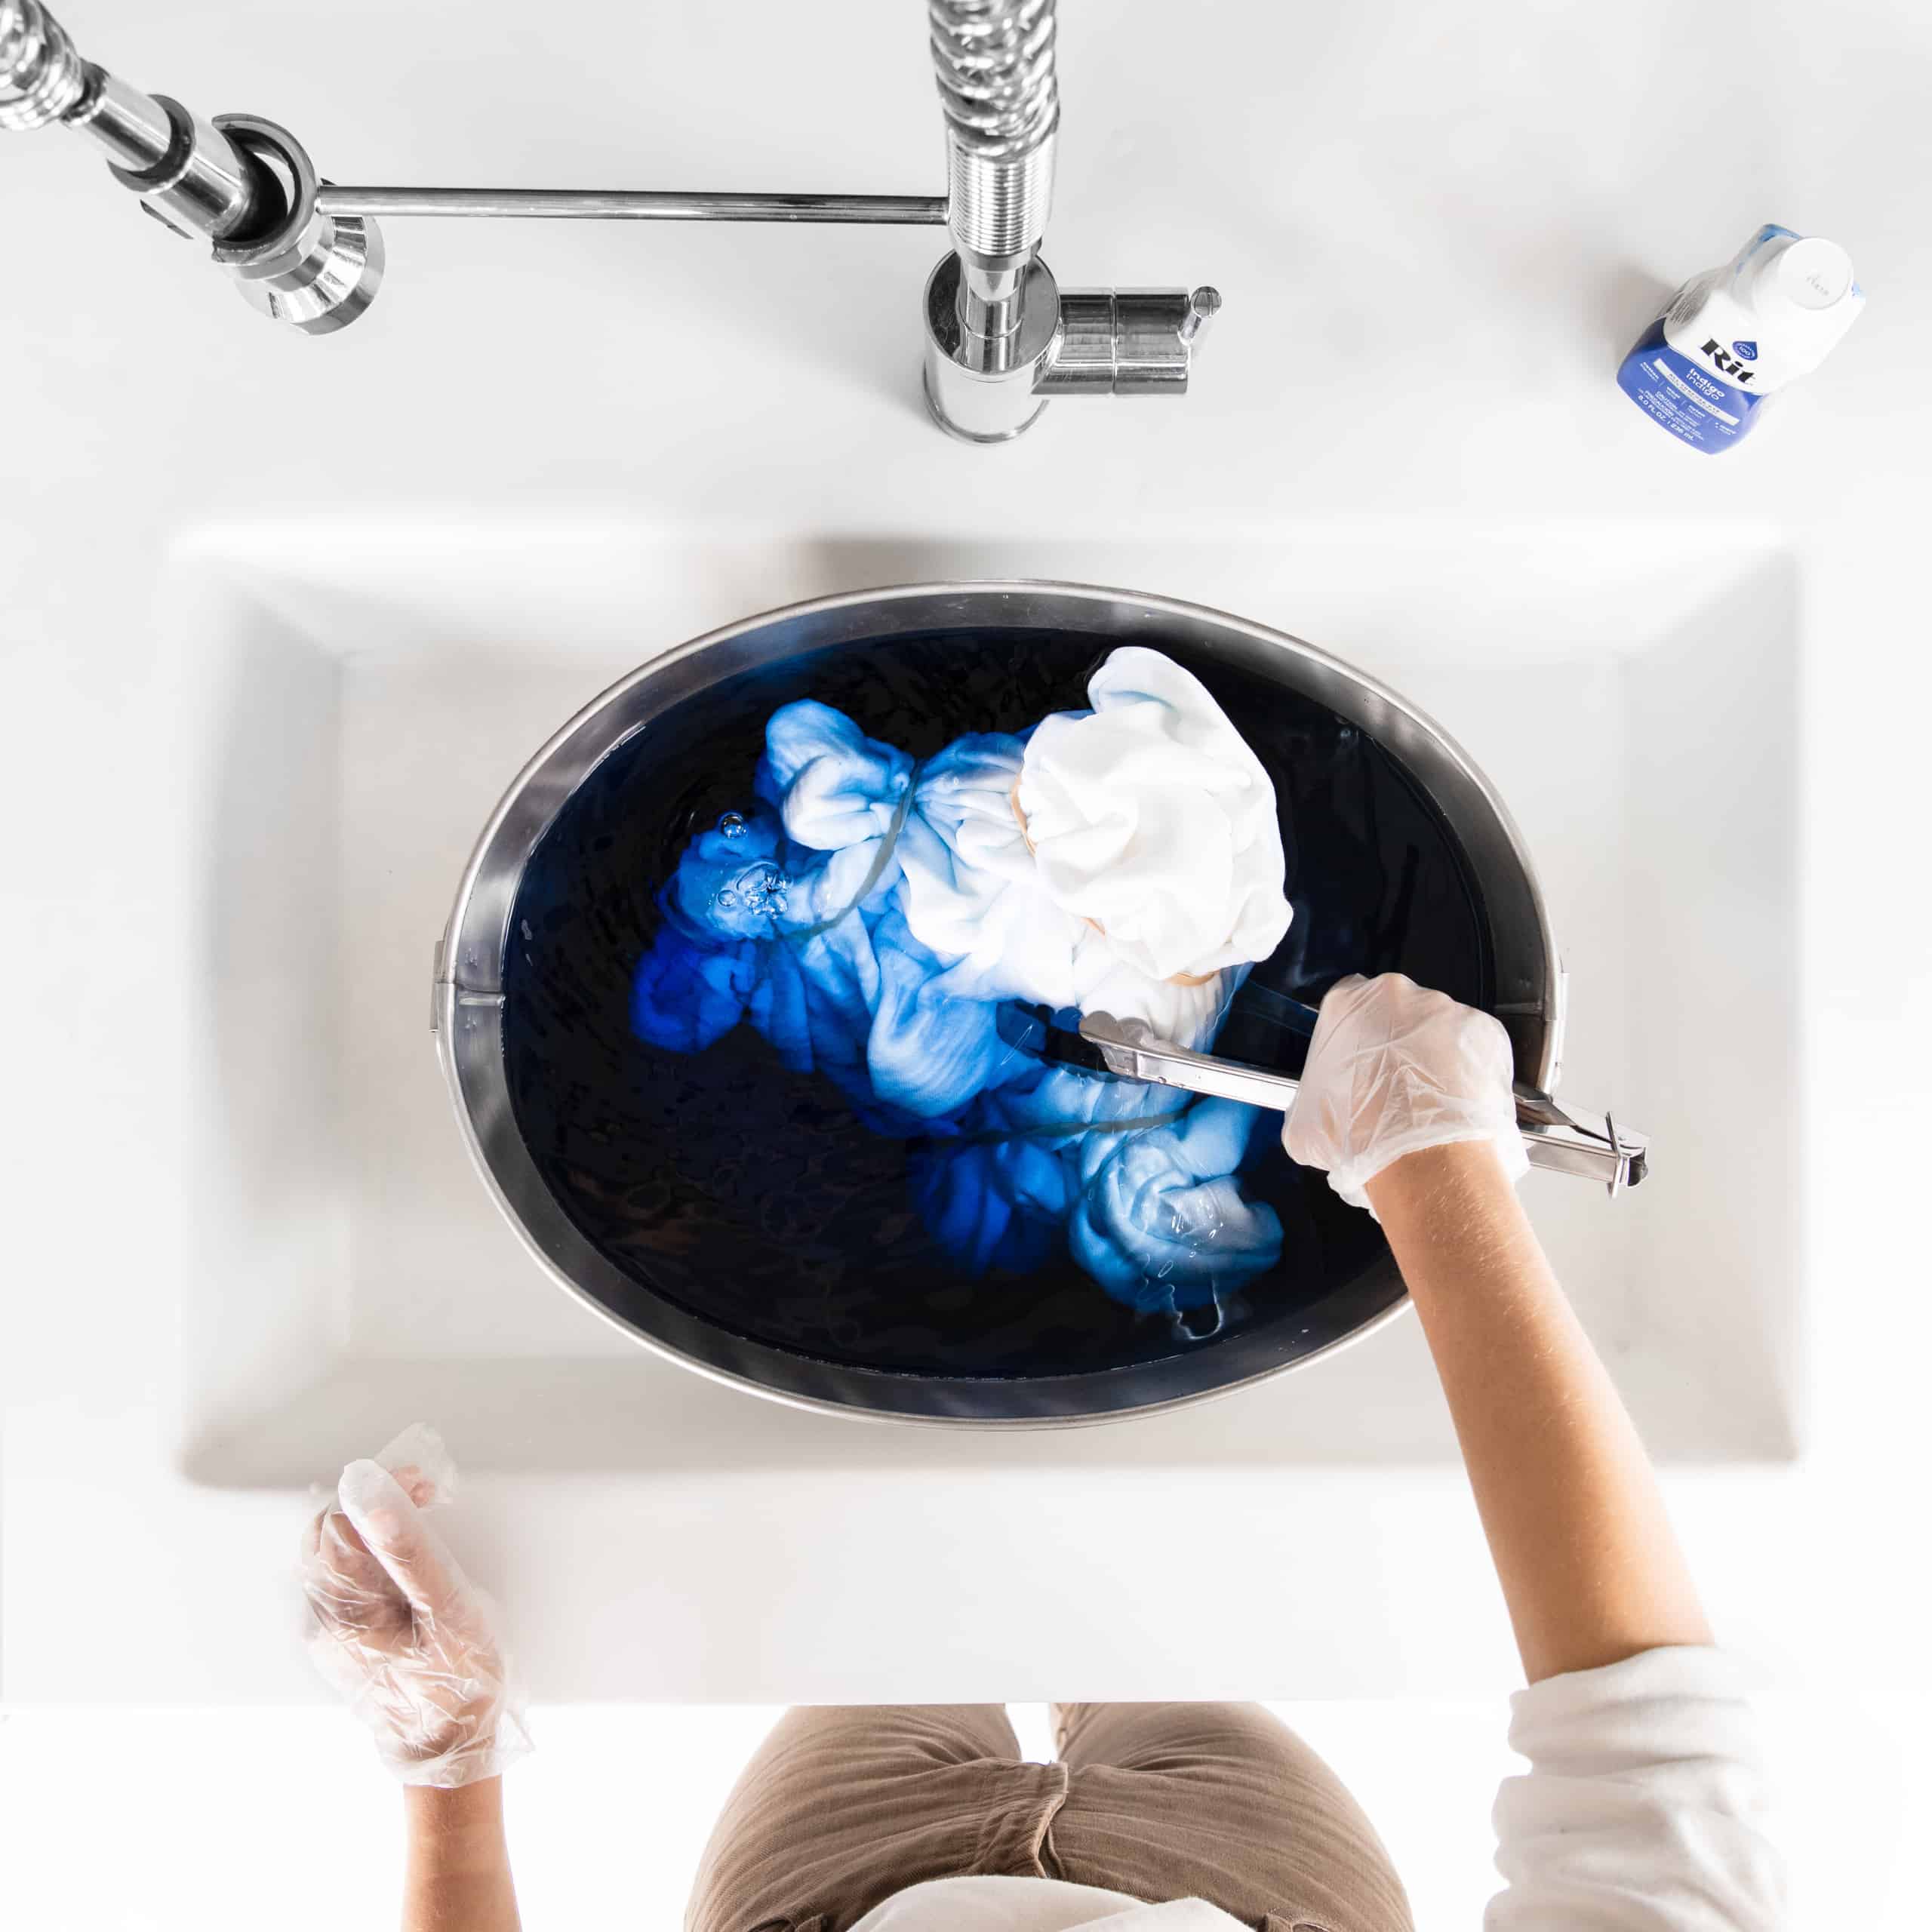
- When desired color is achieved, remove wrapped fabric from the dyebath. Do not remove rubber bands.
- Rinse in cool water until water begins to run clear. Do not remove the rubber bands. Leave the hoodie scrunched.
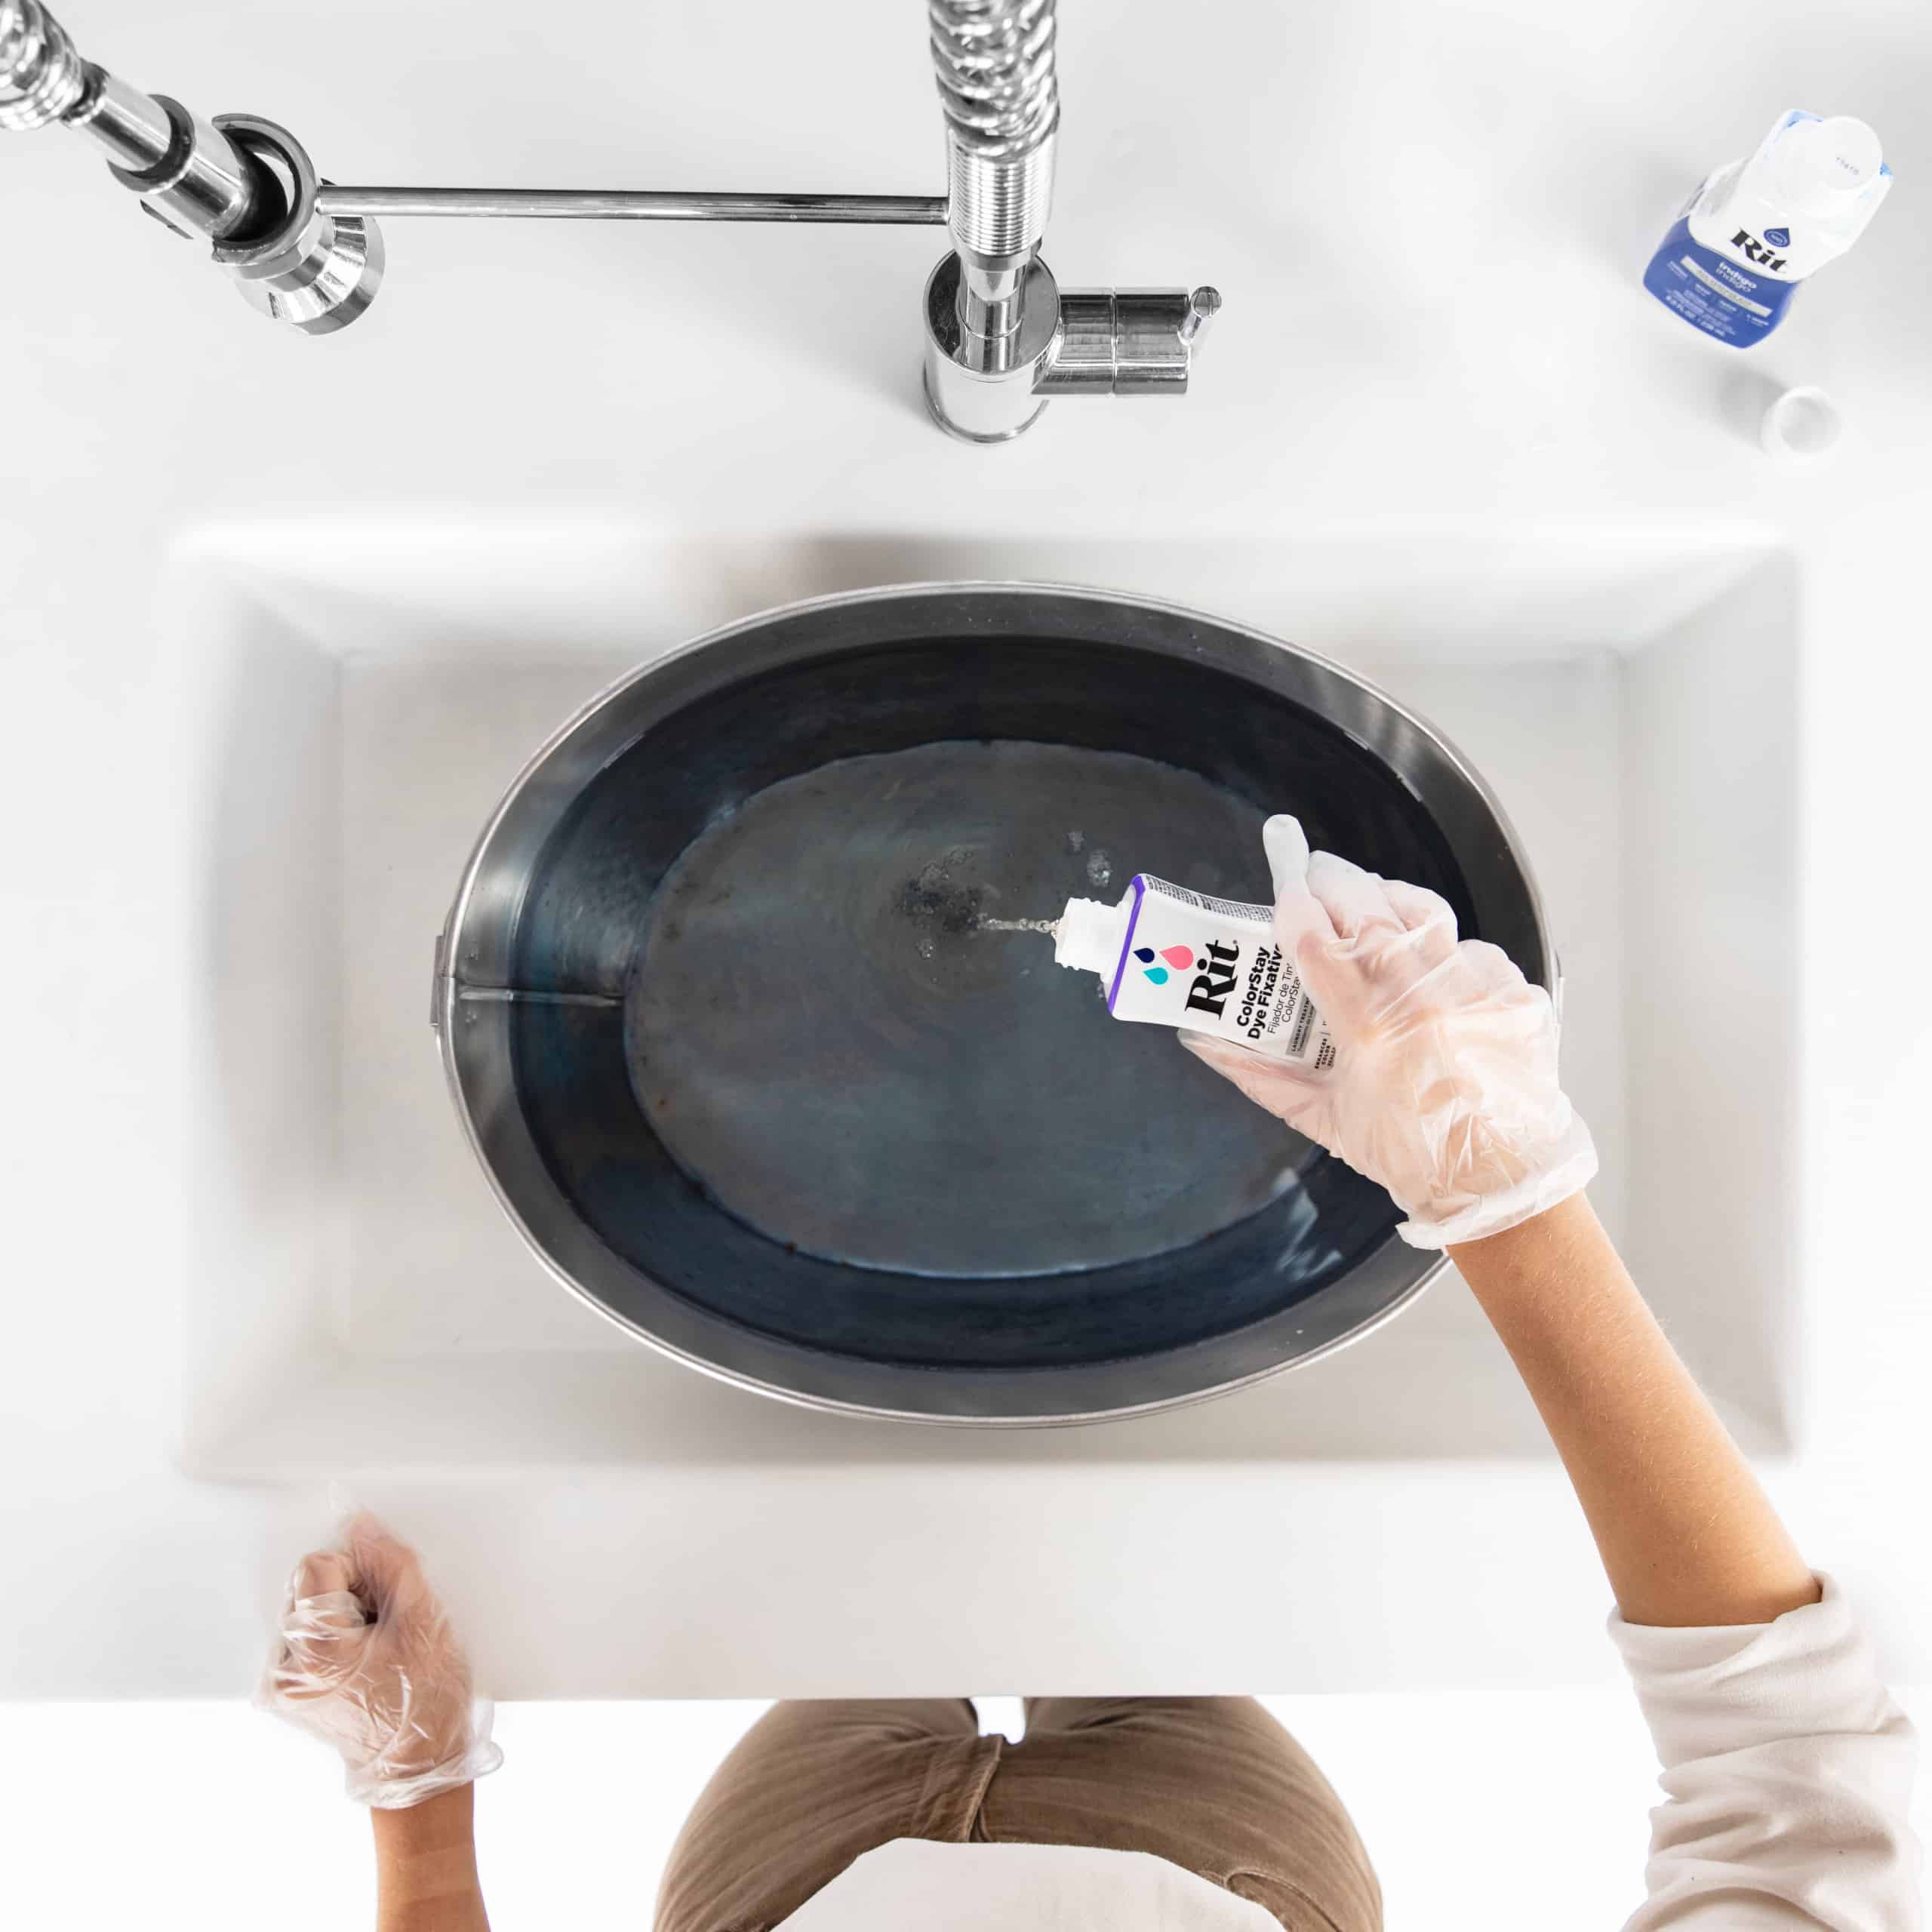
- Now use Rit ColorStay Dye Fixative, following package instructions. It enhances the color, increases color retention and prevents dye from bleeding into white areas.
- Rinse in cool water until water begins to run clear. Carefully remove rubber bands.
- Unfold dyed hoodie and hang to dry completely. When dry, iron out any wrinkles for a smooth surface.


Posts You May Like
