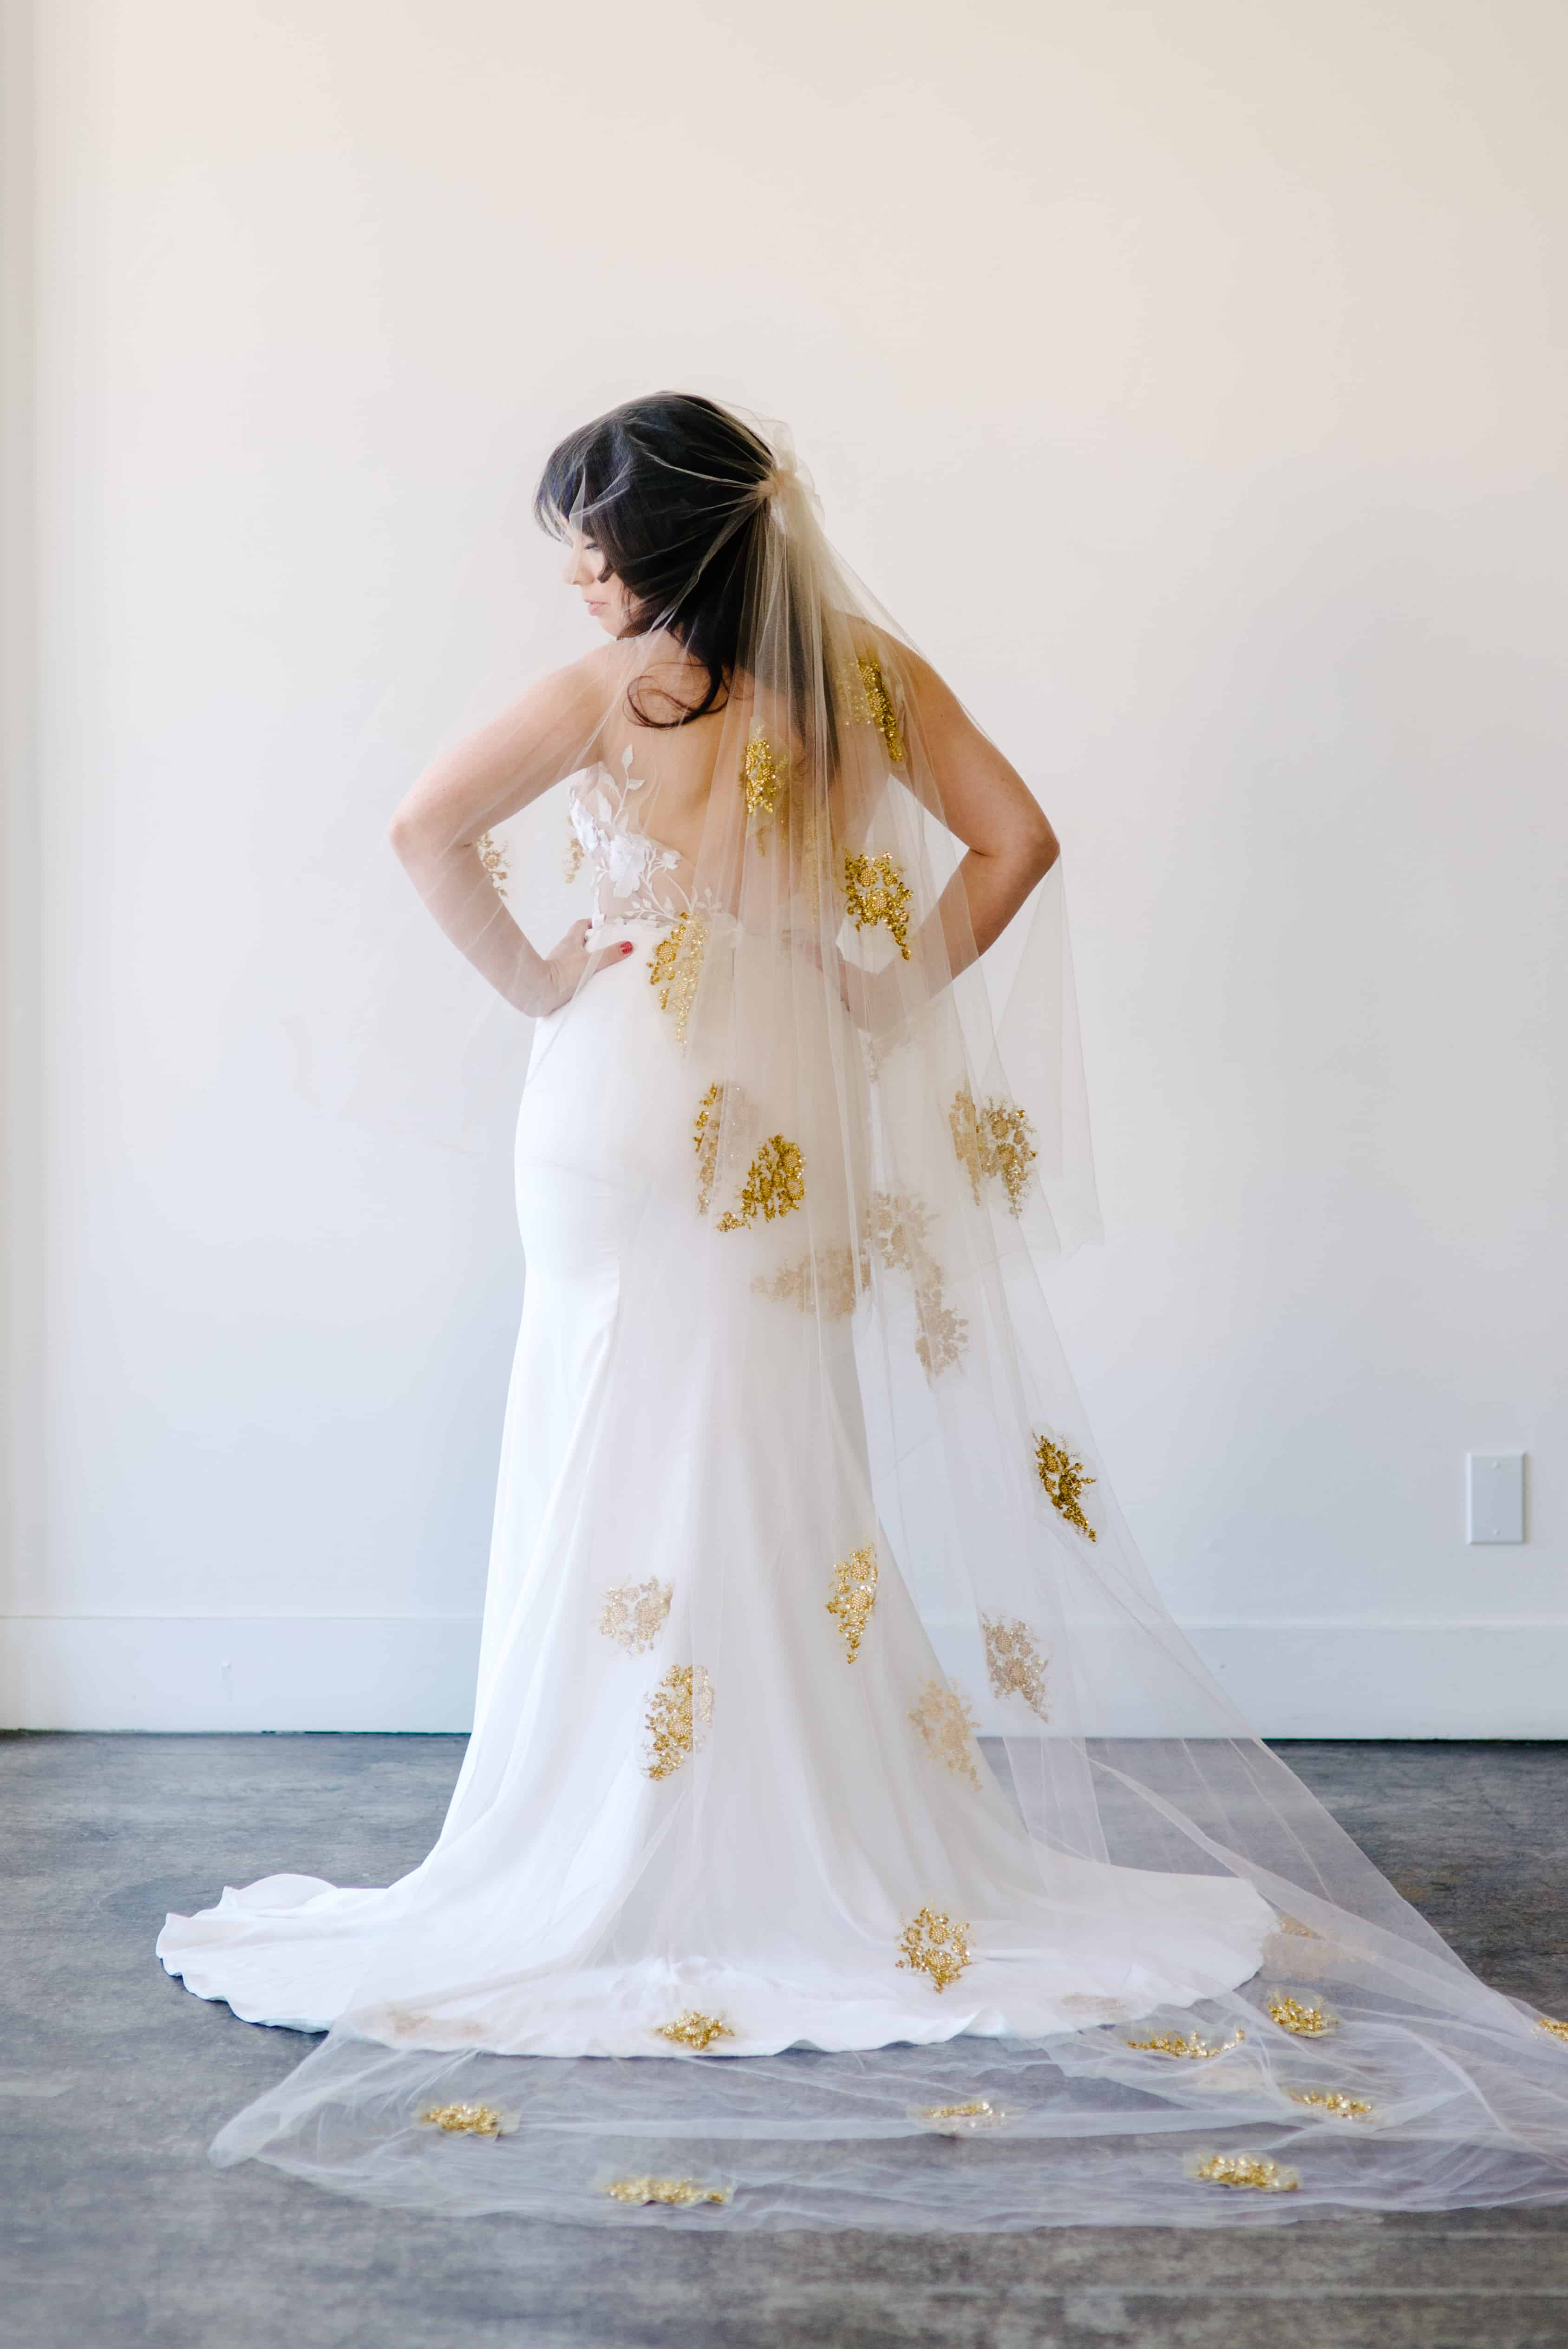
Dyed Wedding Veils
Perhaps our favorite wedding DIY of all time! Our friends from A Practical Wedding created dip dyed veils that elevated the veil from something pretty standard to something so incredibly special and unique. They are all beautiful in their own way, its hard for us to decide which one is our favorite. Learn how to create these beautifully dyed veils yourself below.


Supplies
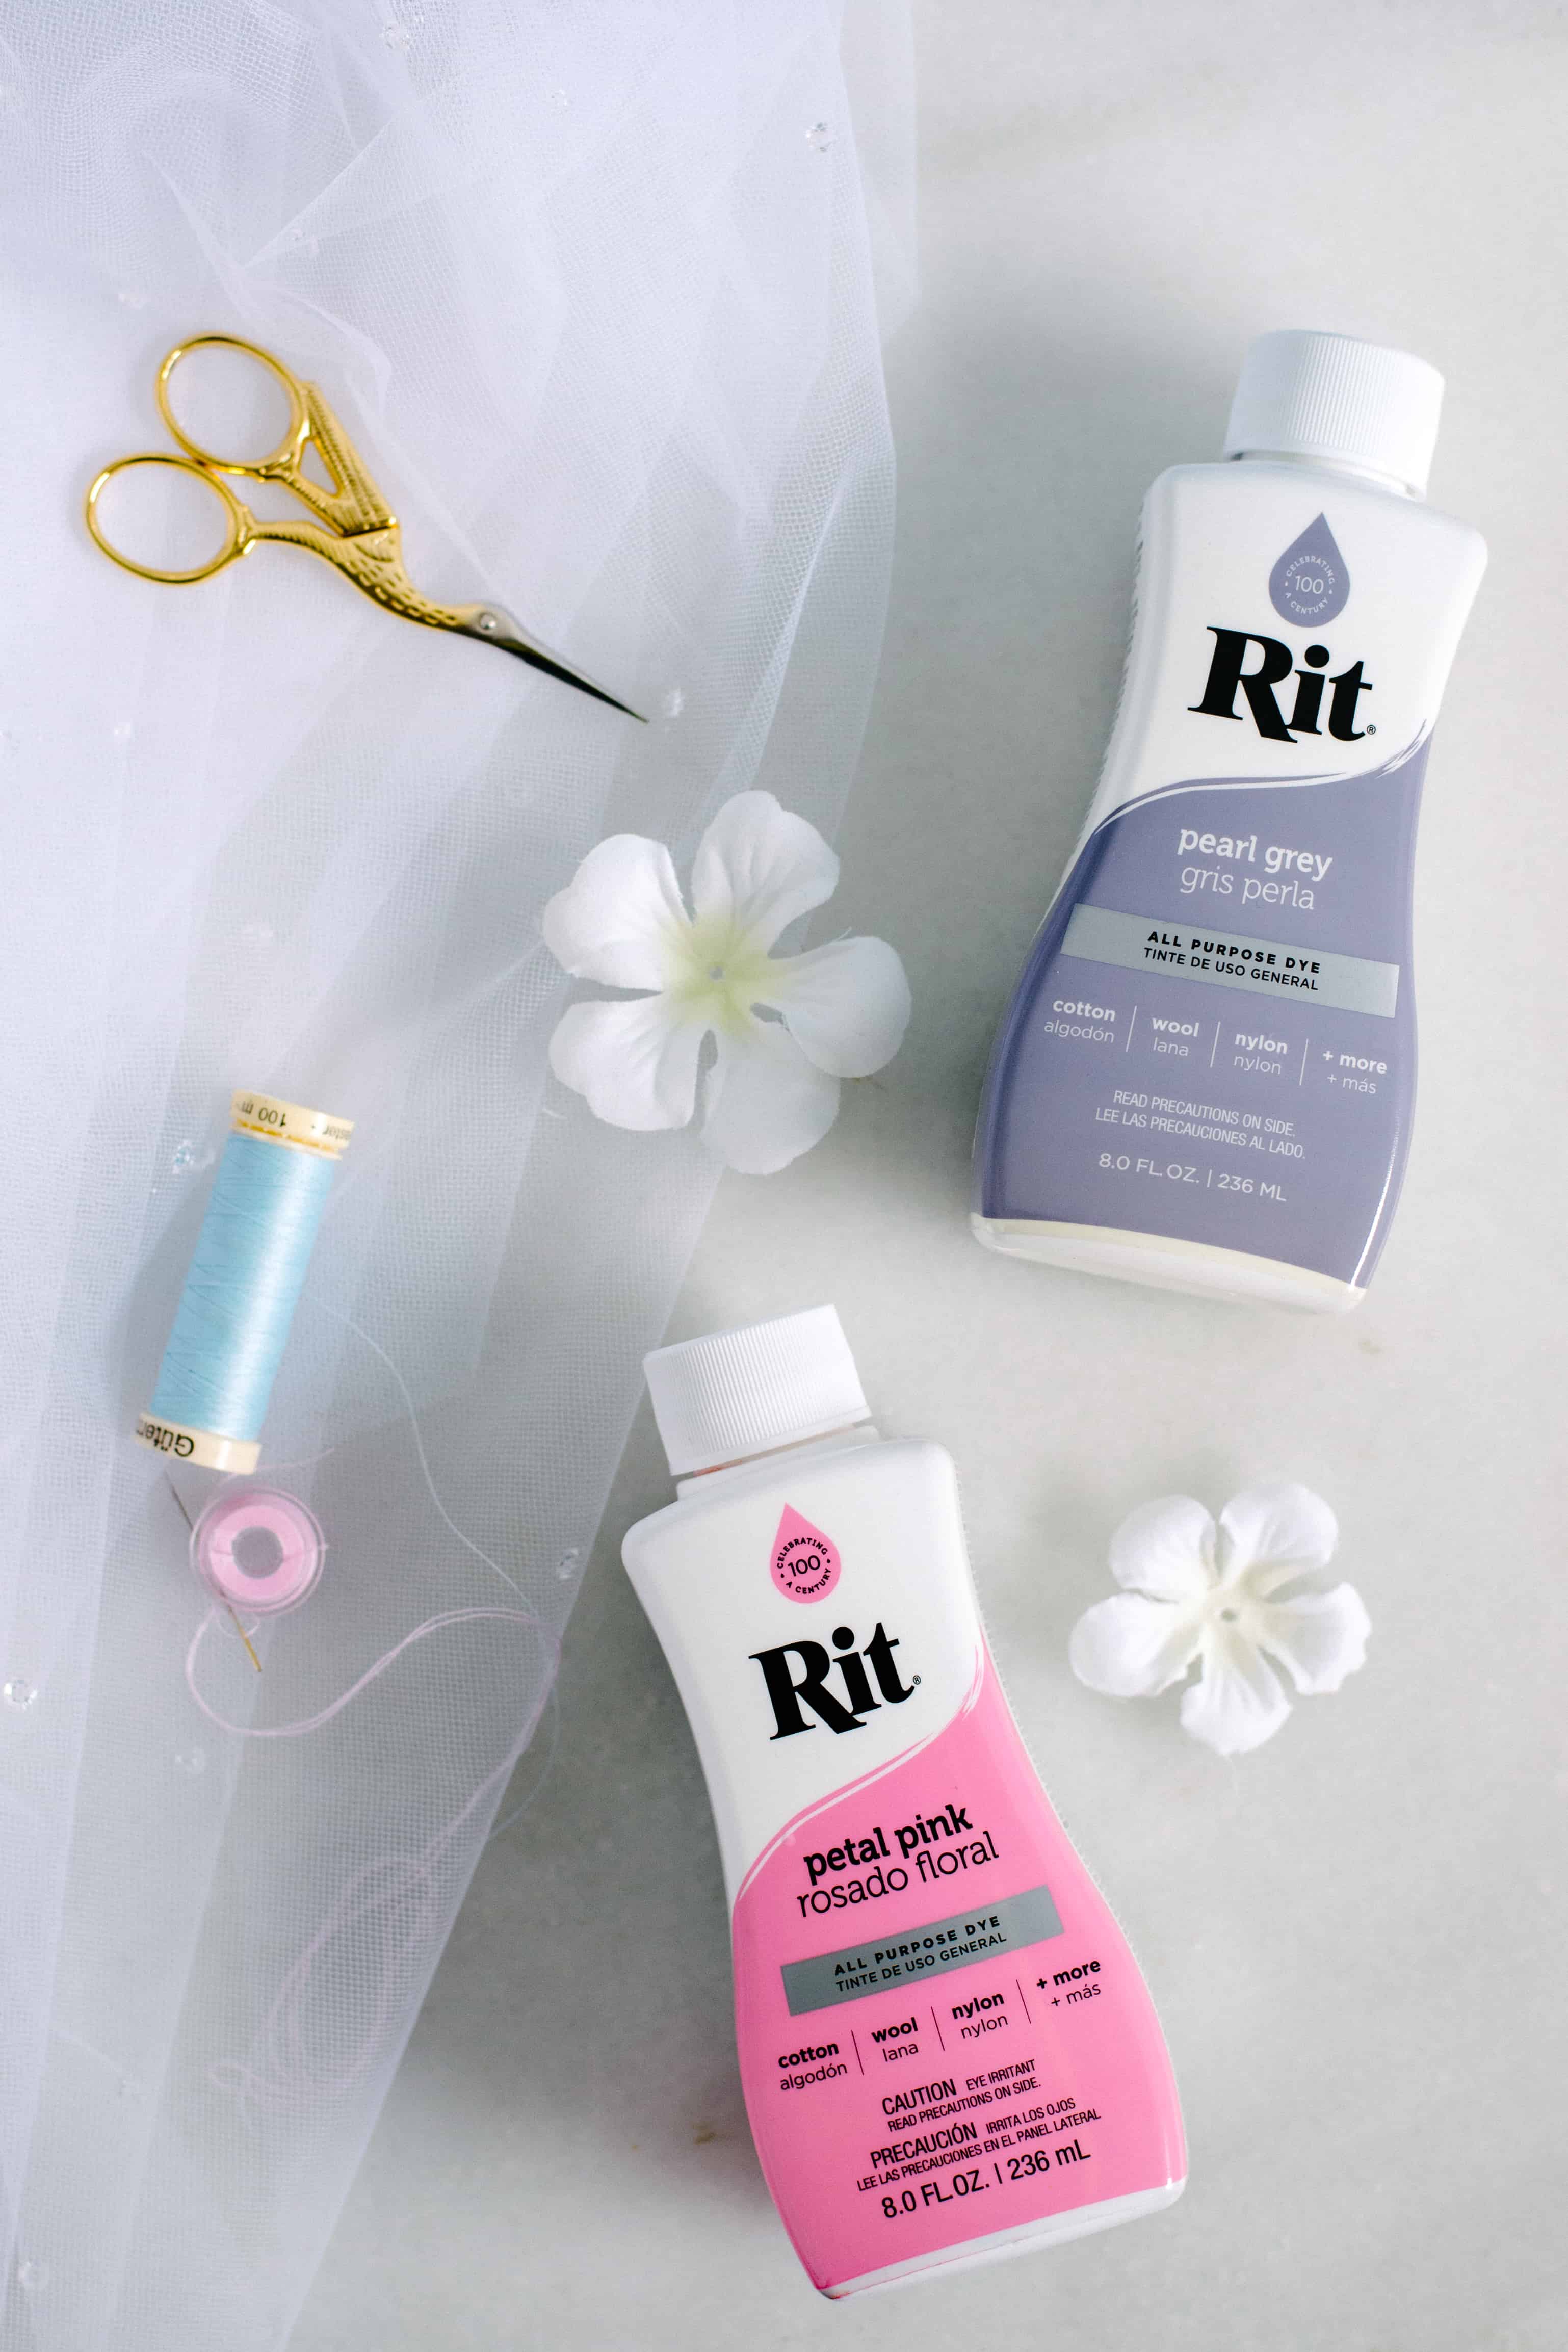
- Wedding Veil
- Silk Flowers
- Needle and Thread
- Rit All-Purpose Liquid Dye: Petal Pink, Violet, Pearl Grey, Emerald, Neon Yellow, Golden Yellow and Purple were used here
- Large Plastic Container
- Measuring Cup
- Plastic Gloves
- Plastic Table Cover
- Paper Towels
Time
Dyed Veil: Less Than 1 Hour
Dyed Veil + Embellishments: 2-4 hours (Depending on the Quantity of Embellishments You Choose to Affix to Your Veil) Total: {{ partial.tA5W.total }}
Dyed Veil + Embellishments: 2-4 hours (Depending on the Quantity of Embellishments You Choose to Affix to Your Veil) Total: {{ partial.tA5W.total }}
Difficulty
Beginner Total: {{ partial.t7TG.total }}
Instructions
- Cover table with plastic. Gather supplies.
- Determine the veil material you are working with. If the veil is store-bought and the material is not listed, use a dye from our DyeMore line of products. If the veil is a natural fiber like silk, nylon or rayon, you can use our All-Purpose line of products. For the veils featured in this post, our All-Purpose dyes were used.
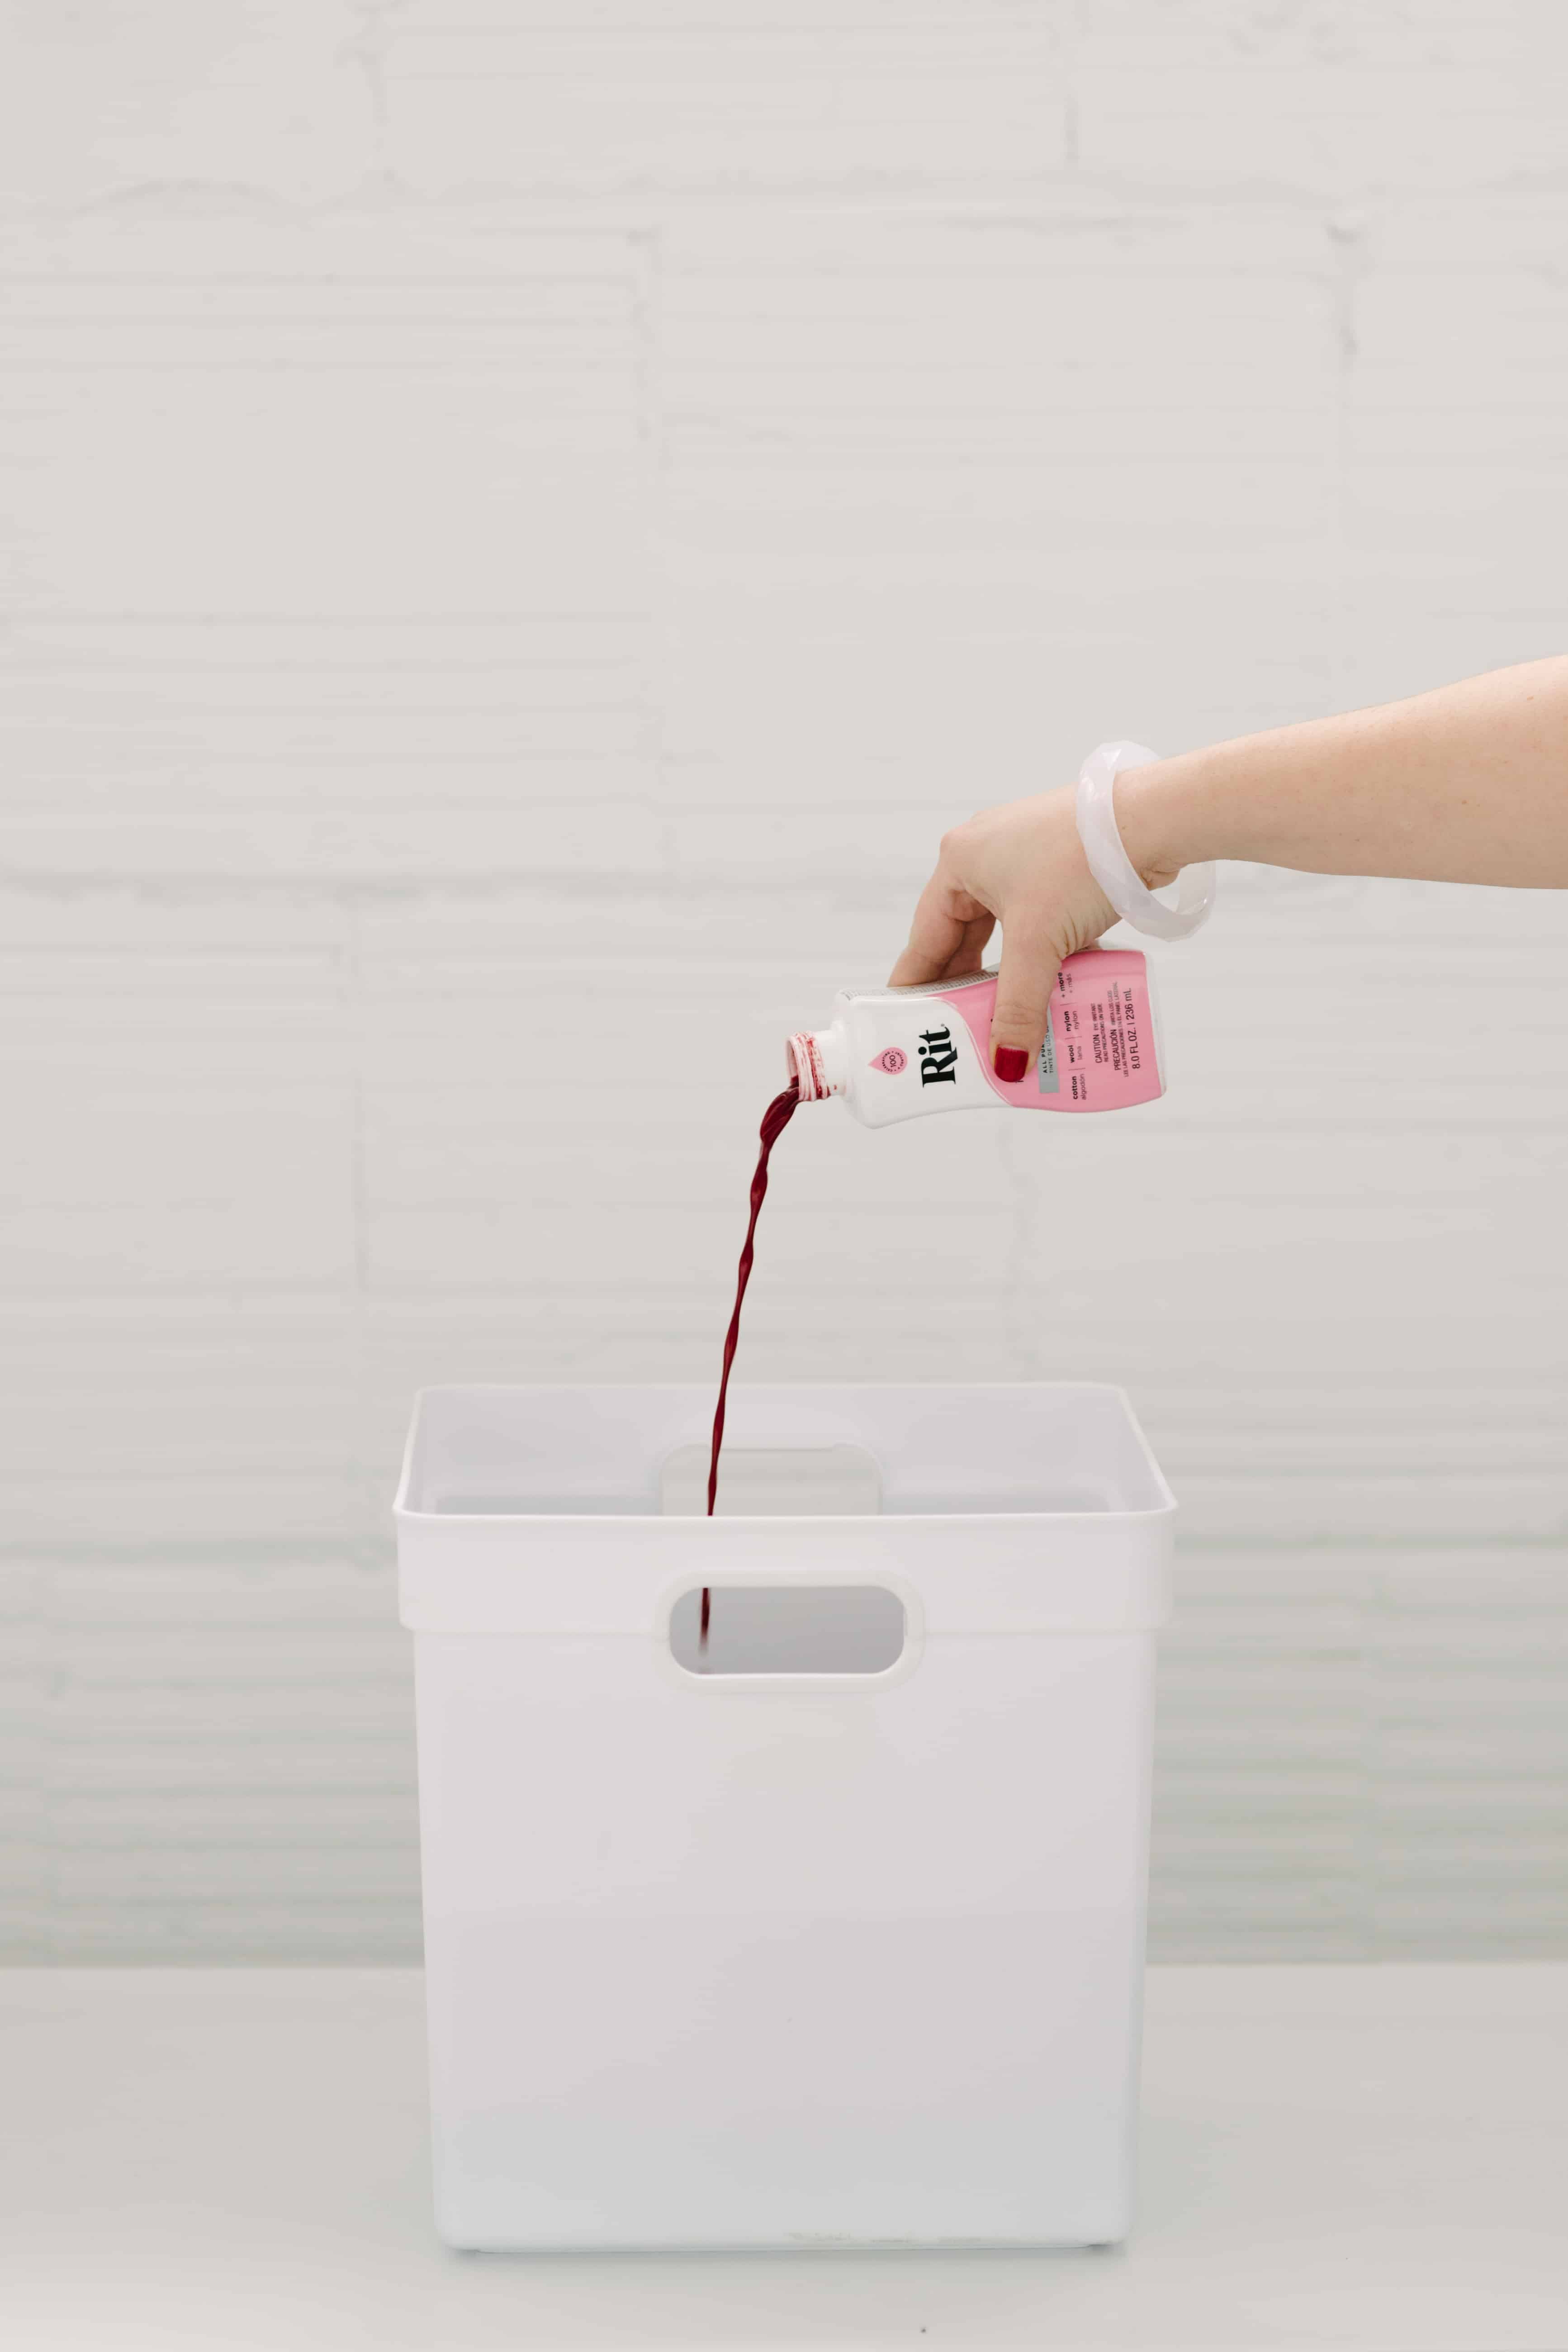
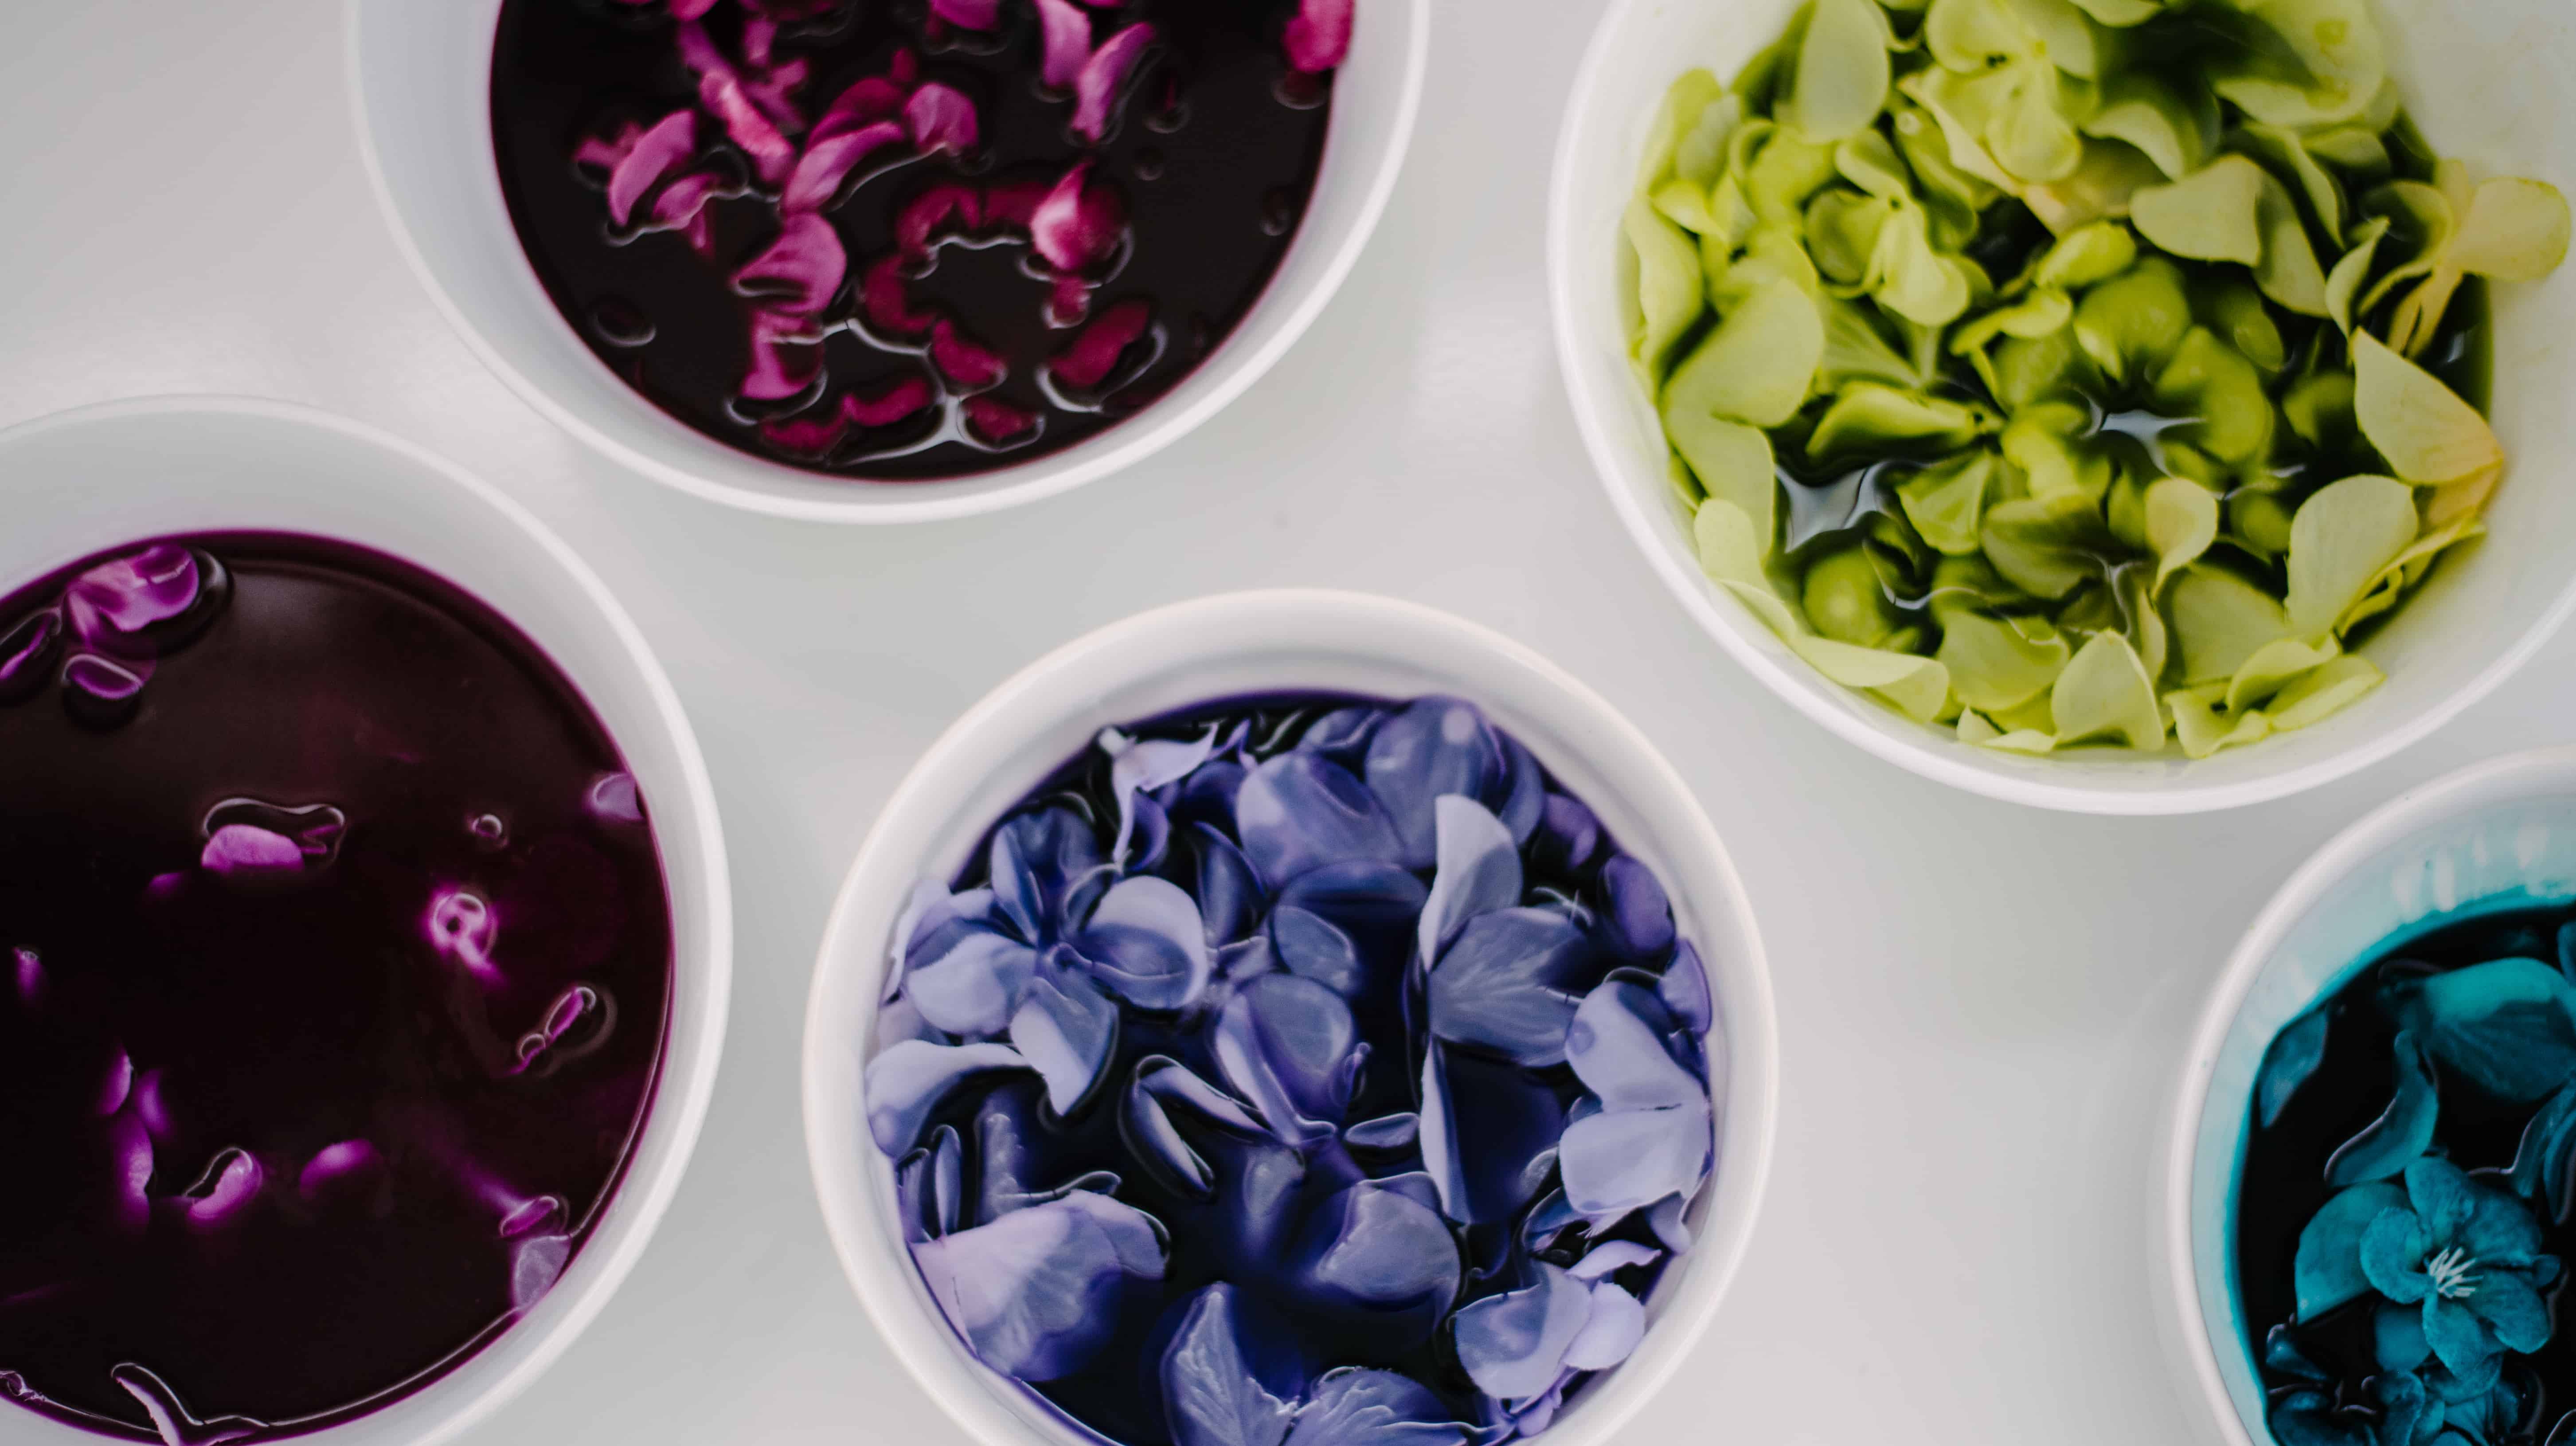
- To prepare the dyebath: Fill a large plastic container with 1.5 gallons of very hot water (140°F). If water is not hot enough, heat water in a cook pot or teapot. Shake dye bottles well before pouring.
- Note: We recommend buying a second veil that can be used for testing the dyebath color. Cut the veil into swatches and dip! If the color is too light, add more dye. If the color is too dark, add more water.
- Here are the color formulas used for each the veils featured.
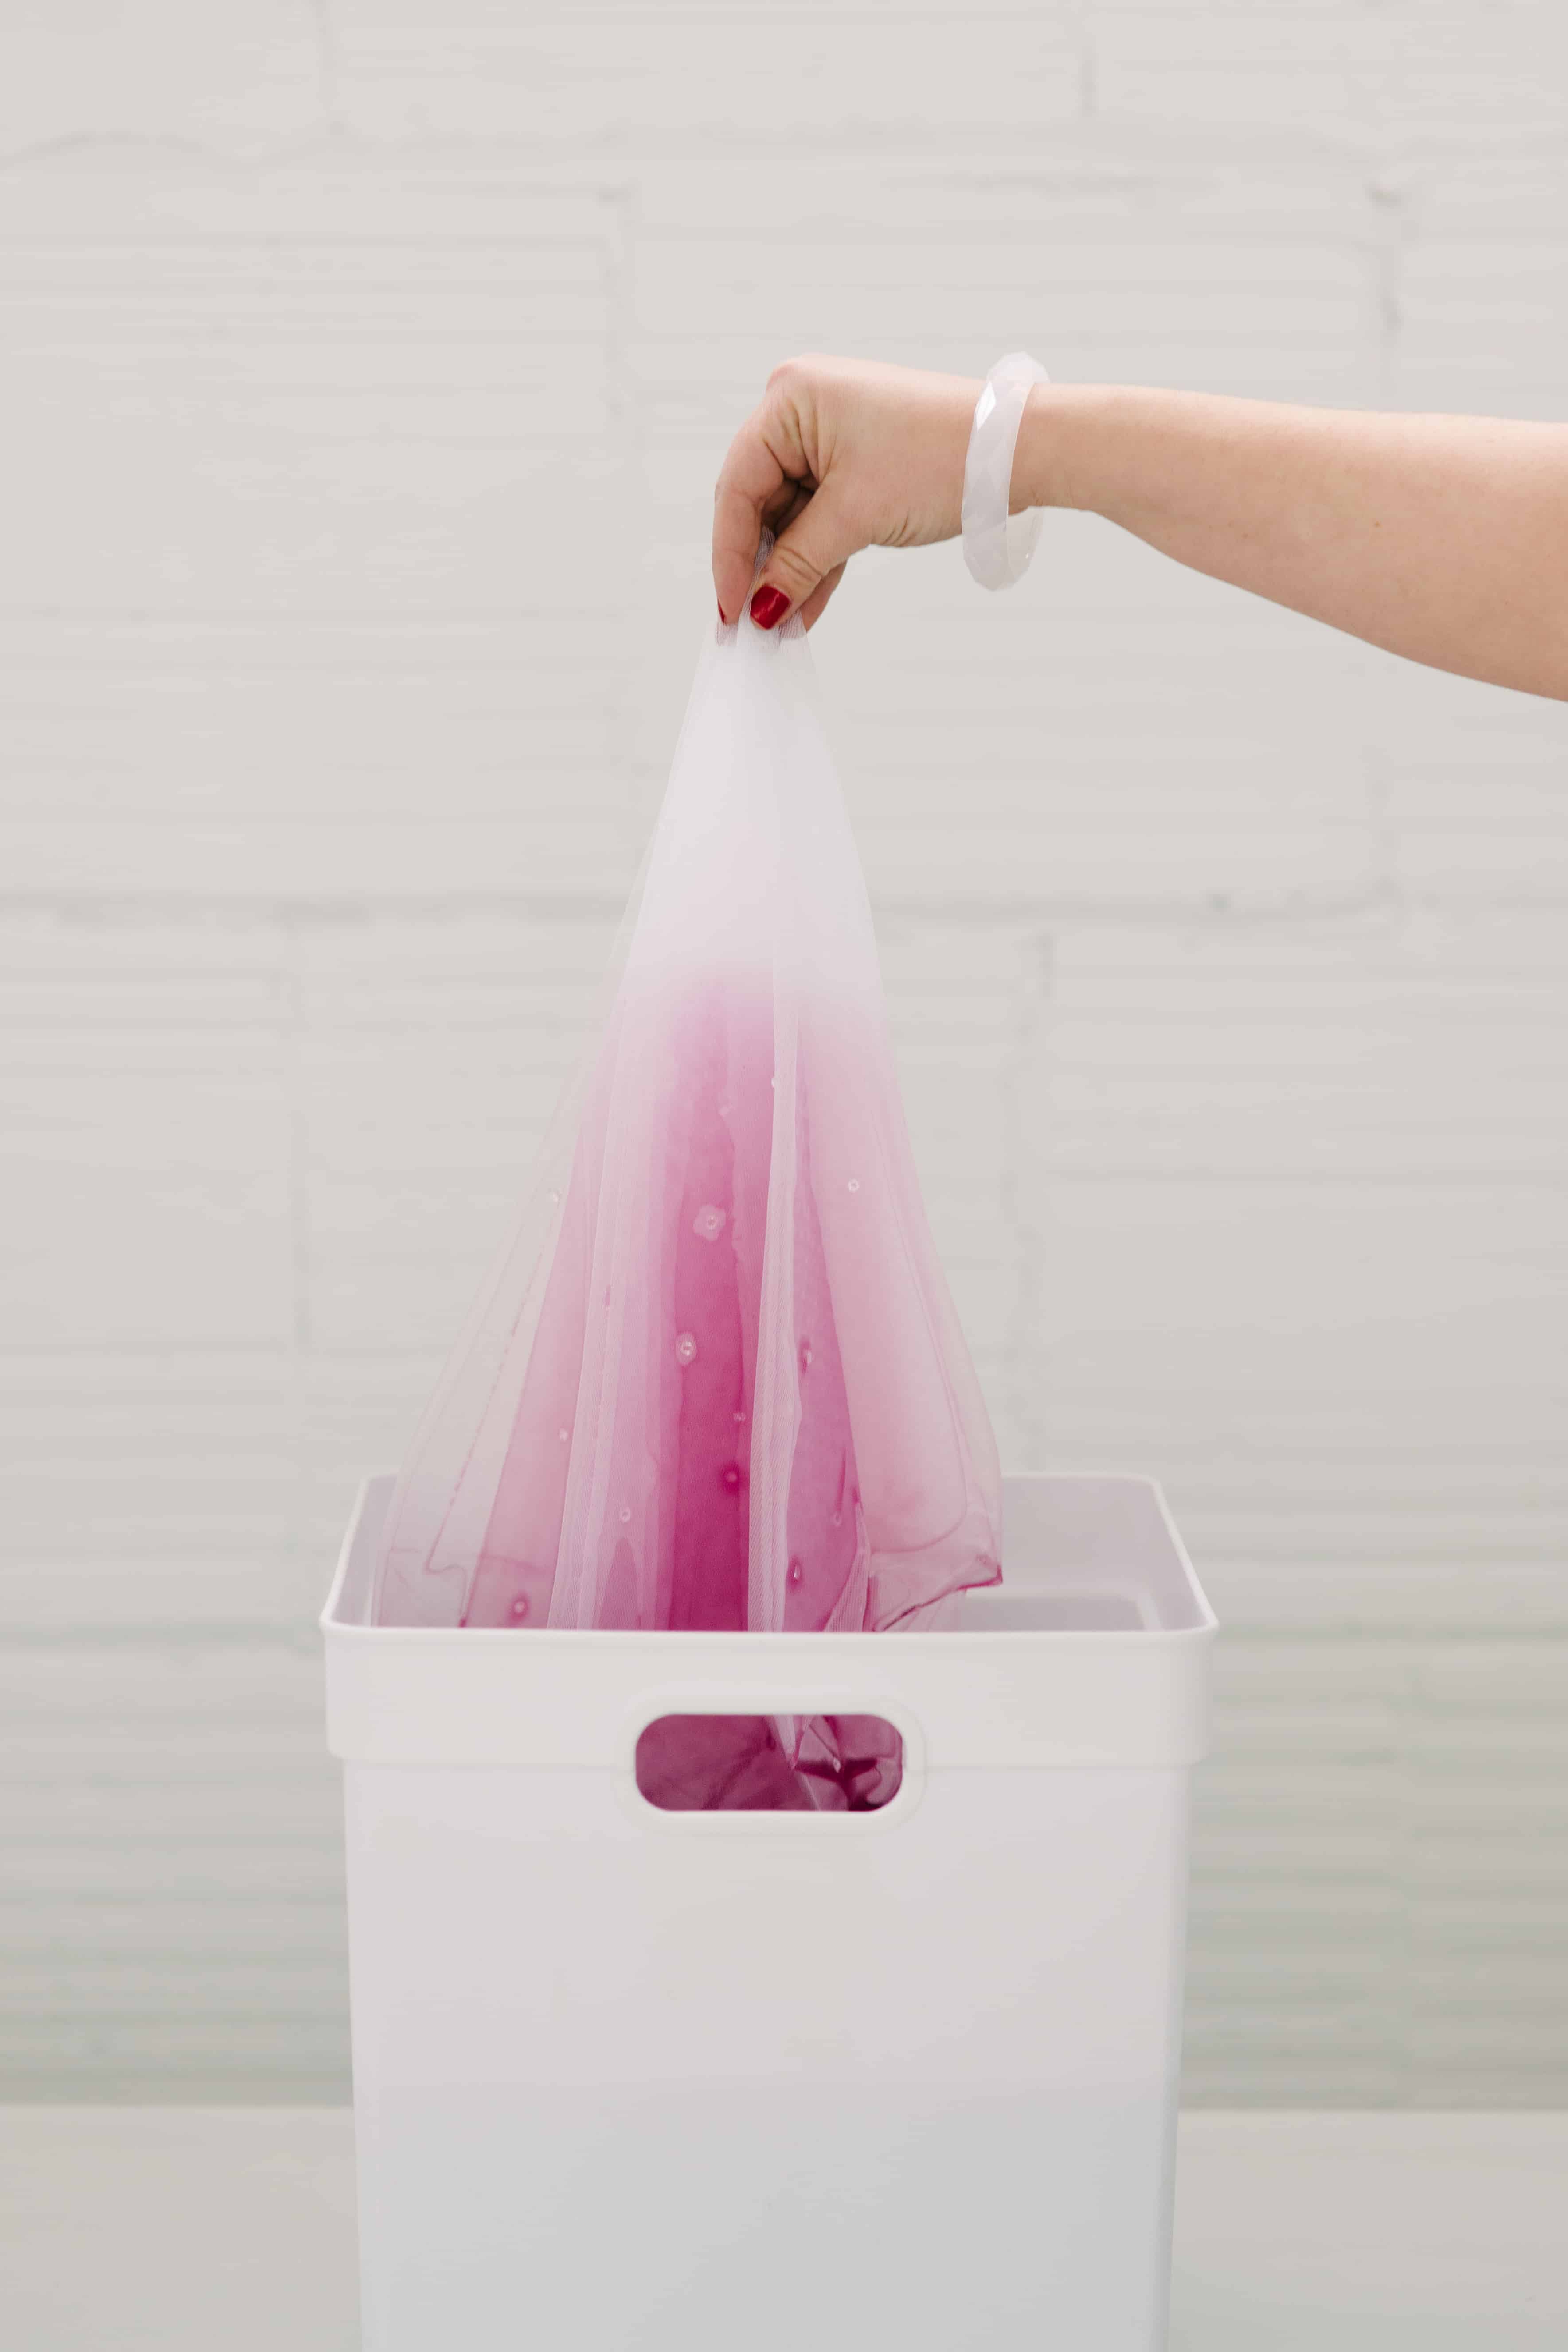
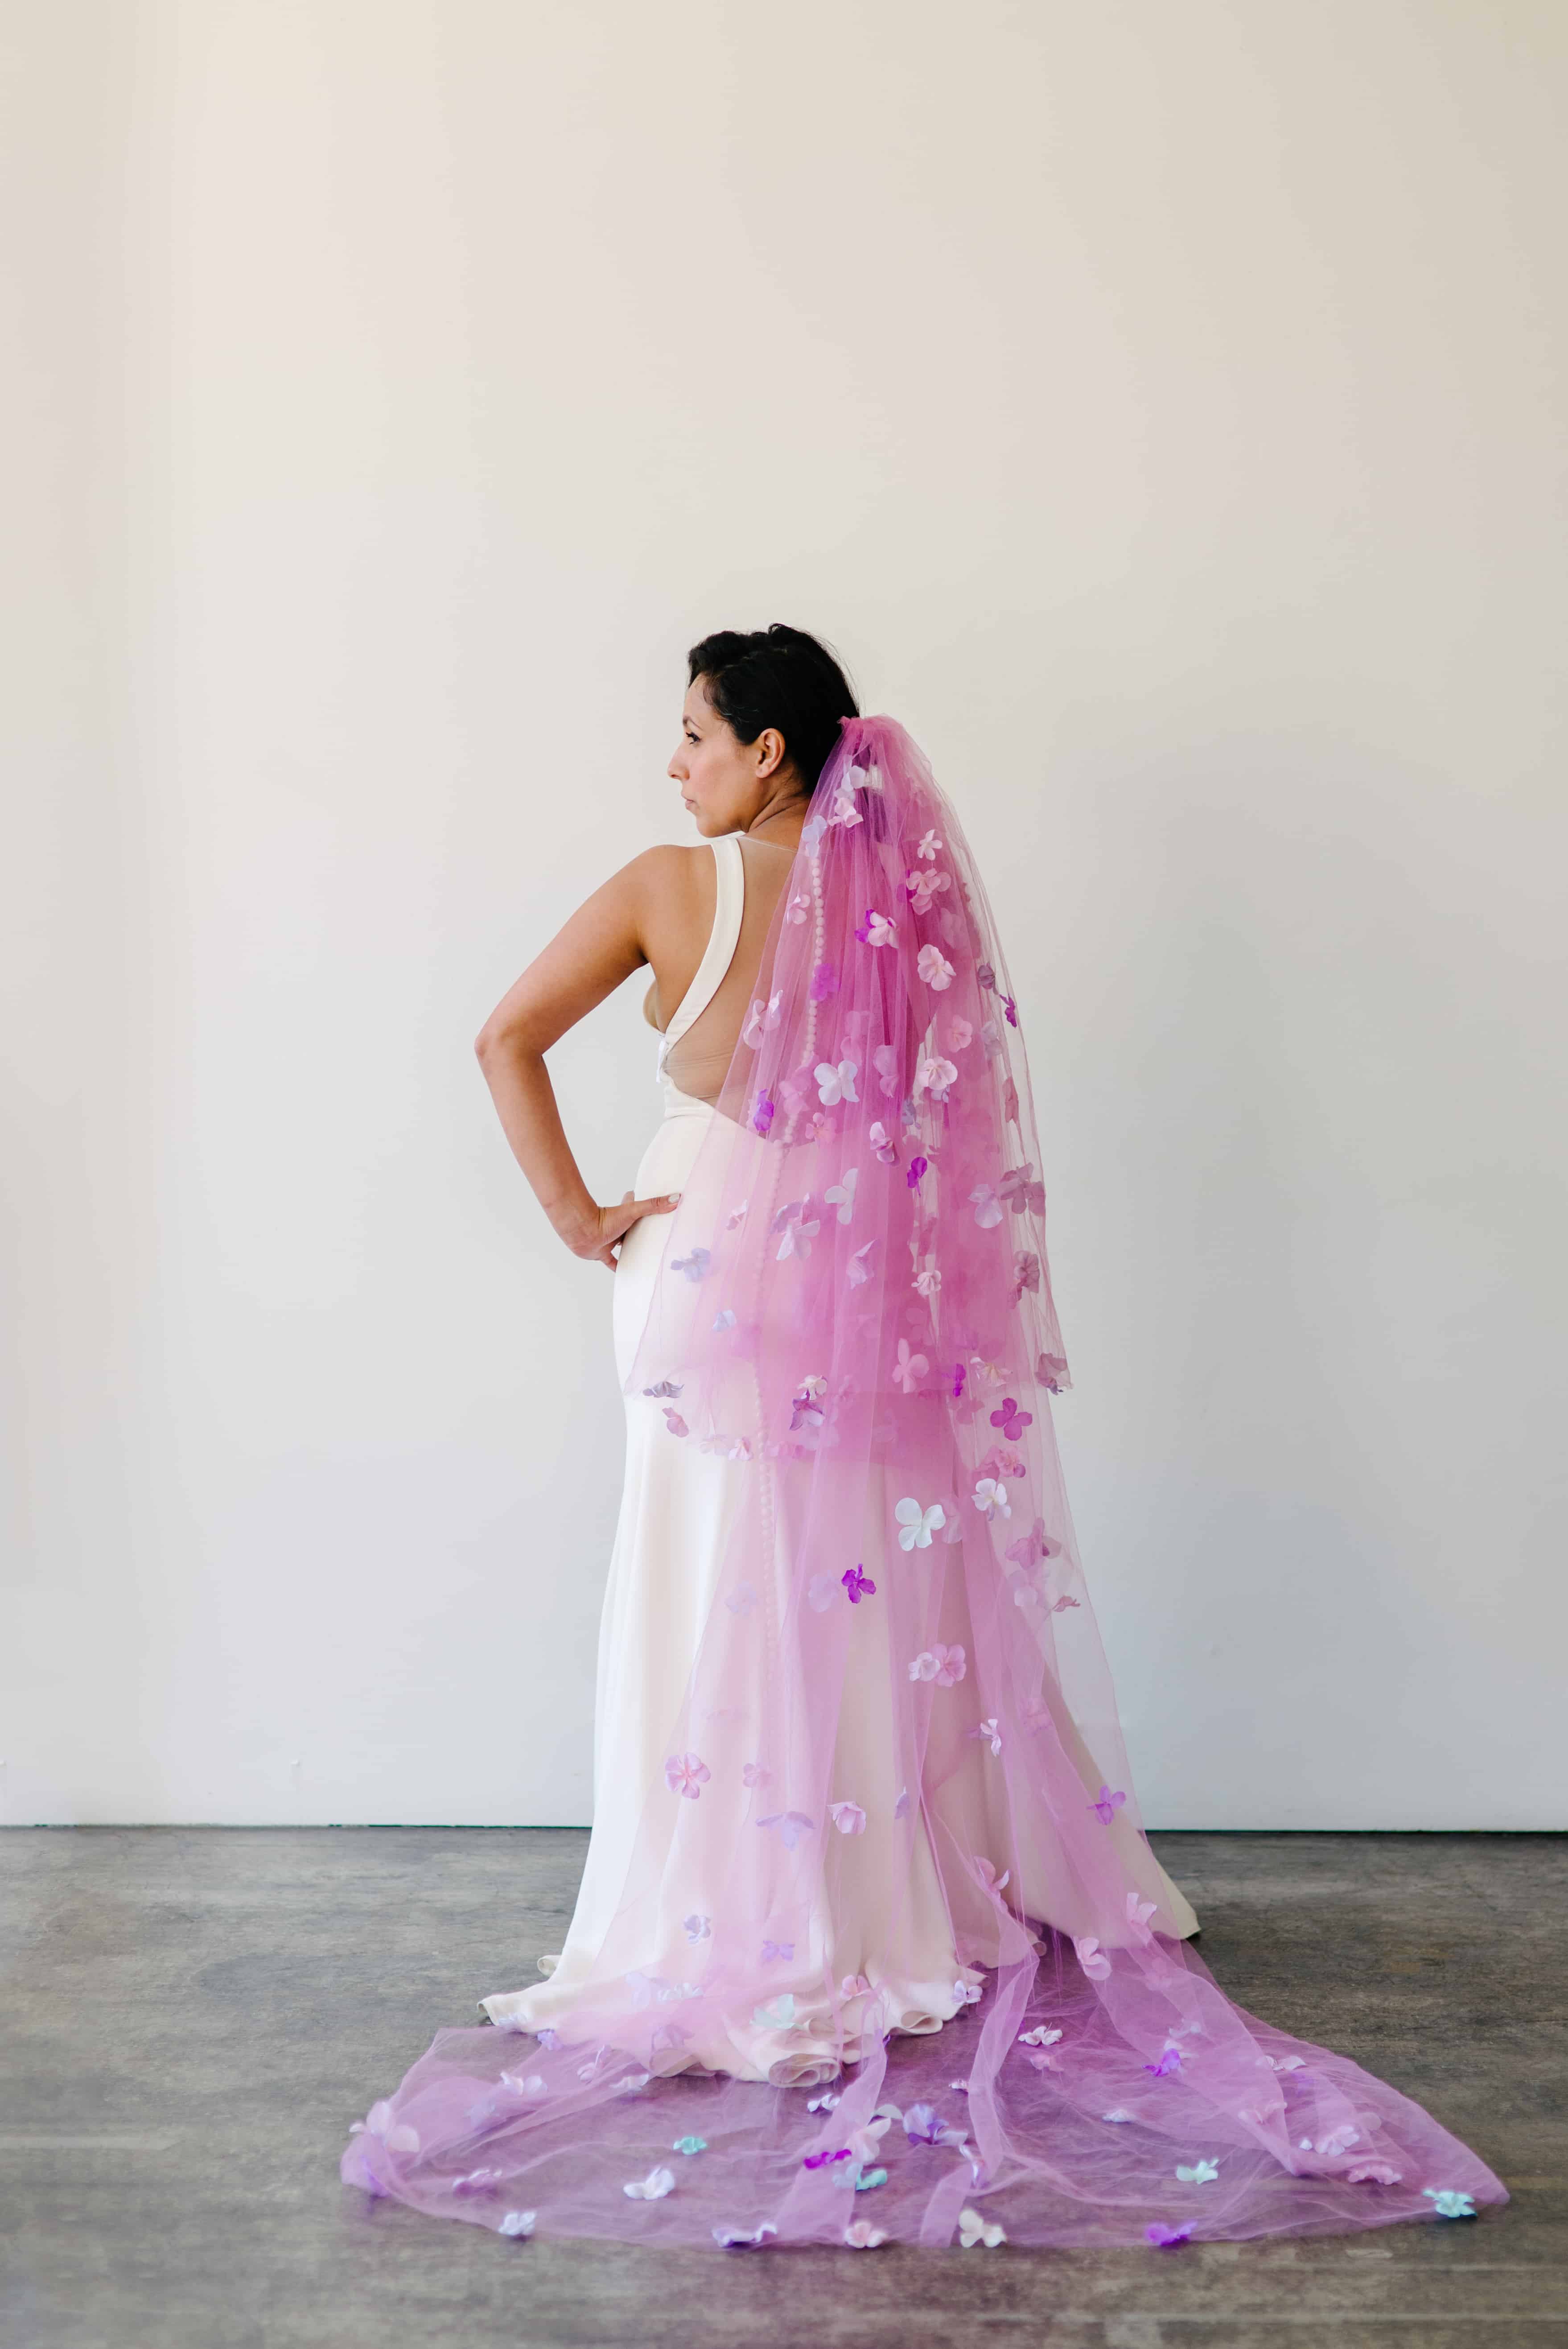
- Pink Lavender Veil: 1 tablespoon Violet and 1/2 teaspoon Petal Pink were added to 1.5 gallons of water. Wearing rubber gloves, submerge the veil and stir. The veil sat in the dyebath for just under 2 minutes.
- Dusty Blue Veil: 1/2 tablespoon Pearl Grey and 1 1/2 teaspoons Emerald were added to 1.5 gallons of water. Wearing rubber gloves, submerge the veil and stir. The veil sat in the dyebath for just under 2 minutes.

- Gold Floral Applique: 1/4 cup Neon Yellow and 1/4 cup Golden Yellow were added to 1.5 gallons of water. Wearing rubber gloves, submerge the veil and stir. The veil sat in the dyebath for just under 2 minutes. The gold appliques on this veil were purchased in gold and added to the dyed veil once dry.
- Pink Lavender Veil: 1 tablespoon Violet and 1/2 teaspoon Petal Pink were added to 1.5 gallons of water. Wearing rubber gloves, submerge the veil and stir. The veil sat in the dyebath for just under 2 minutes.
- Remove from the dyebath and rinse the veil under cool water until the water runs clear. Set aside to dry.
- Floral Embellishments: Several small dyebaths were created to dye the silk flowers. Stems were removed from the silk flowers. Flowers were submerged in dyebaths and submerged until desired color was achieved. Once color is achieved, remove flowers and set out to dry. Flowers were then stitched onto veils with thread and needle.
- Optional: Use Rit ColorStay Dye Fixative to preserve color. Follow package instructions.
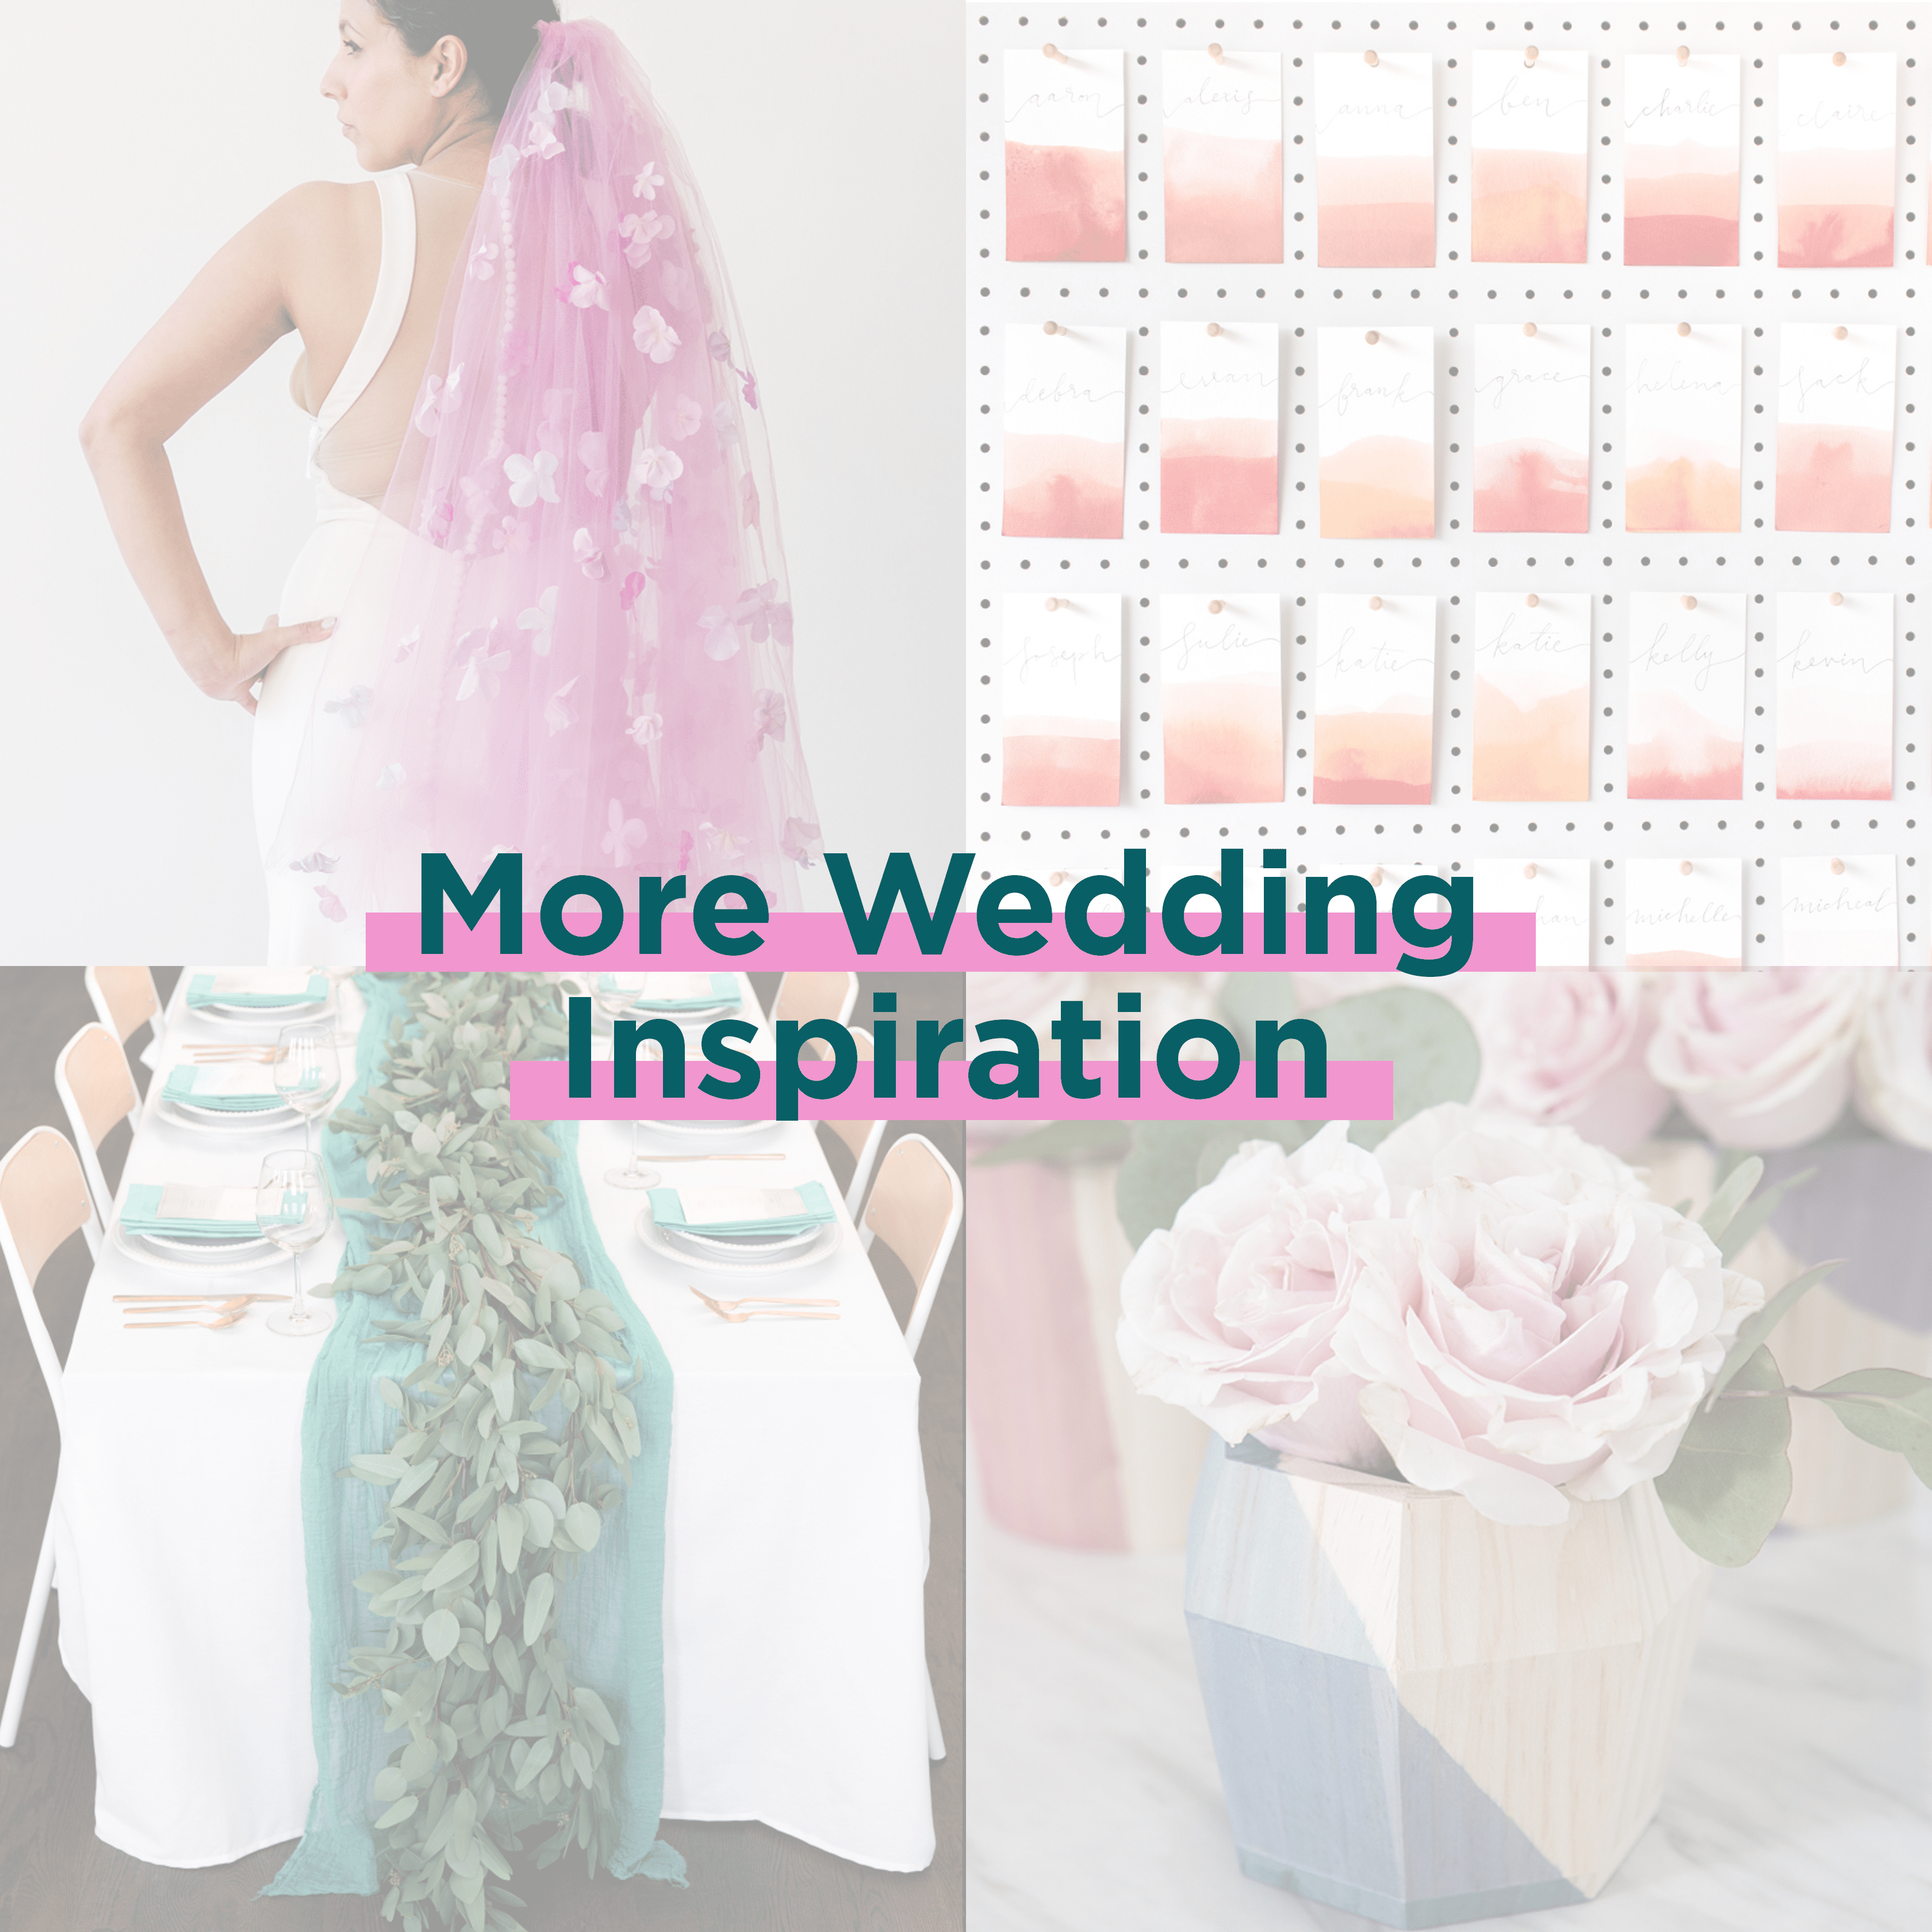


Posts You May Like
