

Supplies
- Rit All Purpose Liquid Dye in Canyon
- Rit Dye ColorStay Dye Fixative
- Large container for Dyeing
- Hot water
- Tongs
- Dishsoap
- Paper Towels
Time
Total: {{ partial.t2BY.total }}
Difficulty
Beginner Total: {{ partial.tDZ8.total }}
Instructions
- Thoroughly clean the backpack, working to remove any stains.
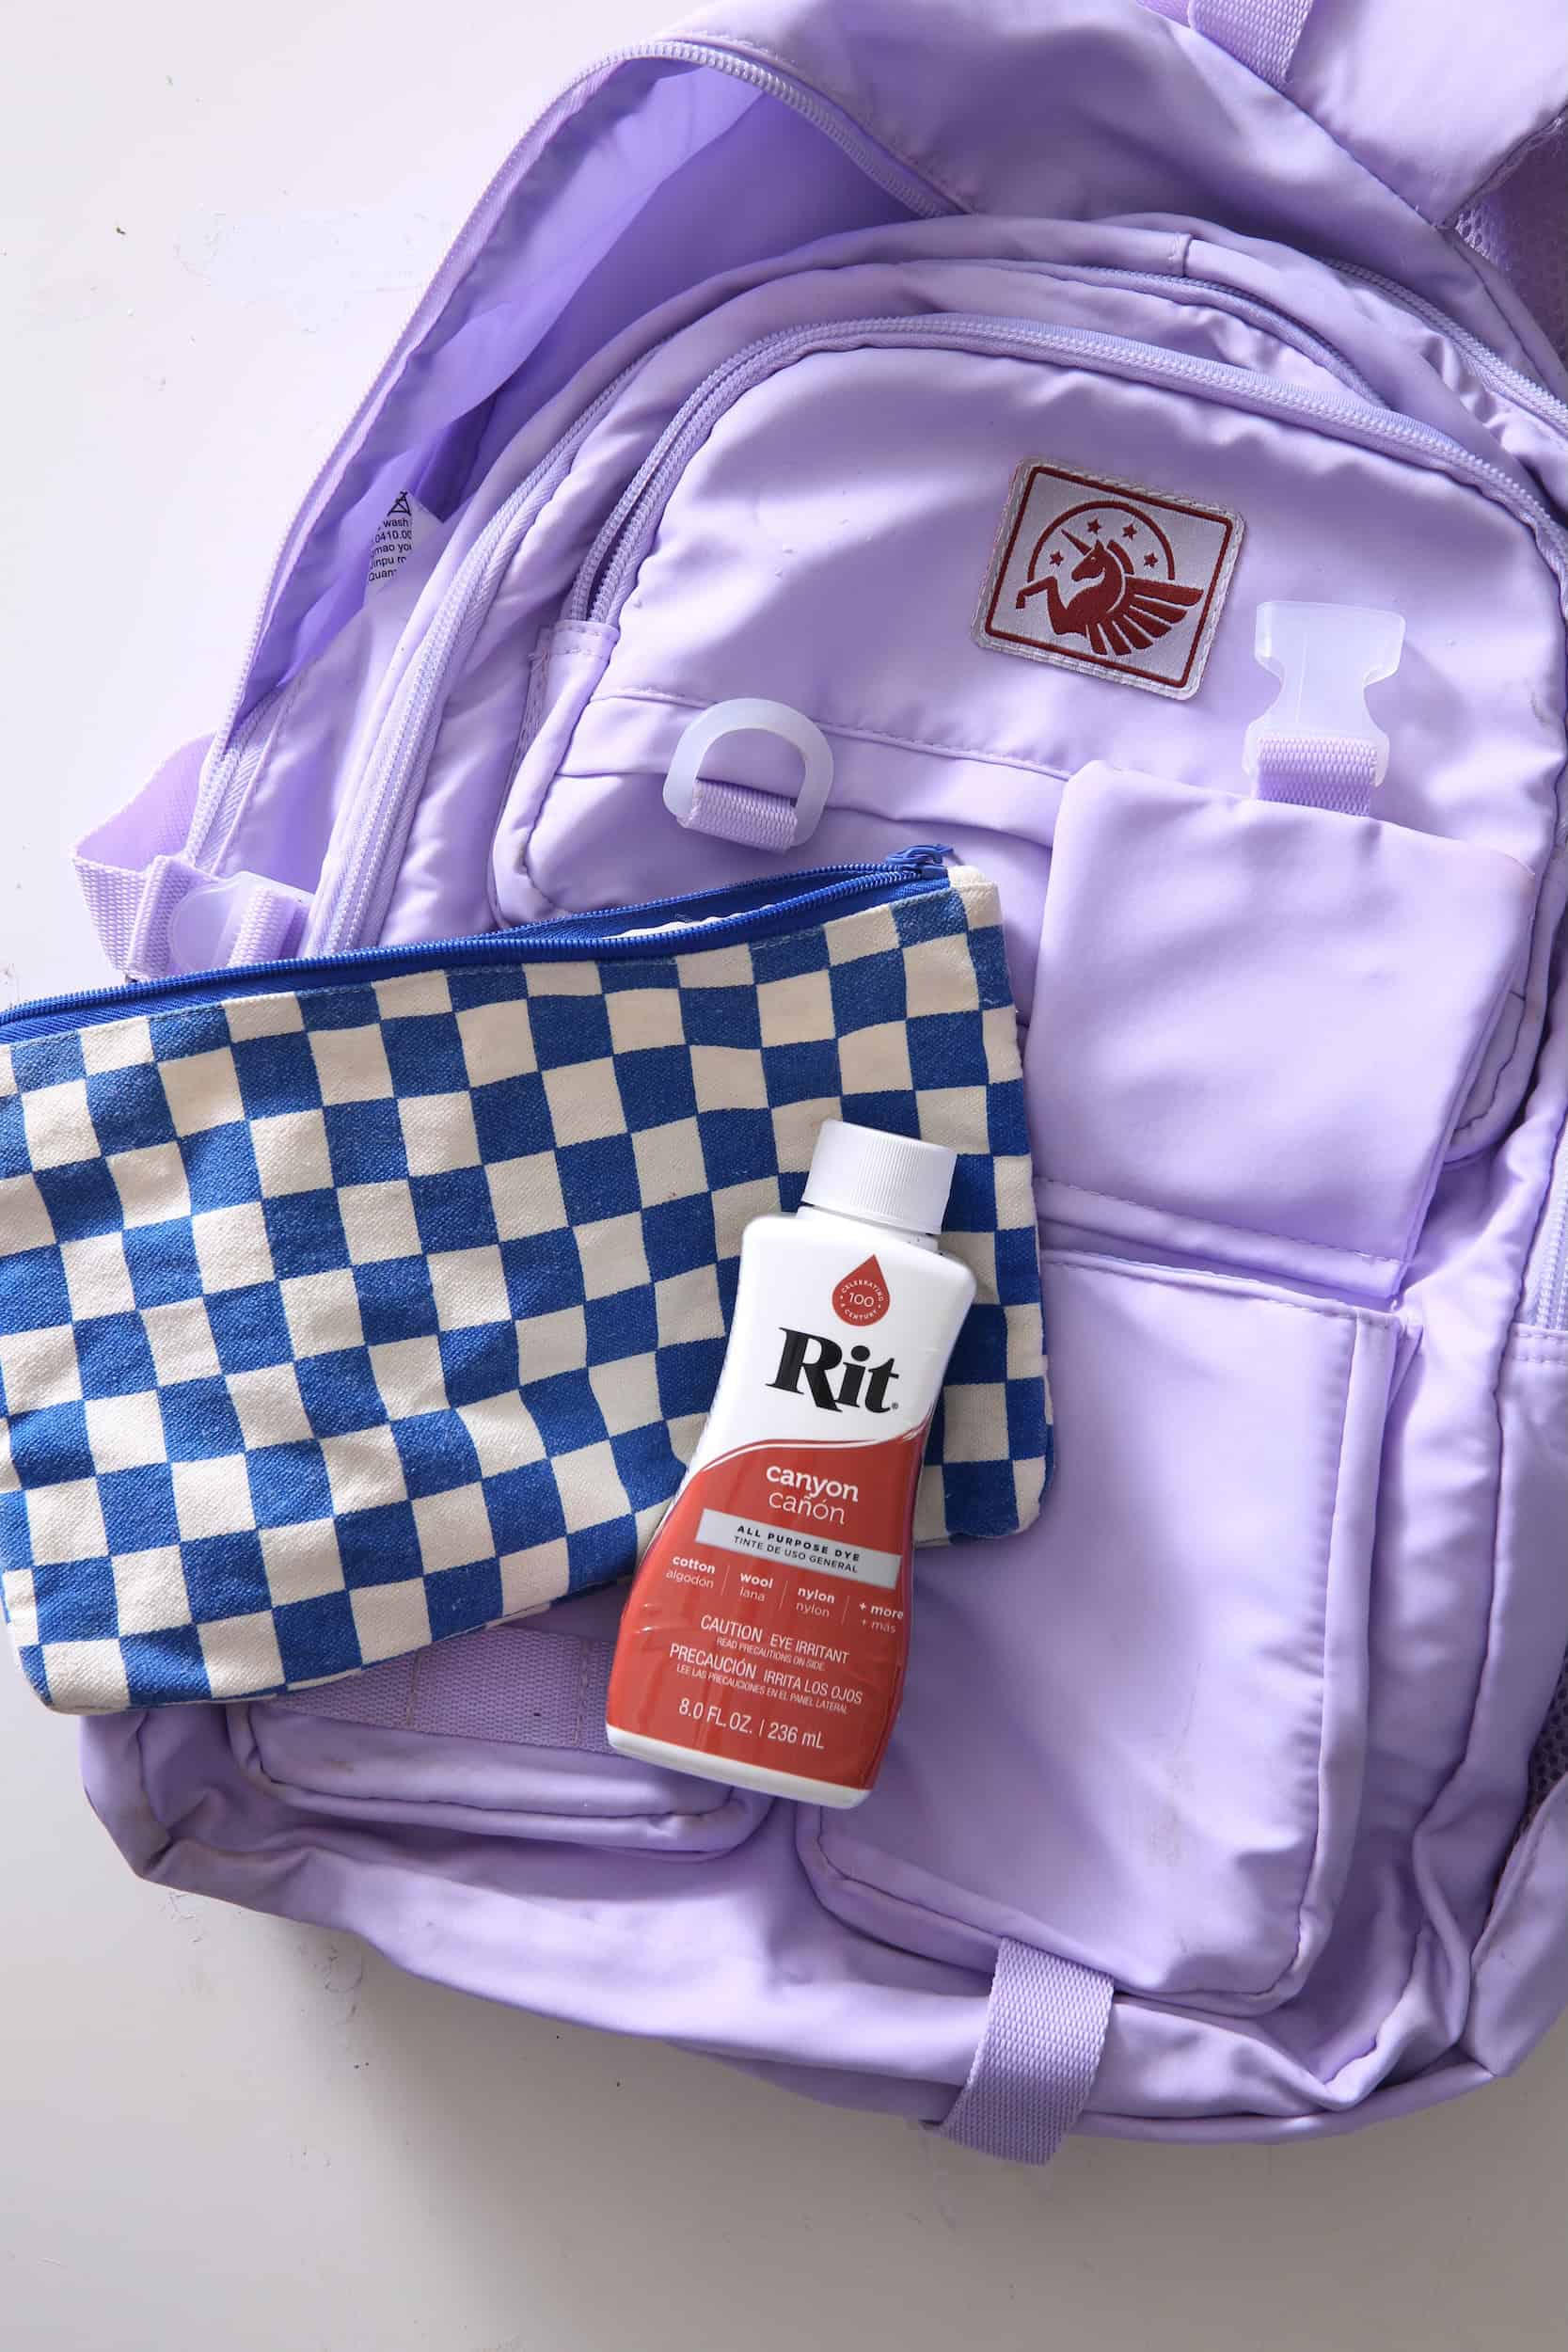
- Add very hot water (140°F) to a large container, along with 1 teaspoon of dish soap, then shake the bottle of dye and add a few tablespoons depending on the size of the backpack you’re dyeing and the color you’re trying to achieve.
- Mix well using a pair of tongs that are labeled for dyeing.
- Wearing rubber gloves, place the backpack in the dye bath face down, then hold under water until the bag fills up with enough water to sink down a little bit.
- Since the bag will float, you’ll have to watch closely during this process, flipping the bag from front to back.
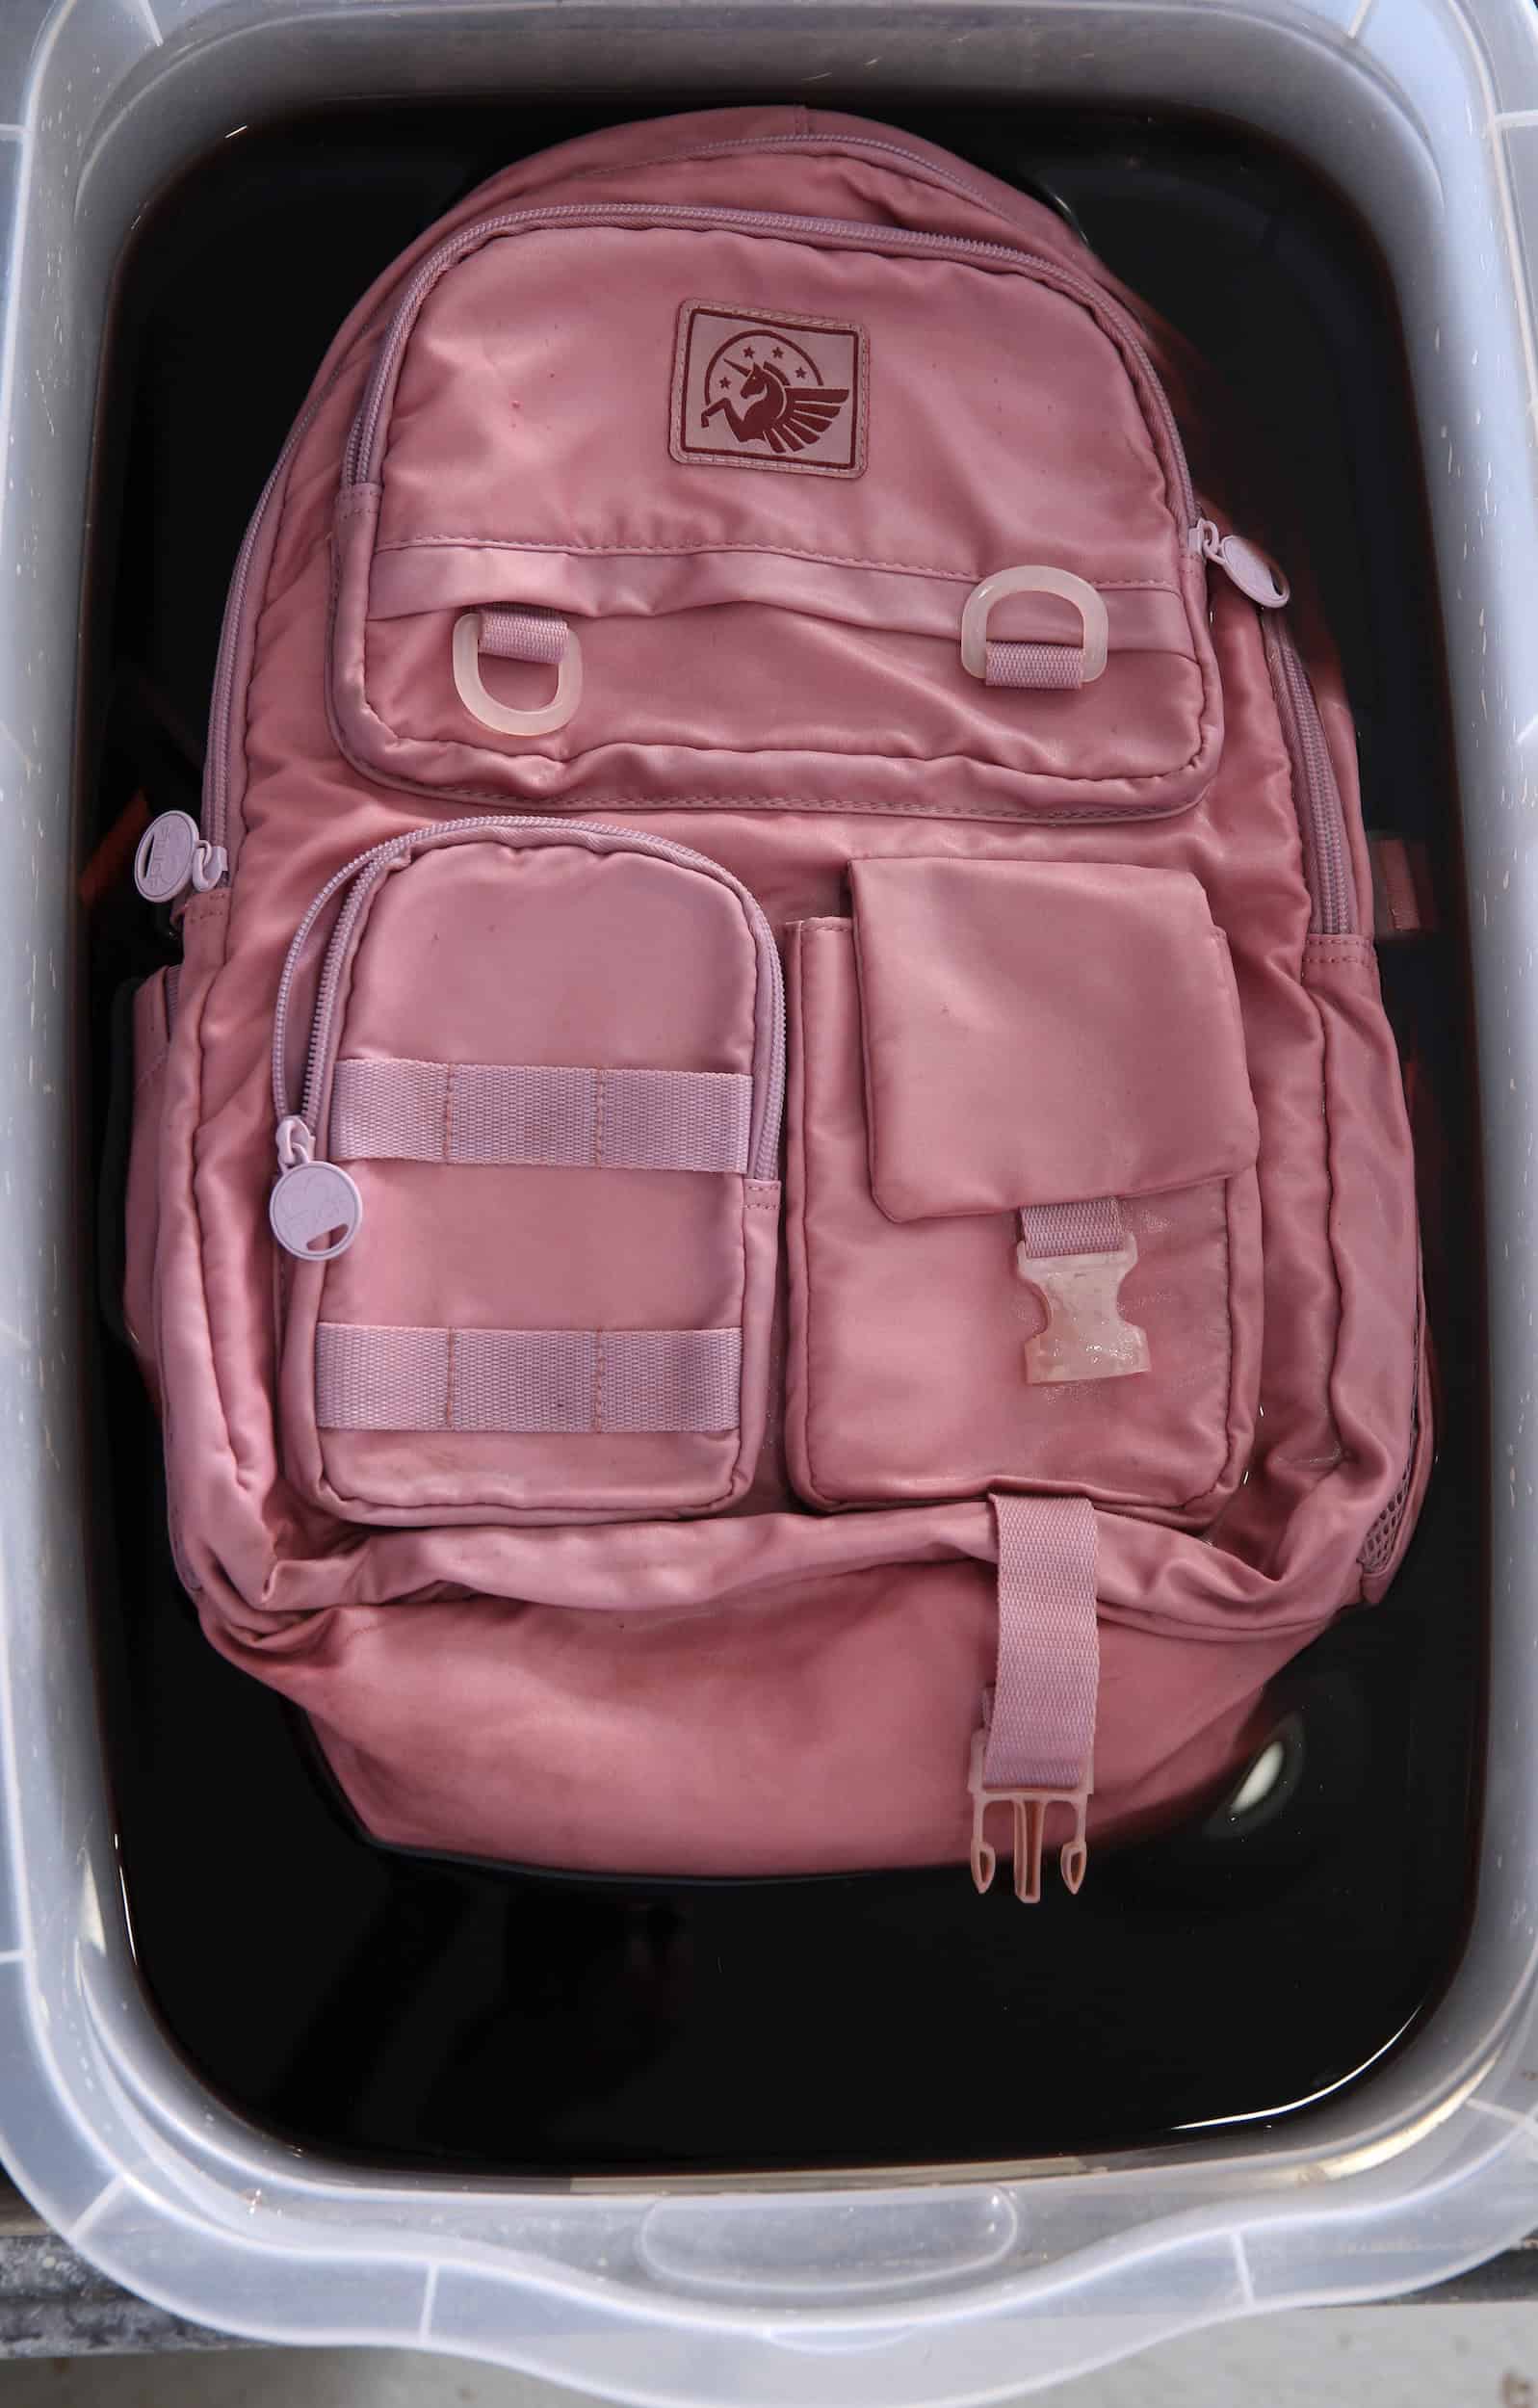
- Let the bag sit in the dyebath until desired color is achieved, then lift it out using the tongs, and wring out excess water. Do not rinse!
- Carefully drain the dye bath, then fill the same tub with hot tap water and at least a half cup Rit ColorStay Dye Fixative.
- Place the backpack in the solution for up to 20 minutes, rotating it back and forth every few minutes.
- Rinse in warm then gradually cool water. Then lay the bag in the sun, or put it in the dryer and you’re all set!


Posts You May Like
