Bug Halloween Costumes!
We love when you can use your own closet to create a costume. Krista, from the Instagram account @kristalii, created a variety of costumes for her kids using white clothing she had around the house. She loves nature so much that it was only fitting for her to create a variety of bug costumes. By adding a headpiece and wings, she had the cutest bugs in town!

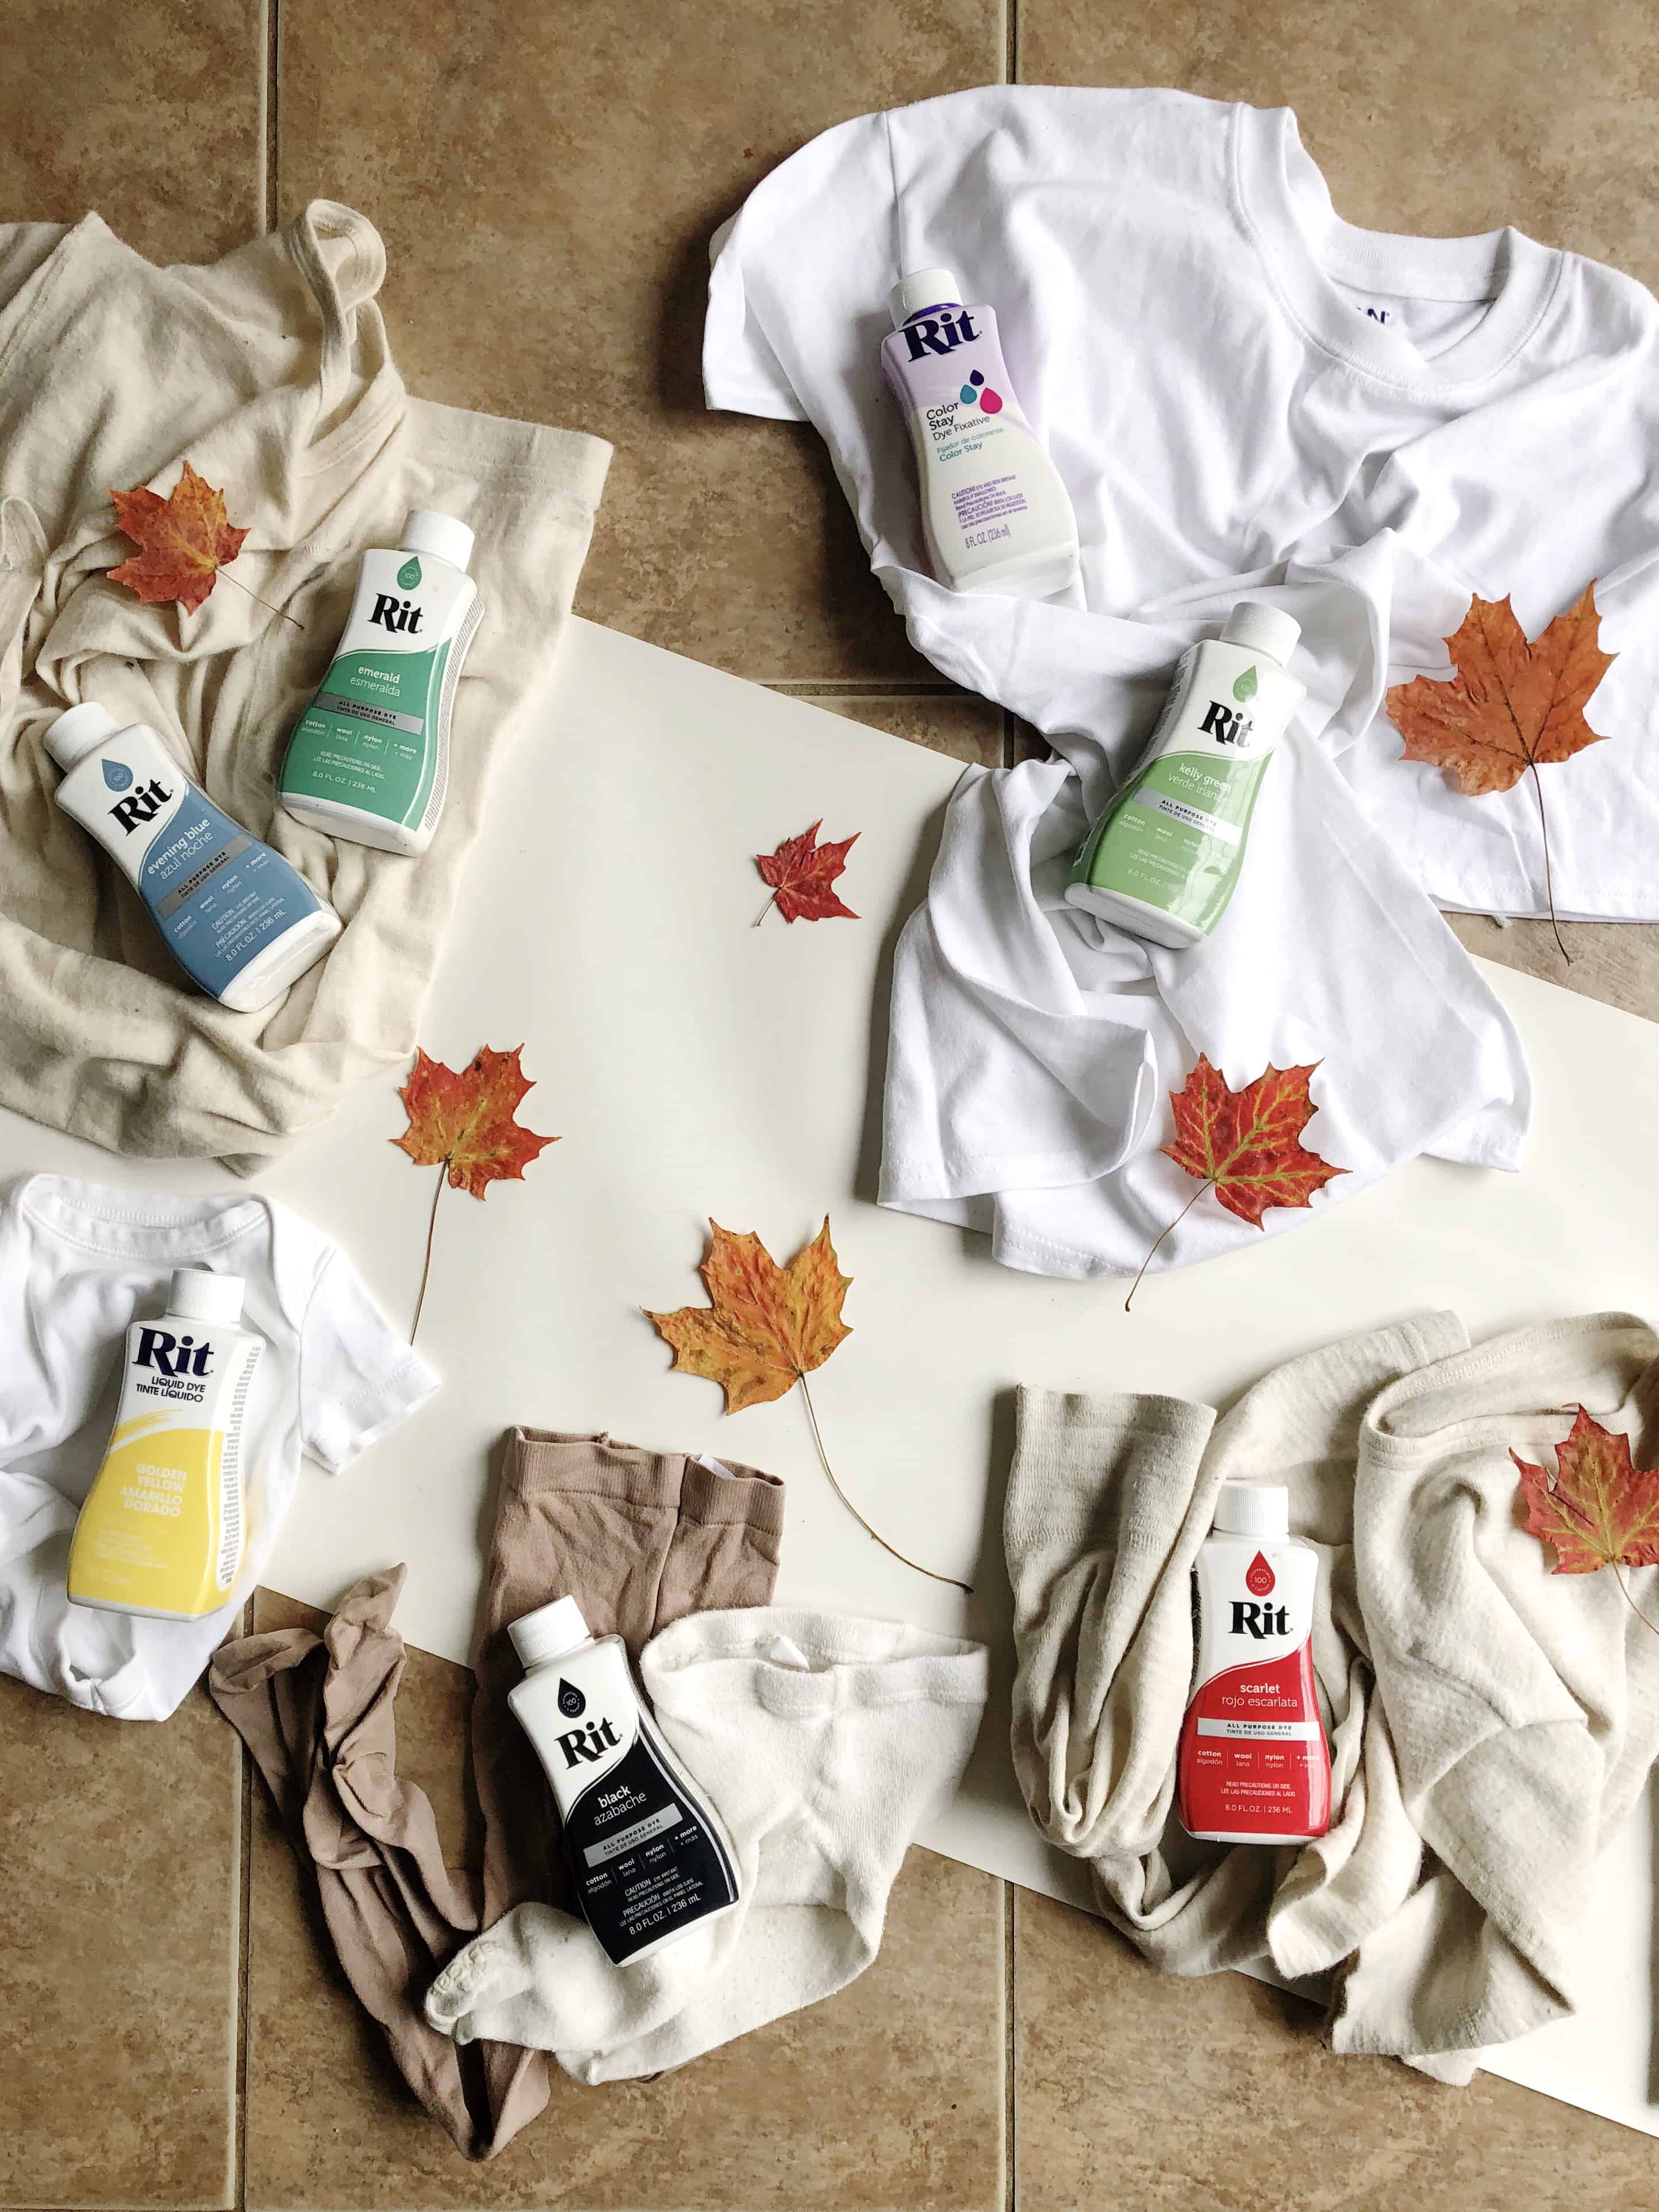
Supplies
- Rit All-Purpose Golden Yellow, Kelly Green, Sunshine Orange, Black, Scarlet, and Evening Blue
- Rit ColorStay Dye Fixative
- Cotton White Pants, Shirts or Onesies for Each Costume
- Floral Wire
- Colored Tissue Paper (White, Red, Orange, Pink, Yellow and Green)
- Cardboard
- Paint
- Measuring Cup
- Large Metal Spoon
- Plastic Container
- Plastic Table Cover
- Rubber Gloves
- Salt
- Dishwashing Liquid
Time
1 Hour Total: {{ partial.t3QE.total }}
Difficulty
Beginner Total: {{ partial.tXQK.total }}
Instructions
- Cover work area with plastic table cover and have paper towels handy to protect against any possible spills. Gather supplies.
- Wear rubber gloves to protect hands from getting stained and to insulate them when working with hot water.
- Fill a plastic container or stainless steel sink with enough water for the fabric to move freely. We recommend using three gallons of water for every pound of fabric. The water should ideally be 140ºF. If tap water is not hot enough, heat water on the stove and add to the dyebath.
- To enhance the color: (1) add one cup of salt when dyeing fabrics containing cotton, rayon, ramie or linen; (2) add one cup of vinegar when dyeing fabrics containing nylon, silk or wool.
- Add 1 teaspoon of dish detergent to help promote level dyeing.
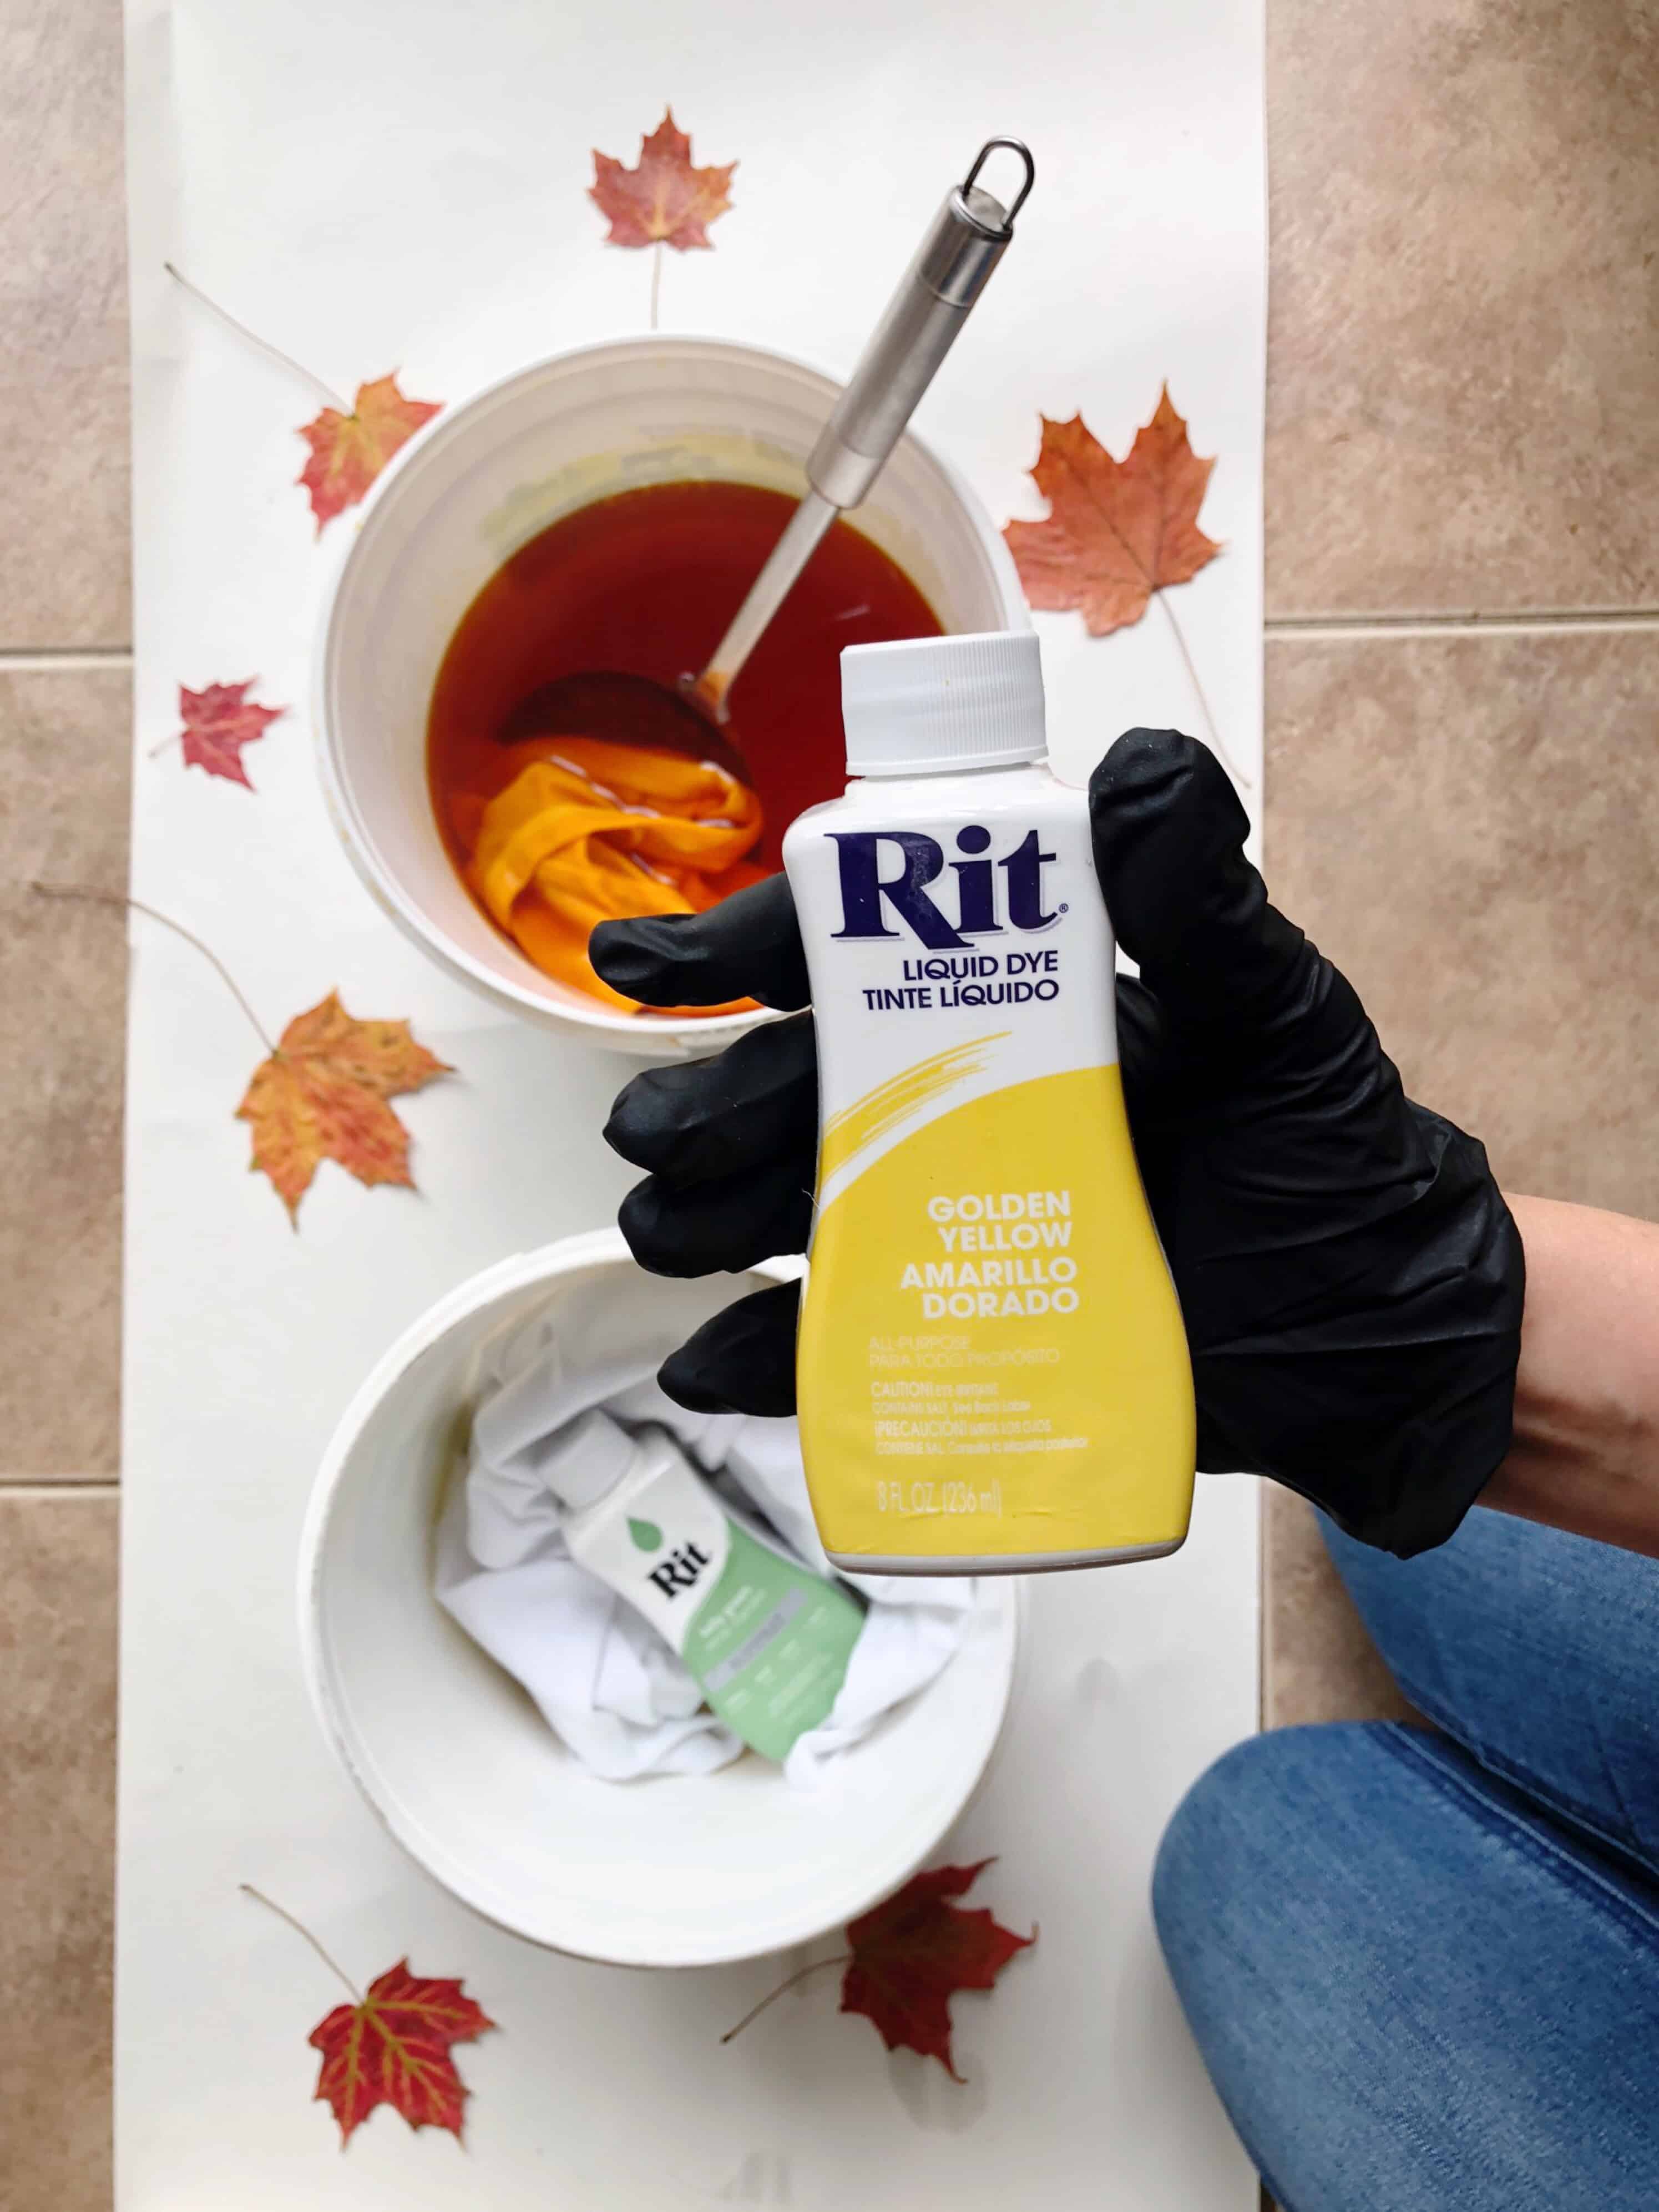
- Pour well-shaken liquid dye into dyebath and mix well.
- The bumble bee was dyed with 1/2 bottle of Golden Yellow
- The flower was dyed with 1/2 a bottle of Kelly Green
- The butterfly was dyed with 1/2 bottle of Black
- The ladybug was dyed with 1/2 bottle of Scarlet
- The dragonfly was dyed with 1/2 bottle of Evening Blue
- Test color by dipping a paper towel into the dyebath. If color is too light, add more dye. If color is too dark, add more water.
- Wet the item you are going to be dyeing and add it to the dyebath.
- Stir slowly and continuously. The first 10 minutes are the most critical. Stirring helps to ensure an even color with no splotches.
- Item can remain in dyebath from 10 minutes up to one hour. When desired color is achieved, remove from dyebath. Fabric will look darker when wet and will dry lighter. Squeeze out excess dye.
- To enhance the color and reduce color bleeding, use Rit ColorStay Dye Fixative immediately after dyeing and before washing, following these instructions.
- Rinse in cool water until rinse water begins to run clear.
- Wash in warm water with a mild detergent, rinse and dry.
- To create the wings, floral wire was formed into the desired shape of a wing. Once formed, colored tissue paper was wrapped around the wire. Decorate wings using additional tissue paper in a variety of colors.
- The headbands were created out of cardboard framing, paper maché, and paint. The eyes are made out of bunched up tissue paper.
- The flower headpiece is made entirely out of paper tissue.


Posts You May Like
