


Supplies
- Rit All-Purpose Dye in a variety of colors (Fuchsia, Petal Pink and Rose Quartz Used Here)
- White Cotton Dress
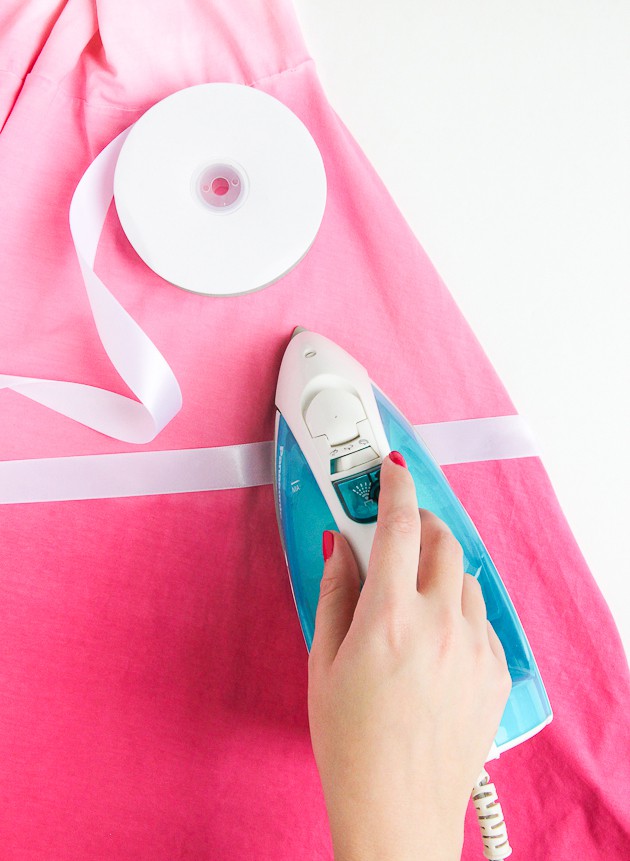
- White Ribbon, 1 - 1.5"
- Fusing Tape, 1/2"
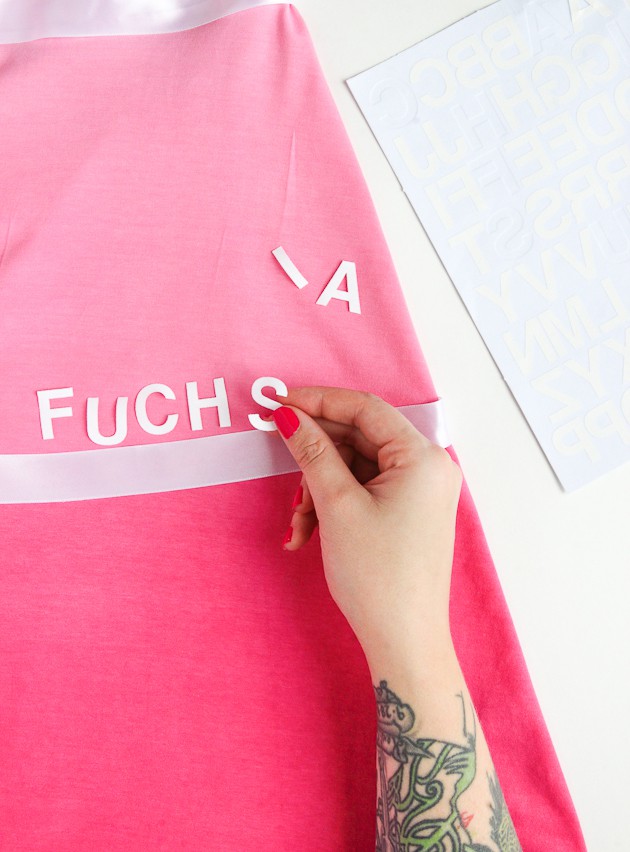
- Iron on Letters
- Iron
- Soft Bristle Brush
- Large Plastic Container
- Rubber Gloves
- Paper Towels
Time
1 Hour Total: {{ partial.tSNE.total }}
Difficulty
Beginner Total: {{ partial.tT37.total }}
Instructions
- Cover work area with plastic table cover and have paper towels handy to protect against any possible spills. Gather supplies.
- For best results, prewash dress to remove any finishes that may interfere with dye absorption and dry.
- Since you will have to overdye the bottom of the dress with the middle color, Rachel picked dyes for the two bottom colors that were in the same family of color. Use the darkest shade at the bottom.
- To dye the first color, wet the bottom of the dress. Only wet the part you will be dyeing. Set aside.
- Wearing rubber gloves, fill a large container or stainless steel sink with 3 gallons of very hot water. The water should ideally be 140ºF or greater. If tap water is not hot enough, heat water on the stove or kettle and add to the dyebath.
- Add a half bottle of Fuchsia All-Purpose Dye to dyebath. To enhance the color, add one cup of salt. Test color by dipping a paper towel into the dyebath. If color is too light, add more dye. If color is too dark, add more water.
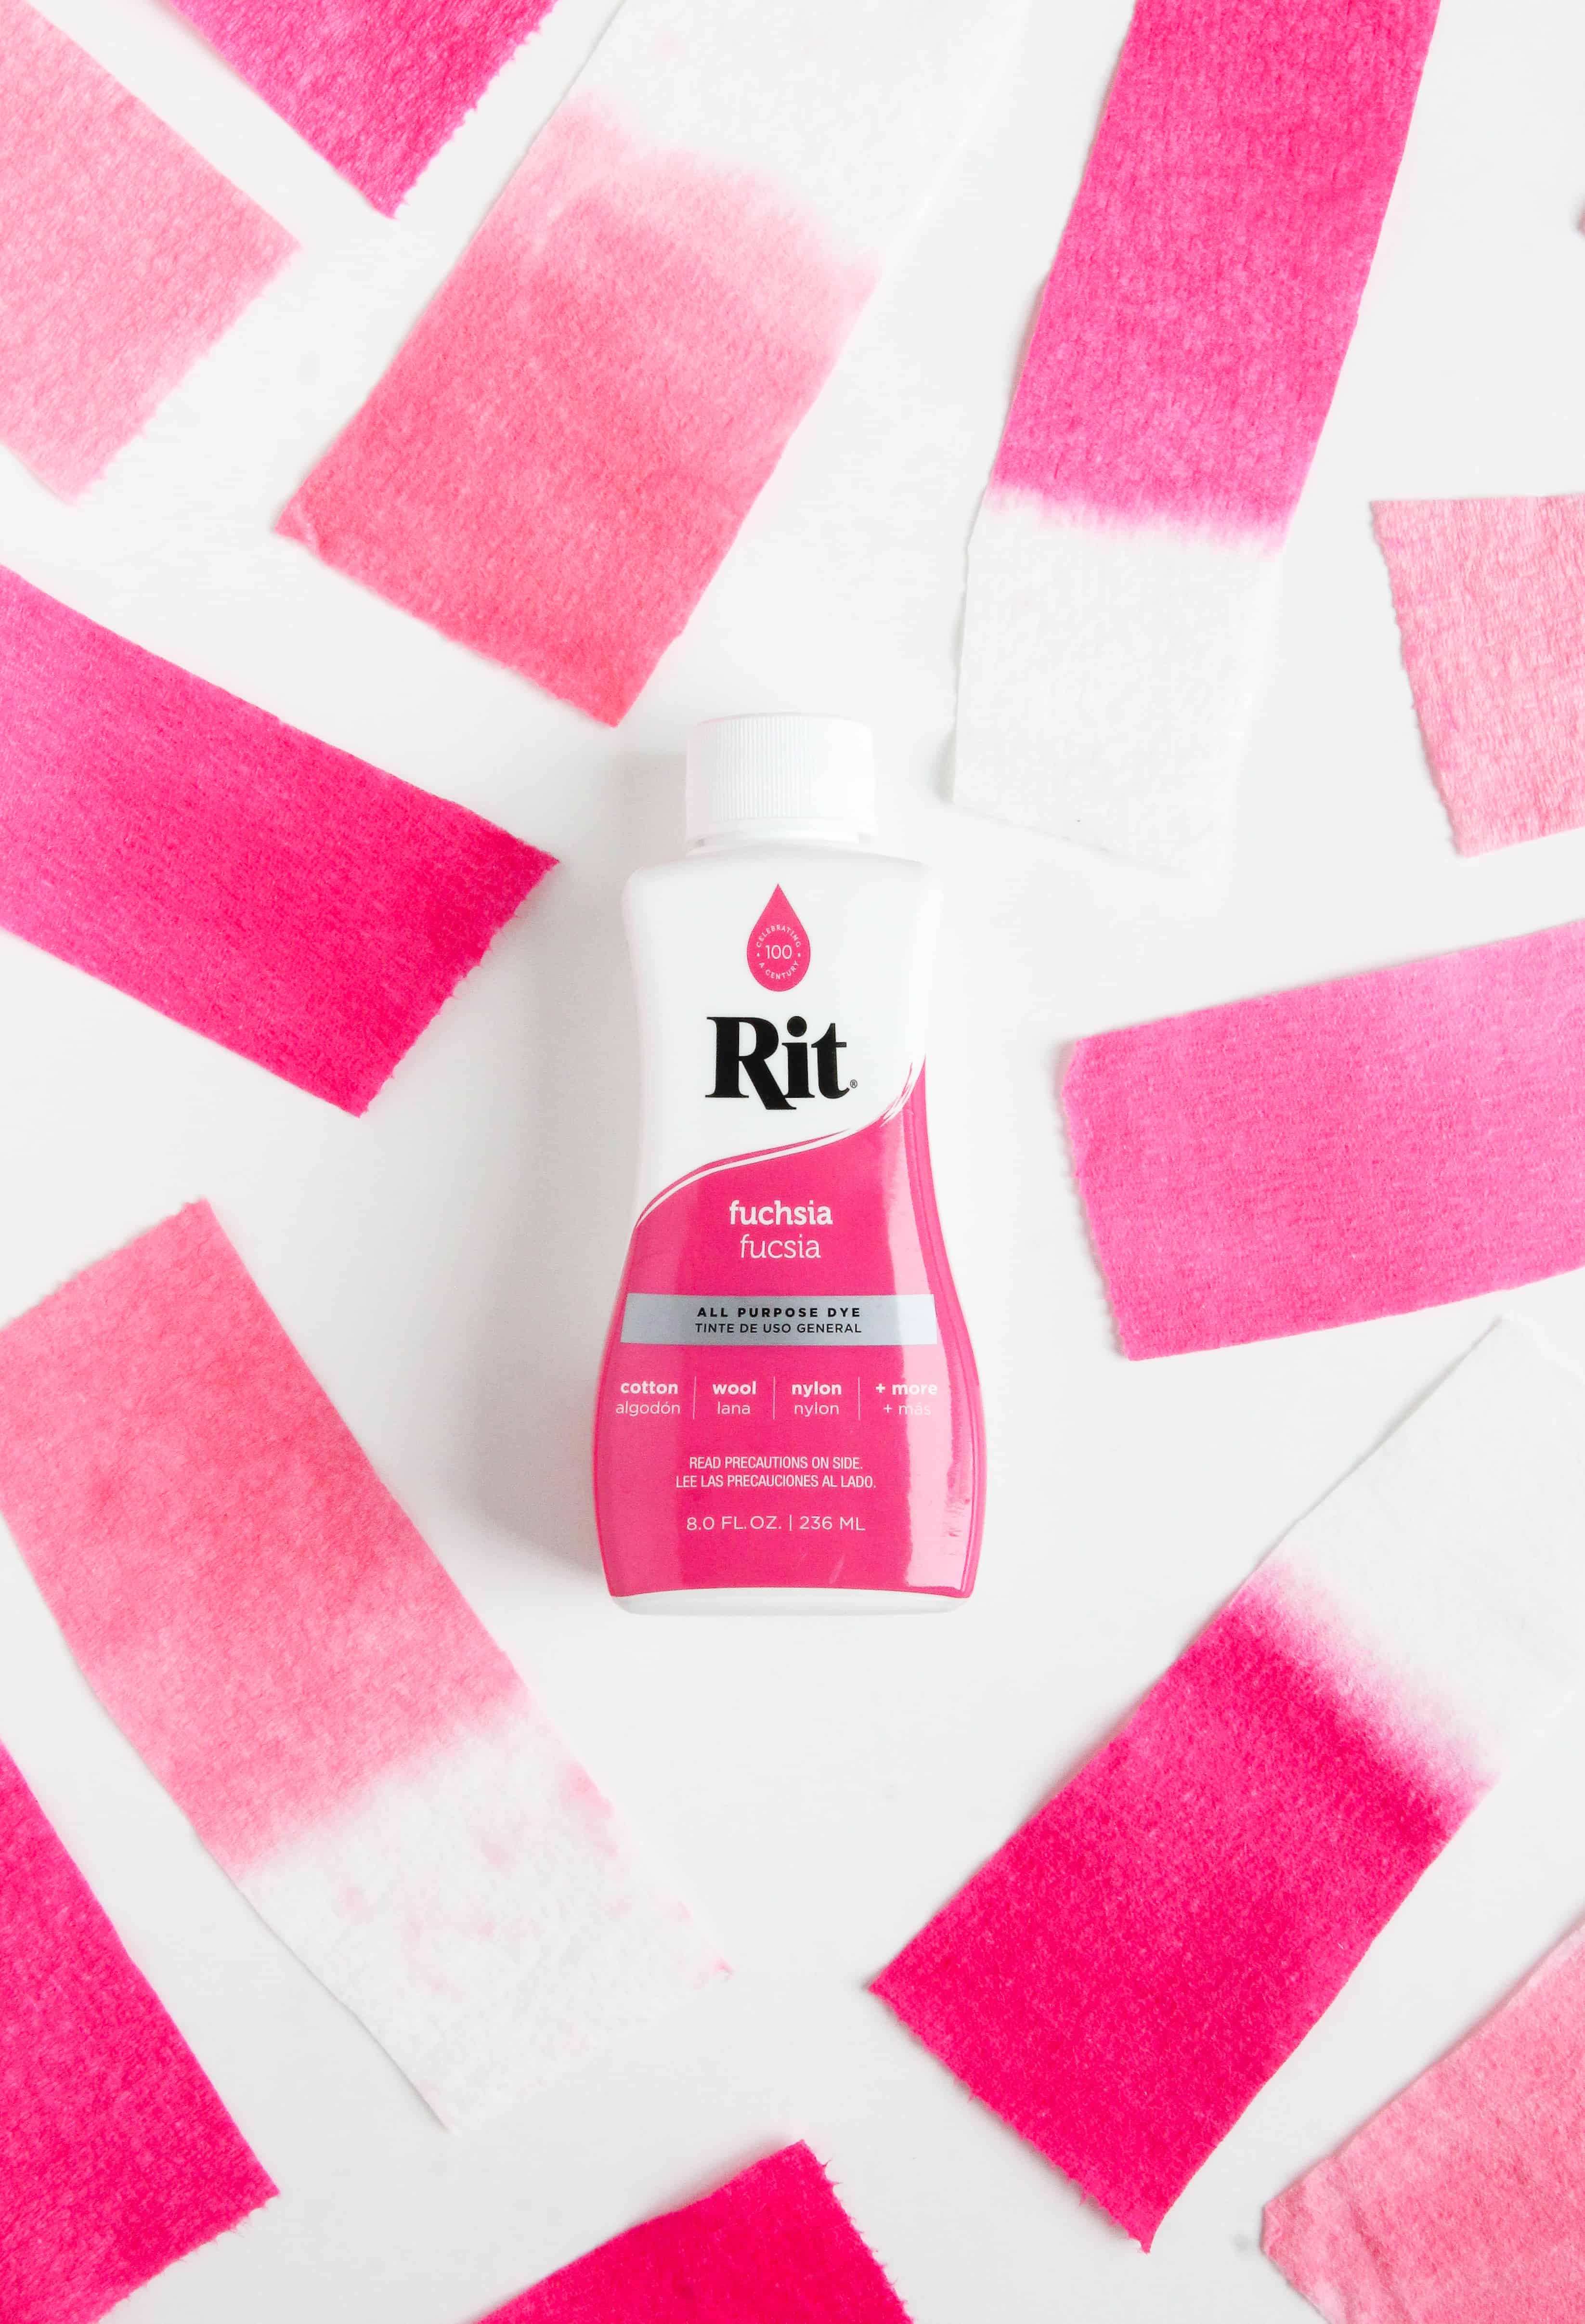
- Dip the dress into the dyebath. Be sure to hold the dry part out of the water and only dip the section you’re working on. Let sit for 5-10 minutes, stirring occasionally. Once the desired color is achieved, remove from dyebath. Fabric will look darker when wet and will dry lighter. Rinse in cool water until water runs clear.
- Drain the container. Now, create the second color’s dyebath, following step 5 again.
- Add a half bottle of Petal Pink All Purpose Dye to dyebath. To enhance the color, add one cup of salt. Test color by dipping a paper towel into the dyebath. If color is too light, add more dye. If color is too dark, add more water.
- Dip the dress up to the top of the second section. Because the base color was darker than the second color, it’s okay to leave it in the solution for 3-4 minutes; just be sure the top section is still white and dry. Once the desired color is achieved, remove from dyebath. Fabric will look darker when wet and will dry lighter. Rinse in cool water until water runs clear.
- Drain the container. Now, create the third color’s dyebath, following step 5 one last time.
- Add a half bottle of Rose Quartz All Purpose Dye to dyebath. To enhance the color, add one cup of salt. Test color by dipping a paper towel into the dyebath. If color is too light, add more dye. If color is too dark, add more water.
- Dip the dress from the top so that you don’t have to redye the bottom two sections. Let sit for 5-10 minutes, stirring occasionally. Once the desired color is achieved, remove from dyebath. Fabric will look darker when wet and will dry lighter. Rinse in cool water until water runs clear. Wash in warm water with mild detergent, rinse and dry.
- Once your dress is dry, it’s time to divide the color sections by using fusing tape to iron on the ribbon. Just place the dress underneath the ribbon and iron for about 6-10 seconds. Work your way around the dress until complete. Then, iron on the color names and you are done!


Posts You May Like
