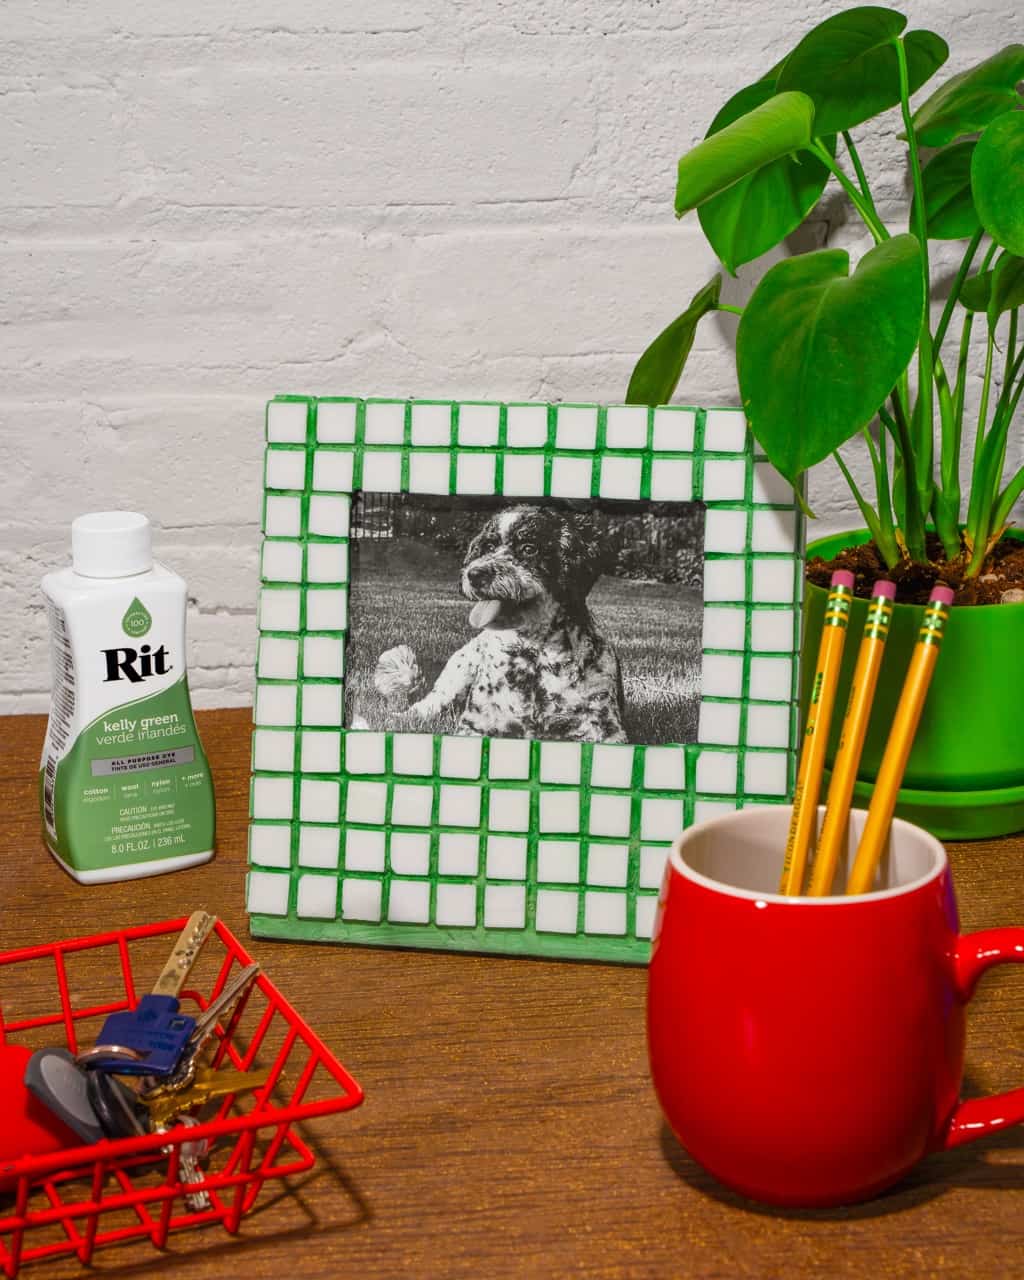
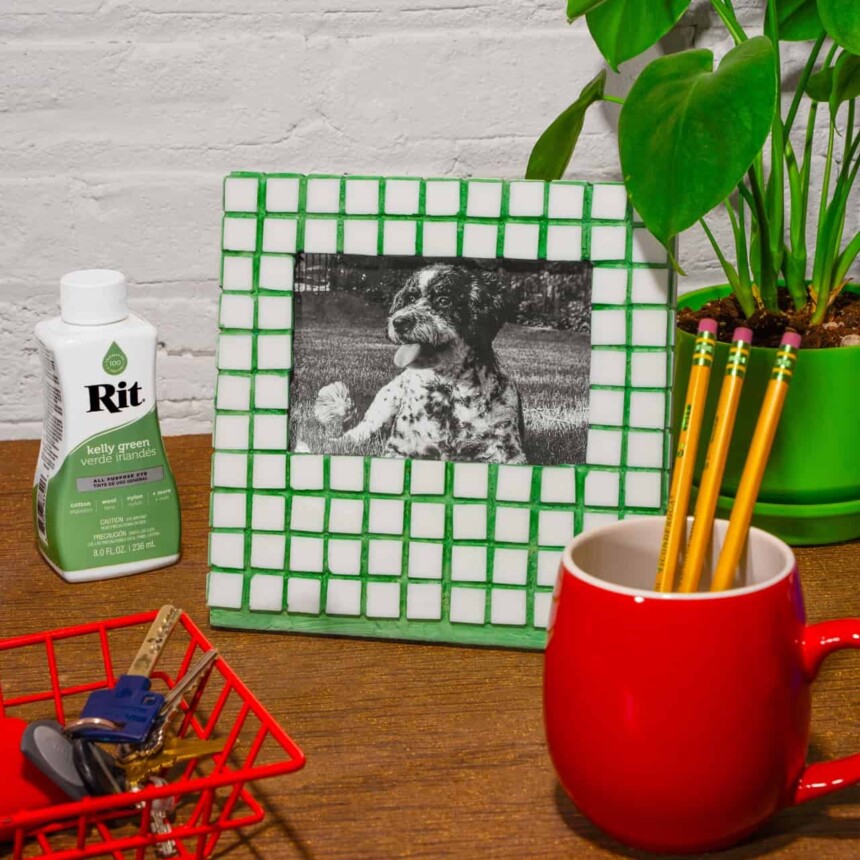
Time to color outside the lines — or rather, in between them, with a burst of green! We’re taking the humble grout from behind the scenes to center stage with a wooden picture frame because even the smallest details deserve a spotlight.

Supplies
- Rit All-Purpose Liquid Dye in Kelly Green
- Wooden Picture Frame
- Grout mix in bright white
- Small white tiles
- Craft Adhesive
- Gloves
- Mixing bucket
- Grout mixing knife
- Grout float
- Sponge
- Rags or paper towels
Time
Total: {{ partial.tC6F.total }}
Difficulty
Intermediate Total: {{ partial.tHAD.total }}
Instructions
- Cover table with plastic and gather your supplies.
- Adhere tiles to frame roughly 2-3cm apart and allow to fully set.
- Use 1:1 ratio of All-Purpose Liquid Dye and grout mix. No additional water needed for mixing the grout.
- Allow the grout to rest for 5-10 minutes.
- If grout mix is too thick, add a small amount of additional dye, and mix well.
- Spread grout onto tiled frame, pushing it into the joints between the tiles.
- Once done, wait at least 10 minutes before removing the excess grout with a damp sponge.
- After the grout dries, use a buffing rag or cheesecloth to remove any leftover haze from the tiles.
Posts You May Like

