Rit x Nike: Itajime Shibori
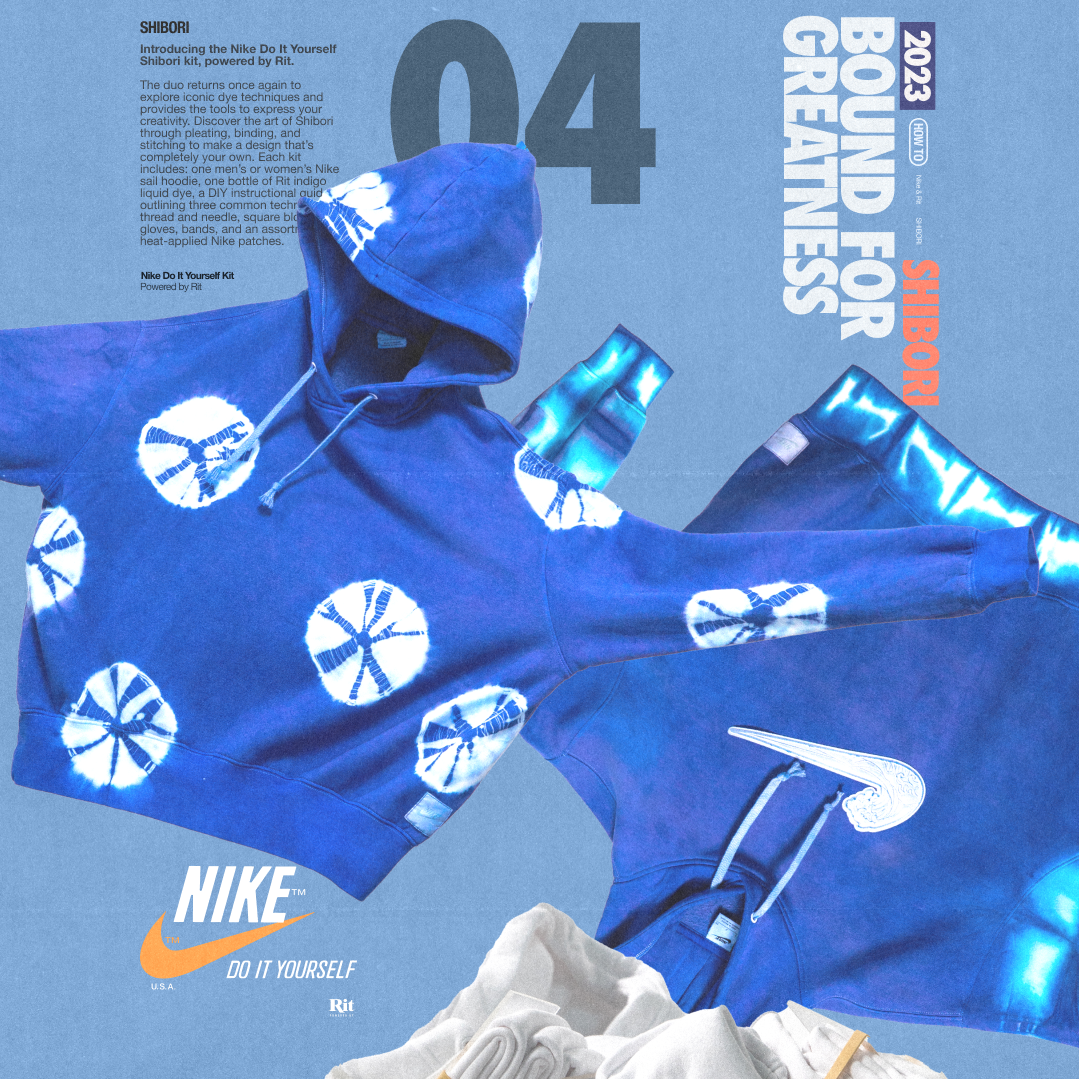
Explore the study of positive and negative space with Itajime Shibori which translates to “board clamping” in Japanese. Once pleated, the fabric is then sandwiched between two shapes and clamped together to create the resist. Pleat the arms, the waist band or the hood—how would you design yours?
Supplies
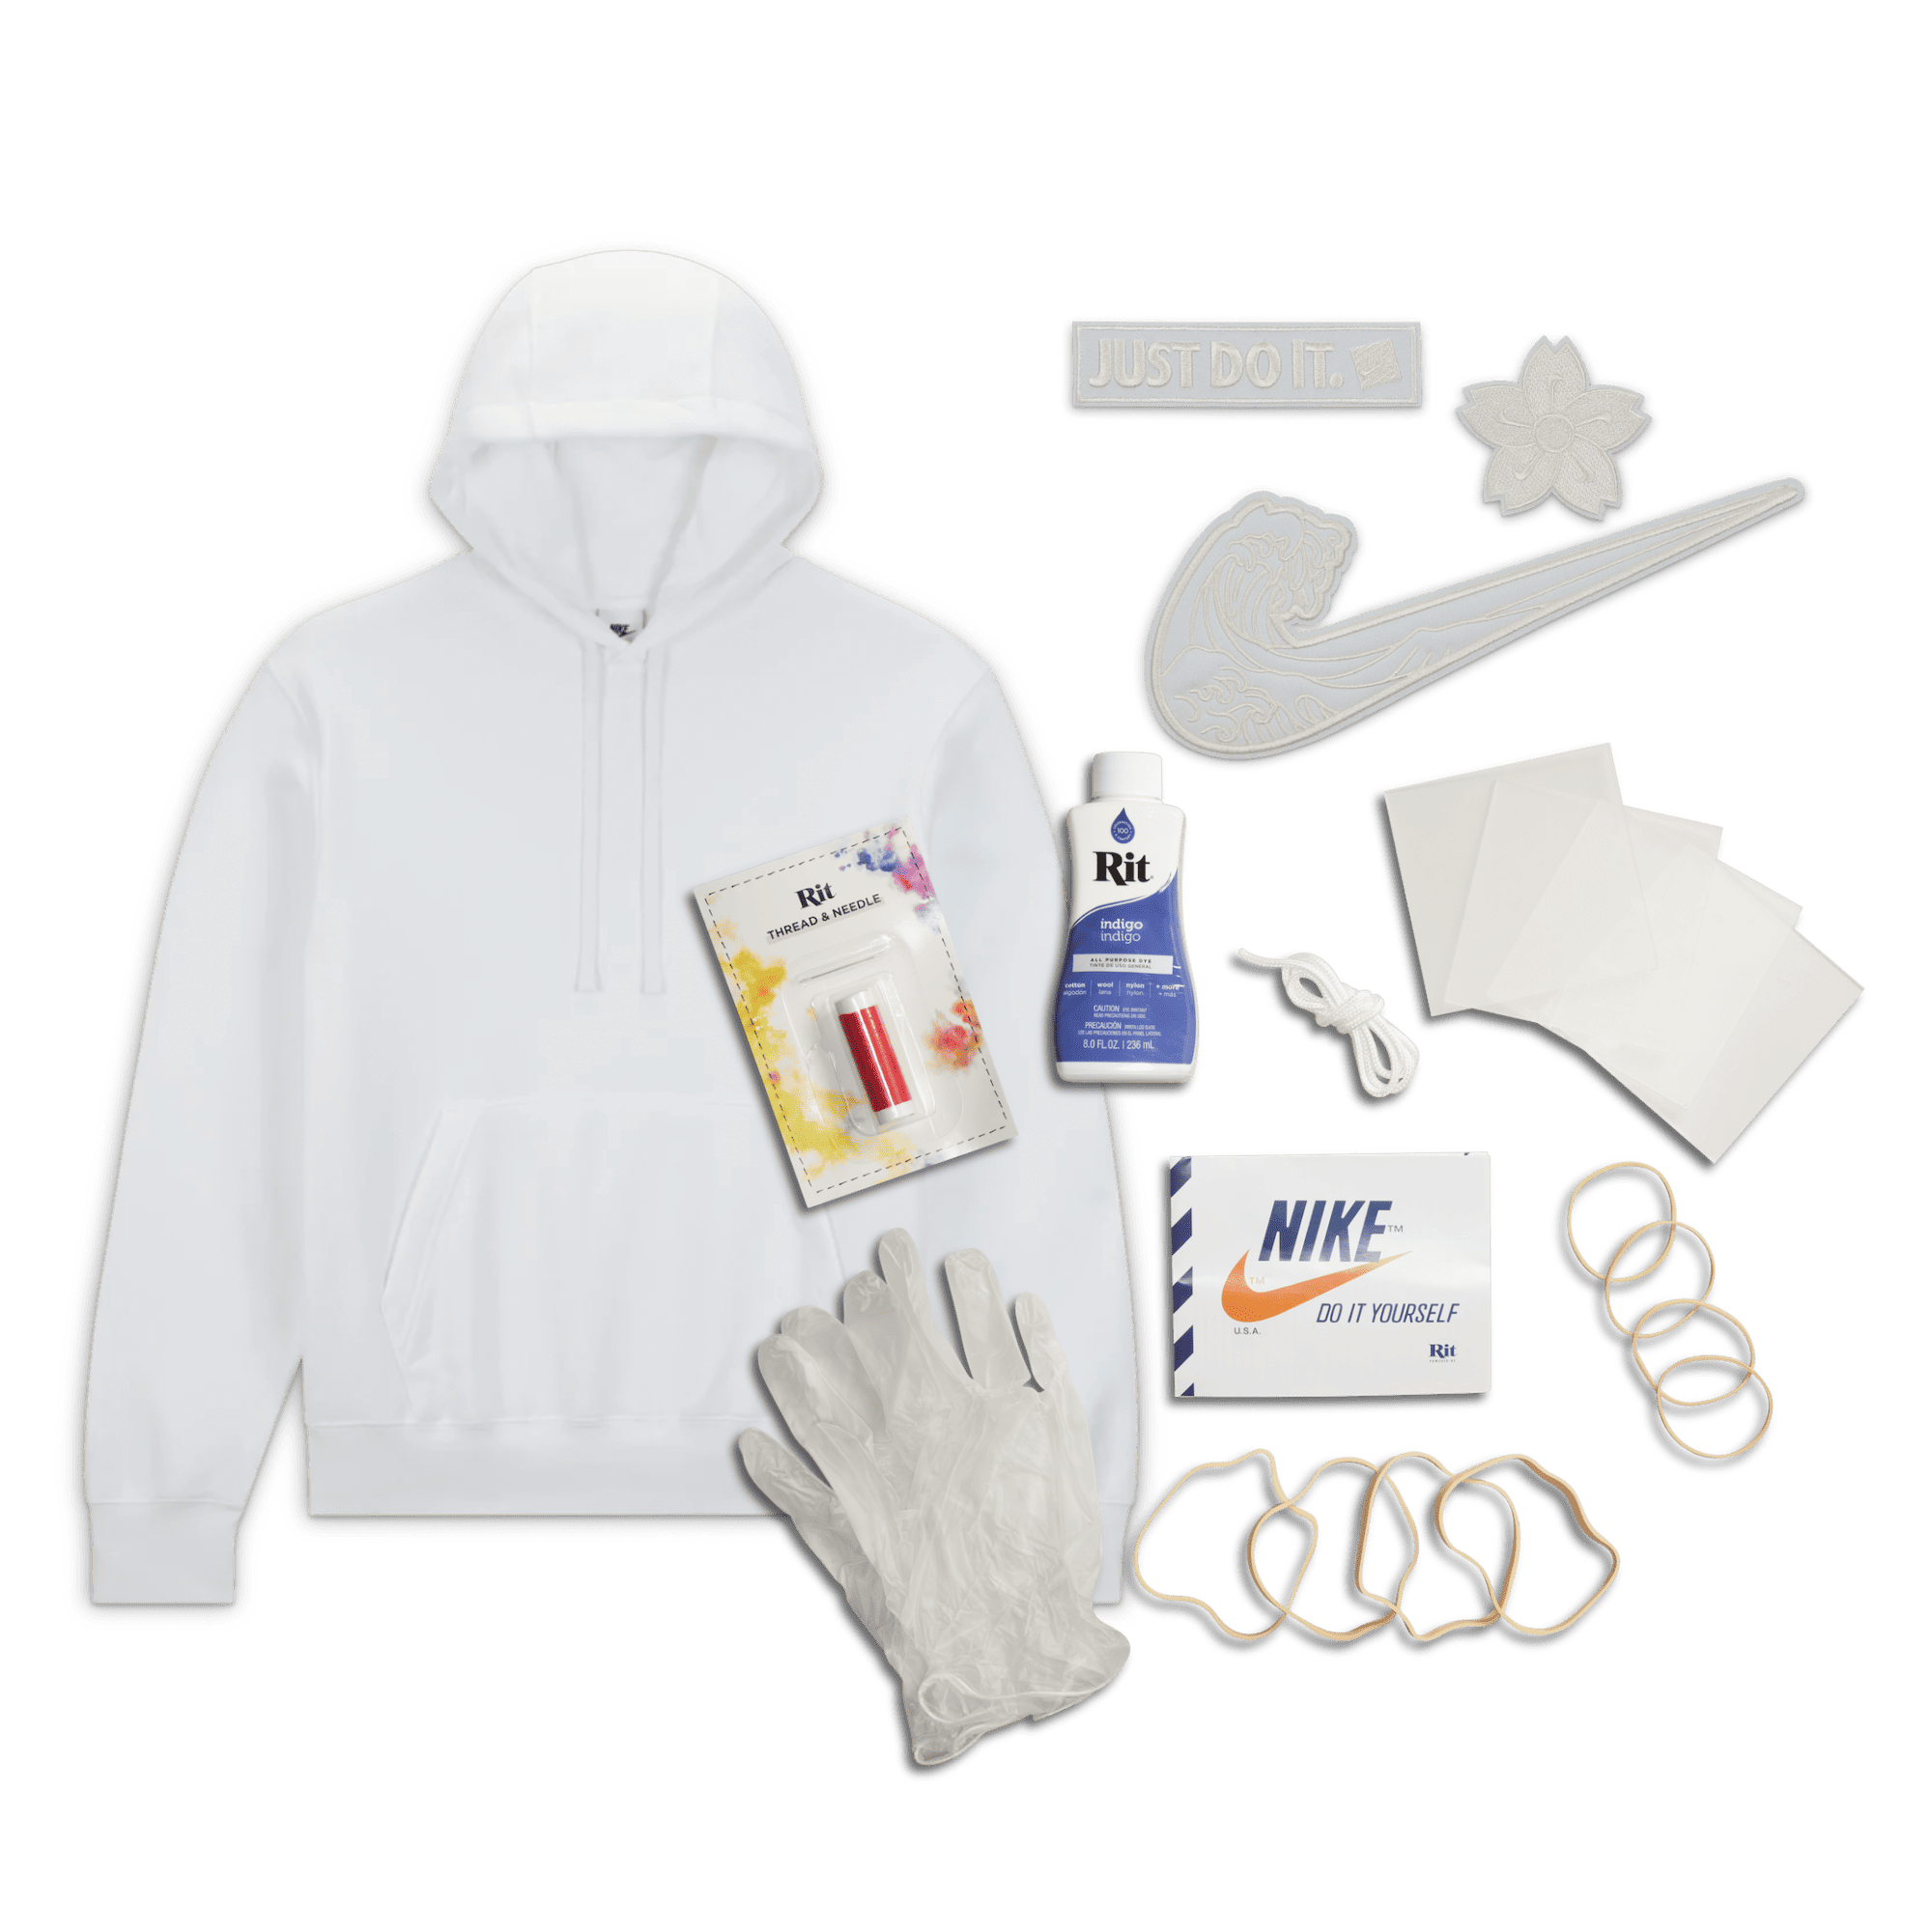
- Nike x Rit Shibori DIY Kit
- Plastic Table cover
- Fabric Pencil
- Container for Dyeing
- Salt
- Dish Soap
- Iron and ironing board
- Scissors
- Paper Towels
- Measuring spoons
- Rubber gloves
Time
Total: {{ partial.tDD4.total }}
Difficulty
Beginner Total: {{ partial.tNFV.total }}
Instructions
- Gather supplies.

- Prewash your cotton hoodie and leave it damp
- Fold one sleeve in half lengthwise and pleat back and forth to create a block-like shape. Repeat for the second sleeve.
- Sandwich pleated arms between the squares using rubber bands
- For variations, pleat across the waist band and experiment with dipping the bound areas at an angle.
- Once hoodie is all bound, set aside and prepare the dyebath.
- Fill container with 3 gallons of hot water, ideally 140F or hotter.
- If tap water is not hot enough, heat water on the stove and carefully add it to the dyebath.
- Add 1 cup of salt and 1 tsp of dish soap.
- Pour 1/2 cup of well-shaken Rit All-Purpose Indigo Dye and stir.
- Test color by dipping a paper towel into the dyebath.
- If color is too light, add more dye. If color is too dark, add more water.
- Submerge bound hoodie and patches into dyebath.
- For a high contrast pattern, keep the bound hoodie in the dyebath for 5-10 minutes to keep the wrapped part dye-free. For more color and less white areas, keep the bound fabric in the dyebath for 10-20 minutes.
- Remove from dyebath and rinse hoodie in warm water then cool water until rinse water runs clear.
- Remove the squares and rubber bands to reveal the itajime pattern.
- Wash in cold water and air dry.

Posts You May Like

