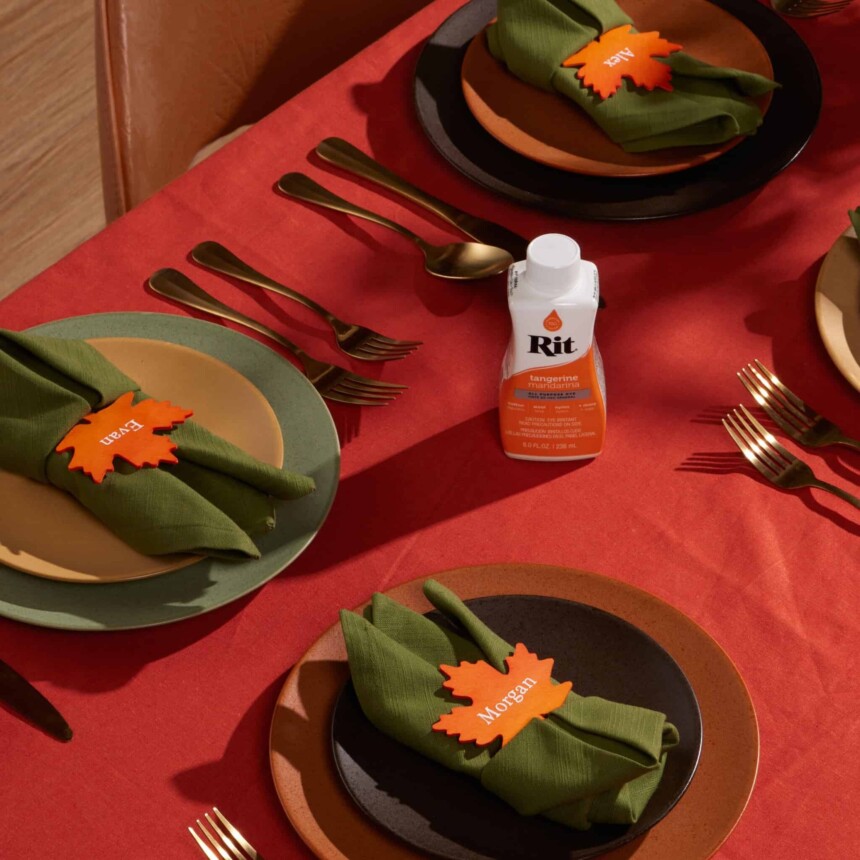
Supplies
- Unfinished Wooden Leaf
- Rit All-Purpose Liquid Dye
- Small container for dyeing
- Gloves
Time
Total: {{ partial.tPBN.total }}
Difficulty
Beginner Total: {{ partial.tYBP.total }}
Instructions
- Cover work area with plastic table cover and have paper towels handy to protect against any possible spills. Gather supplies.
- Fill up a glass bowl using the hottest water from the tap. Pour a small amount of Rit into the water. You can always add more dye so start with a little. Stir well.
- Have a few pieces of scrap wood that you can test the color with. Dip it in for about 10-15 seconds, then pull it out. The color gets much more vibrant once it’s dry. Hit it with a blow dryer to get a better feeling of the color. Add more dye if it’s not dark enough, add more water if it’s too dark.
- After you’ve found your perfect color and dip time, start dipping all your wooden leaves.
- The less amount of time you hold the wood in the dye, the lighter the color… and the longer you hold the wood in the water the darker the color. Meaning if you hold your piece in stages, you could make it look ombré.
- Let your dip-dyed wood pieces fully dry before you work with them.
- Once dry, use markers or cricut to apply names onto dyed leaves.
Posts You May Like

