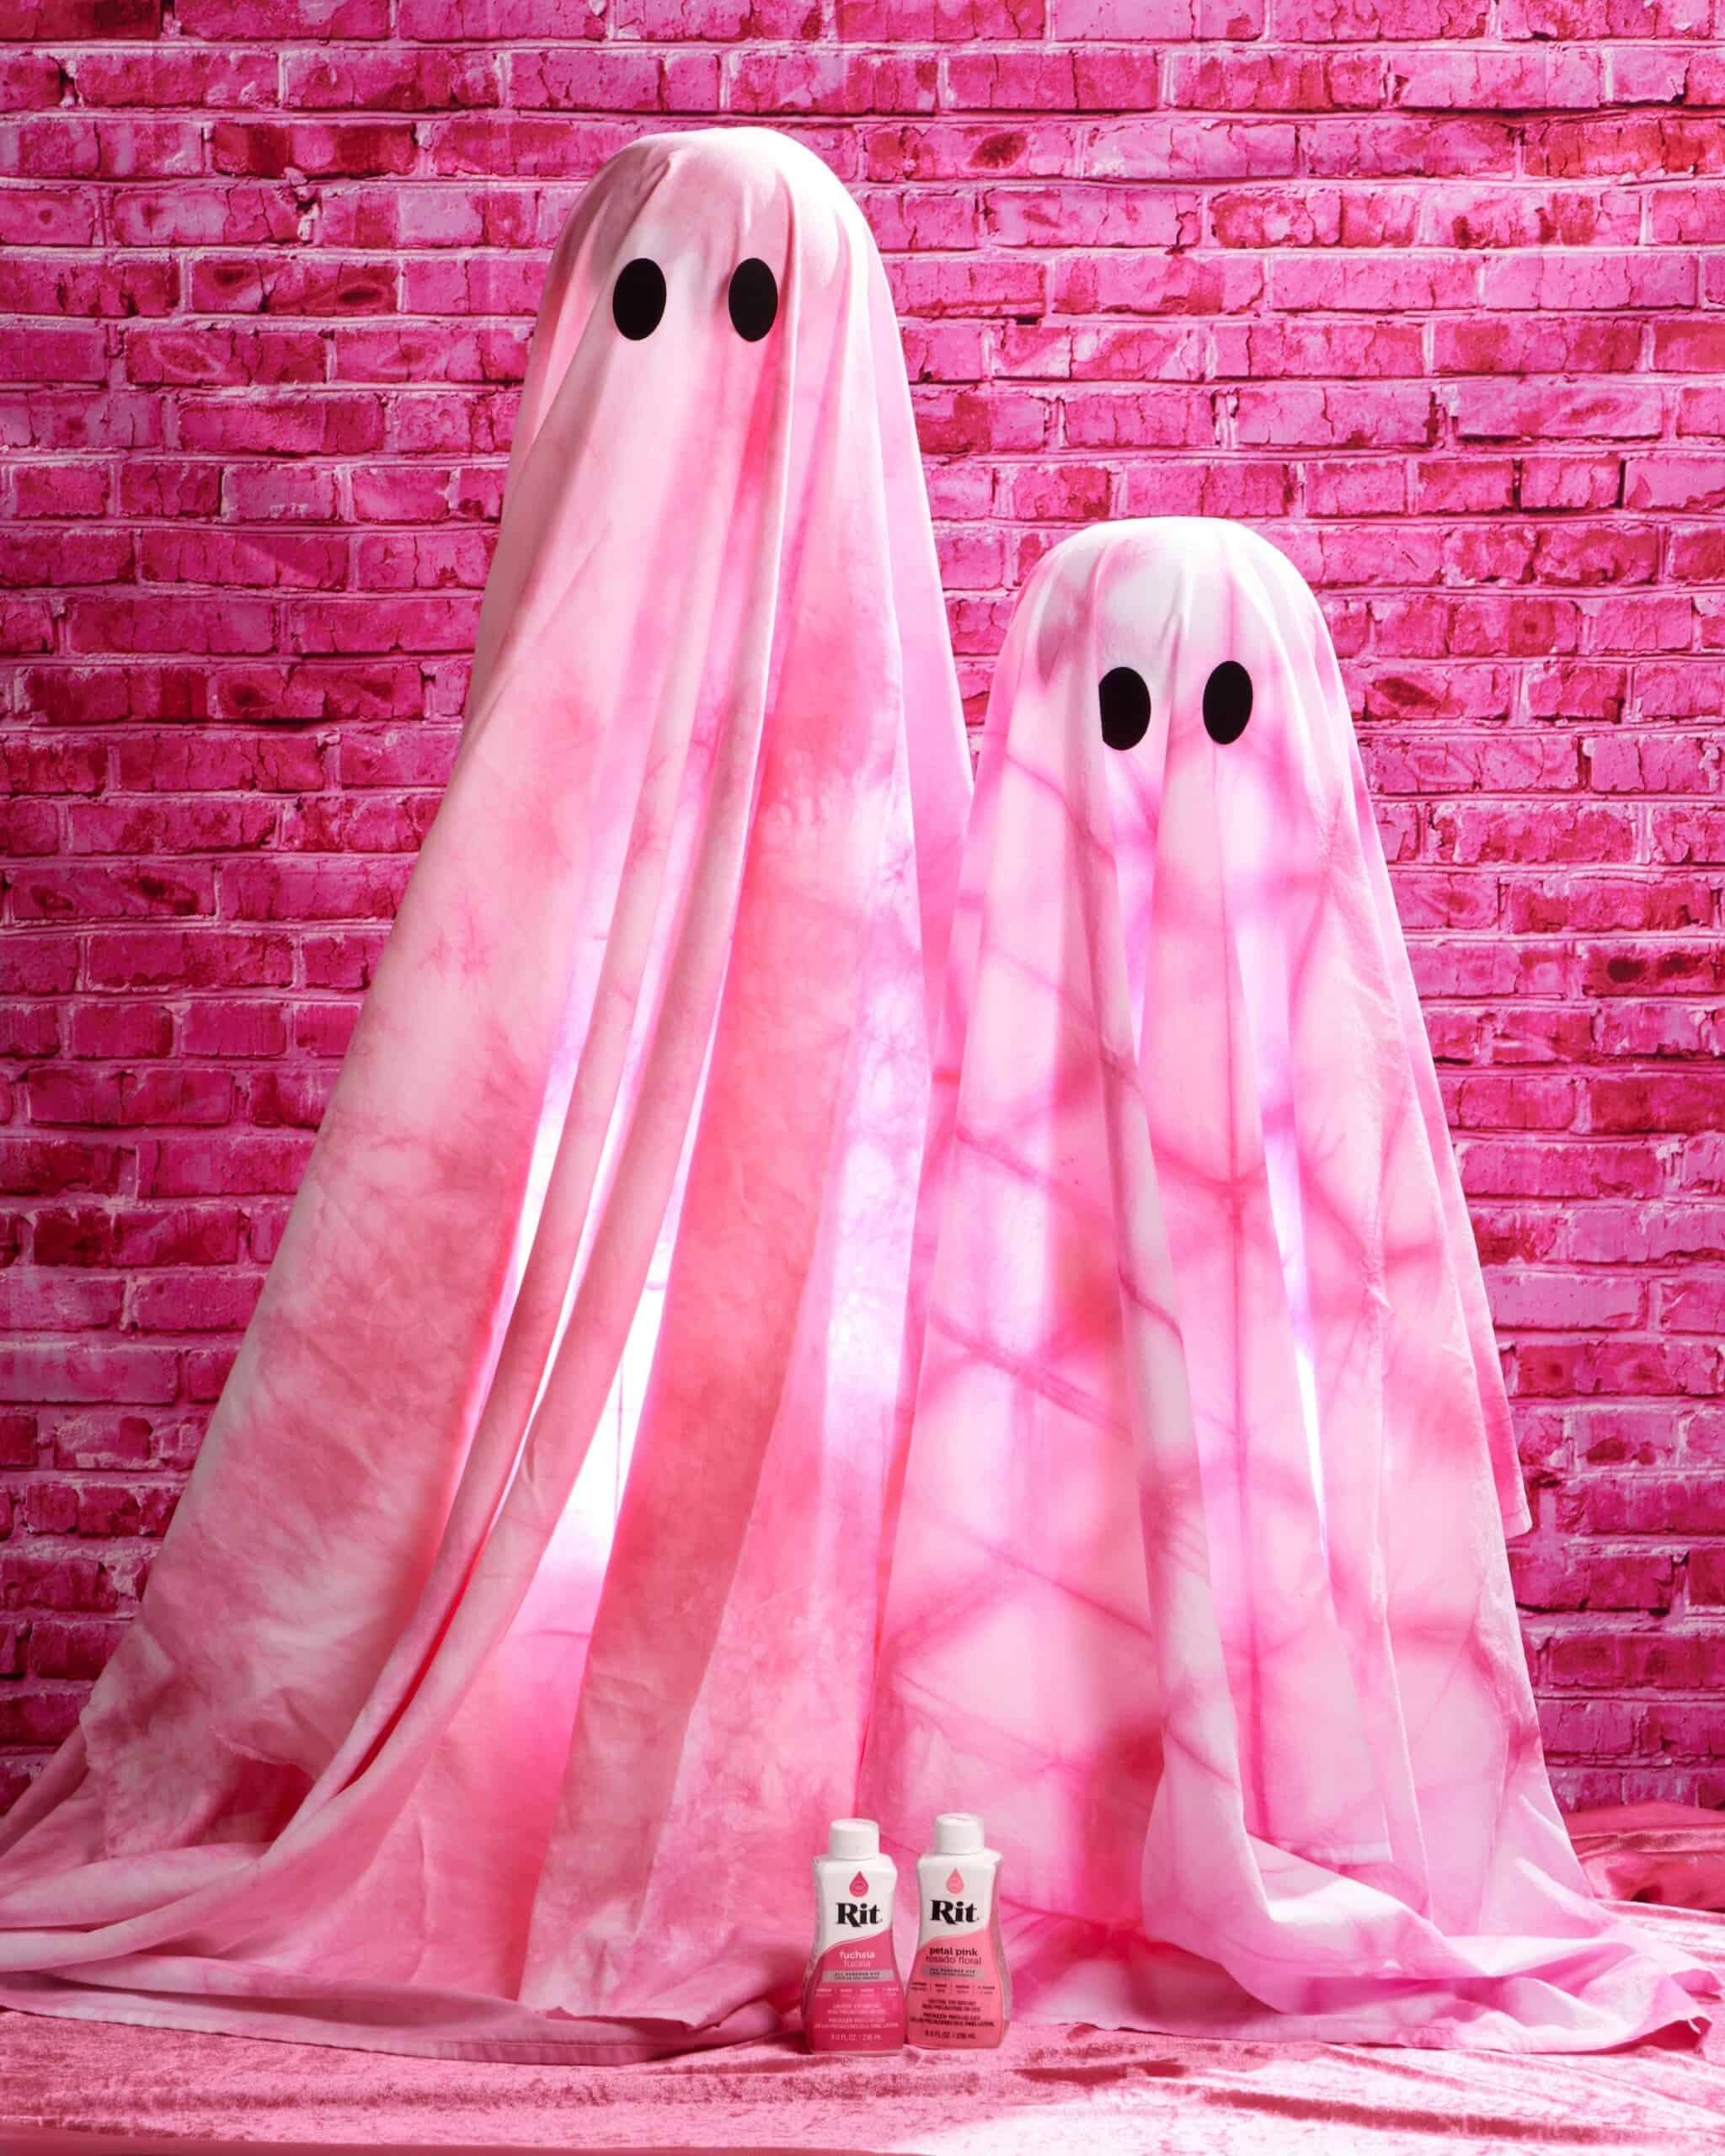
Supplies
- Rit All-Purpose Liquid Dye in Fuchsia and Petal Pink
- White Cotton Bed Sheets or Fabric
- Wired Tomato Cage 36-50”
- Black Felt
- Styrofoam Ball 8”
- Rubber bands and acrylic squares
- Large Plastic Bucket or Sink for Dyeing
- Measuring Cup and Spoon
- Scissors
- Hot Glue Gun or Fabric Glue
- Salt
- Dish Soap
- Plastic Table Cover
- Paper Towels
Time
Total: {{ partial.tVDH.total }}
Difficulty
Intermediate Total: {{ partial.tJ2A.total }}
Instructions
- Cover work area with plastic table cover and have paper towels handy to protect against any possible spills.
- Create ghost form by placing tomato cage with the round side down and wire side up. Pierce the tomato cage wire into the bottom of the Styrofoam ball so that it’s secure. Set aside.
- Cut old bedsheet or fabric into 60-80” squares or long enough to drape over the ghost form as desired.
- For best results, prewash fabric in the washing machine before dyeing. This removes any manufacturer’s finishes or stains that may interfere with dye absorption. Leave damp.
- For the scrunch technique, simply bunch the damp fabric randomly and secure with rubber bands and set aside. Keep in mind that the tighter the tension of the rubber bands, the more white space you’ll see in your end result.
- For itajime Shibori, accordion fold the damp fabric across the length of the fabric until it’s a long rectangle. Accordion fold along the length of the pleated fabric until you have a block shape. Place acrylic or wooden squares on the flat side of the blocked fabric, leaving the folds exposed n the side. Secure with rubber bands and set aside.
- Wearing rubber gloves, fill sink or a large container with 3 gallons of very hot water. The water should ideally be 140ºF. If tap water is not hot enough, heat water on the stove and add to the dyebath. Pour 1/2 bottle of well-shaken dye into dyebath.
- To enhance the color, add one cup of salt. Add 1 teaspoon of dish detergent to help promote level dyeing.
- Stir well.
- Test color by dipping a paper towel into the dyebath. If color is too light, add more dye. If color is too dark, add more water.
- Immerse bound fabric into the dyebath and stir continuously for 10-15 minutes. The longer the tied fabric remains in the dye bath, the darker the color will be. Color will appear lighter when dry.
- To help reduce color bleeding and improve color retention, treat bound fabric with Rit ColorStay Dye Fixative immediately after dyeing and before rinsing. Remove from dye bath and squeeze out excess dye. Fill container with 3 gallons hot water and add 4 Tablespoons (1/4 cup) dye fixative; stir well. Immerse in fixative, stirring occasionally for 20 minutes.
- Remove bound fabric and rinse in cold water until water runs clear.
- Use scissors to remove rubber bands and give it a final rinse in cold water with mild detergent.
- Hang to dry and iron to remove any wrinkles.
- Drape dyed fabric over the ghost molds.
- Cut out two ovals from black felt and adhere onto the ghosts for eyes.
Posts You May Like

