
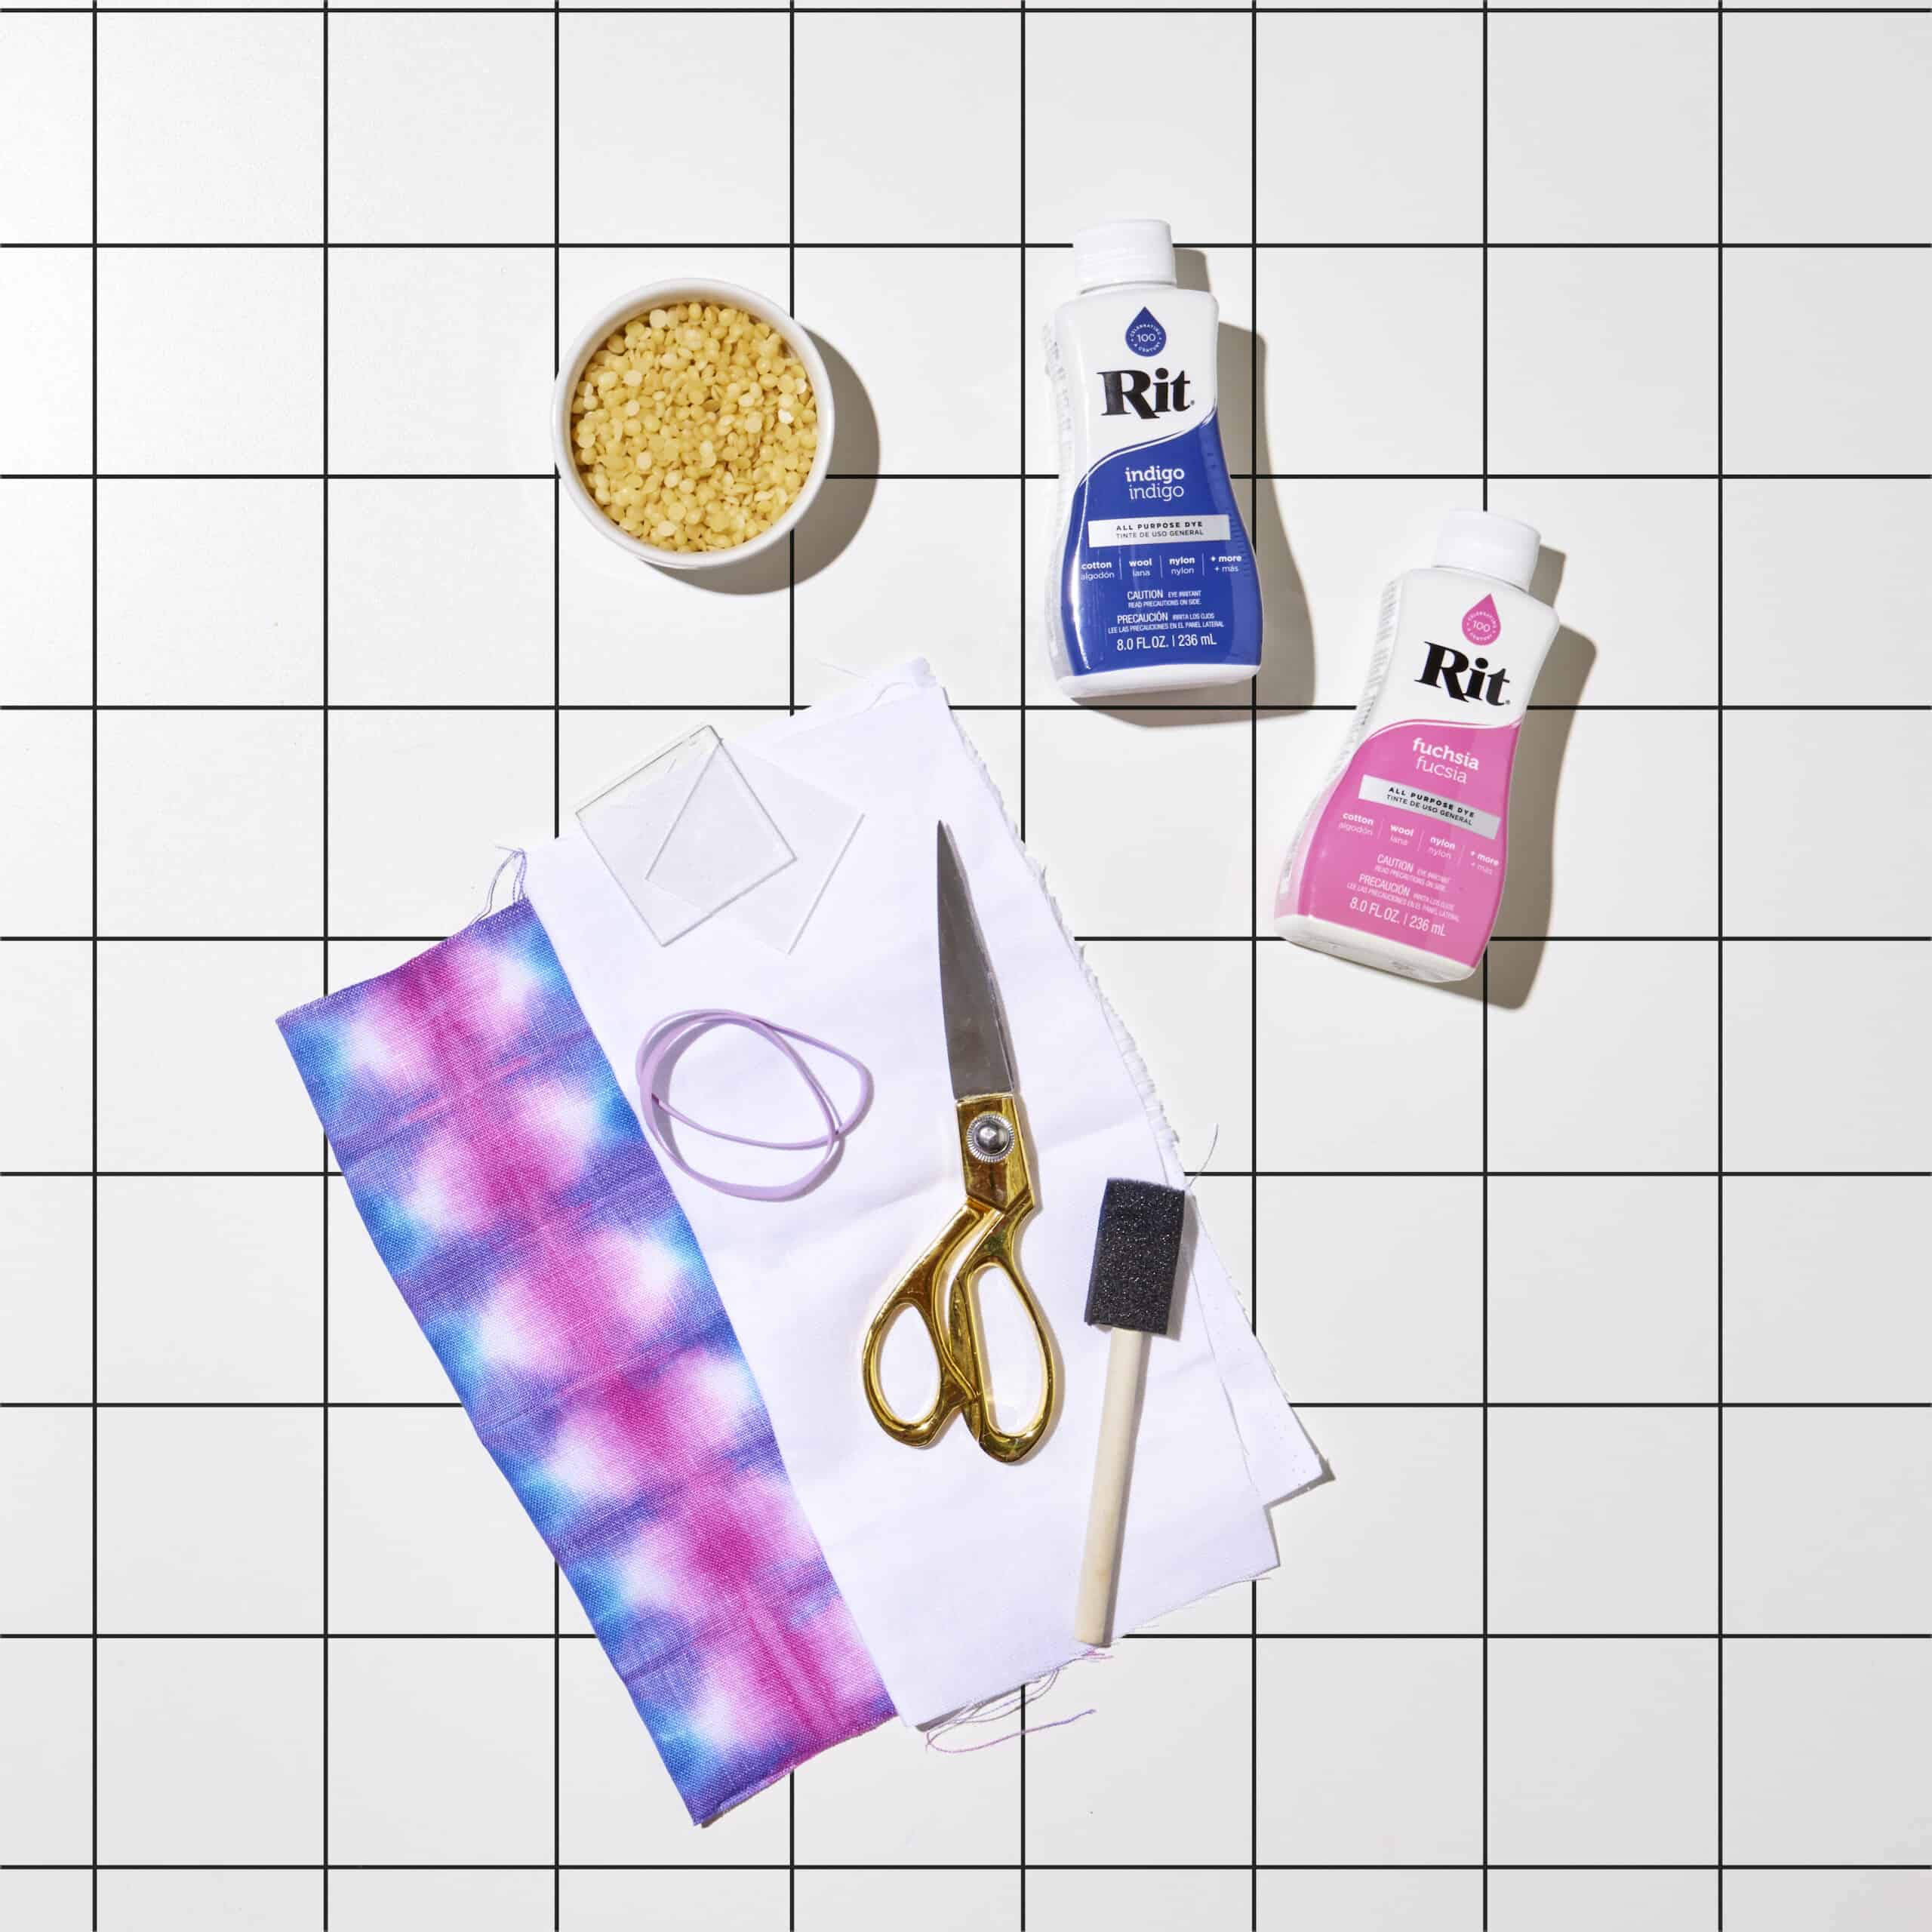
Supplies
- 100% Cotton Fabric
- Rit All-Purpose Liquid Dyes in Indigo and Fuchsia
- Rit ColorStay Dye Fixative
- Rubber bands
- Acrylic or Wood Squares
- Small containers for Dyeing
- Parchment Paper or Foil
- Baking Tray + Oven
- Salt
- Food-Safe Beeswax
- Paint Brush
- Paper towels
- Plastic table cover
- Gloves
Time
Total: {{ partial.tMJG.total }}
Difficulty
Intermediate Total: {{ partial.t53A.total }}
Instructions
- Before dyeing, gather supplies and prewash cotton fabric. This helps to remove any finishes that may interfere with dye absorption. Leave damp.
- To create a traditional Itajime pattern, accordion fold or “fan fold” fabric. This will form a long rectangle. For more pattern variations, vary the size and width of the folds.
- Accordion fold or “fan fold” the long rectangle until it’s shaped into a square.
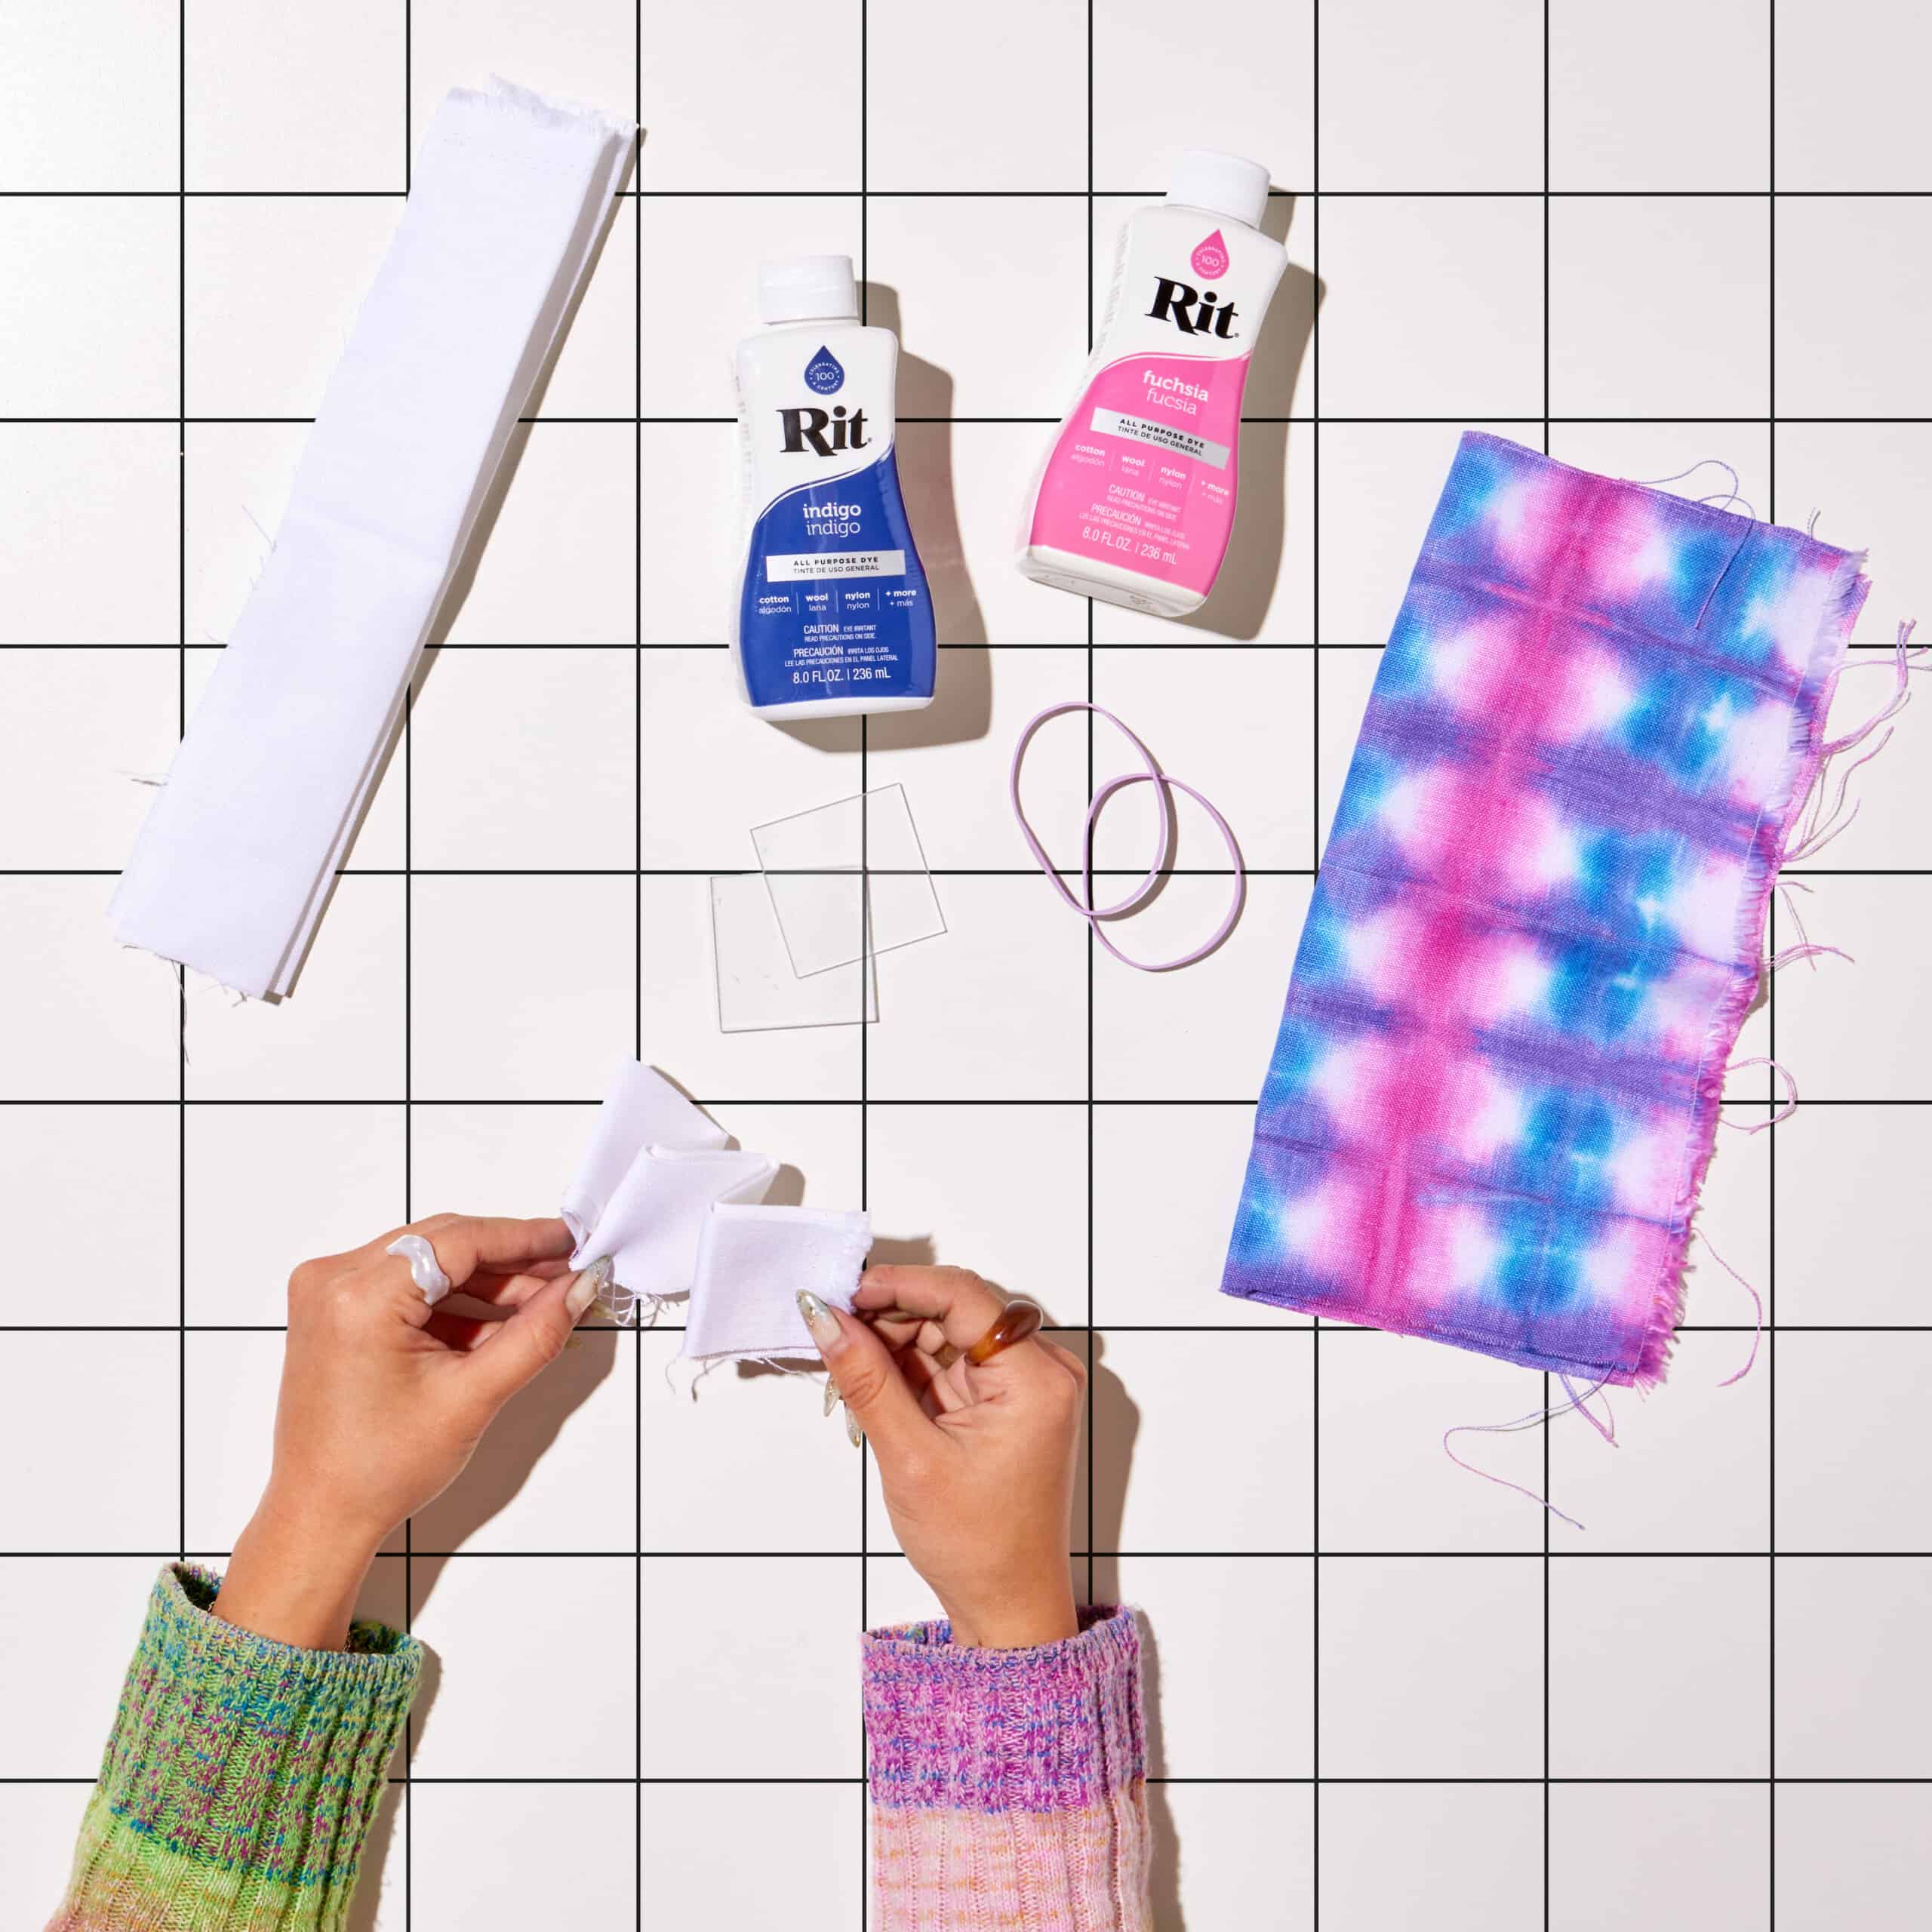
- Sandwich the fabric square between the acrylic or wood squares
- Secure “sandwich” with rubber bands to tightly hold the fabric square together.

- Fill small containers with 4 cups of hot water. The water should ideally be 140ºF / 60°C. If tap water is not hot enough, heat water on the stove and add to the dyebath.
- To enhance the color: (1) add 1 cup / 240 mL of salt when dyeing fabrics containing cotton, rayon, ramie or linen; (2) add 1 cup / 240 mL of vinegar when dyeing fabrics containing nylon, silk or wool.
- Wearing rubber gloves, add well-shaken dye or powder package(s) to dyebath.
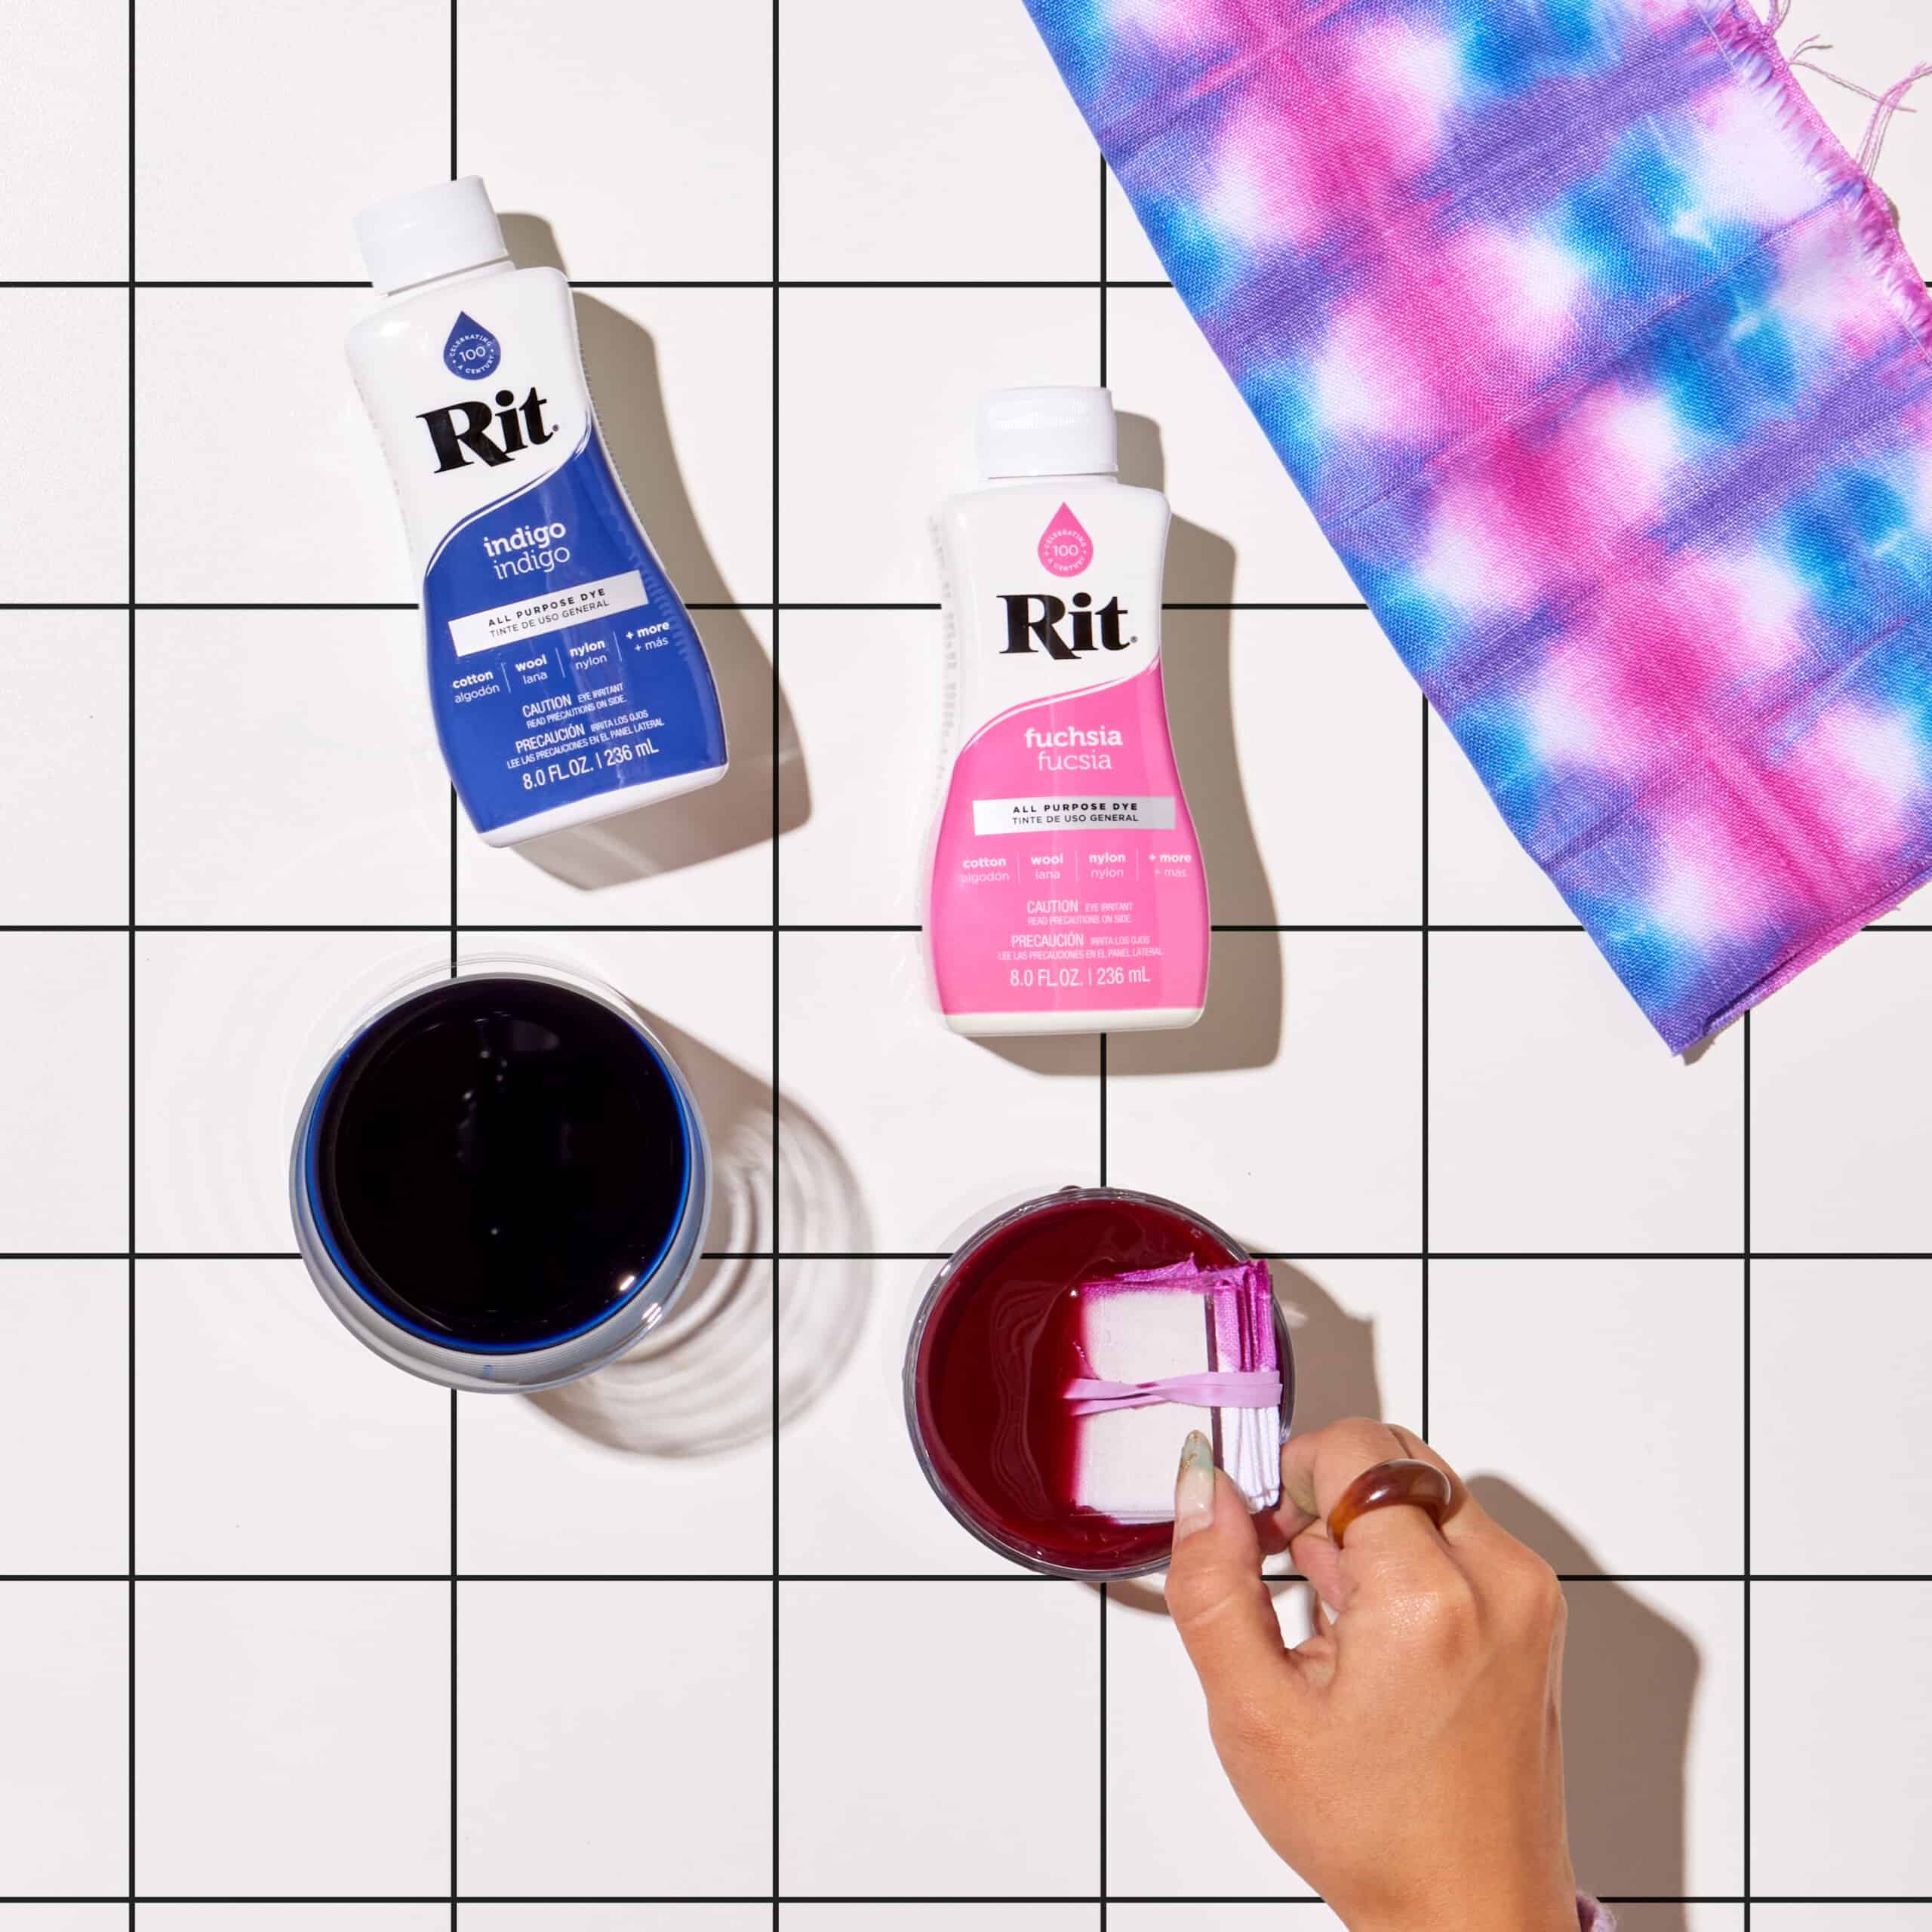
- Add sandwich to bath. For a high contrast pattern, keep the sandwich in the dyebath for about 3 to 5 minutes to keep the wrapped part dye-free. For more color and less white areas, leave the wrapped fabric set in the dyebath for 10 to 20 minutes.
- For dual colors, dip just half of the bound fabric into the dyebath. And repeat with a contrasting color to dip the other half.
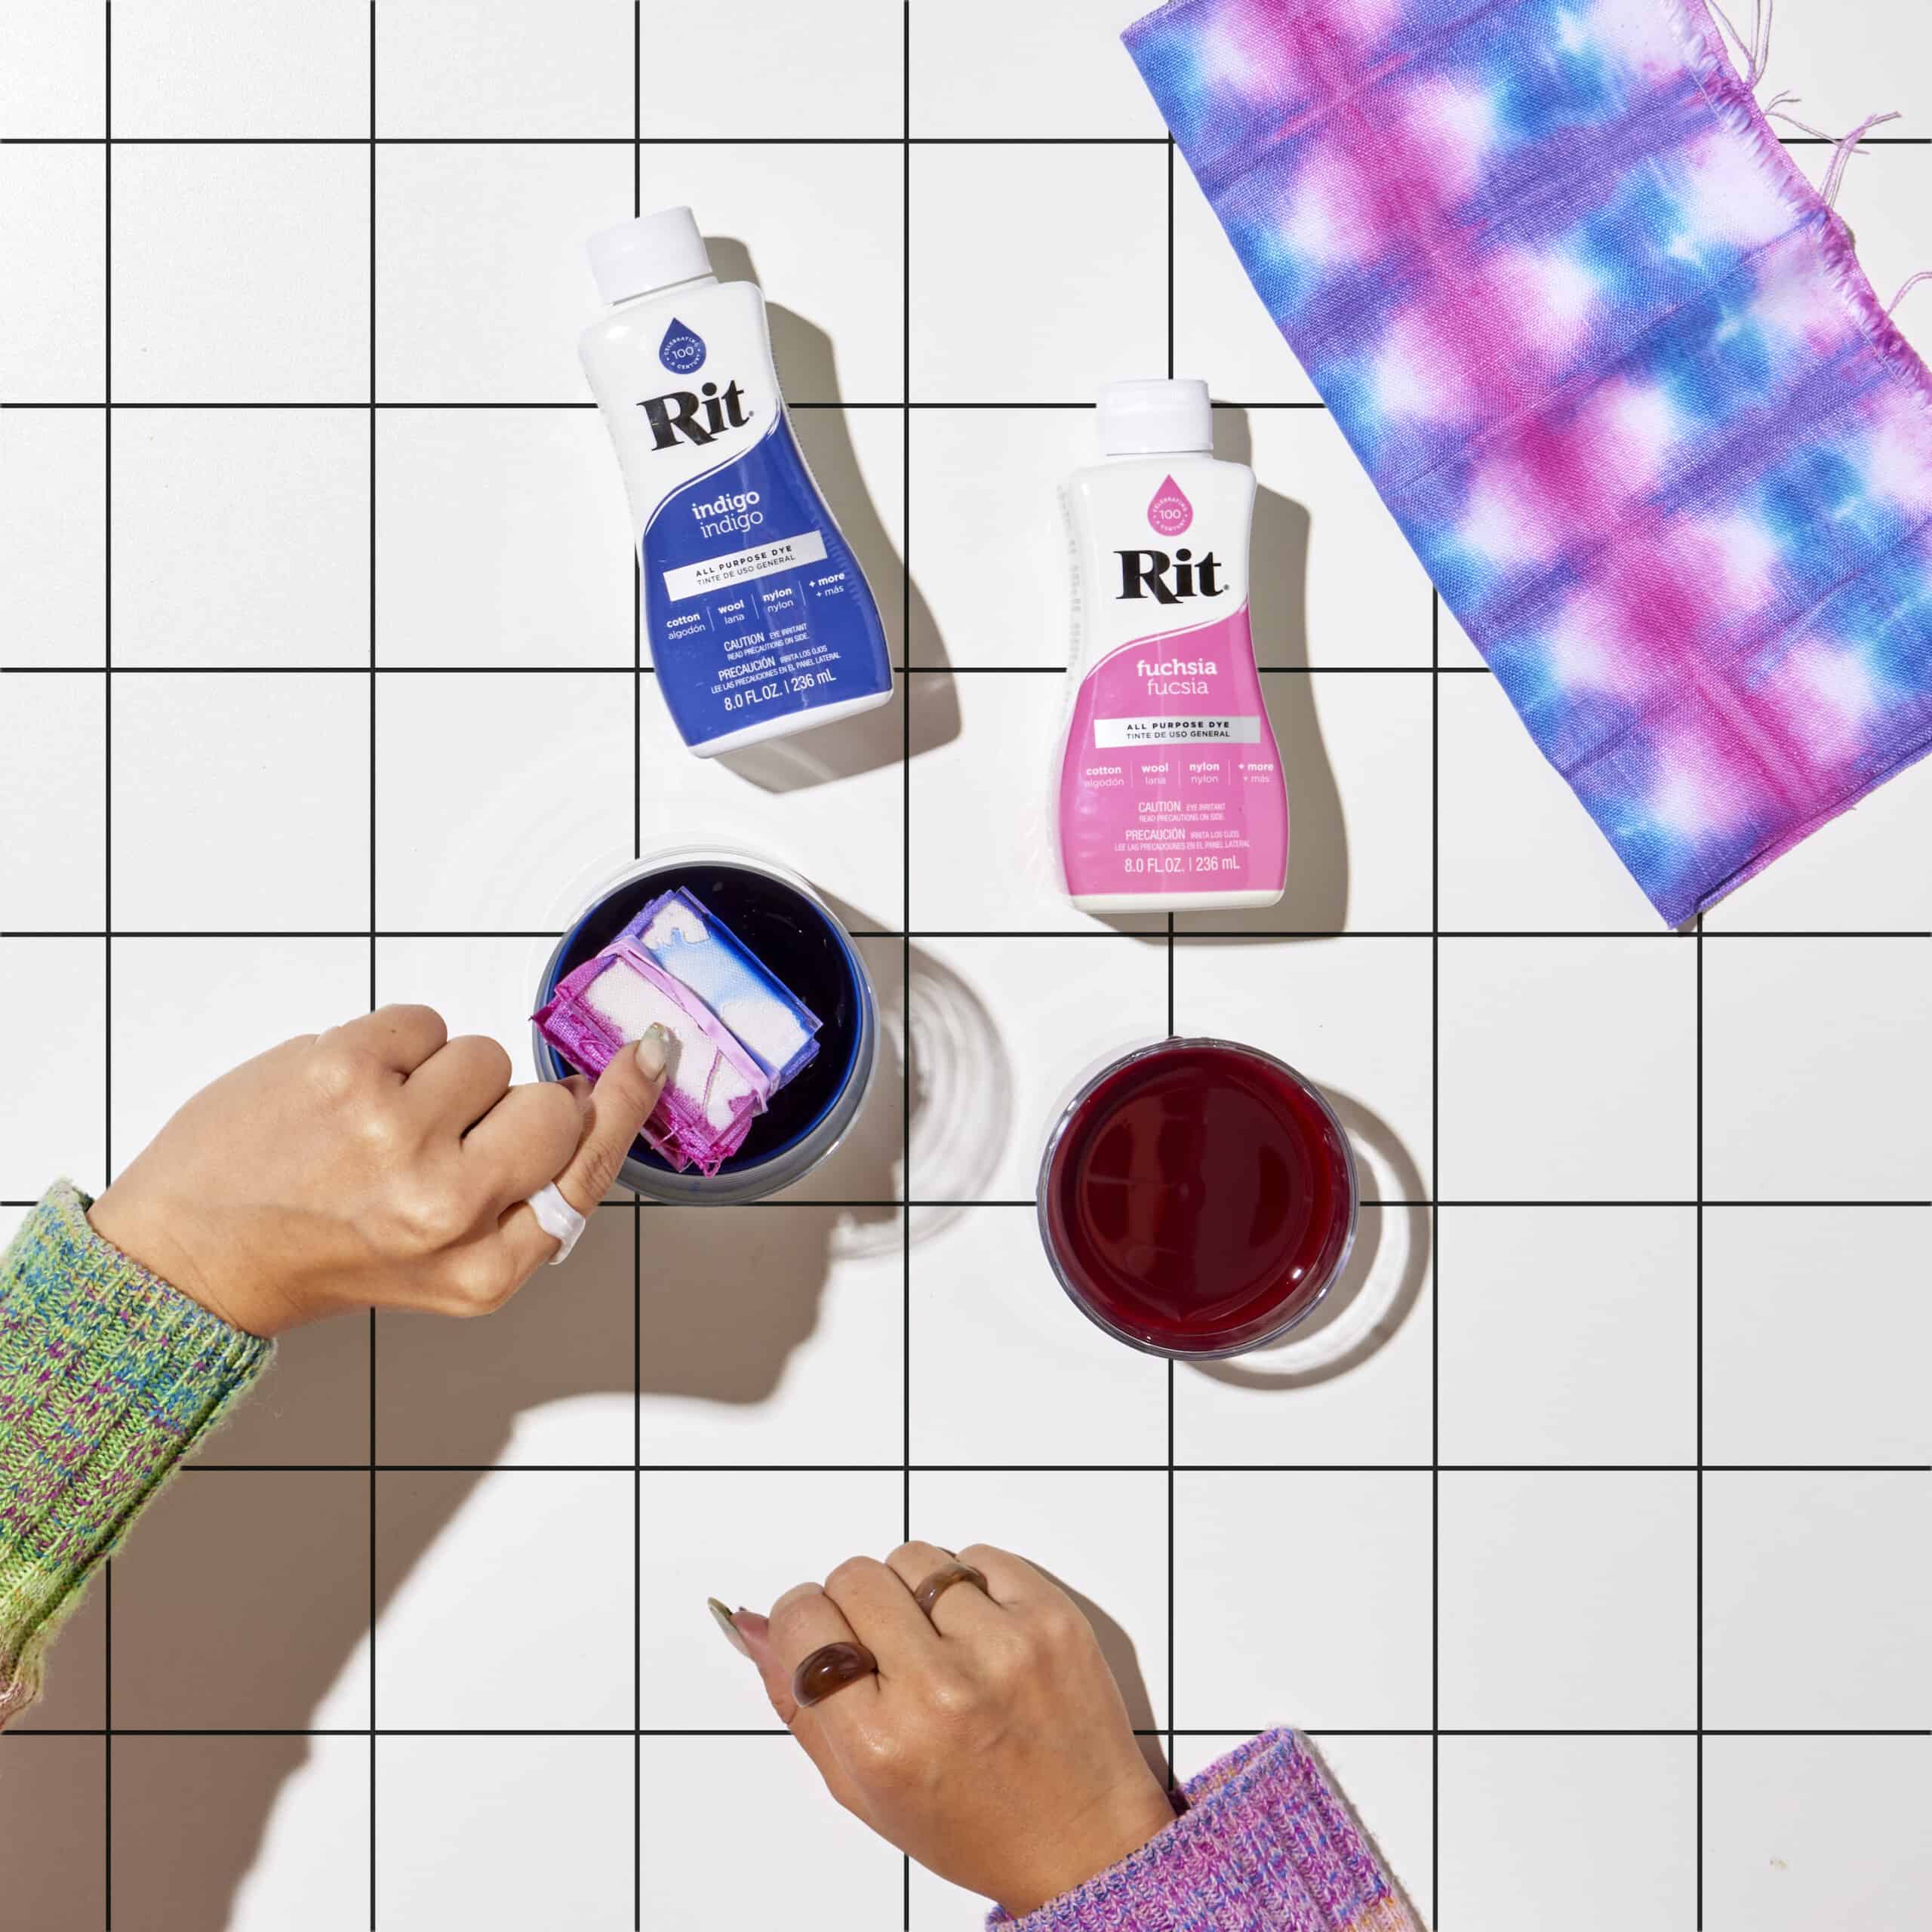
- When desired color is achieved, remove wrapped fabric from the dyebath. Do not remove blocks.
- We strongly recommend using Rit ColorStay Dye Fixative immediately after dyeing and before washing. It enhances the color, increases color retention and prevents dye from bleeding into white areas. Follow these instructions.
- Rinse in cool water until rinse water begins to run clear.
- Carefully remove wood blocks and rubber bands. Unfold the fabric.
- Wash in warm water with a mild detergent, rinse and dry.
- Once dry, place cotton fabric flat on baking tray lined with wax paper or foil Sprinkle beeswax pellets over the fabric.
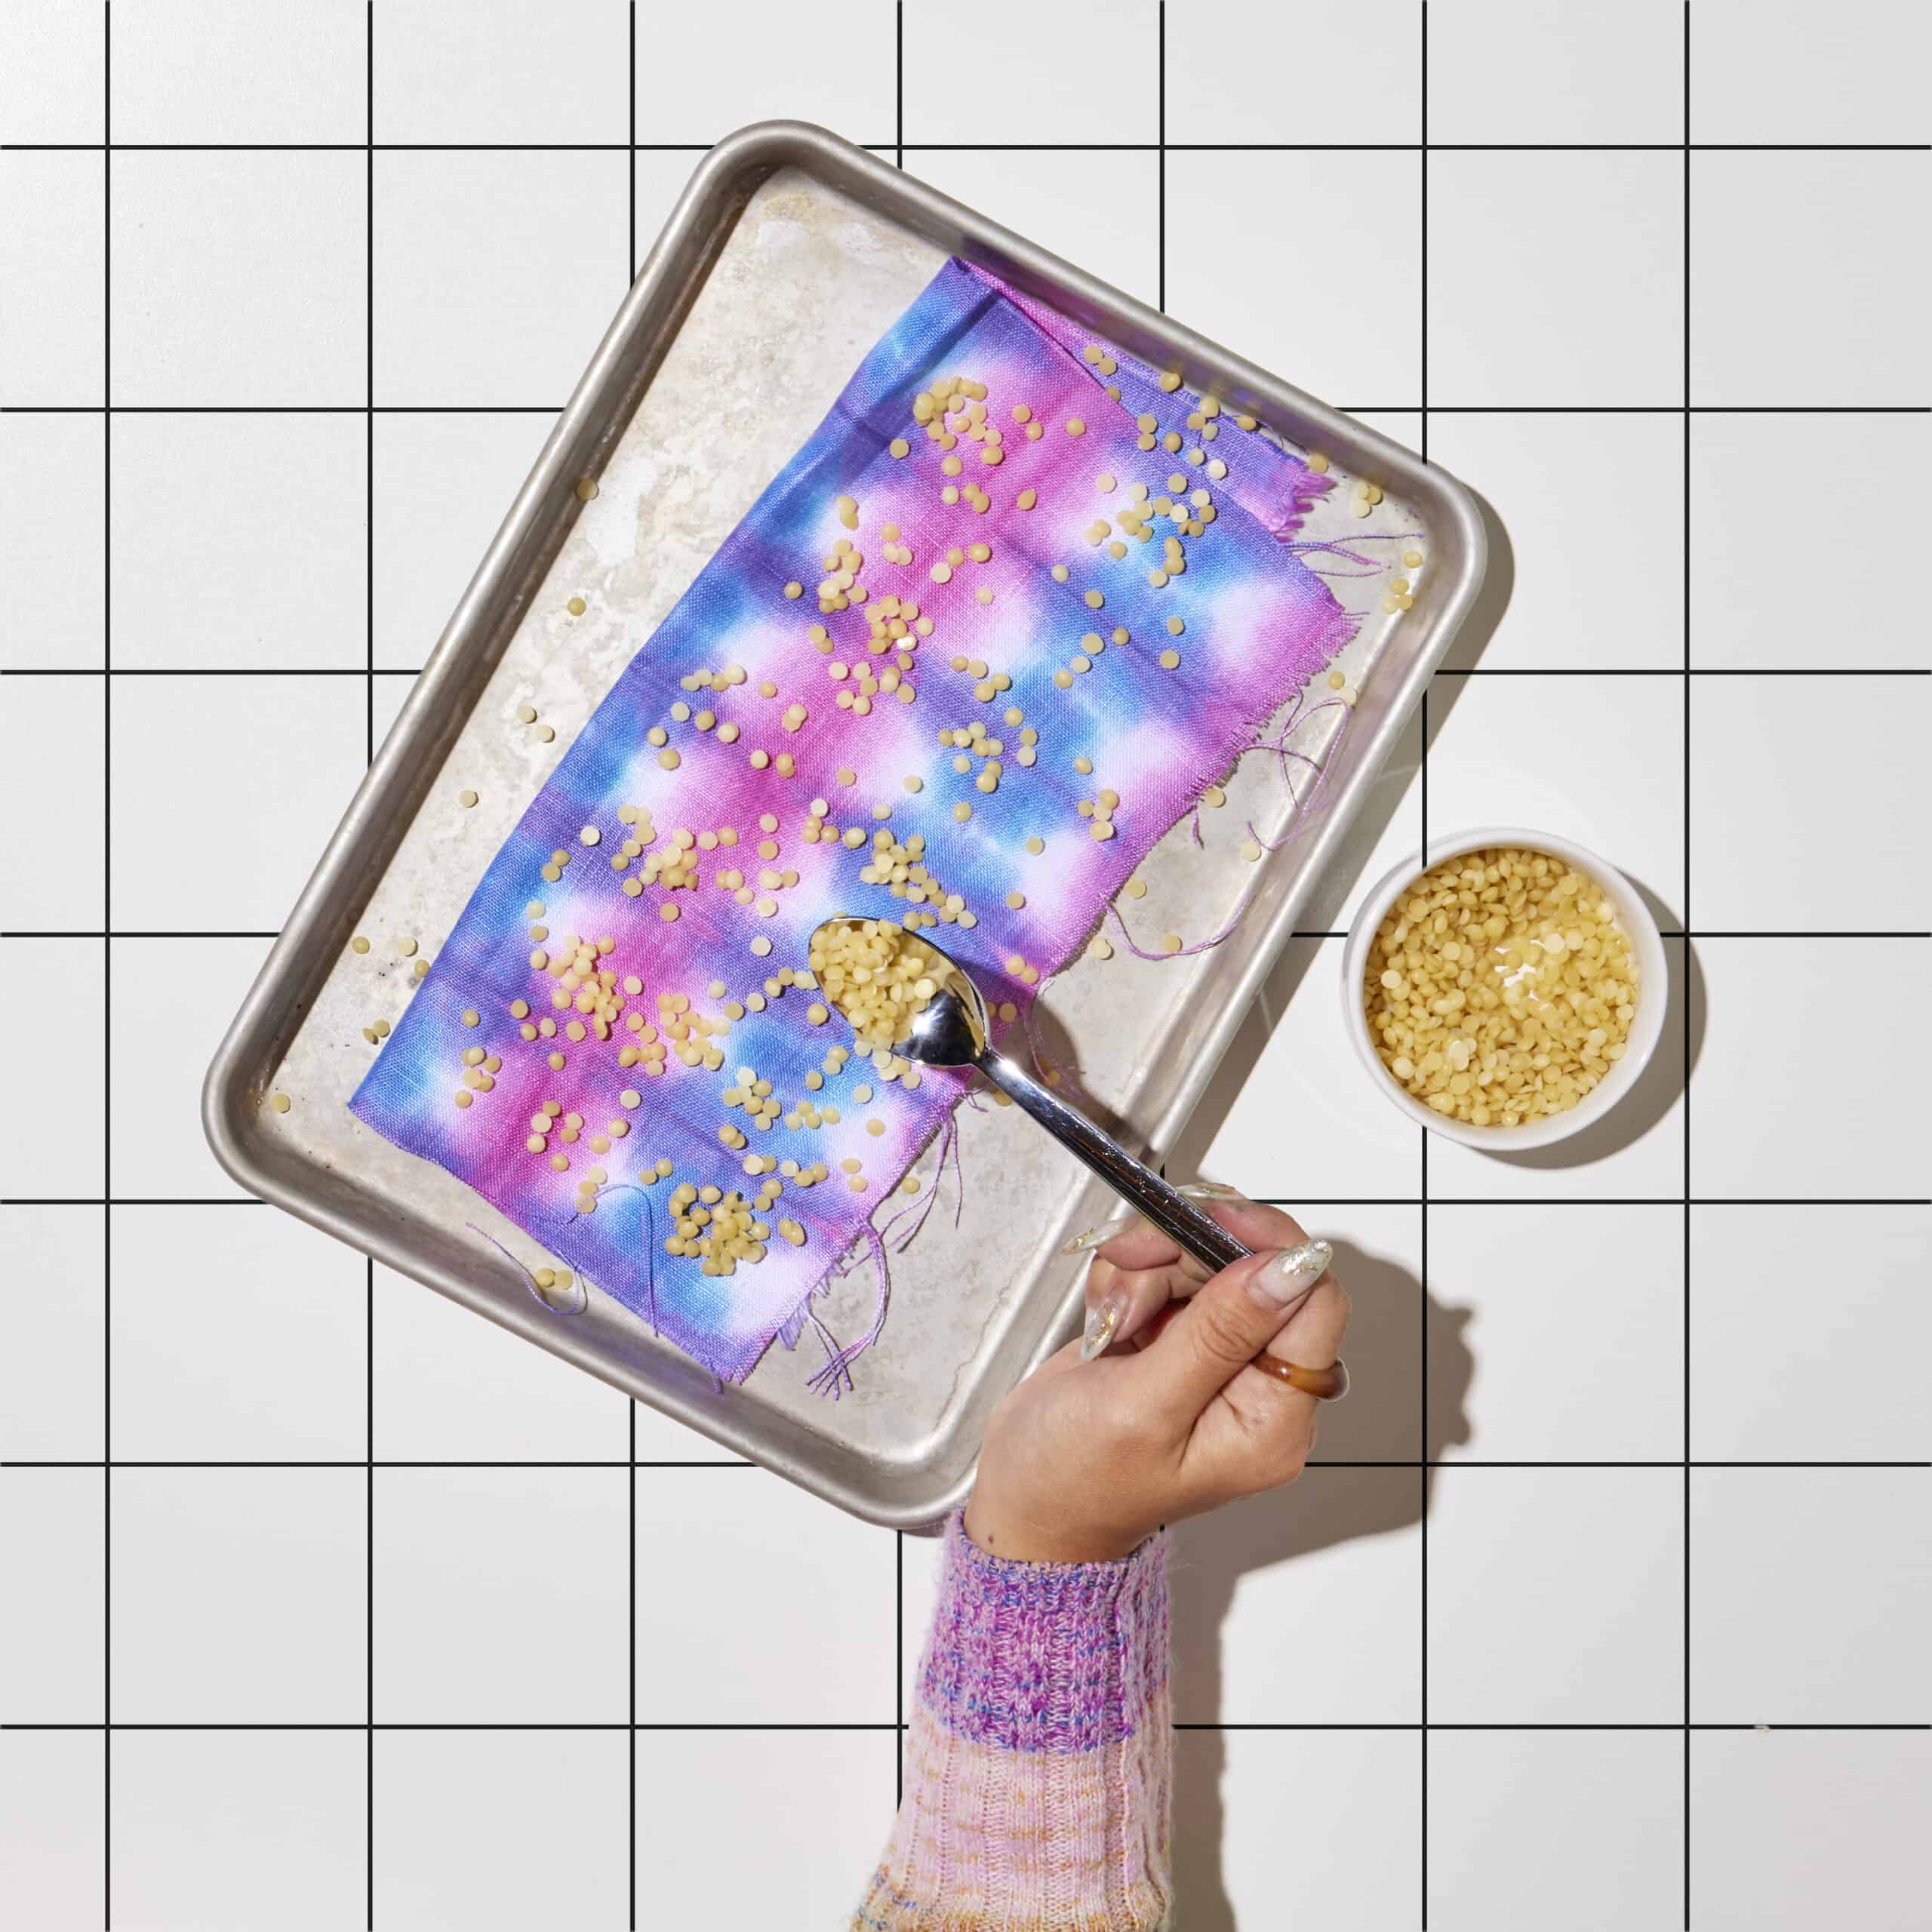
- Place into warm oven for 5 minutes, or until beeswax is fully melted and soaked into the fabric.
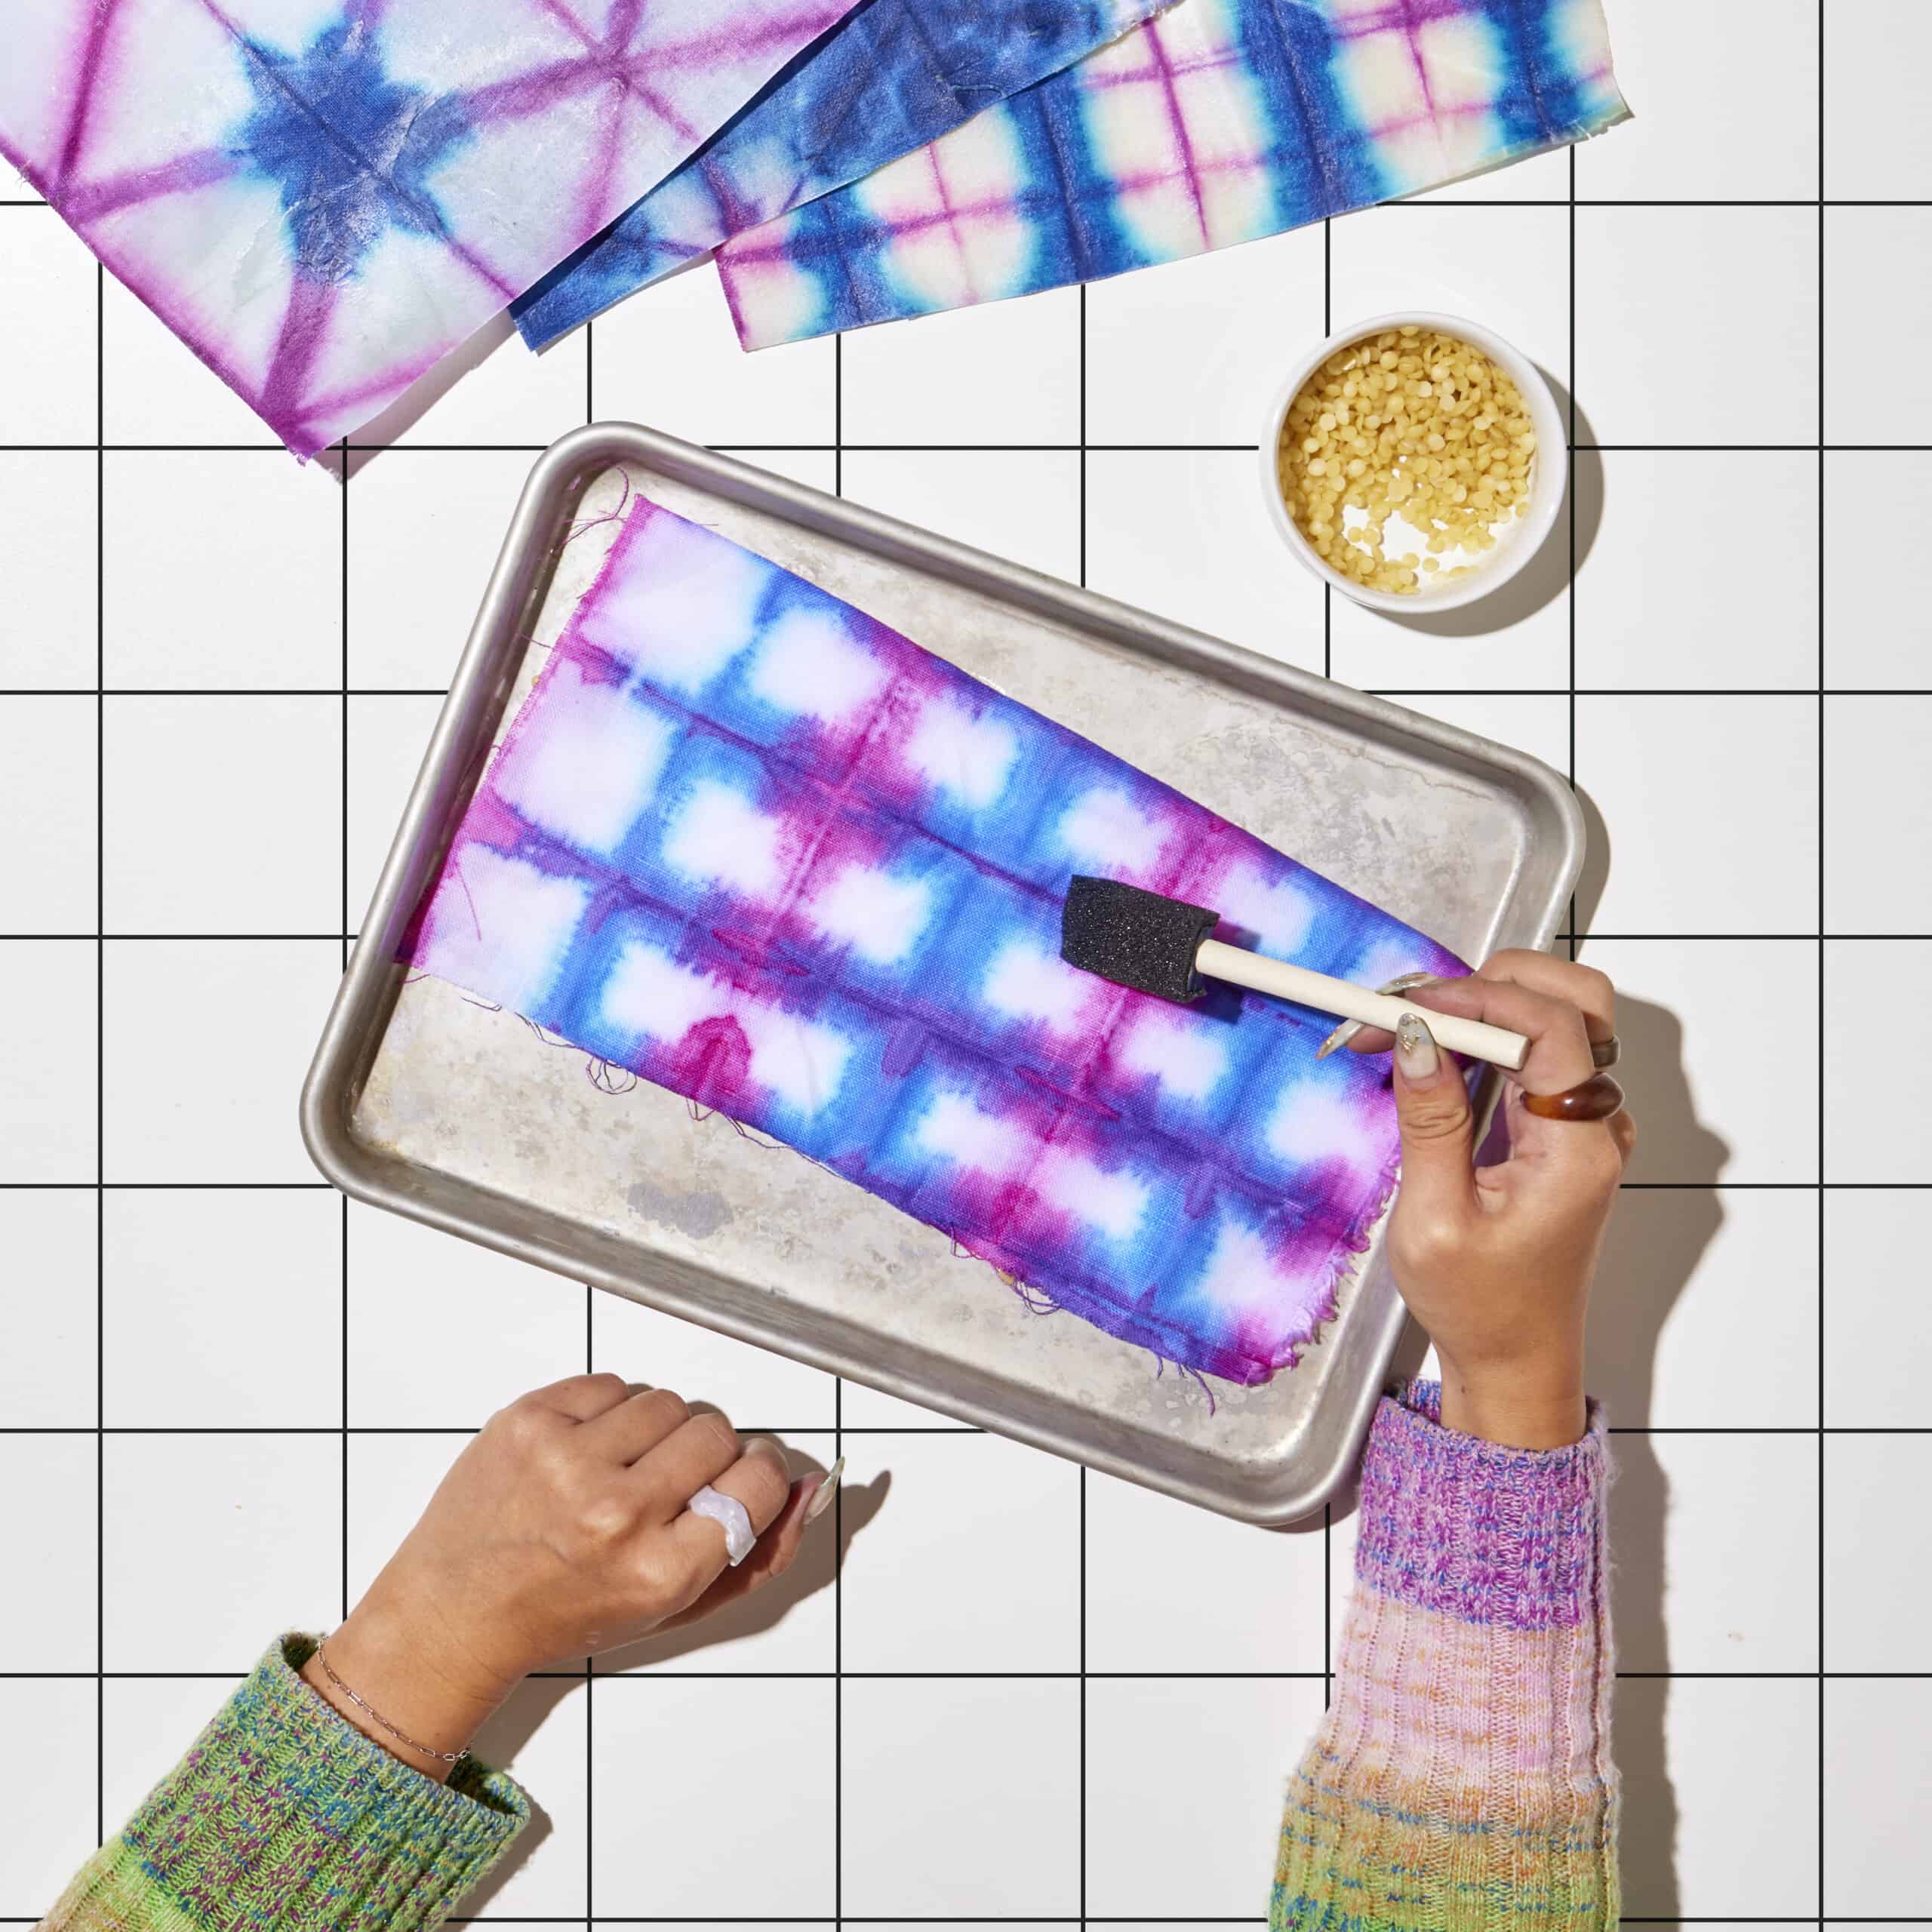
- Once melted, carefully remove tray from oven.
- Use paintbrush to evenly spread melted beeswax over the fabric. Work fast as the beeswax will harden.
- Hang to dry.


Posts You May Like
