
Supplies
- Rit All-Purpose Liquid Dye in Purple
- Watercolor Paper for Menus
- Container for Dyeing
- Measuring Spoons
- Paper Towels
- Plastic Table Cover
Time
Total: {{ partial.t789.total }}
Difficulty
Beginner Total: {{ partial.tGB9.total }}
Instructions
- Cover work area with plastic table cover and have paper towels handy to protect against any possible spills. Gather supplies.
- Fill a medium sized bowl with very hot water.
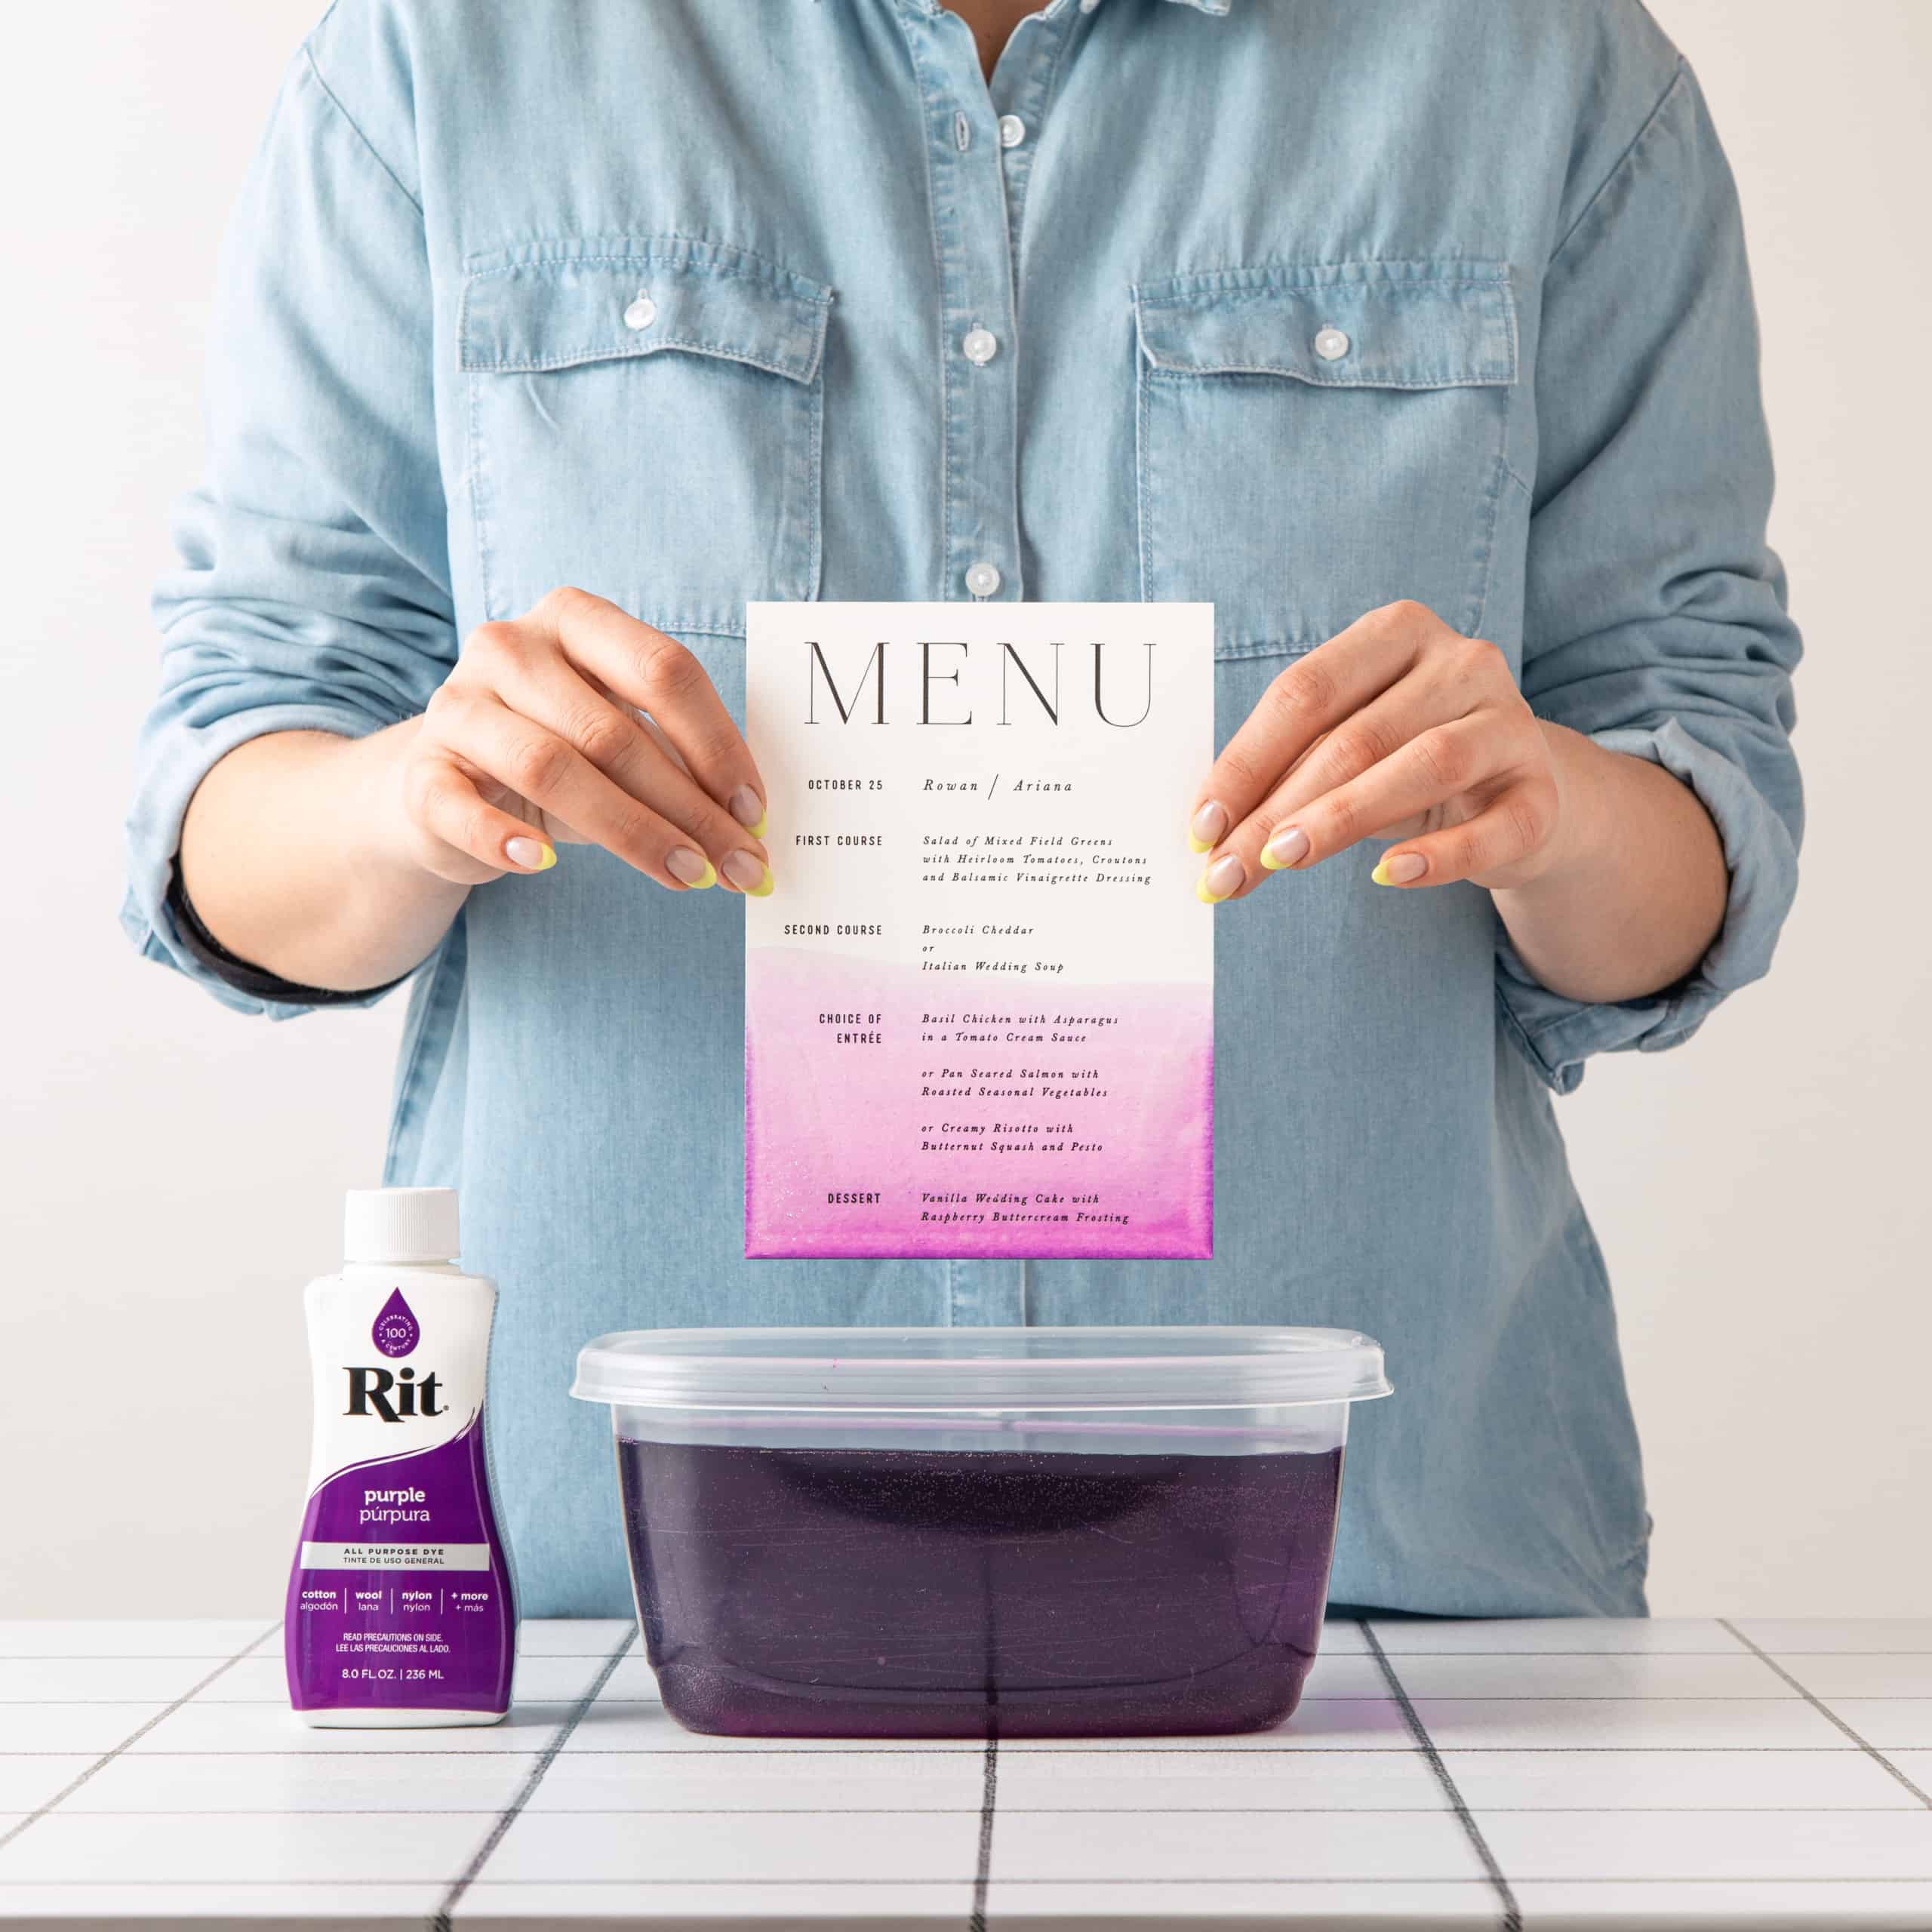
- Shake dye bottle before pouring. Wearing rubber gloves, add 1 to 2 tablespoons of your favorite shade. For this project, we used Purple. Stir well.
- Test the color by dipping a scrap piece of paper directly into the dyebath. If the color is too light, add more dye; if it is too dark, add more water.
- Dip the watercolor paper directly into the dyebath. It will dye within a few seconds.
- To create an ombré effect, dip the whole card in quickly and then pull the card out slowly, allowing the bottom portions of the card to spend a few more seconds in the dye. The longer the card stays in the dye, the darker it will be. A few extra seconds should be sufficient. Keeping the paper card in the dye bath too long could warp the paper.
- Remove the menu from the dyebath.
- To create the washed effect, use paper towel to blot.
- Try dyeing the menu cards at different angles. We dyed several lengthwise, horizontal and on an angle.
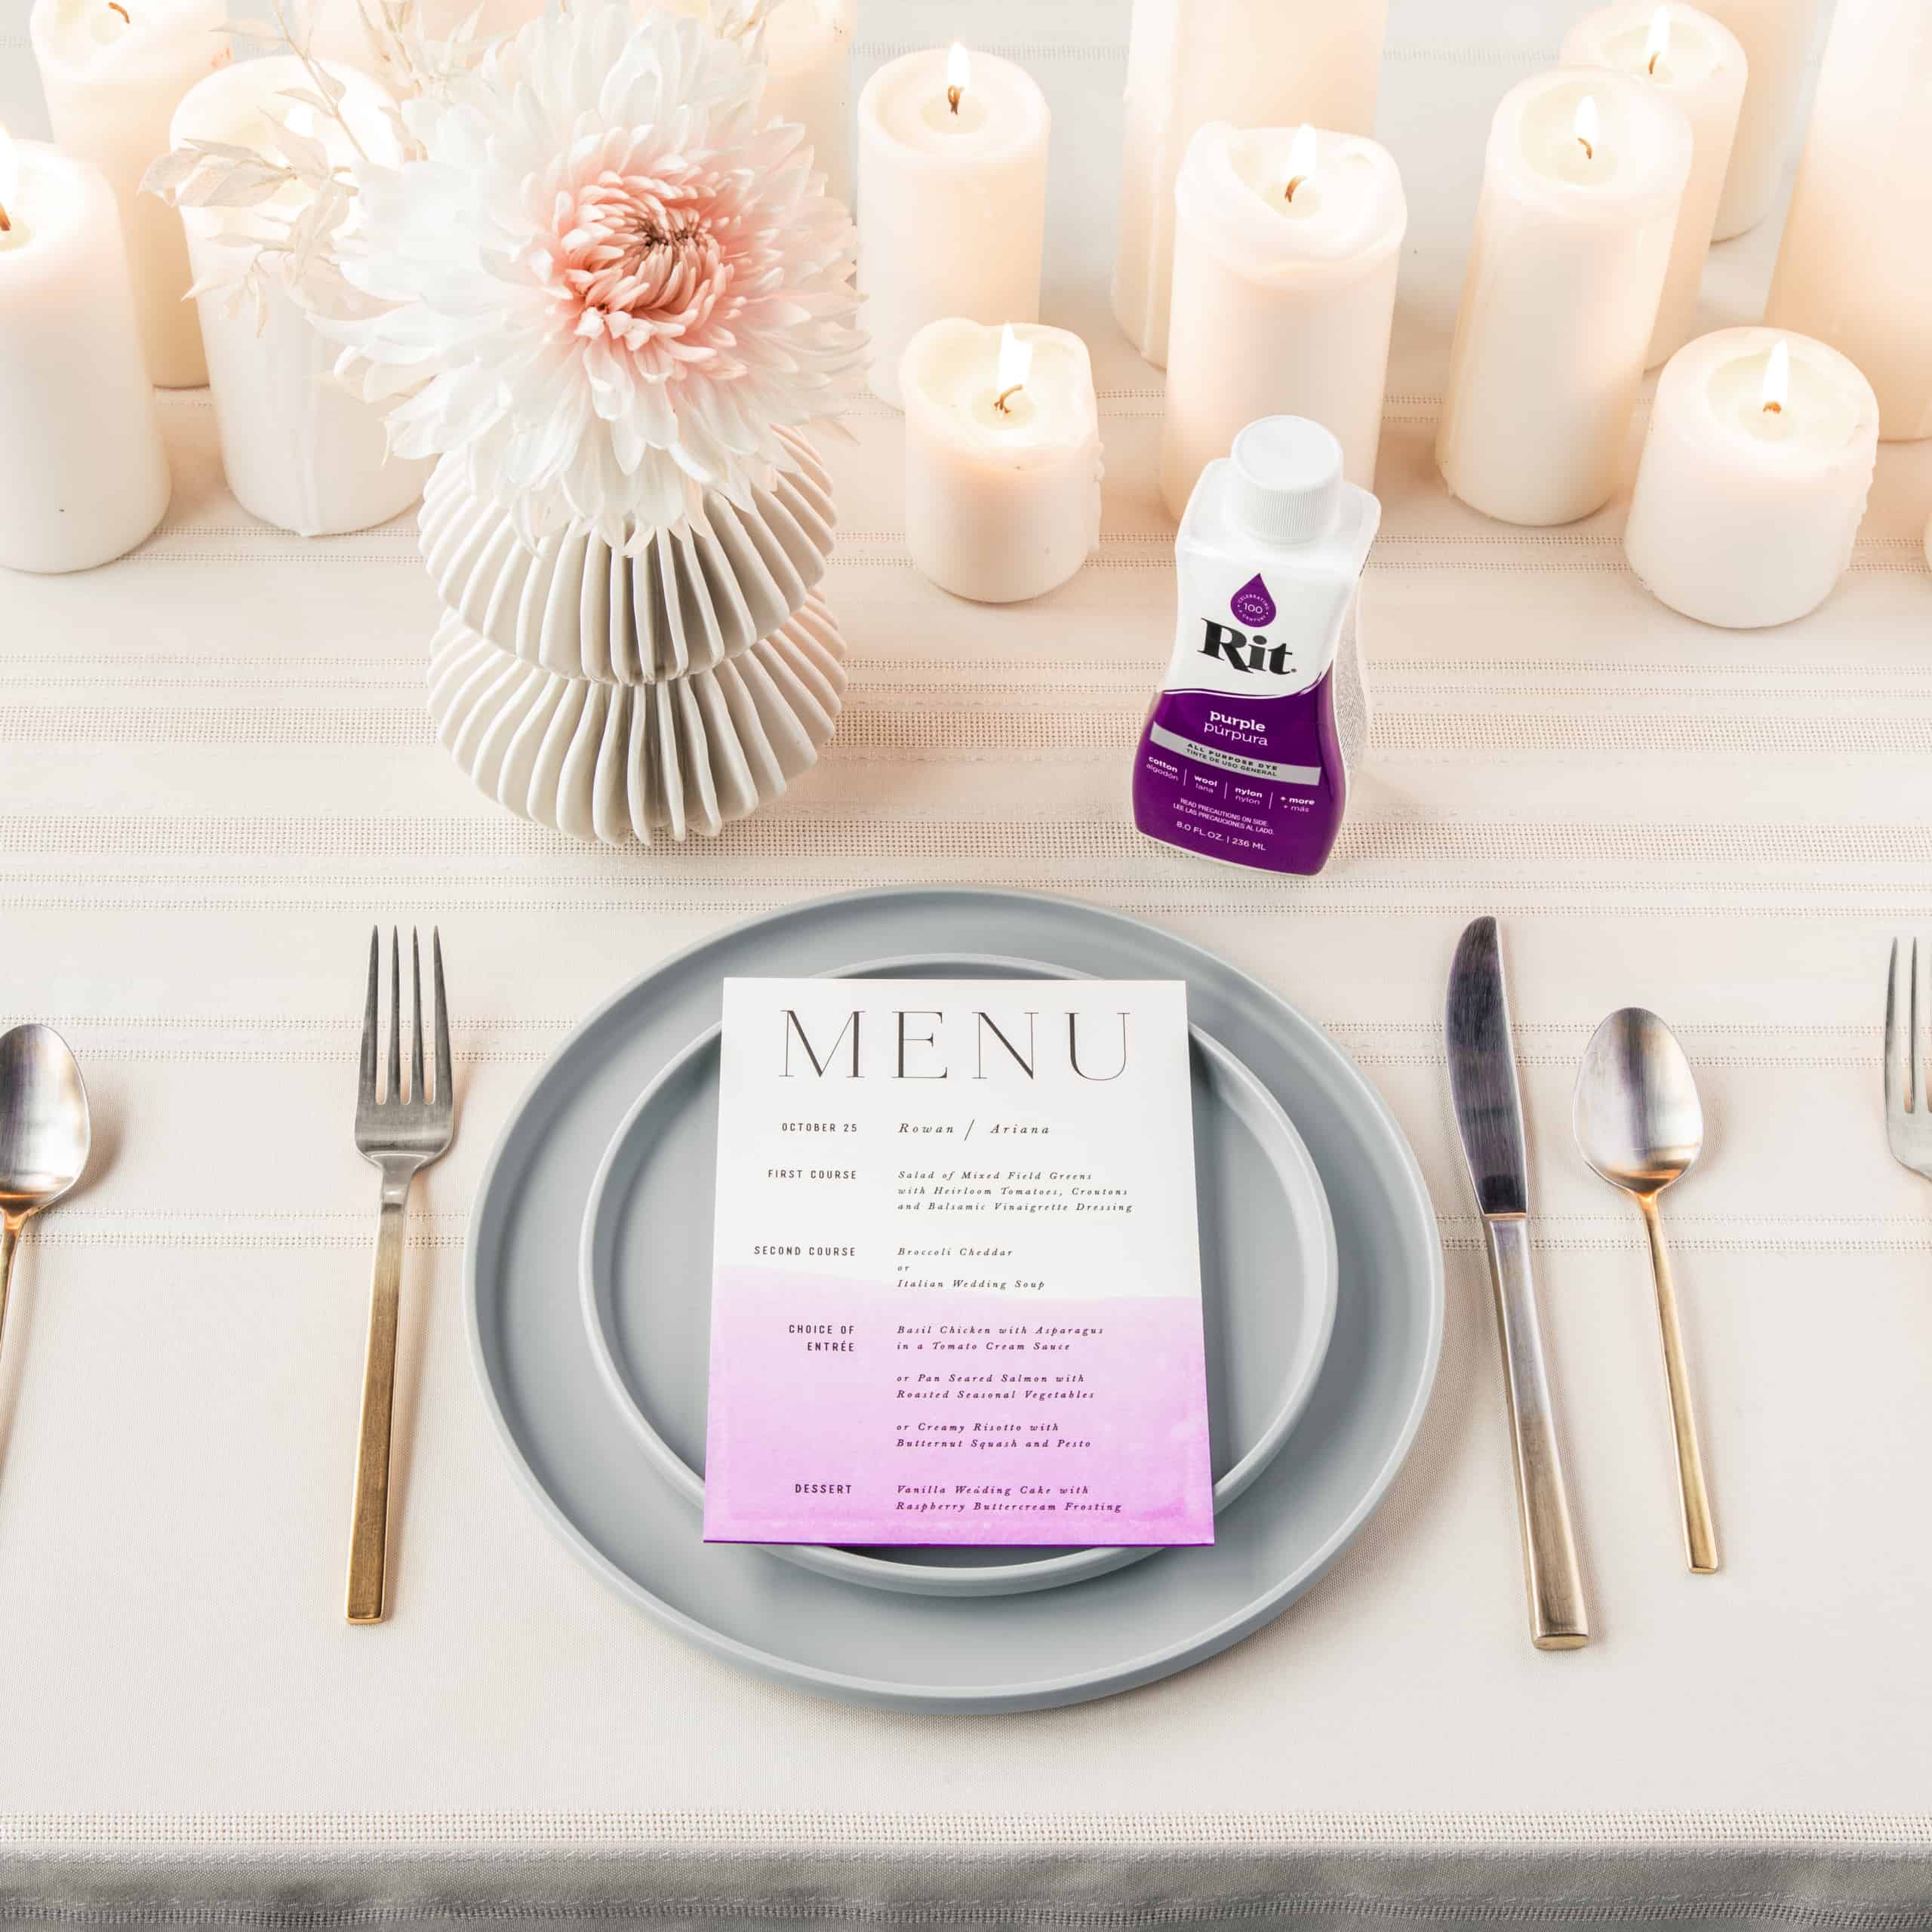
- Lay menus out flat on clean, dry paper towels until completely dry.
- If the paper is wrinkled at all, place them under a heavy object (like a big book) to even them out.


Posts You May Like
