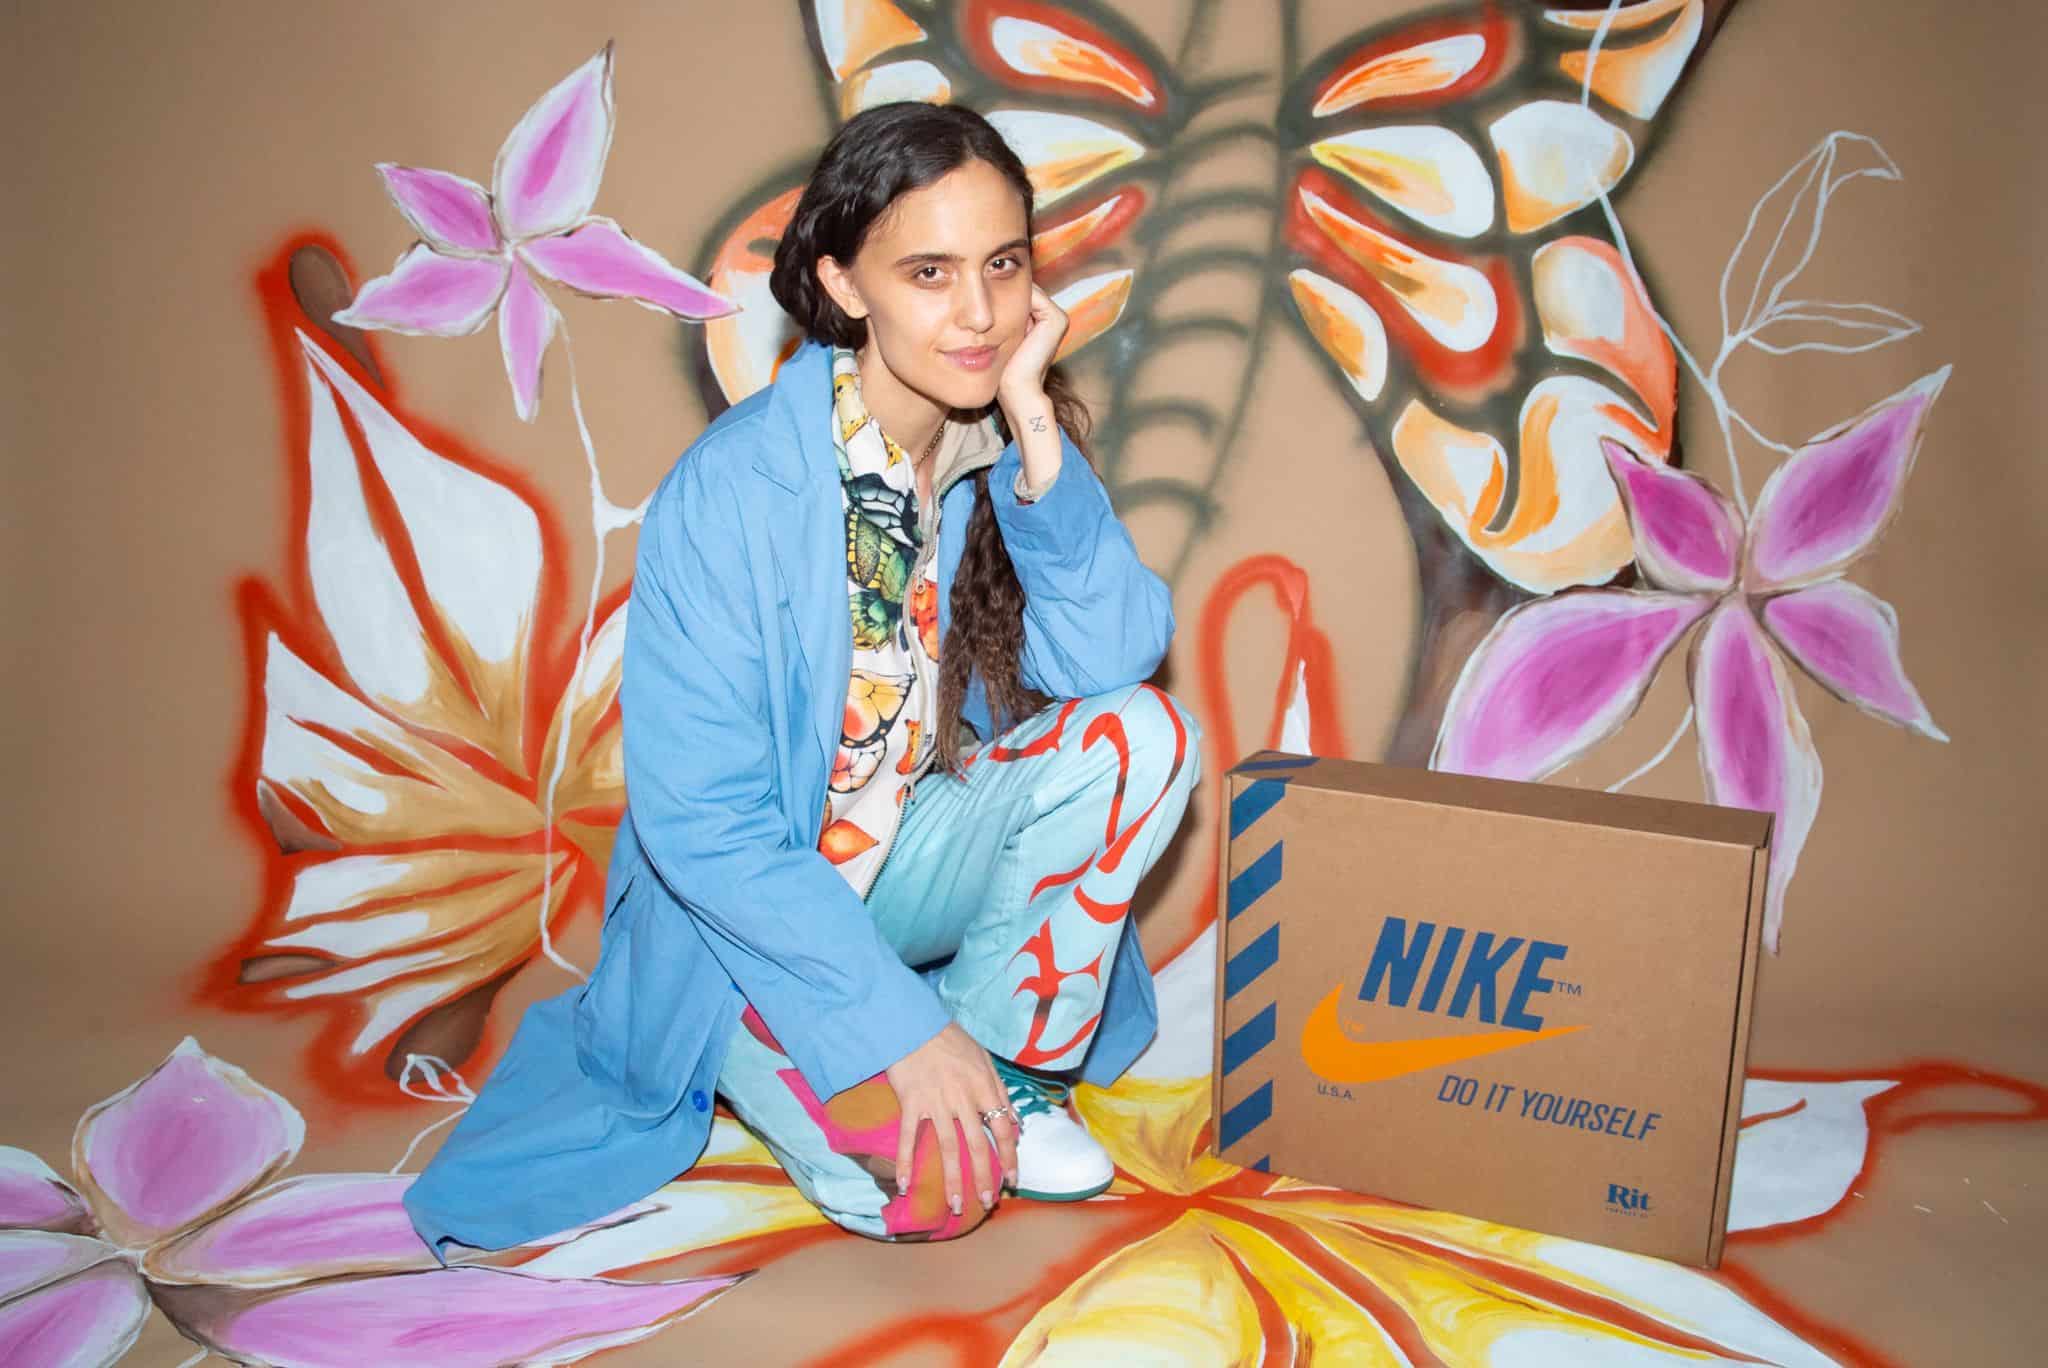
Nike x Rit Ice Dye Tutorials
This is a three-part series showcasing easy-to-follow Ice Dye tutorials for all levels. We broke it down into beginner, intermediate and expert with our in-house artist (and a special guest ☺️). From simple scrunch ice dye to pleated incline ice dye–we cover it all. Watch them below to get started on your ice dye journey.
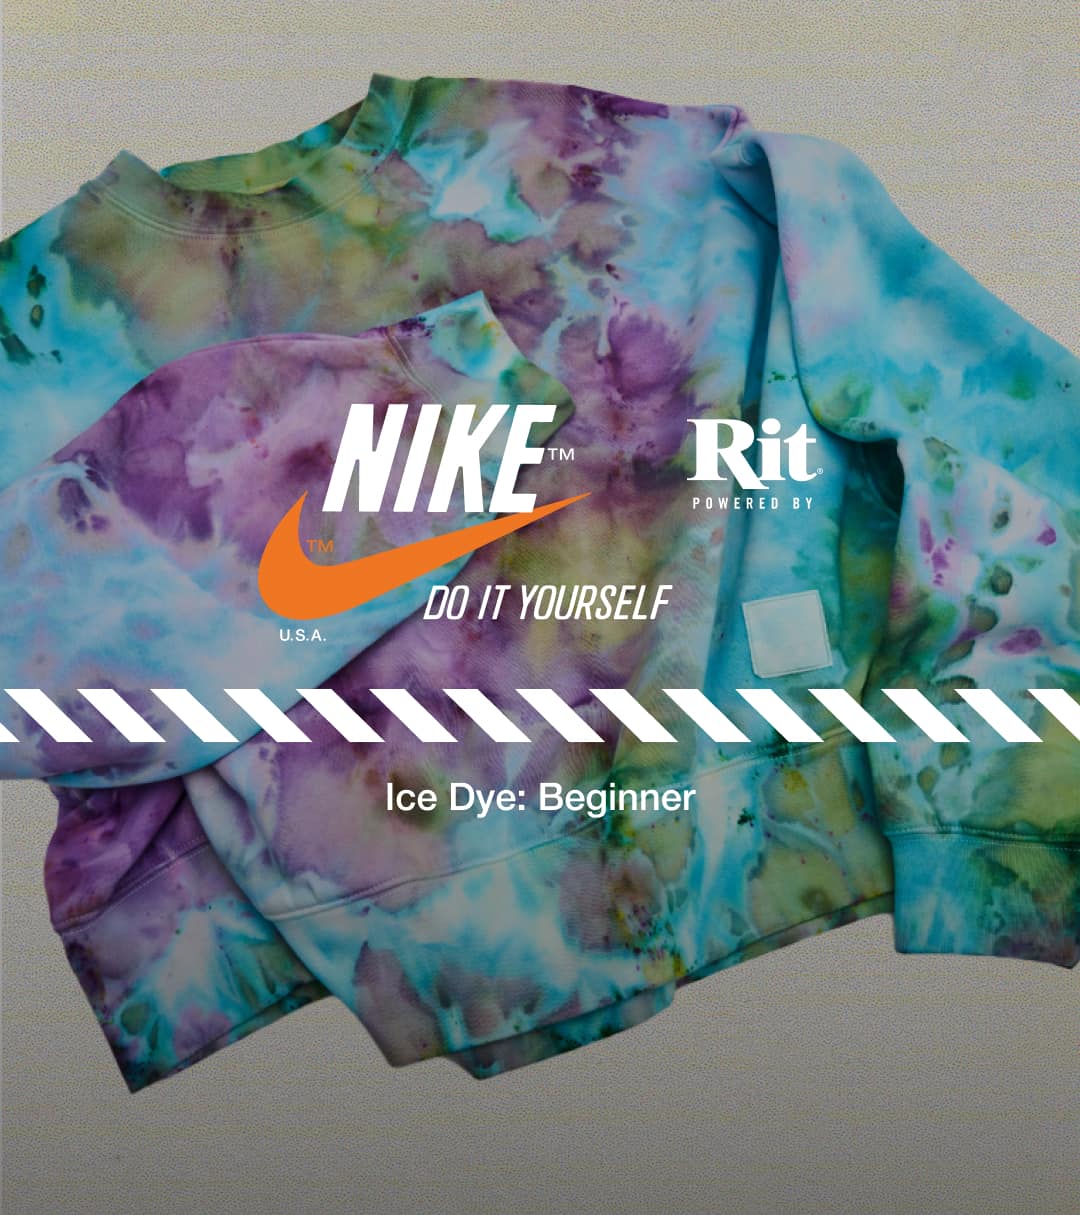
Beginner | Ice Dye Scrunch
It doesn’t get any easier than scrunch. Simply scrunch the sweatshirt, cover it with ice, sprinkle the powder dye over the ice and watch the ice melt to create your masterpiece.
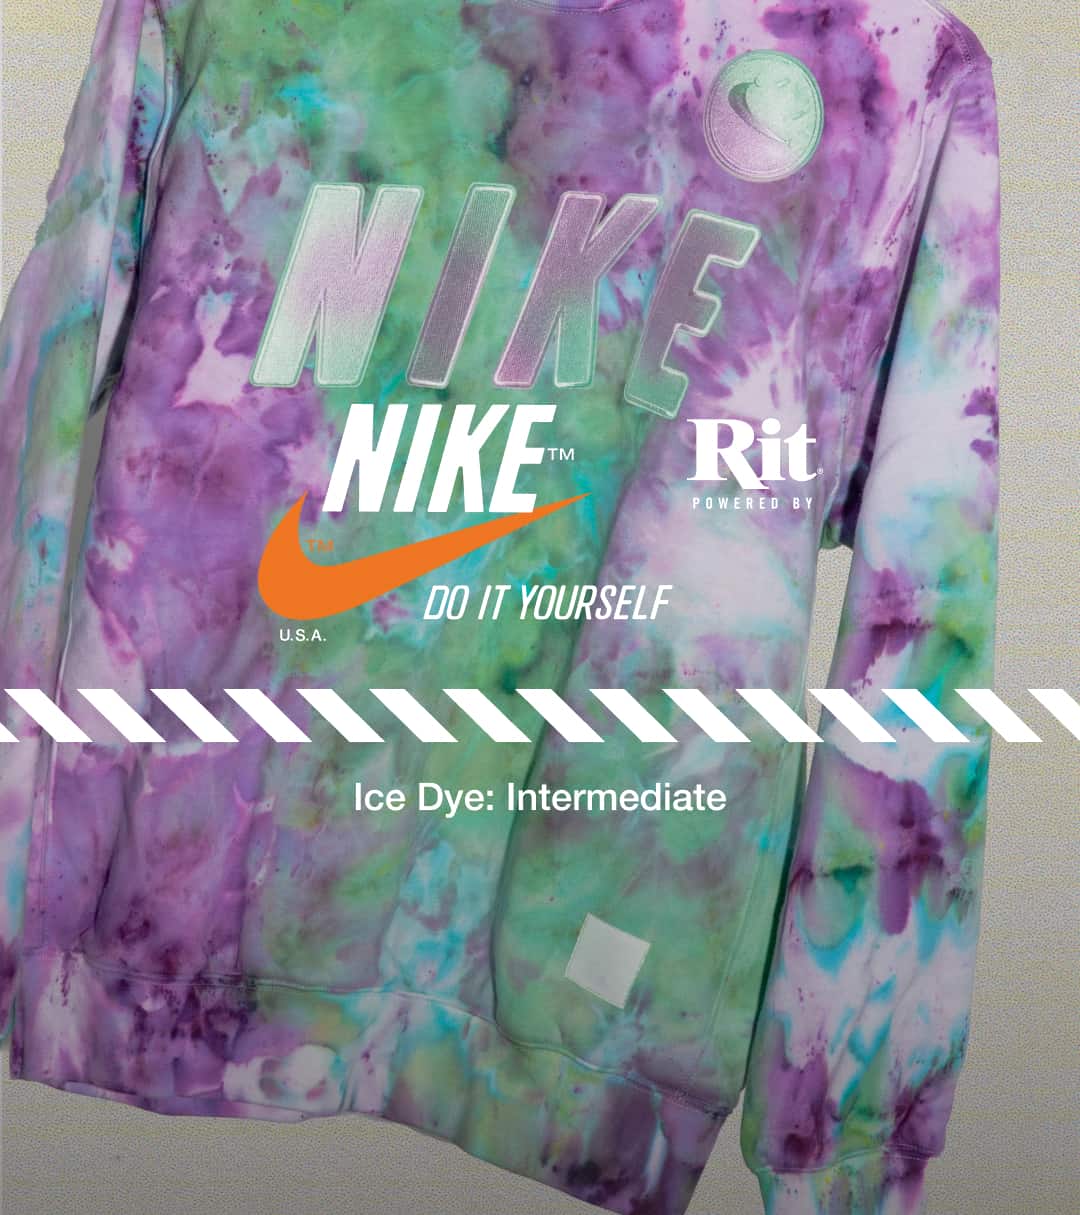
Intermediate | Ice Dye Scrunch + Pleat
We’re taking it to the next level with pleated sleeves. Scrunch the body of the sweatshirt just like the beginner tutorial, but this time we’re going to pleat the sleeves. Instead of putting the dye over the ice, we placed the dye underneath the ice to get more precise with color placement.
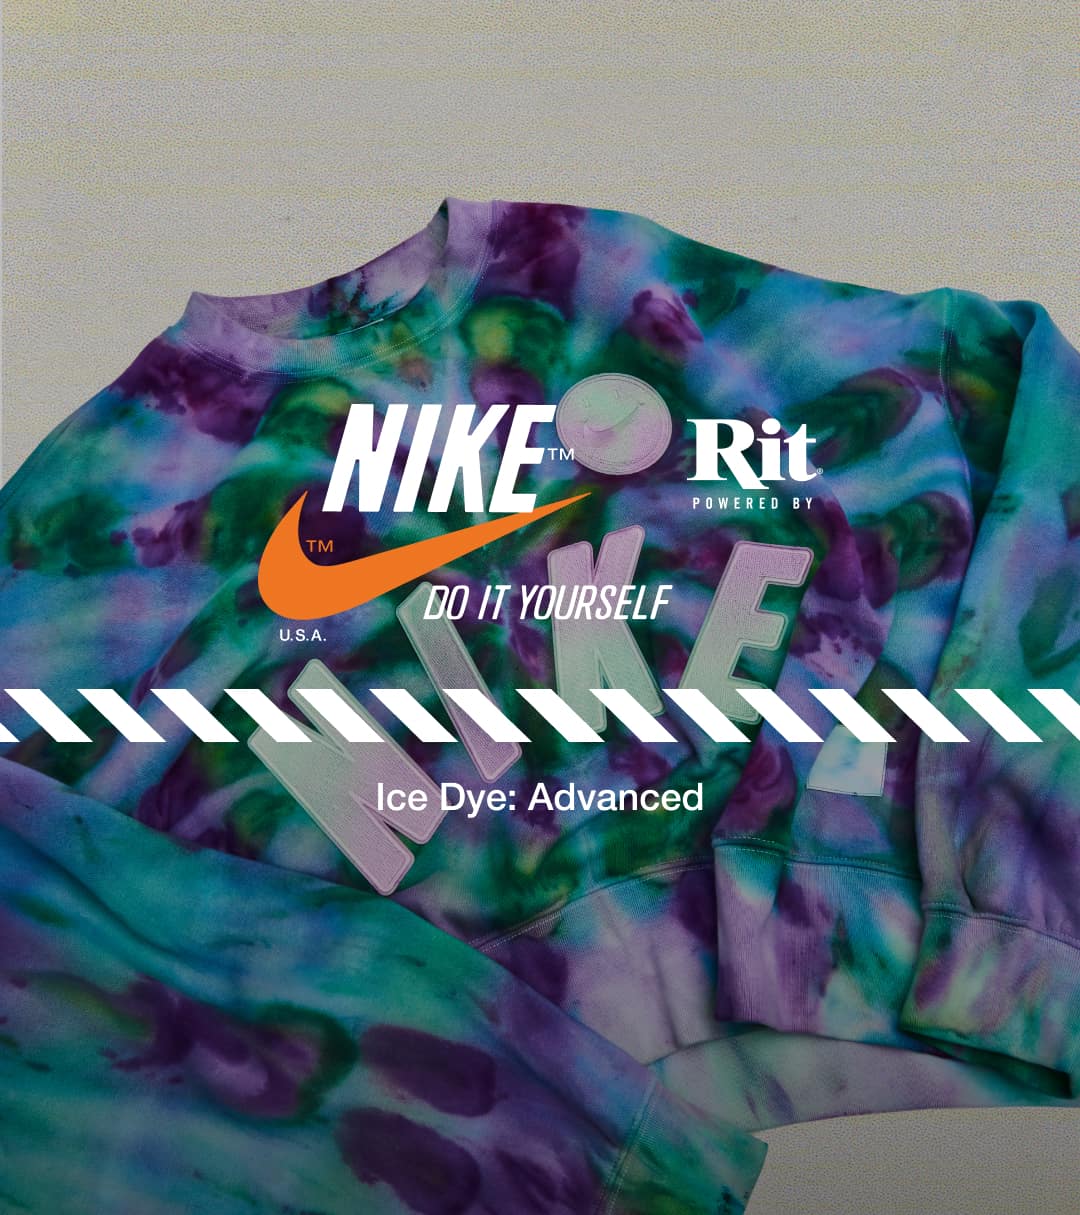
Expert | Incline Ice Dye
This is for those looking for a challenge. We created a circular pleat and bound the sweatshirt placing the powder dye under the ice. We then let the ice melt at an incline. This creates a unique design that pulls the dye towards the center of the sweatshirt.
Behind the Design
