

Supplies
- Rit Liquid All-Purpose Dye in Apple Green, Tangerine and Petal Pink
- Rit DyeMore for Synthetics in Royal Purple
- Rit ColorStay Dye Fixative
- Tie-Dye Accessory Kit
- Cotton Dress
- Cotton Button Up
- Synthetic Flare Pants
- Pot for Dyeing + Stovetop
- Wire Rack + Tray
- Salt
- Dish Soap
- Measuring Cup
- Rubber Gloves
- Paper Towels
Time
1 hour Total: {{ partial.tCKP.total }}
Difficulty
Beginner Total: {{ partial.tXC4.total }}
Instructions
For Dress + Button-up Shirt:
- Prewash garments in warm, soapy water. This helps to remove any finishes that may interfere with dye absorption. Leave damp.
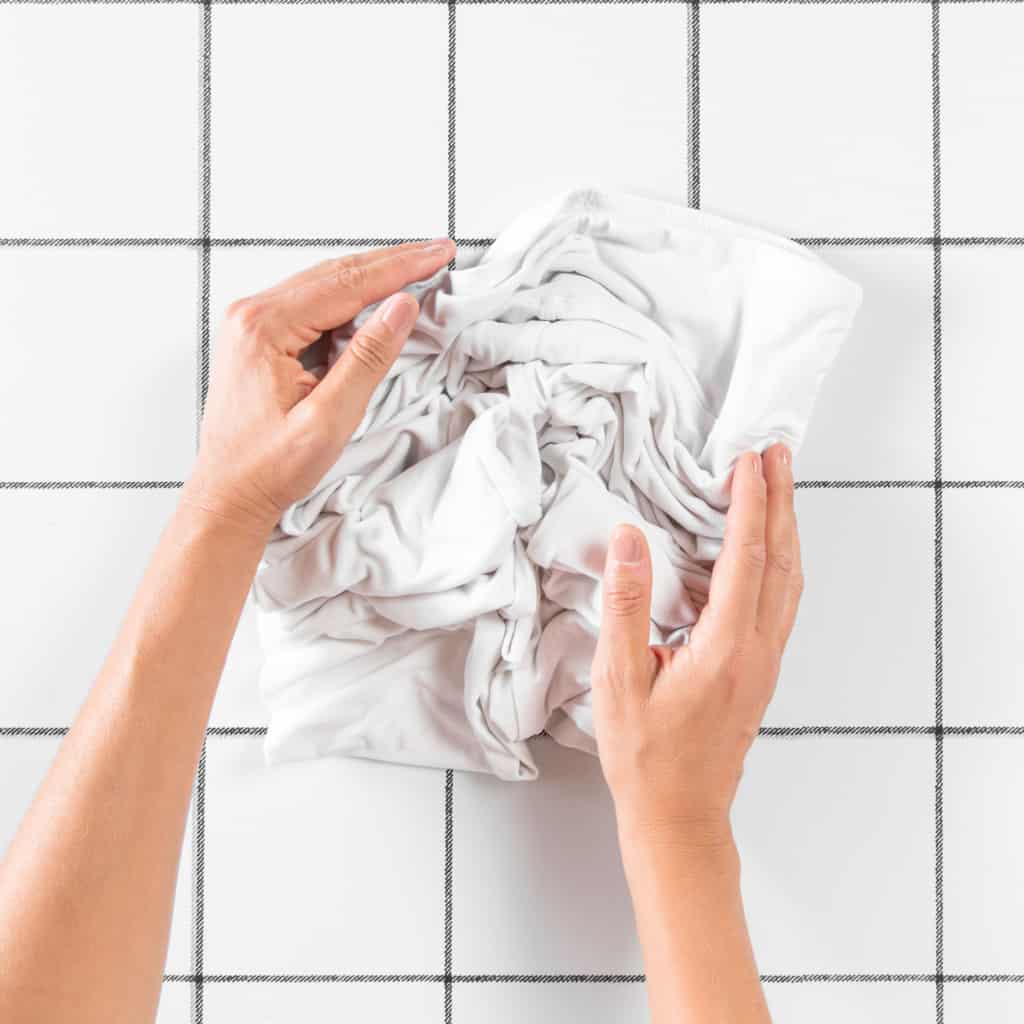
- Lay dress and button-up shirt flat.
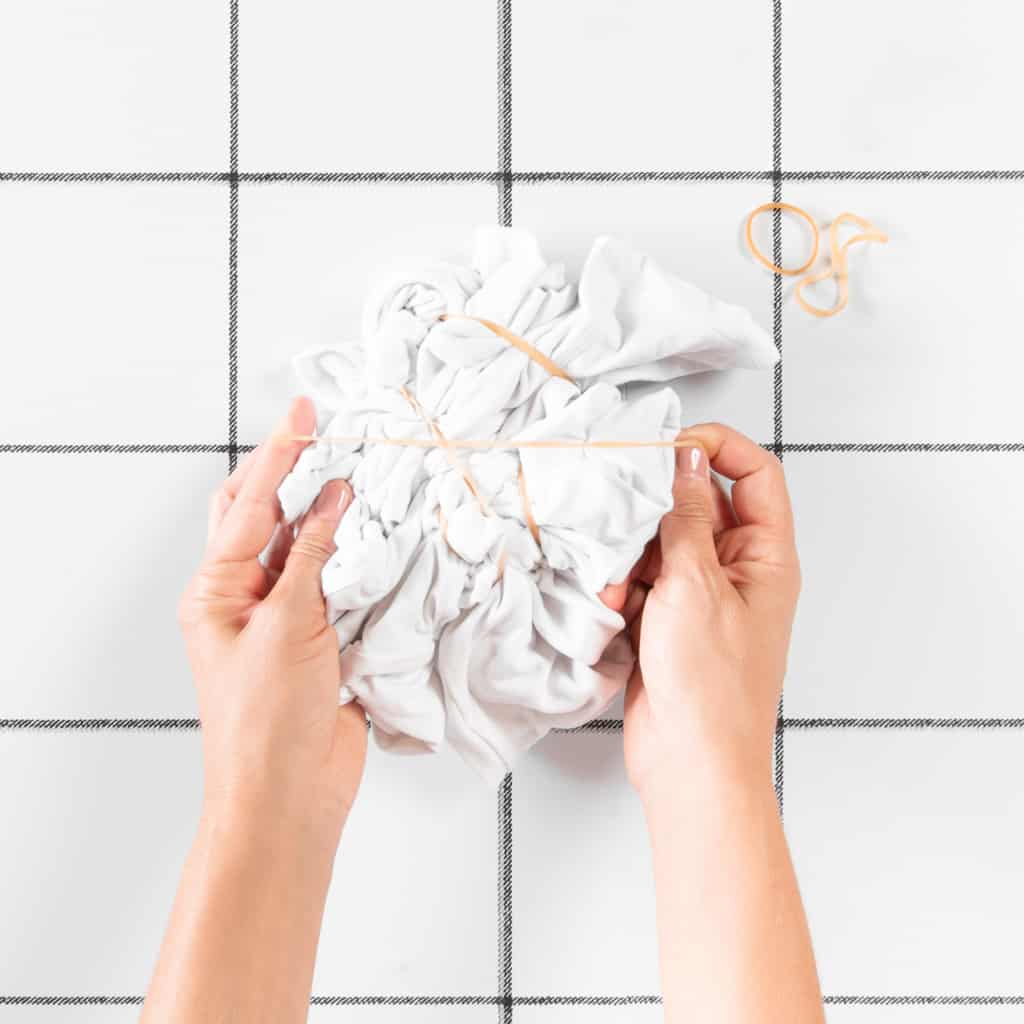
- Scrunch in random sections and secure with rubber bands. Repeat until both the dress and shirt are scrunched into a tight ball. Remember: the tighter your rubber bands are, the more white space you’ll end up with.
- Set aside your bound garments to prepare your squeeze bottles.
- Wearing rubber gloves, mix 2 Tablespoons of well-shaken liquid dye with two cups of hot tap water in the squeeze bottle from the Tie-Dye Accessory Kit. Add 1 tablespoon of salt and shake well.
- For the dress, we used Apple Green in our All-Purpose Liquid Dyes. For the shirt, we used Tangerine and Petal Pink in our All-Purpose Liquid Dyes.
- Place bound garments on baking rack with a tray under it. This keeps the dye from puddling under the fabric.
- Squeeze dye onto shirt. Apply colors in sections created by rubber bands. Make sure not to overlap edges of colors to keep them separated.
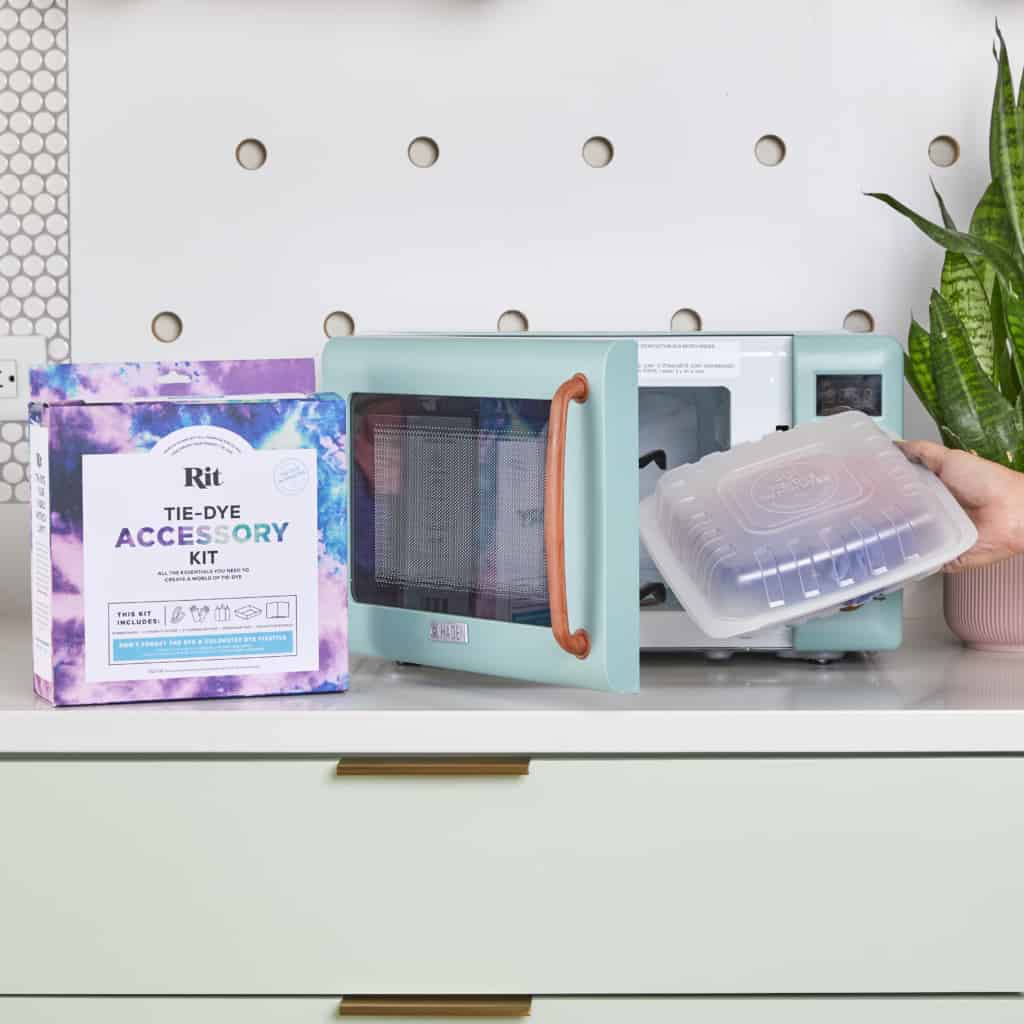
- To help set the dye, we recommend using your microwave. Place the dyed shirt in the container that comes in the Tie-Dye Accessory Kit or simply plastic wrap and seal the edges. Place the wrapped fabric on a paper towel in the microwave and heat for 1 to 2 minutes. This will create a heat chamber that helps bond the dye with the fabric. Once the microwave is done, remove the shirt and open the plastic, letting it cool down.
- Before removing the rubber bands, we strongly recommend using Rit ColorStay Dye Fixative on the tee. It enhances the color, increases color retention and prevents dye from bleeding into white areas. Follow these instructions. If you are planning to apply the Fixative with a squirt bottle, mix 1/4 cup ColorStay Fixative with 2 cups of hot water and pour mixture into the squirt bottle.
- Carefully remove rubber bands with a scissors and unfold the fabric. Wash in warm water with a mild detergent, rinse and dry.


For Polyester Pants
- For best results, prewash pants to remove any finishes that may interfere with dye absorption. Leave damp.
- Wearing rubber gloves, fill a stainless steel pot with 3 gallons of water. Add 1 teaspoon of dish detergent to help promote level dyeing. Cover pot and heat water on stove top to just below boiling (200 F° or greater).
- When water begins to simmer, add 1/2 bottle of well-shaken DyeMore for Synthetics in Royal Purple and mix well. Keep temperature at a low simmer for the duration of your dyeing.
- For solid overdye, simply add the pants to the dyebath and stir slowly and continuously. The first 10 minutes are the most critical. Stirring helps to ensure an even color with no splotches.
- When desired color is achieved, remove from dyebath. Fabric will look darker when wet and will dry lighter. Squeeze out excess dye wearing rubber gloves
- Wash in warm water with a mild detergent, rinse and dry.

Posts You May Like
