

Supplies
- White Velvet Fabric
- Rit DyeMore for Synthetics
- Stainless Steel Pot for Dyeing
- Tongs
- Scissors
- Fabric Marker
- Paper Towels
- Rubber Bands
- Rubber Gloves
- Thread and Needle
- Uncooked Rice
- Polyester Stuffing
- Dried Pumpkin Stem or Wooden Stick
- Hot Glue Gun
Time
Total: {{ partial.t5LR.total }}
Difficulty
Intermediate Total: {{ partial.t8WR.total }}
Instructions
- Draw 15-20″ circles onto velvet fabric using fabric marker and carefully cut out with scissors
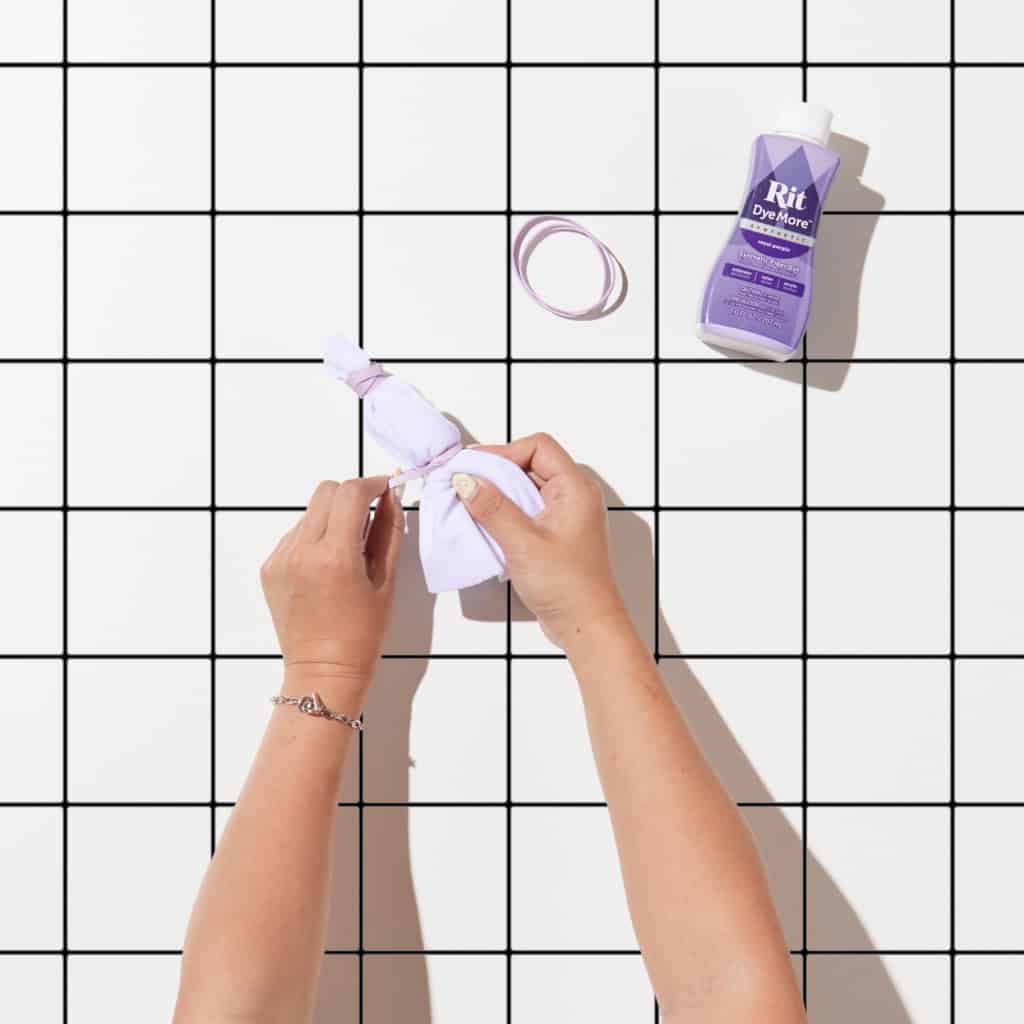
- Pinch velvet circle by center and bind with rubber band. Place another rubber band an inch below the first one as shown below. Set aside and prepare dyebath.
- Wear rubber gloves to protect hands from getting stained and to insulate them when working with hot water.
- Due to the complexity of dyeing synthetics, you must use the stovetop method to maintain an almost boiling temperature for the duration of your dyeing (200ºF or greater).
- Fill a stainless steel pot with enough water to submerge the bound fabric. We recommend using roughly 4-8 cups of water depending on the size of your pumpkin.
- Cover pot and heat water on stove top to just below boiling (or around 200ºF).
- When water begins to simmer, add well-shaken dye and mix well.
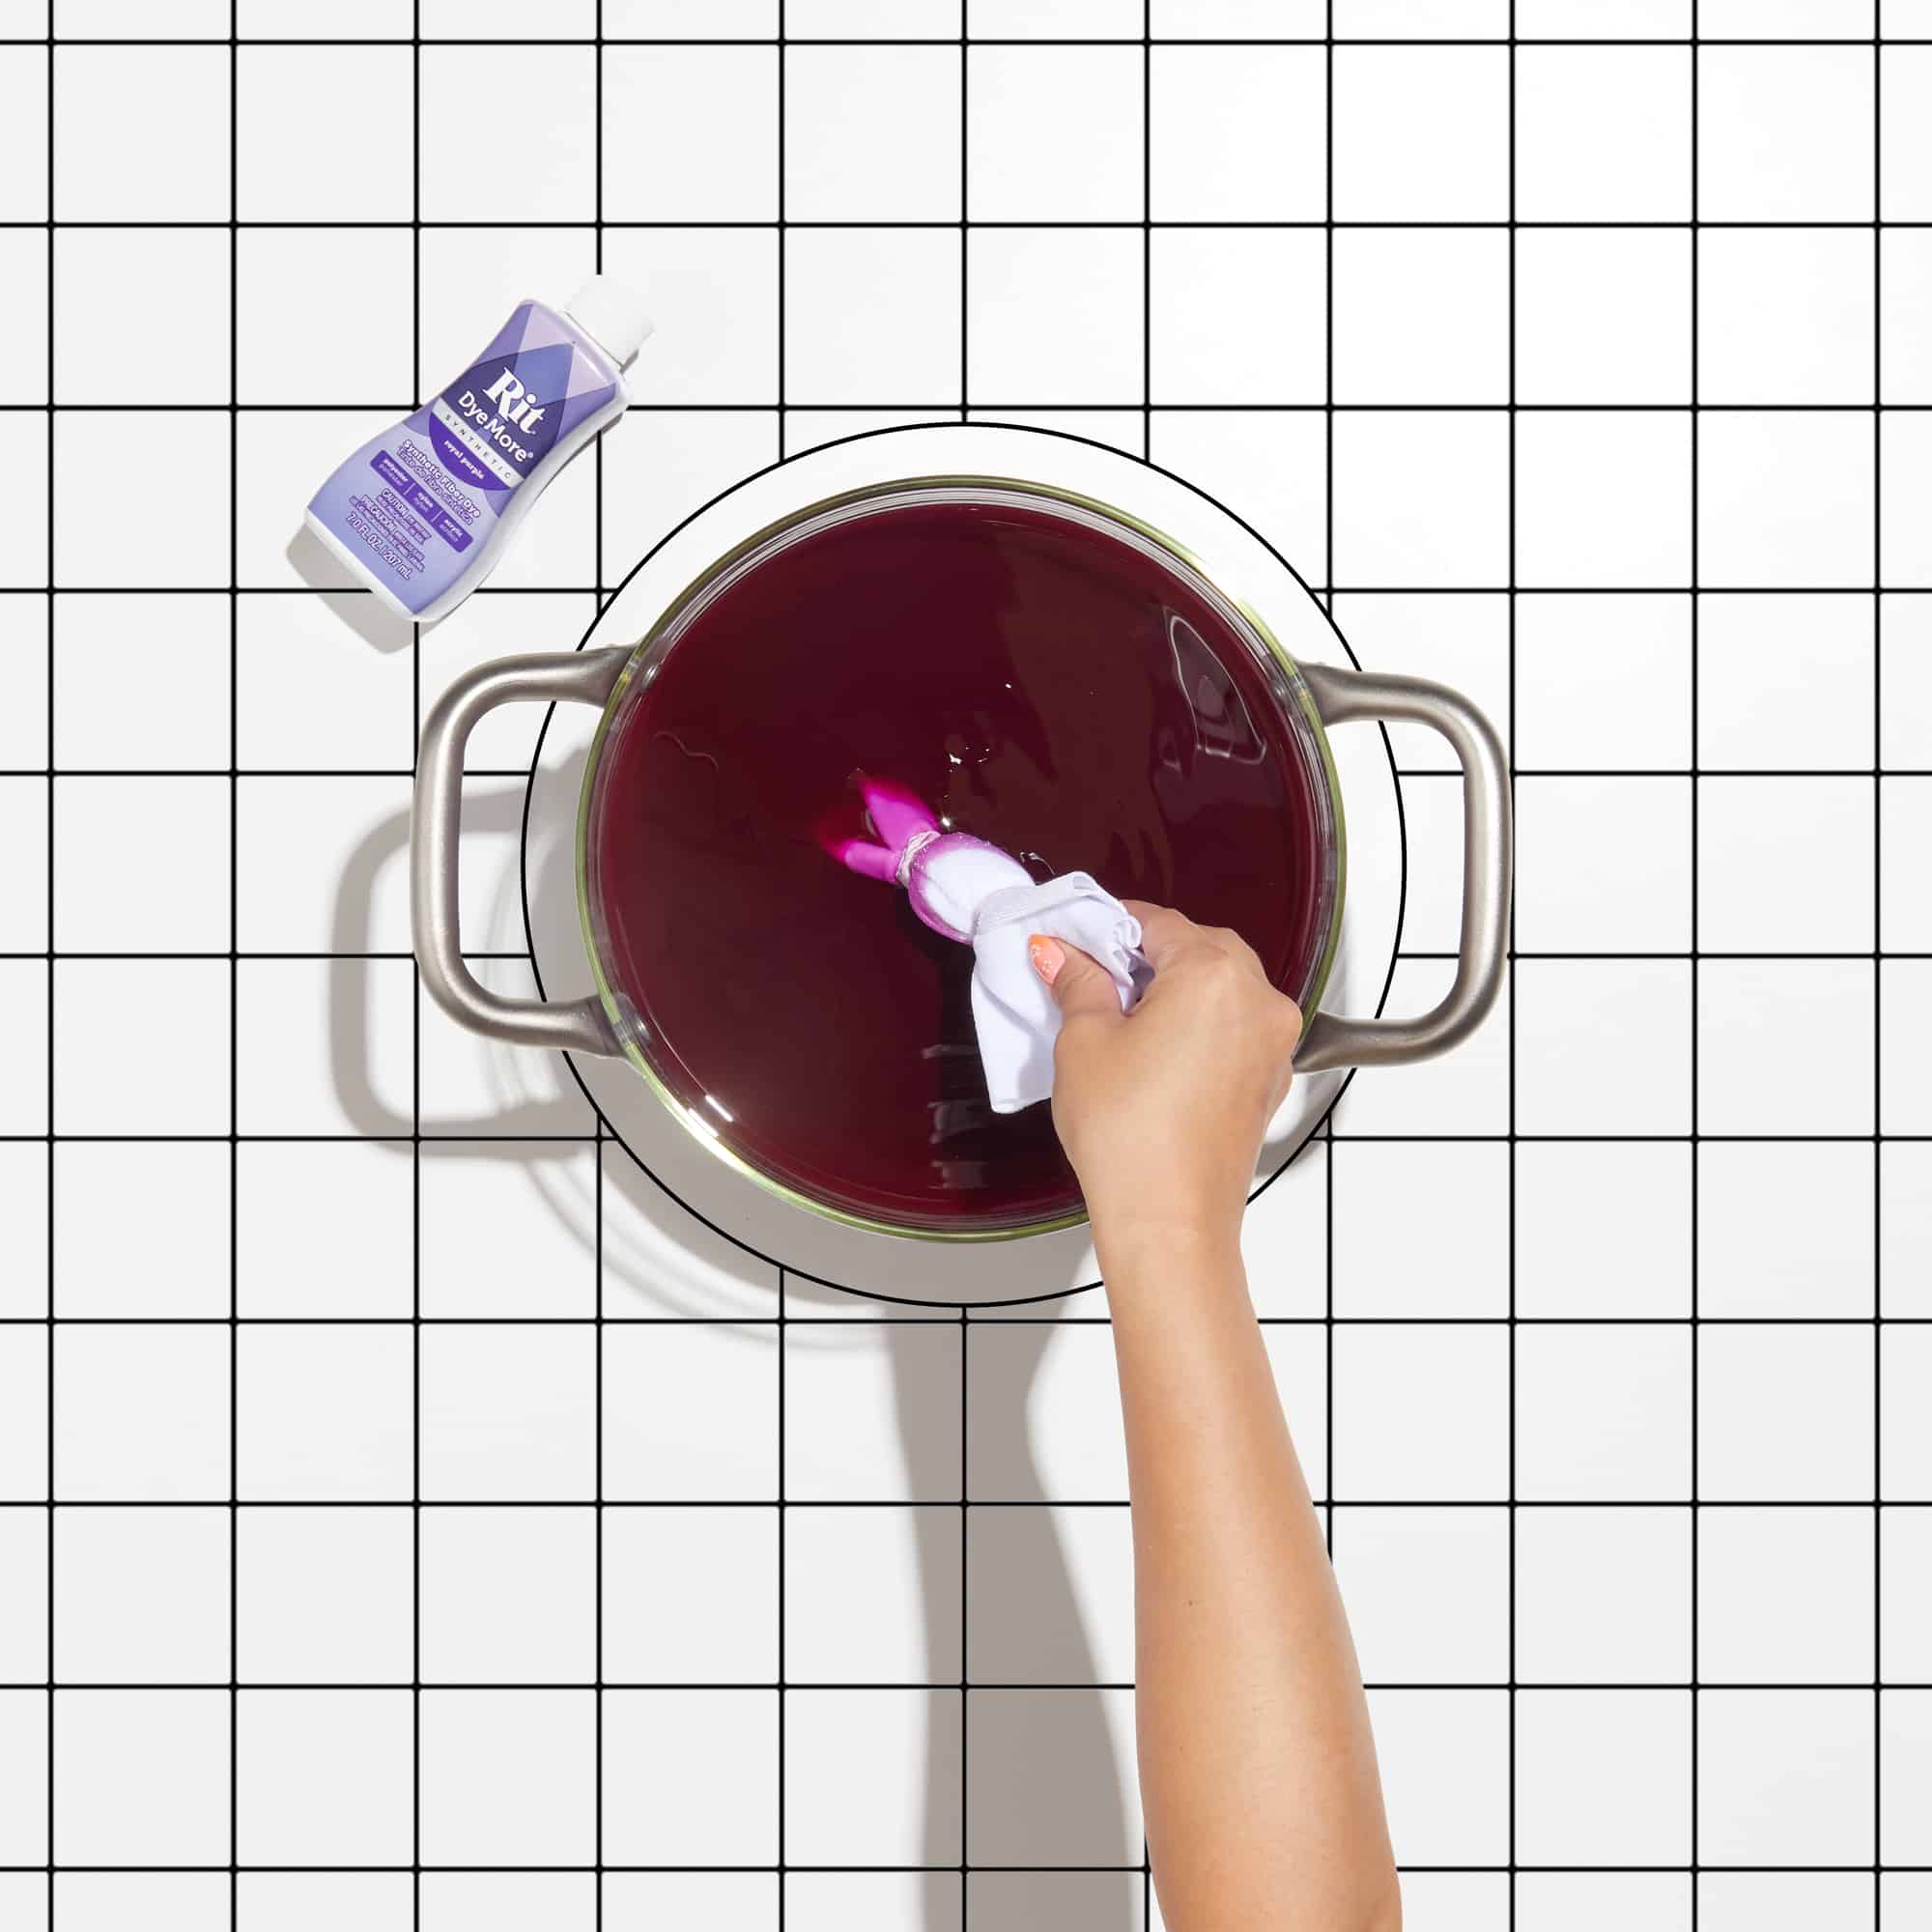
- Submerge bound velvet fabric into dyebath until desired color is achieved.
- Rinse in cold water until rinse water runs clear.
- Unbind rubber bands and hang to dry.
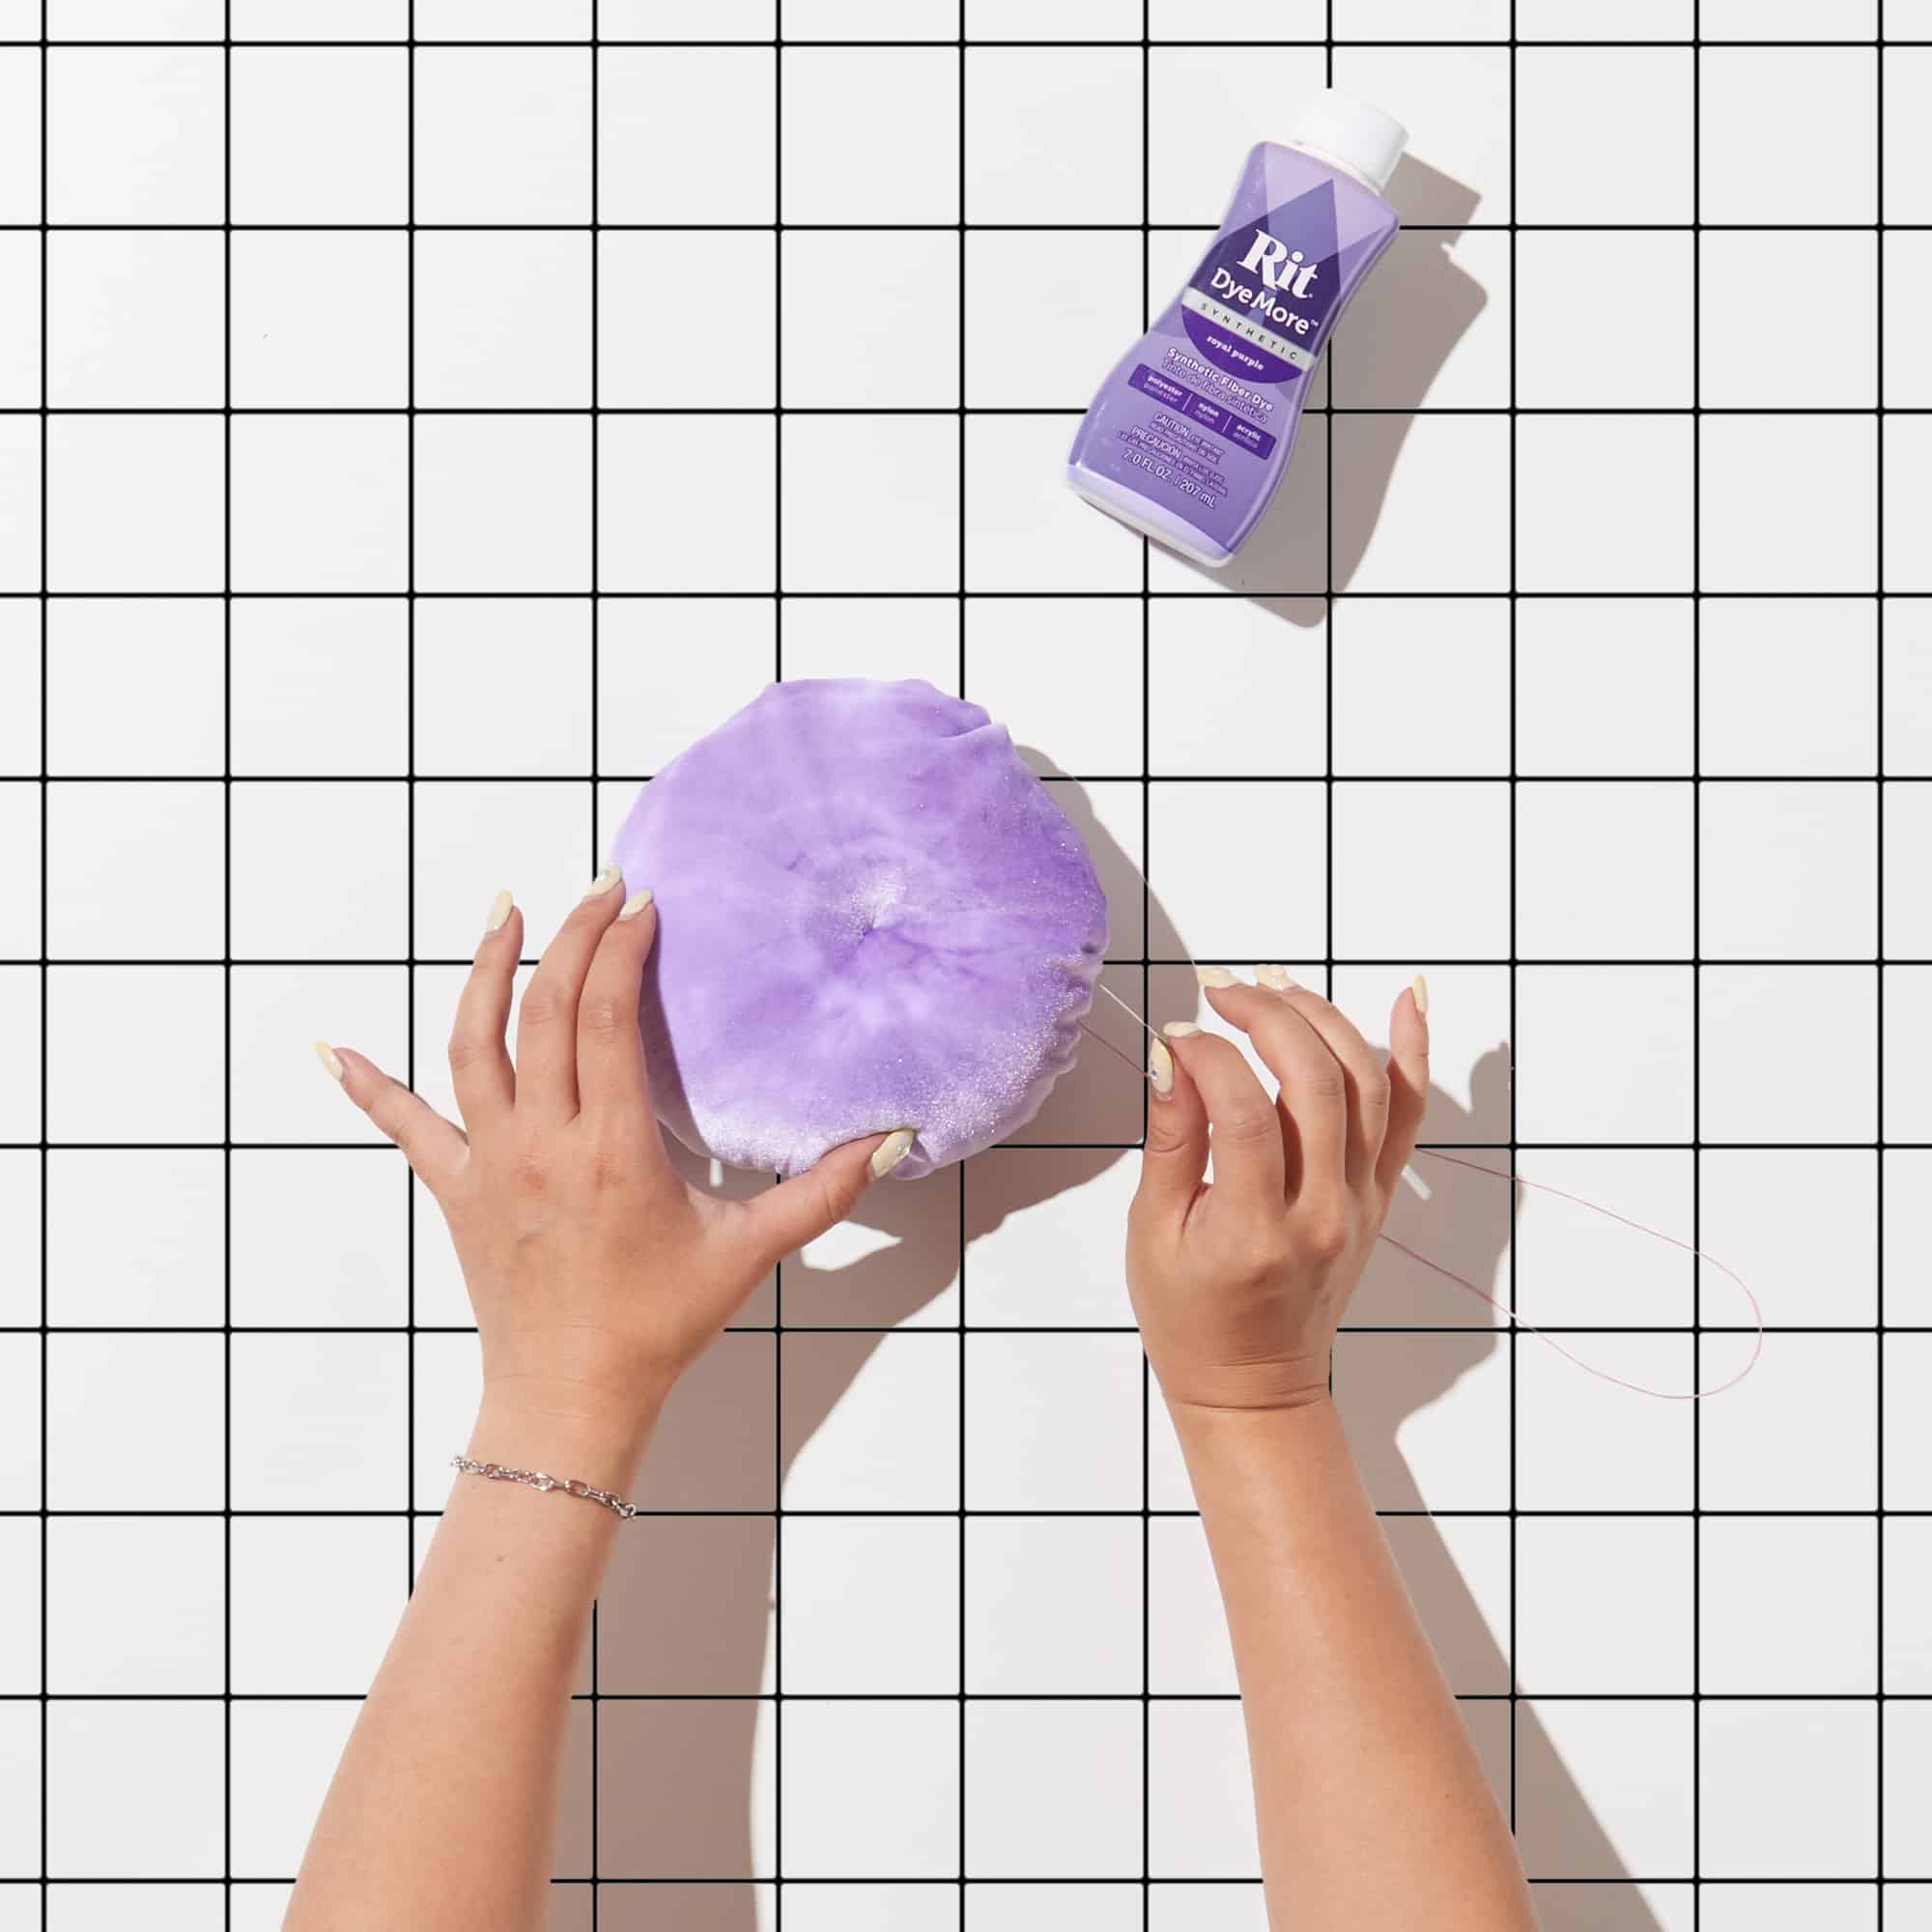
- Once dry, thread the needle and sew a running stitch around the edge of the velvet with one end knotted.
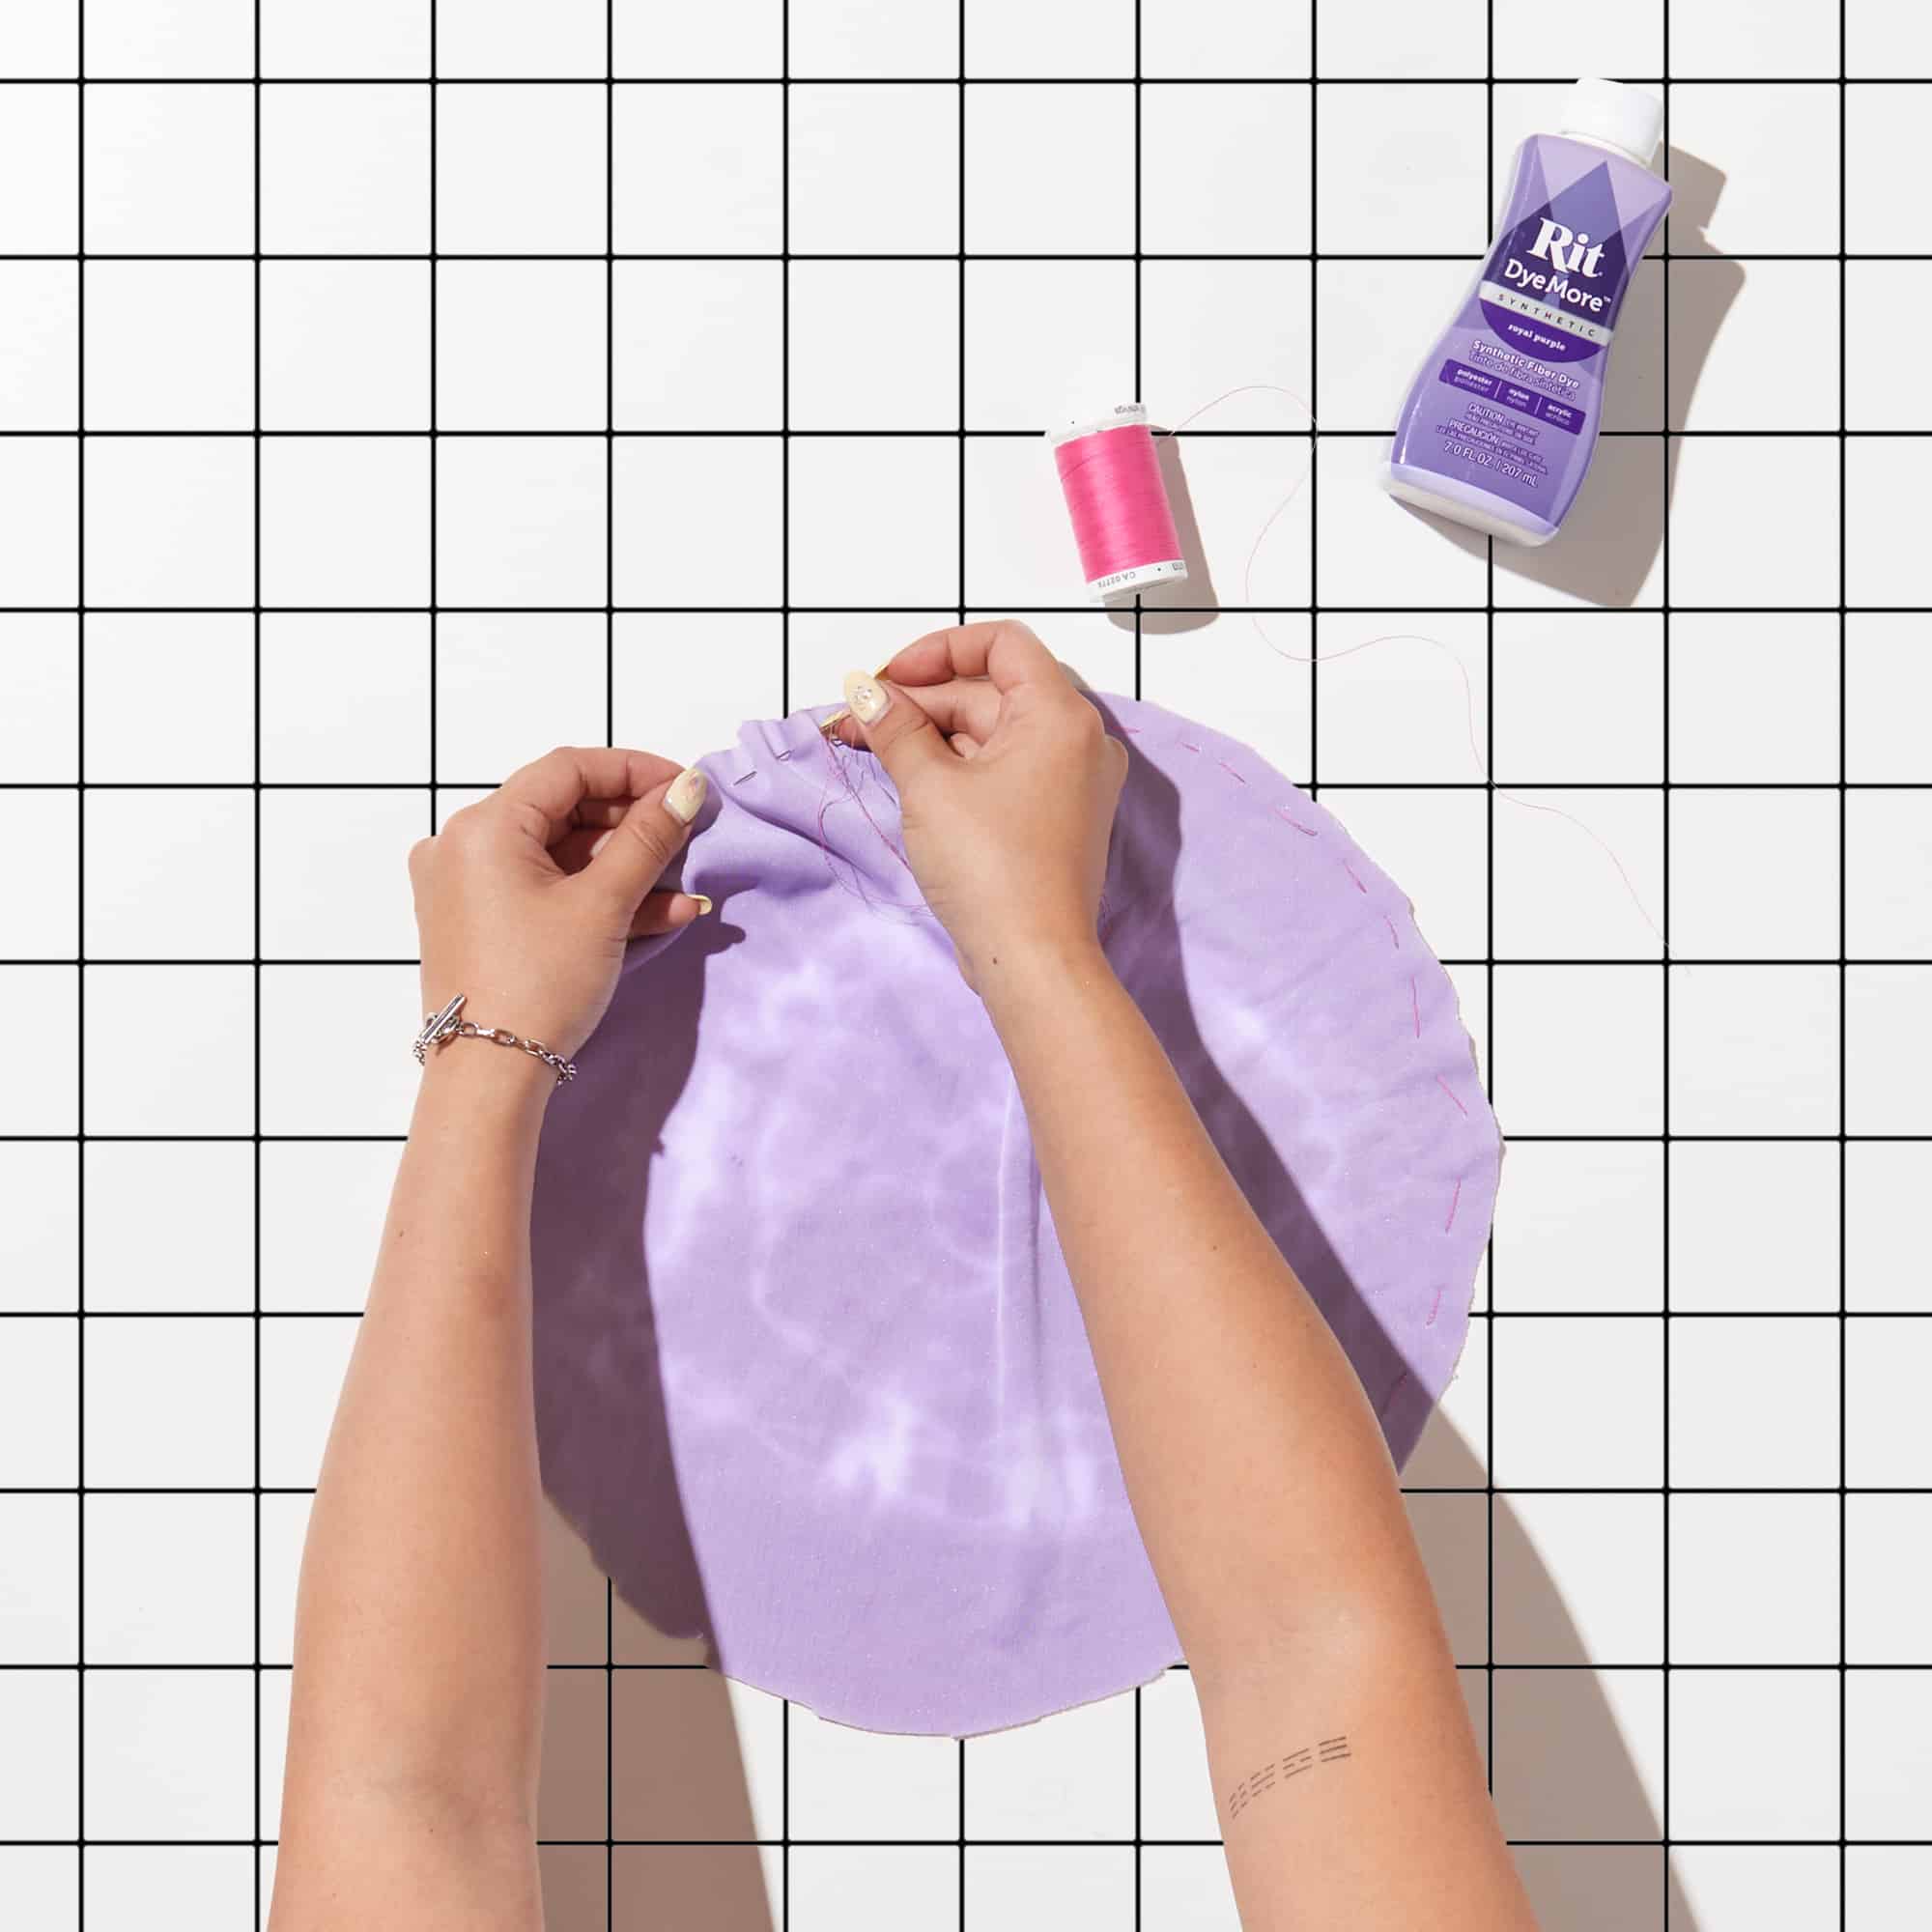
- Pull the thread to gather the edges of the fabric together. Flip so that the right-side is facing out.
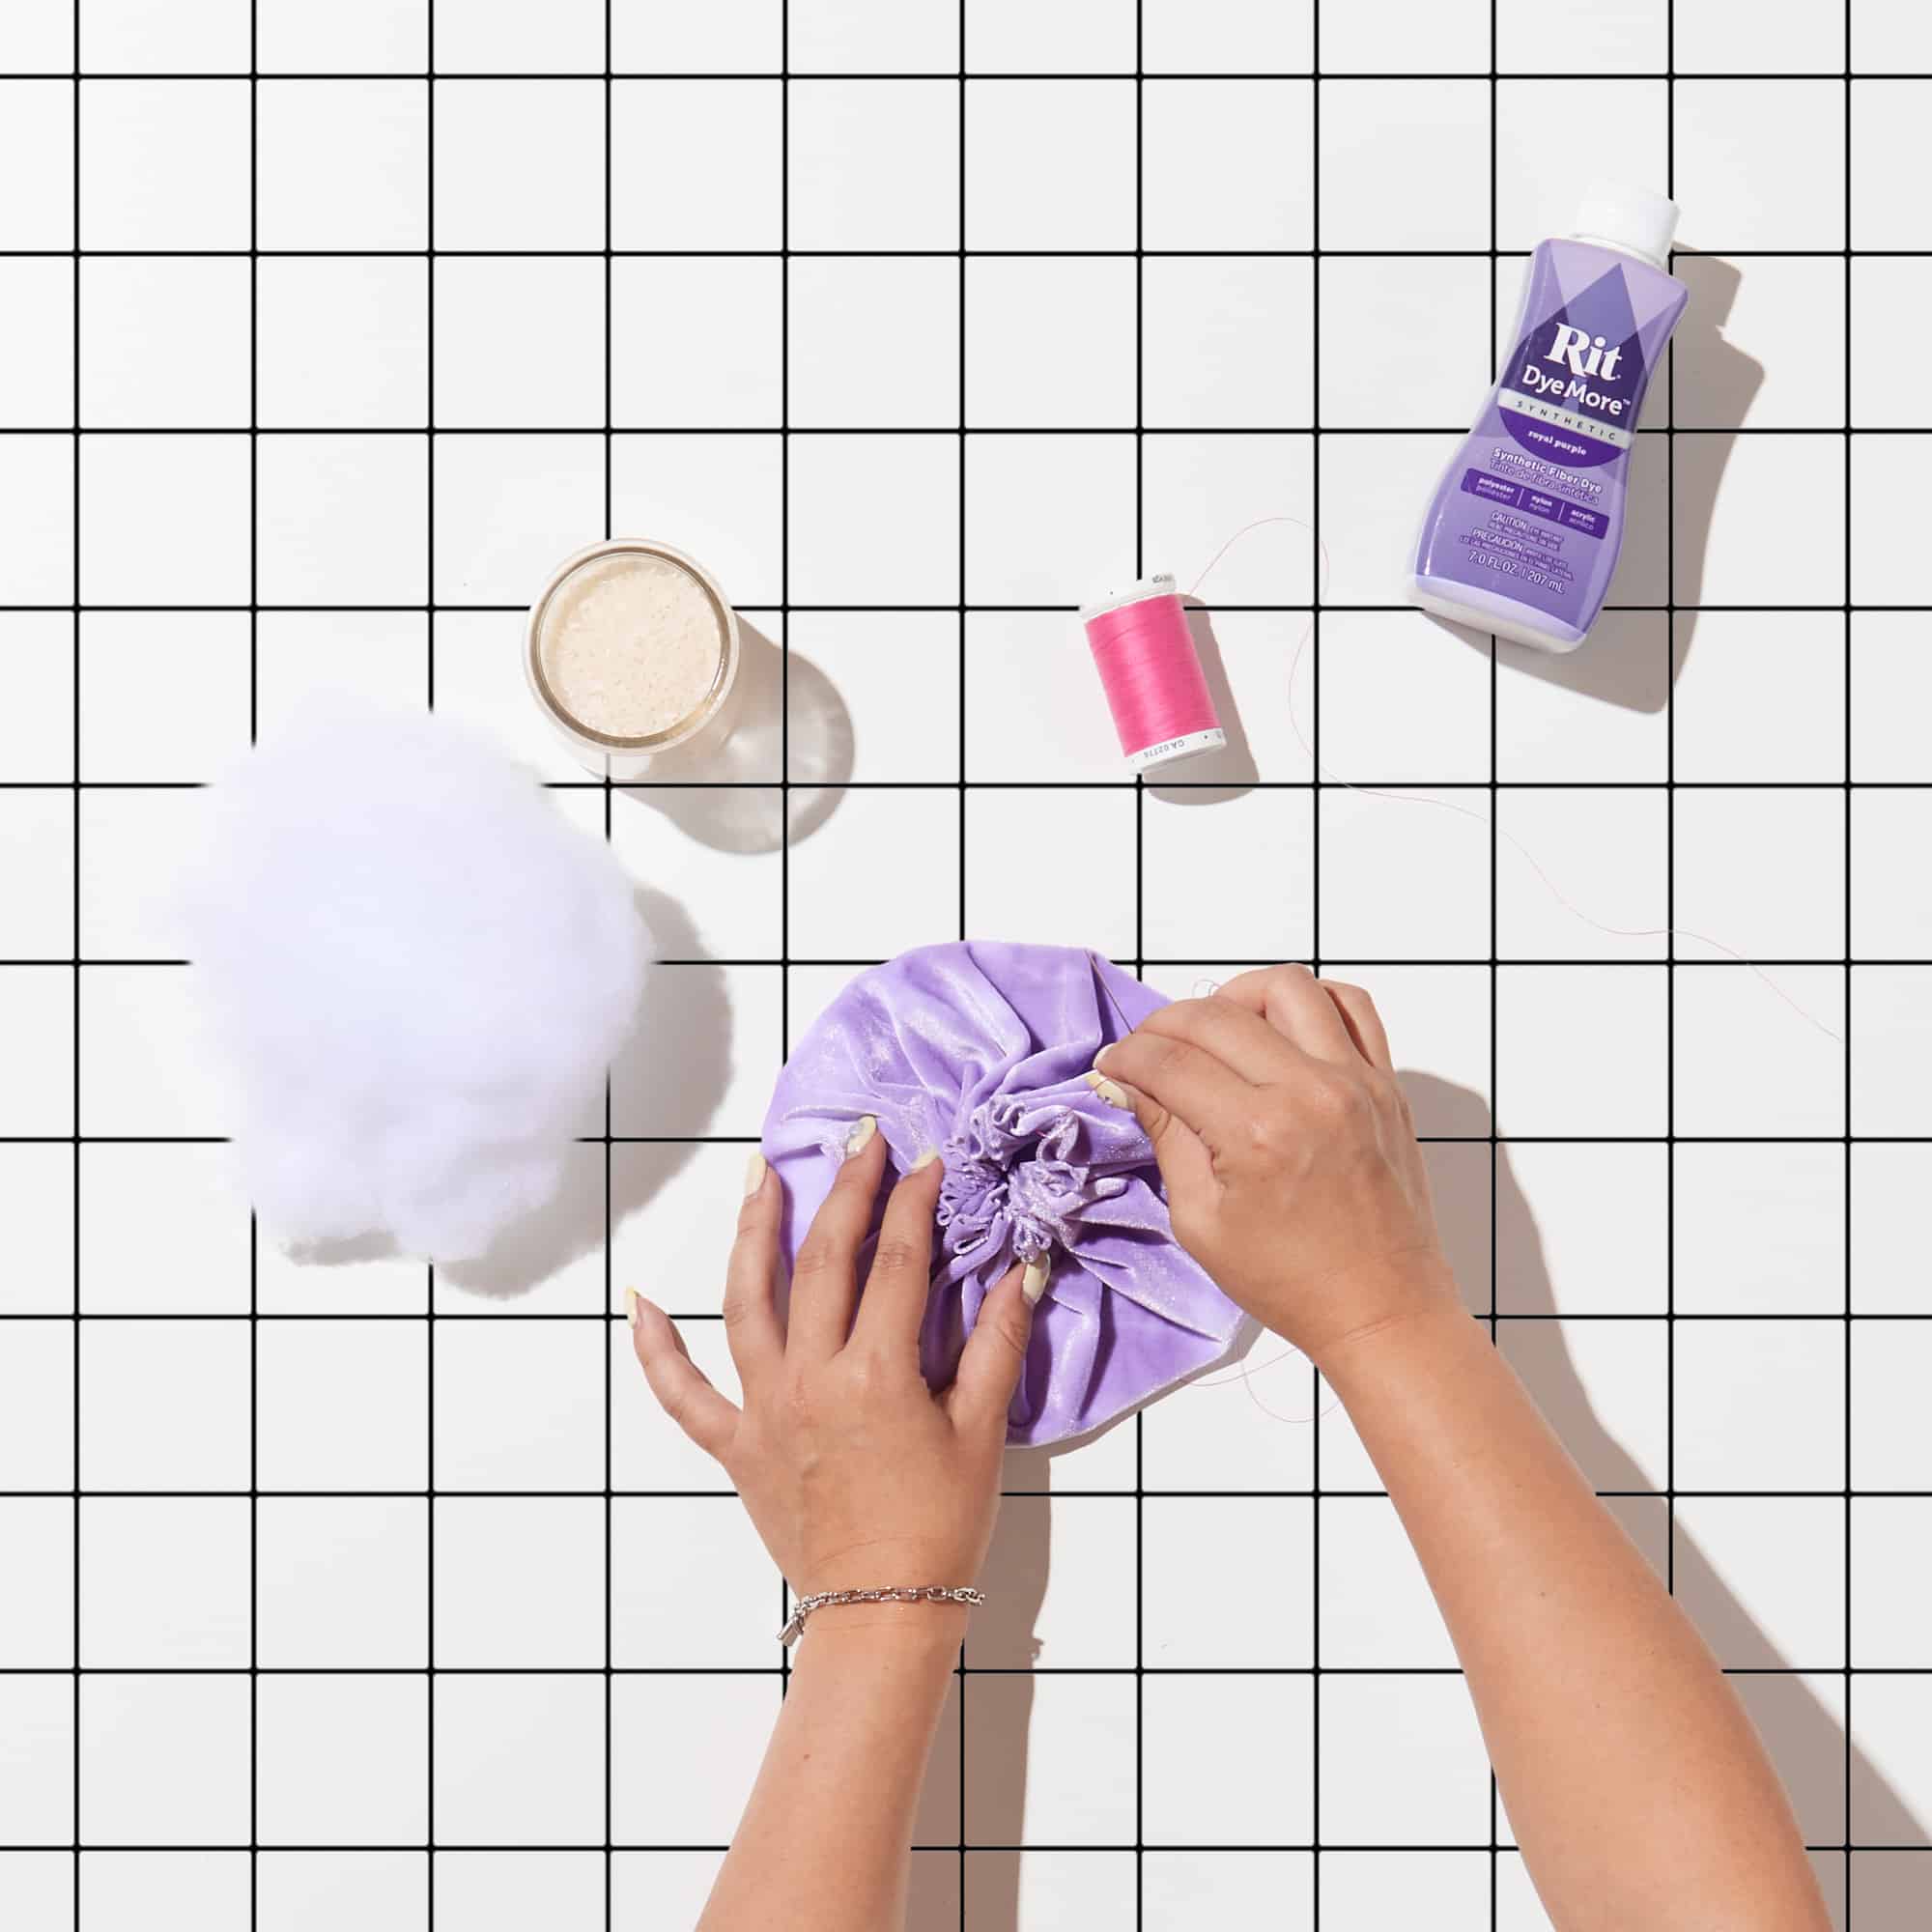
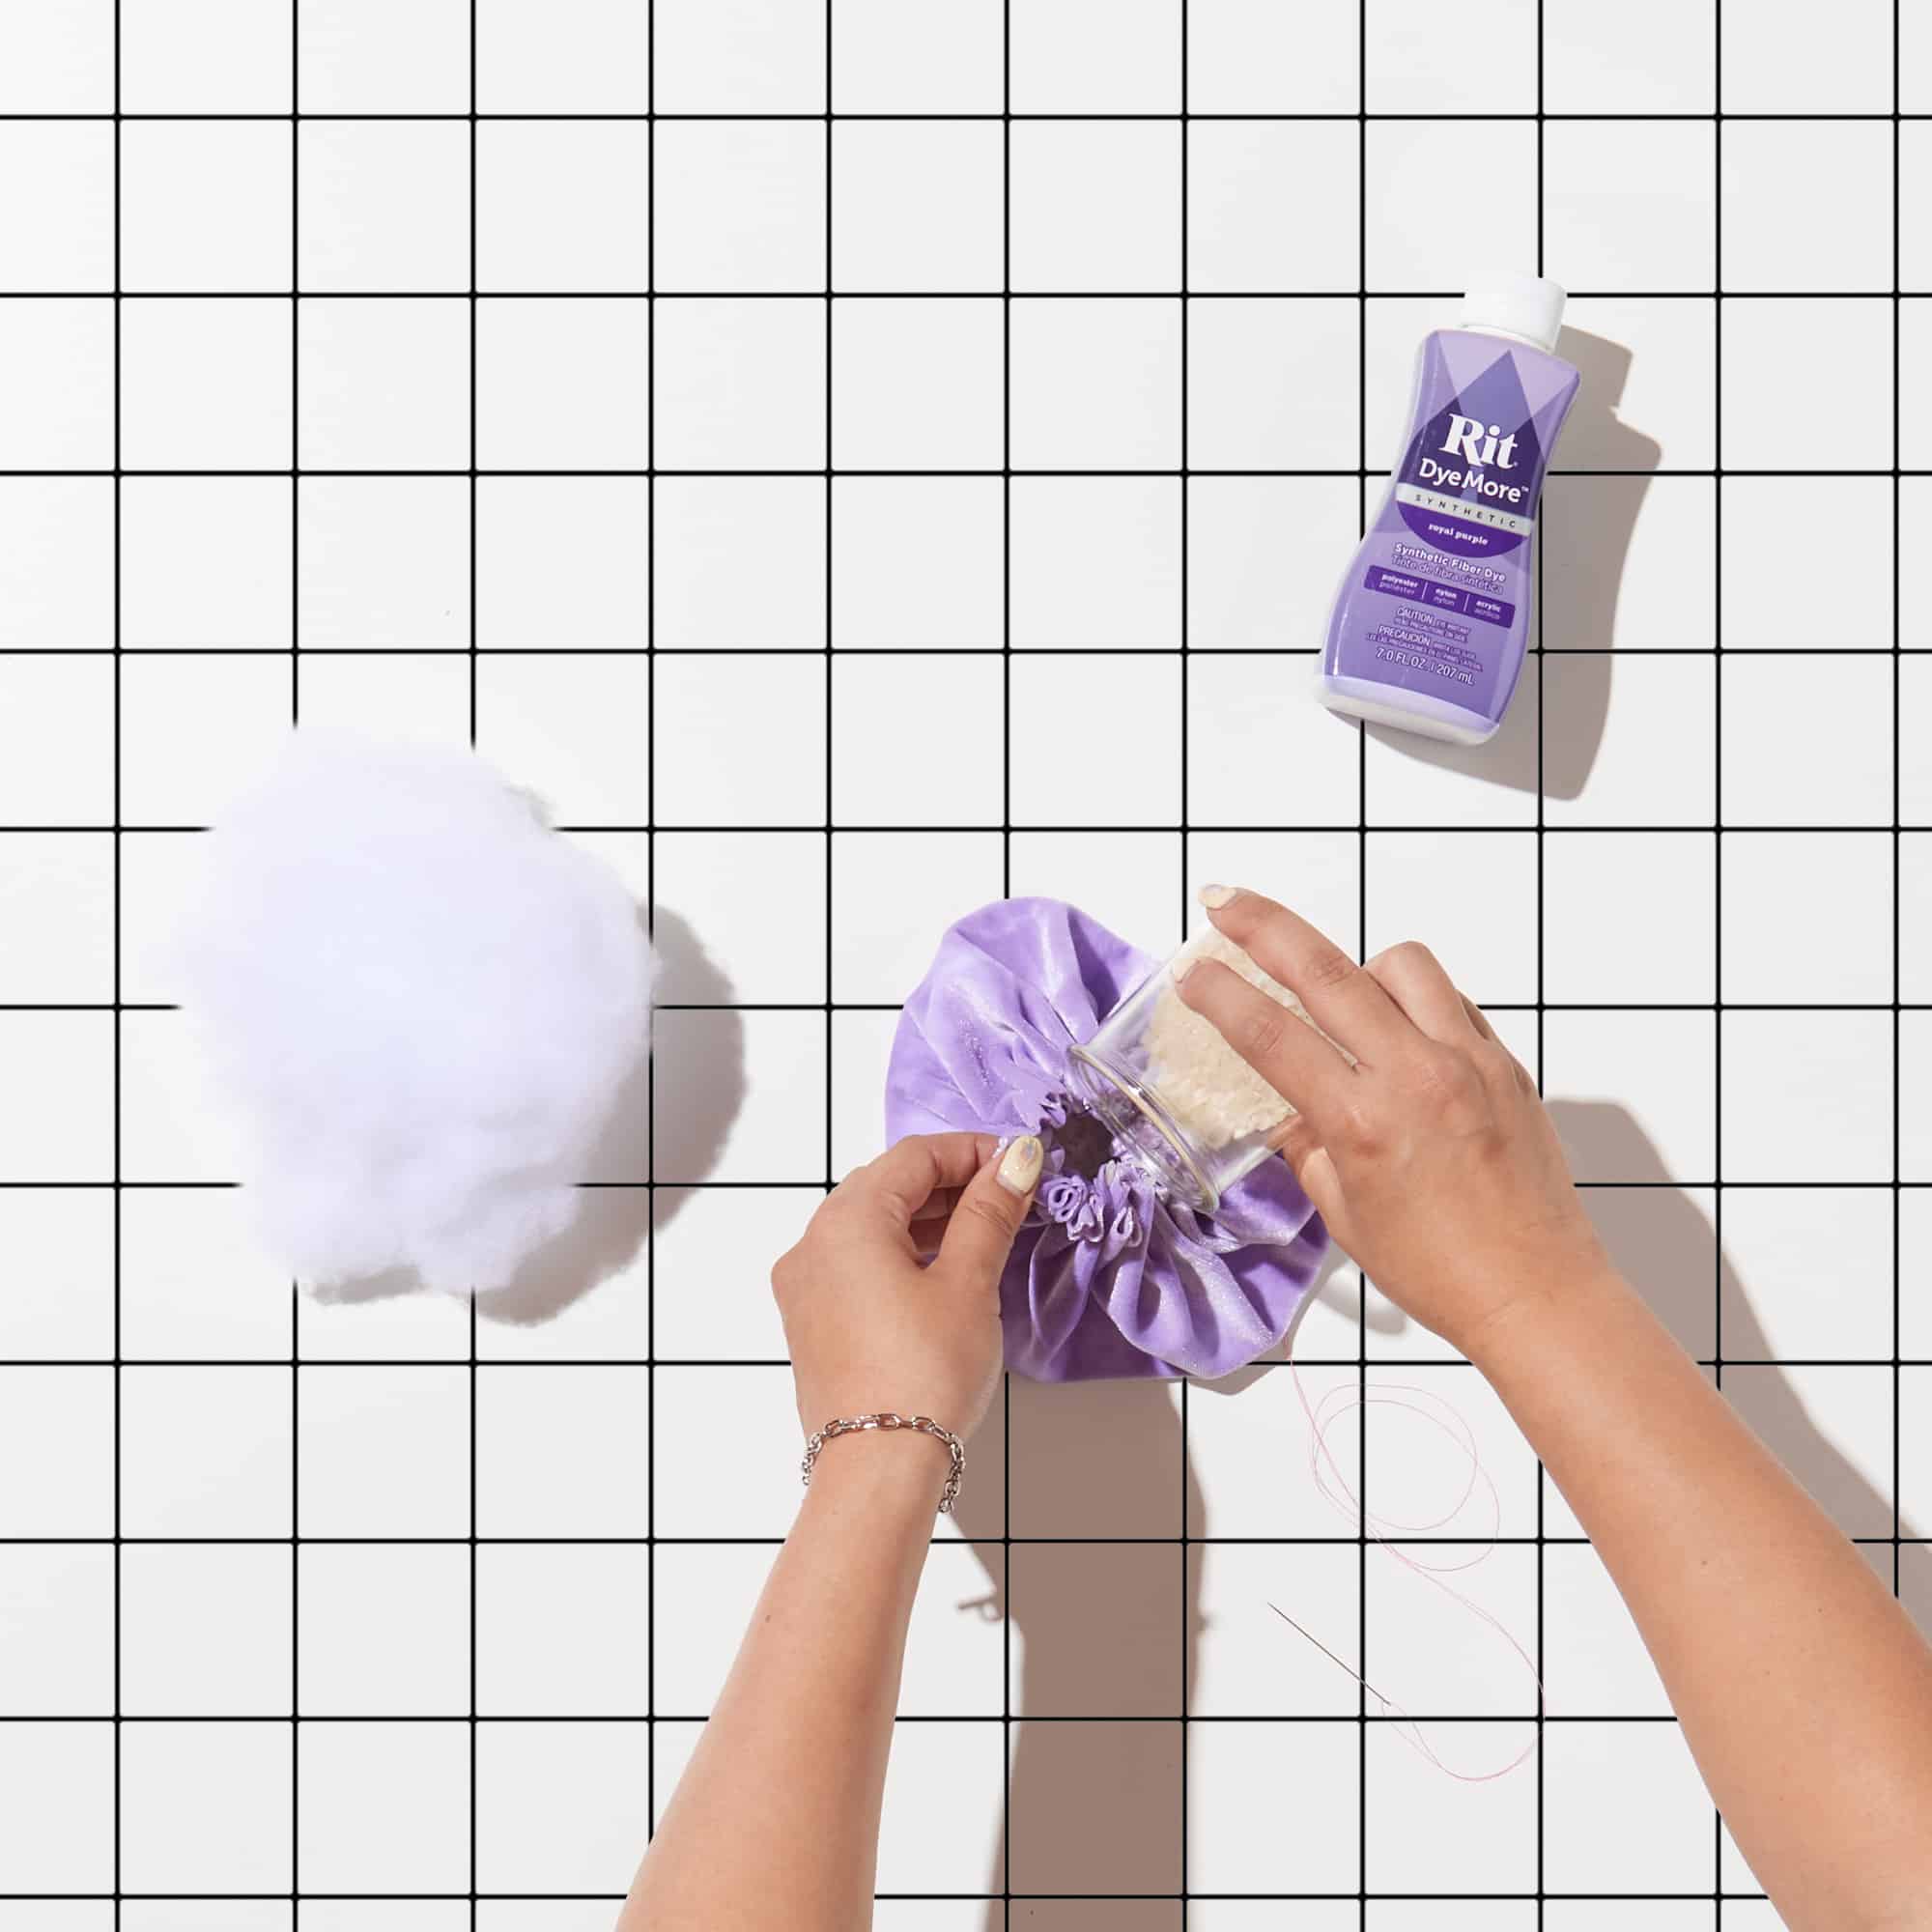
- Place 1/2 cup of uncooked rice into the pouch that has been formed. This will help to weigh down the bottom of the pumpkin.
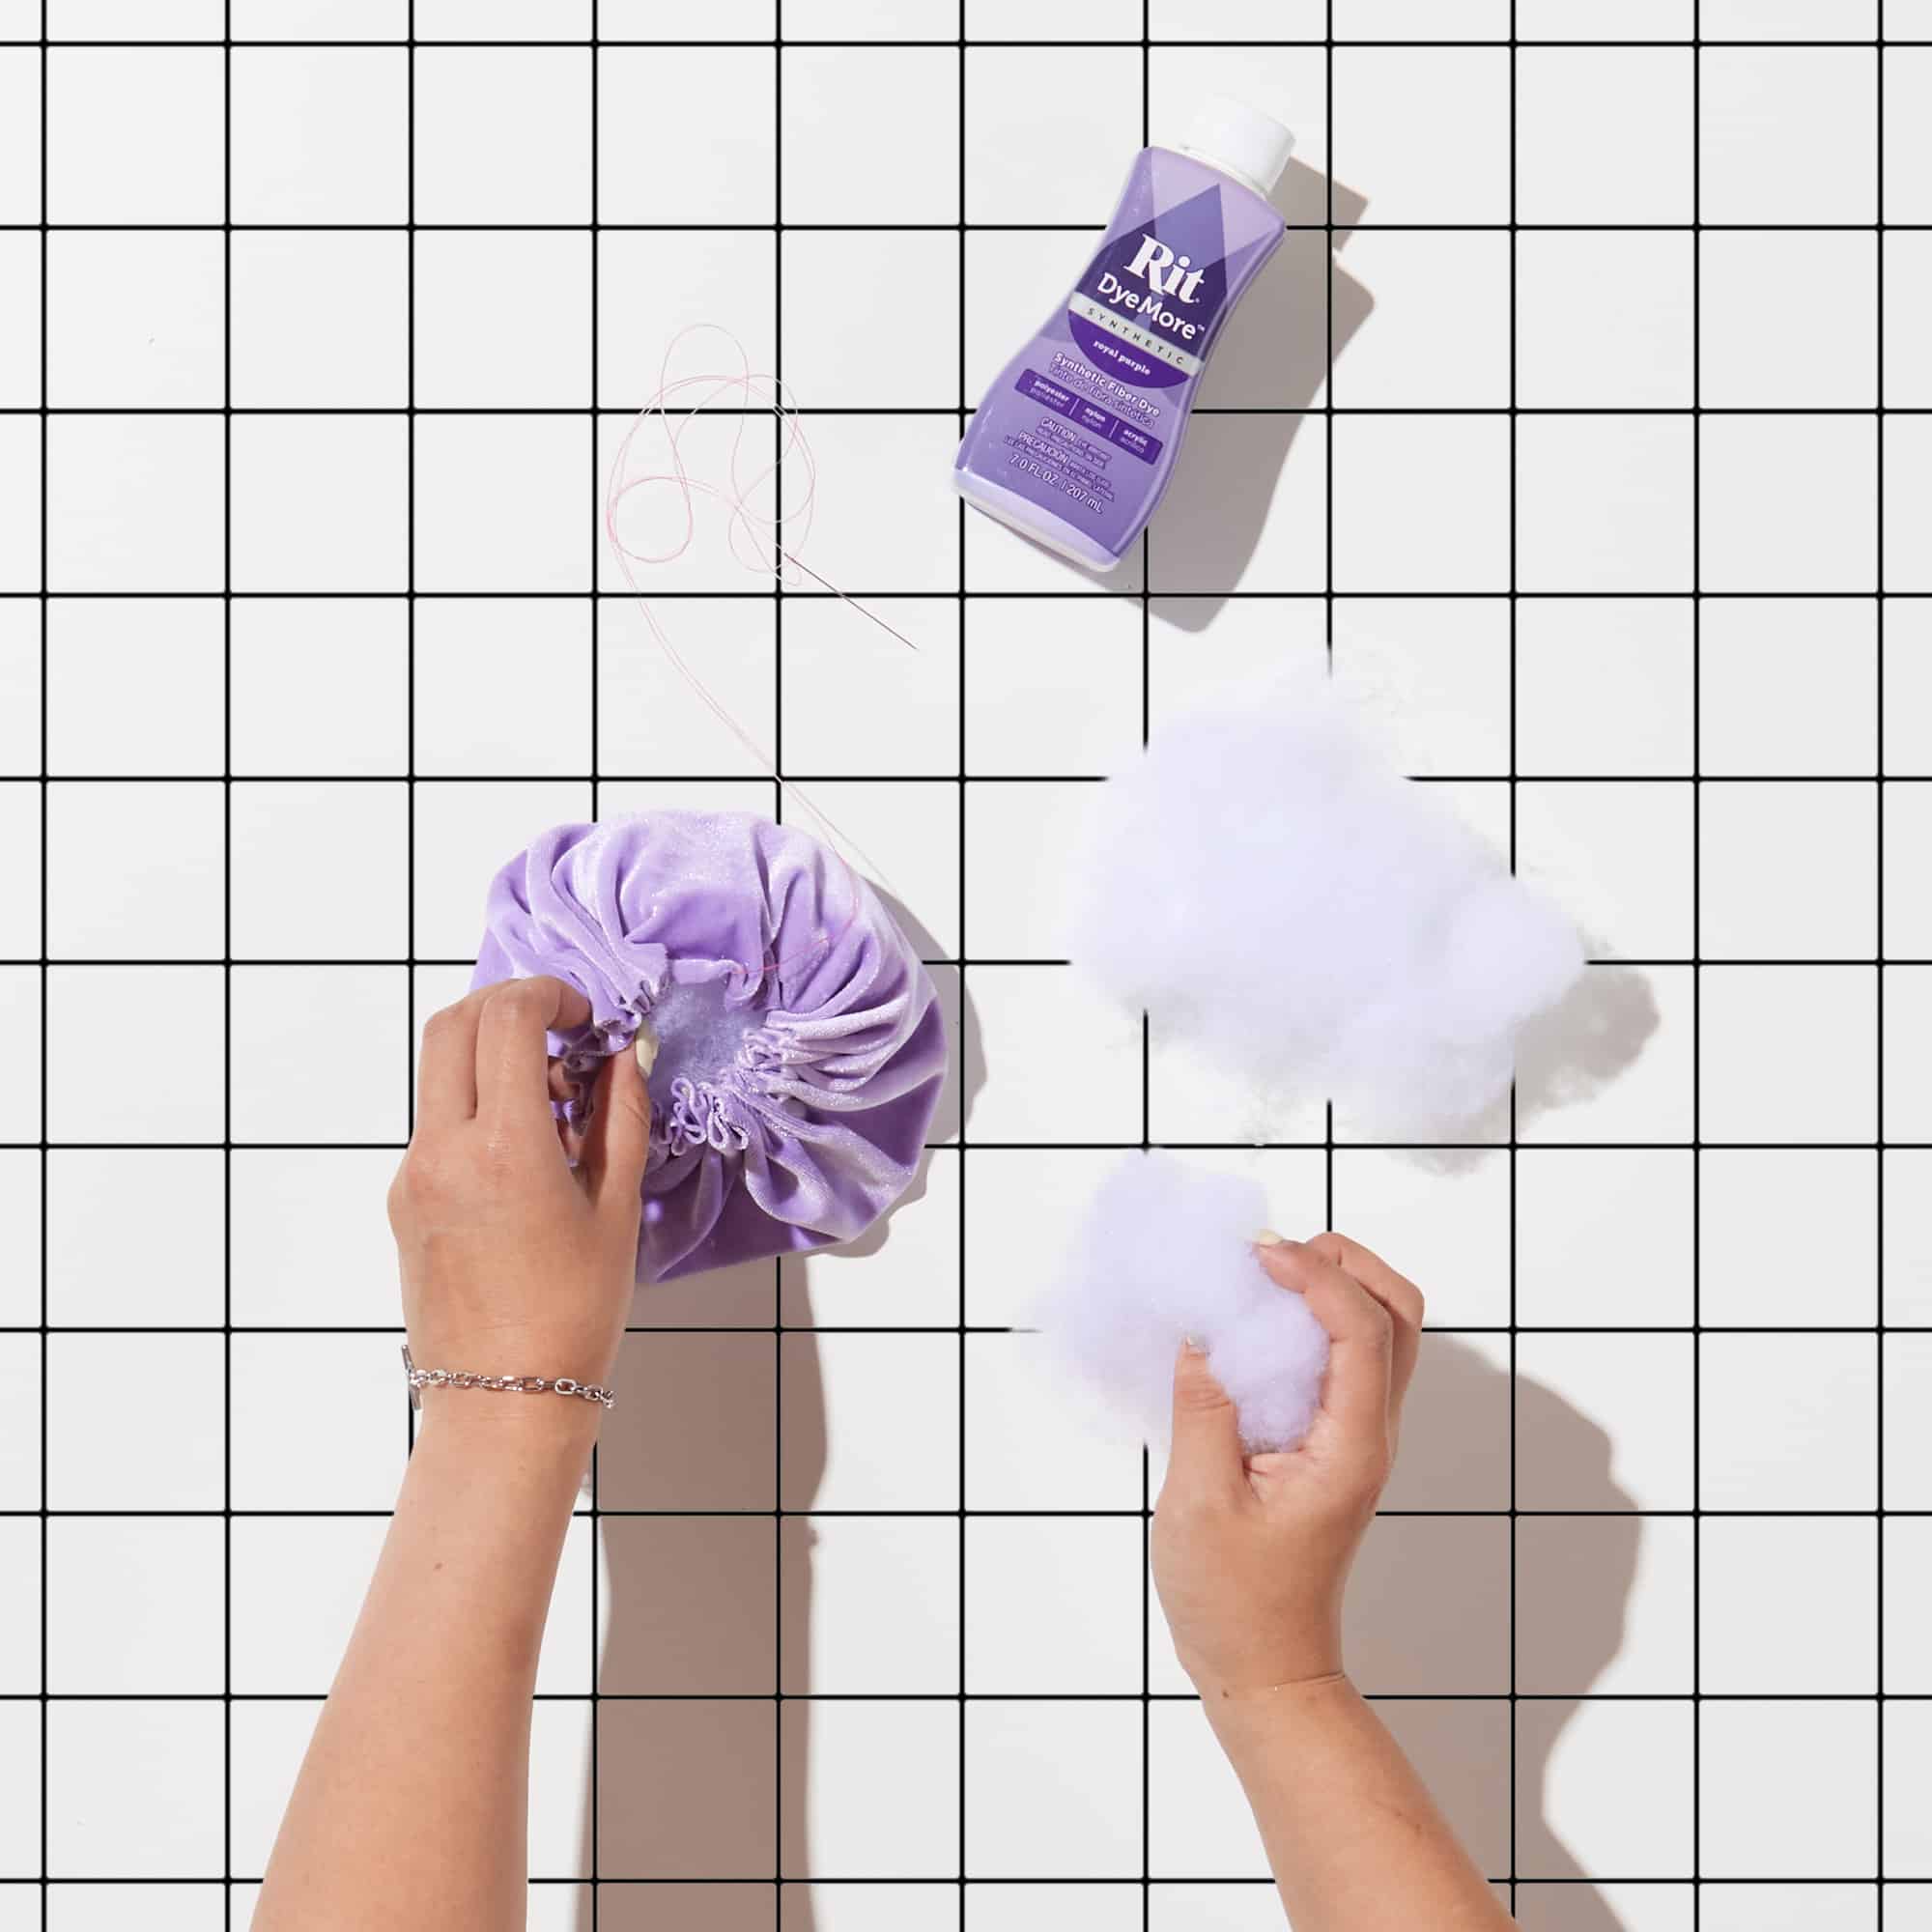
- Stuff remaining space with polyester stuffing. Make sure to keep the gathered area tight to maintain the pumpkin’s shape.
- Sew the top of the pumpkin closed and bring the thread down to sew a small stitch at the bottom to create a little dimple as shown. Pull the thread back up, secure it and cut off the excess thread. The dimple will help your pumpkin to stand up straight when displayed.
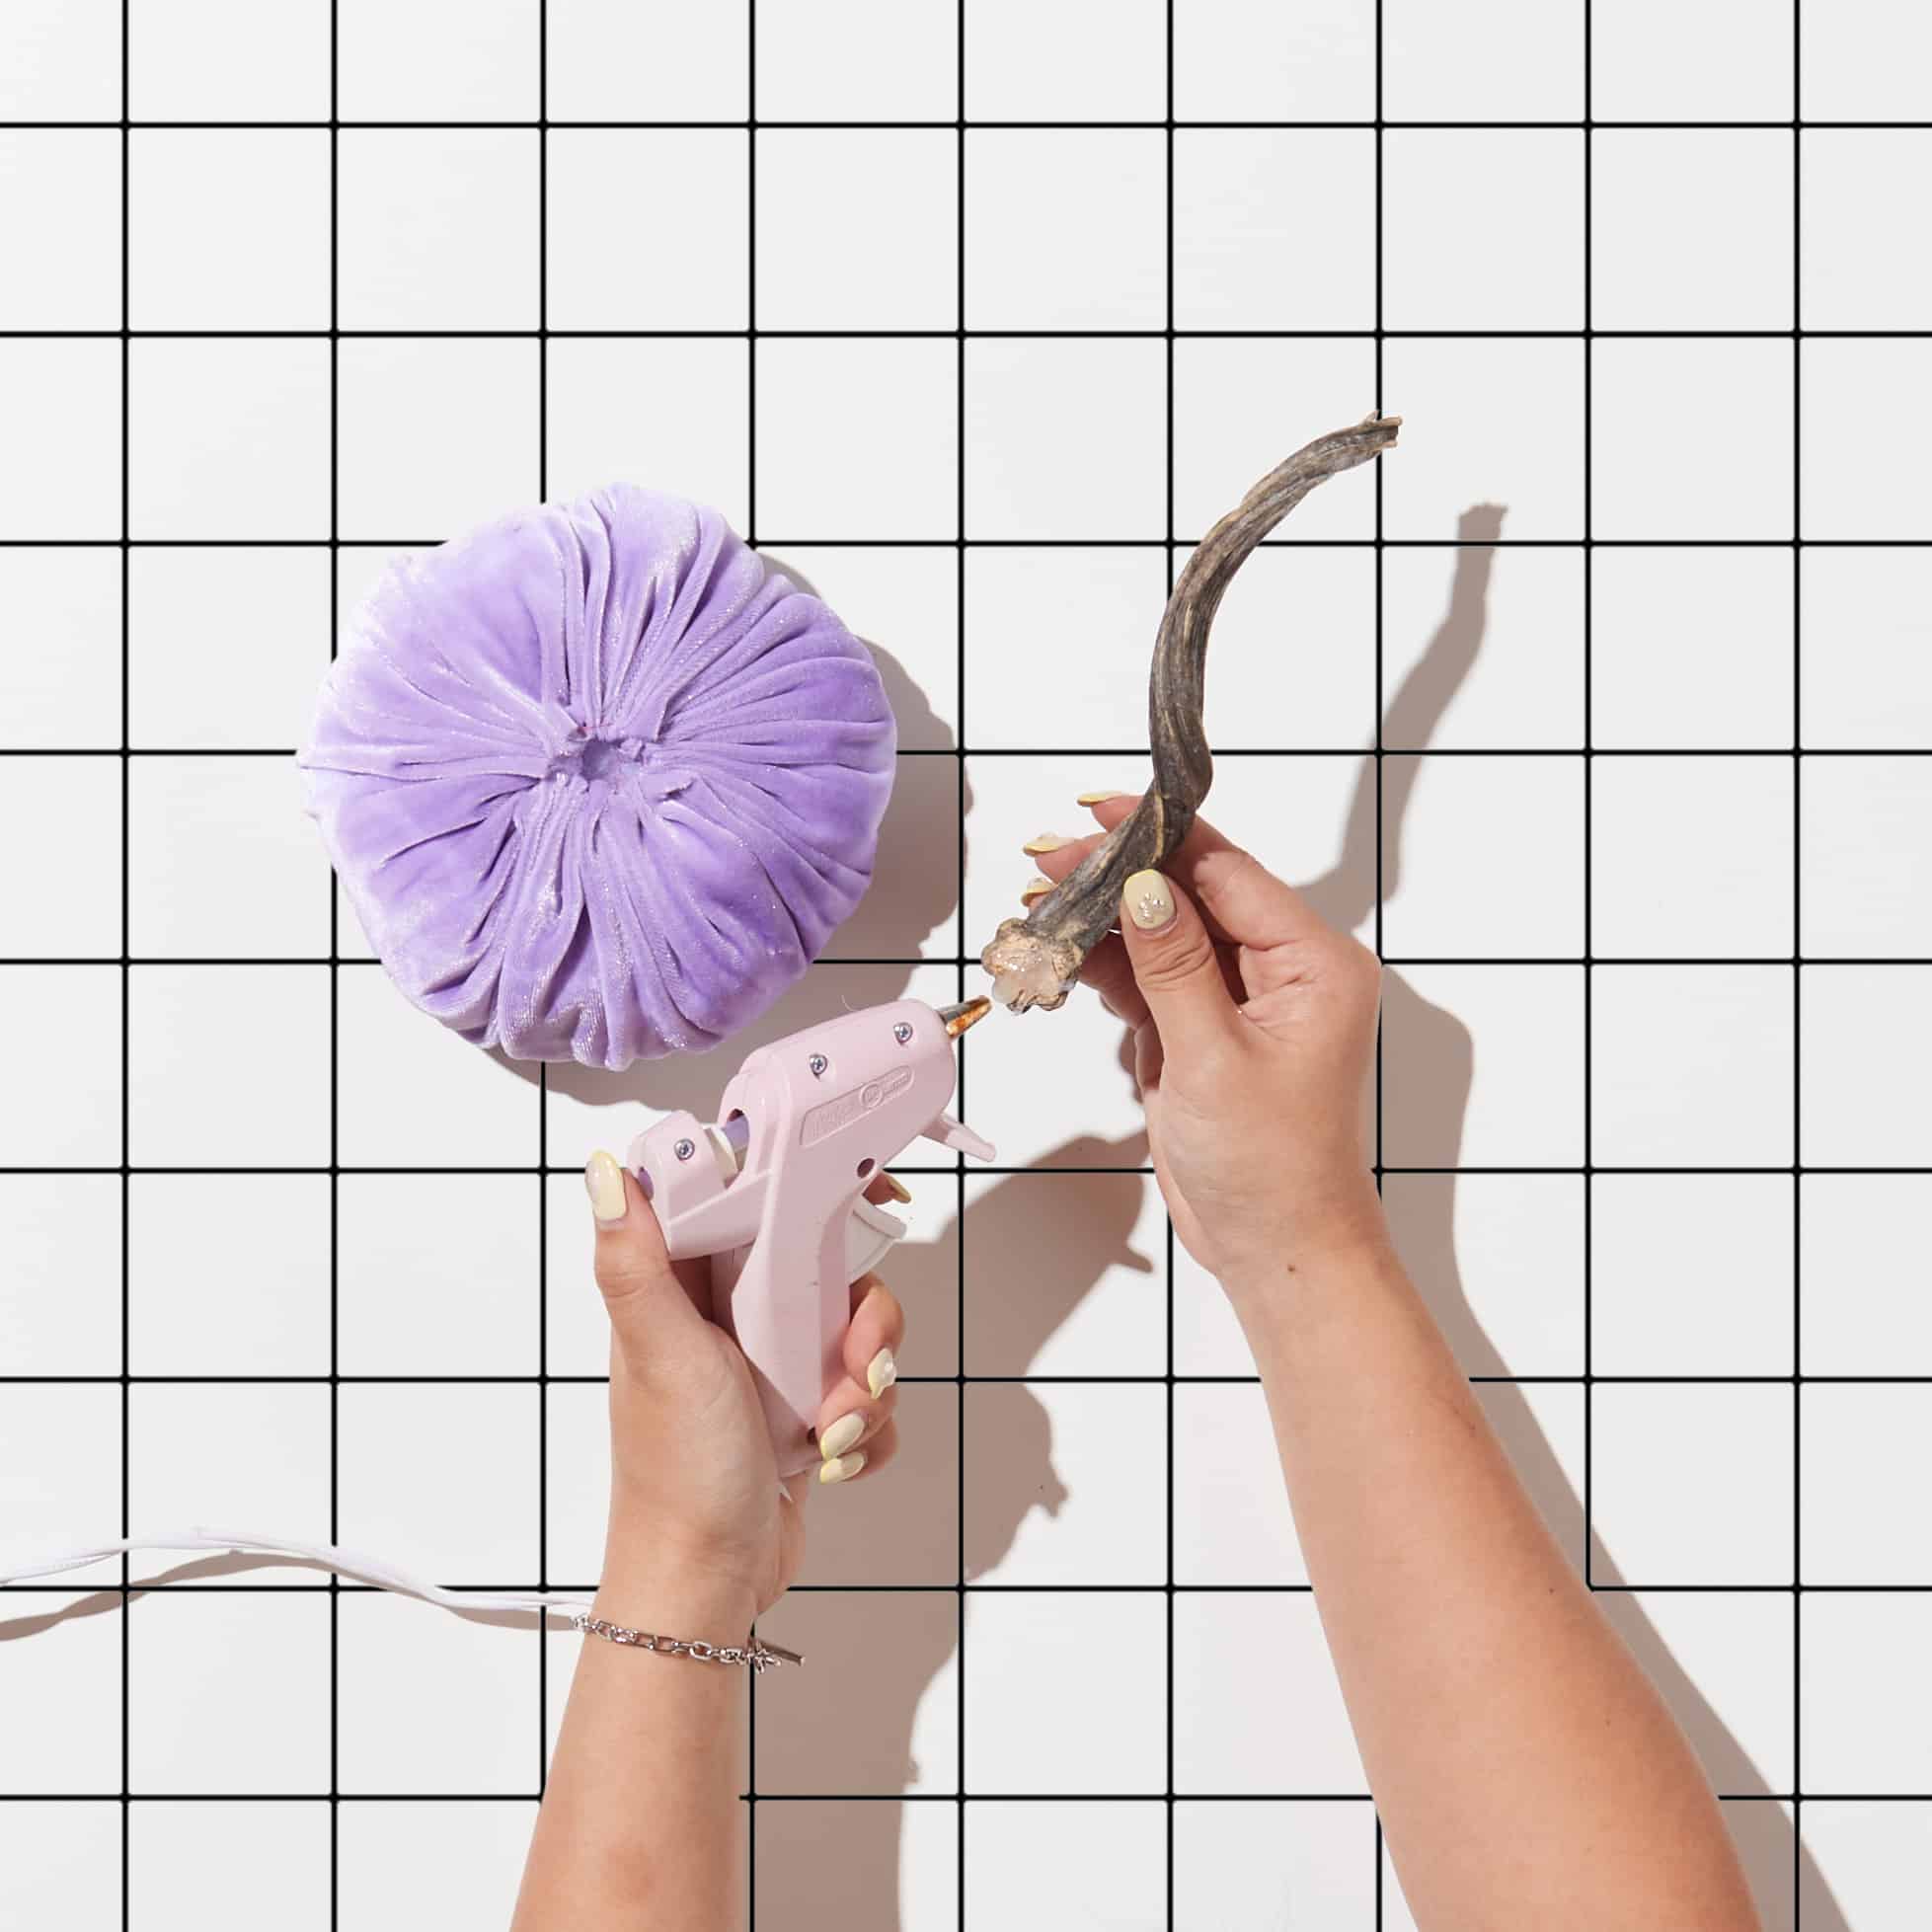
- Adhere a dry pumpkin stem or wood stick to the top of the pumpkin using a hot glue gun. Do your best to cover the gathered area.


Posts You May Like
