We’ve partnered up with Levi’s® to show you how to customize your 501® Originals with our dyes. The Levi’s® 501® Originals are not just about enduring style, it’s also about sustainability, durability, and timelessness. No two pairs are the same — that’s what makes it a true original. And with dye, you can truly make them one-of-a-kind.
Fill plastic container or stainless steel sink with enough hot water (ideally 140oF) for your 501s to move freely, roughly three gallons.
To help enhance the color, add one cup of salt.
Add one tsp of dish detergent to help promote level dyeing.
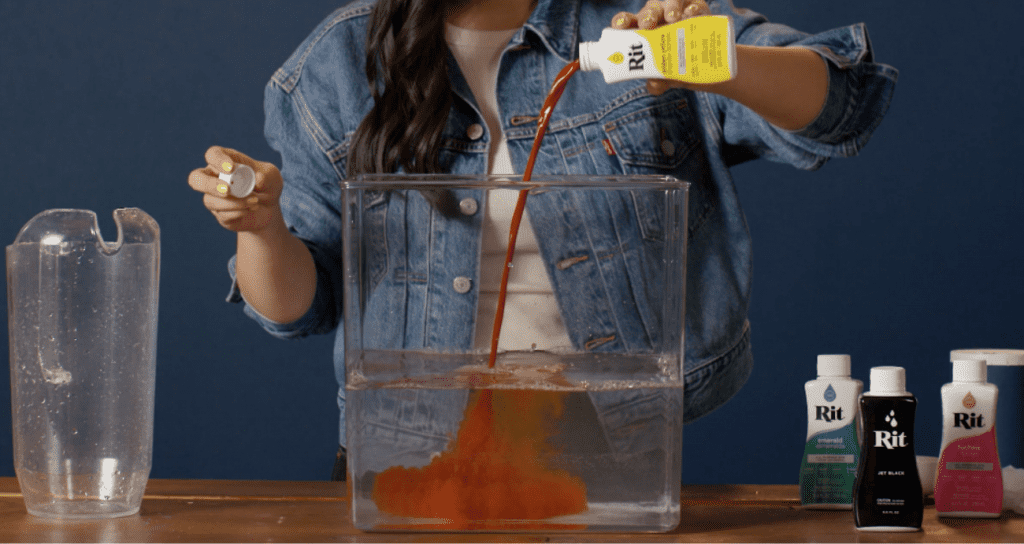
Wearing rubber gloves, shake Rit bottle really well. Pour half a bottle (1/2 cup) of dye into dyebath and mix well.
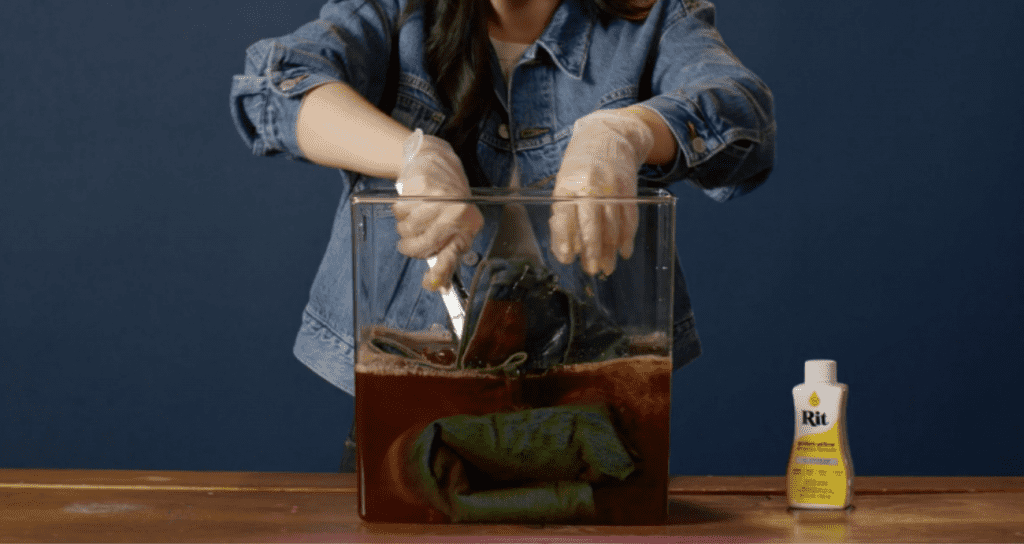
Overdye
Immerse damp 501®s into dyebath and stir continuously for 20 minutes with tongs.
Wearing rubber gloves, move your 501®s back and forth and up and down to ensure even coverage.
When desired color is achieved, remove 501®s from the dyebath. Squeeze out excess dye.
TIP: The longer the jeans remain the dyebath, the darker the color will be. (Remember: color will appear lighter when dry.)
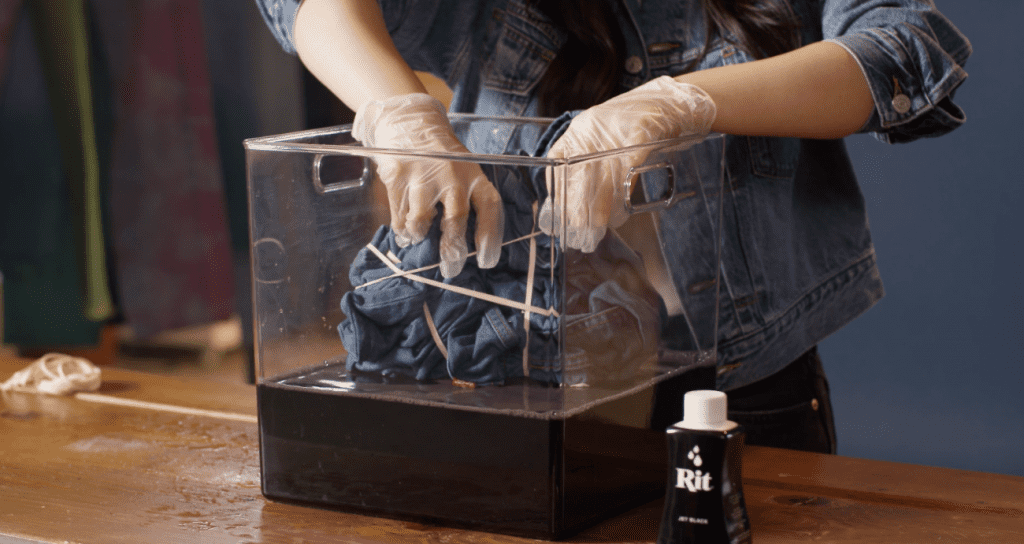
Scrunch Tie-Dye
Lay 501®s on a flat surface.
Scrunch various sections of your 501®s, one leg at a time, and secure with rubber bands.
Immerse bound 501®s into dyebath and stir occasionally for 20 minutes or until desired color is achieved.
For multiple colors, create another dyebath and immerse only a portion of the bound 501®s into the dyebath.
Remove 501®s from the dyebath and squeeze out excess dye.
TIP: To see more of the original 501® denim shine through in the final piece, secure your scrunch very tight.
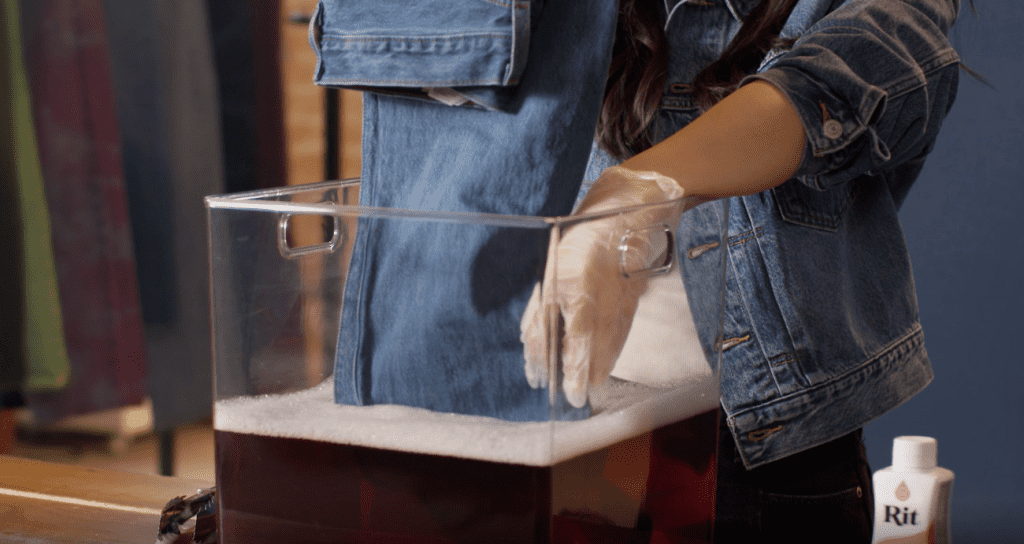
Dip Dye
Fold 501®s in half so that the legs line up.
Hang your 501®s on a hanger and make sure the bottoms are evenly matched.
Dip the legs slowly up and down and back and forth for 20 minutes or until desired color is achieved.
When desired look is achieved, remove 501®s from the dyebath.
TIP: To prevent a harsh dye line, tilt the legs side to side for an ombré effect.
After Dyeing
Once you’re done dyeing, allow your 501®s to sit and absorb the dye for 30 minutes.
Optional: Fill clean plastic container or stainless steel sink with hot tap water and add half a bottle (1/2 cup) of well-shaken ColorStay Dye Fixative. Wearing rubber gloves, submerge your 501®s into the ColorStay Dye Fixative solution.
If you used the dip-dye method, place only the dyed portion of the 501®s into the bath.
If you used the scrunch tie-dye method, place your bound 501®s directly into the bath. Placing unbound 501®s into the bath could result in dye bleeding into other areas.
Stir slowly and continuously on and off for 20 minutes.
Rinse in cool water until water begins to run clear. Machine wash your 501®s with an old towel in warm water with mild detergent. Rinse and dry.
Posts You May Like
Please wait while you are redirected to the right page...