
Supplies
- Rit Back to Black Kit
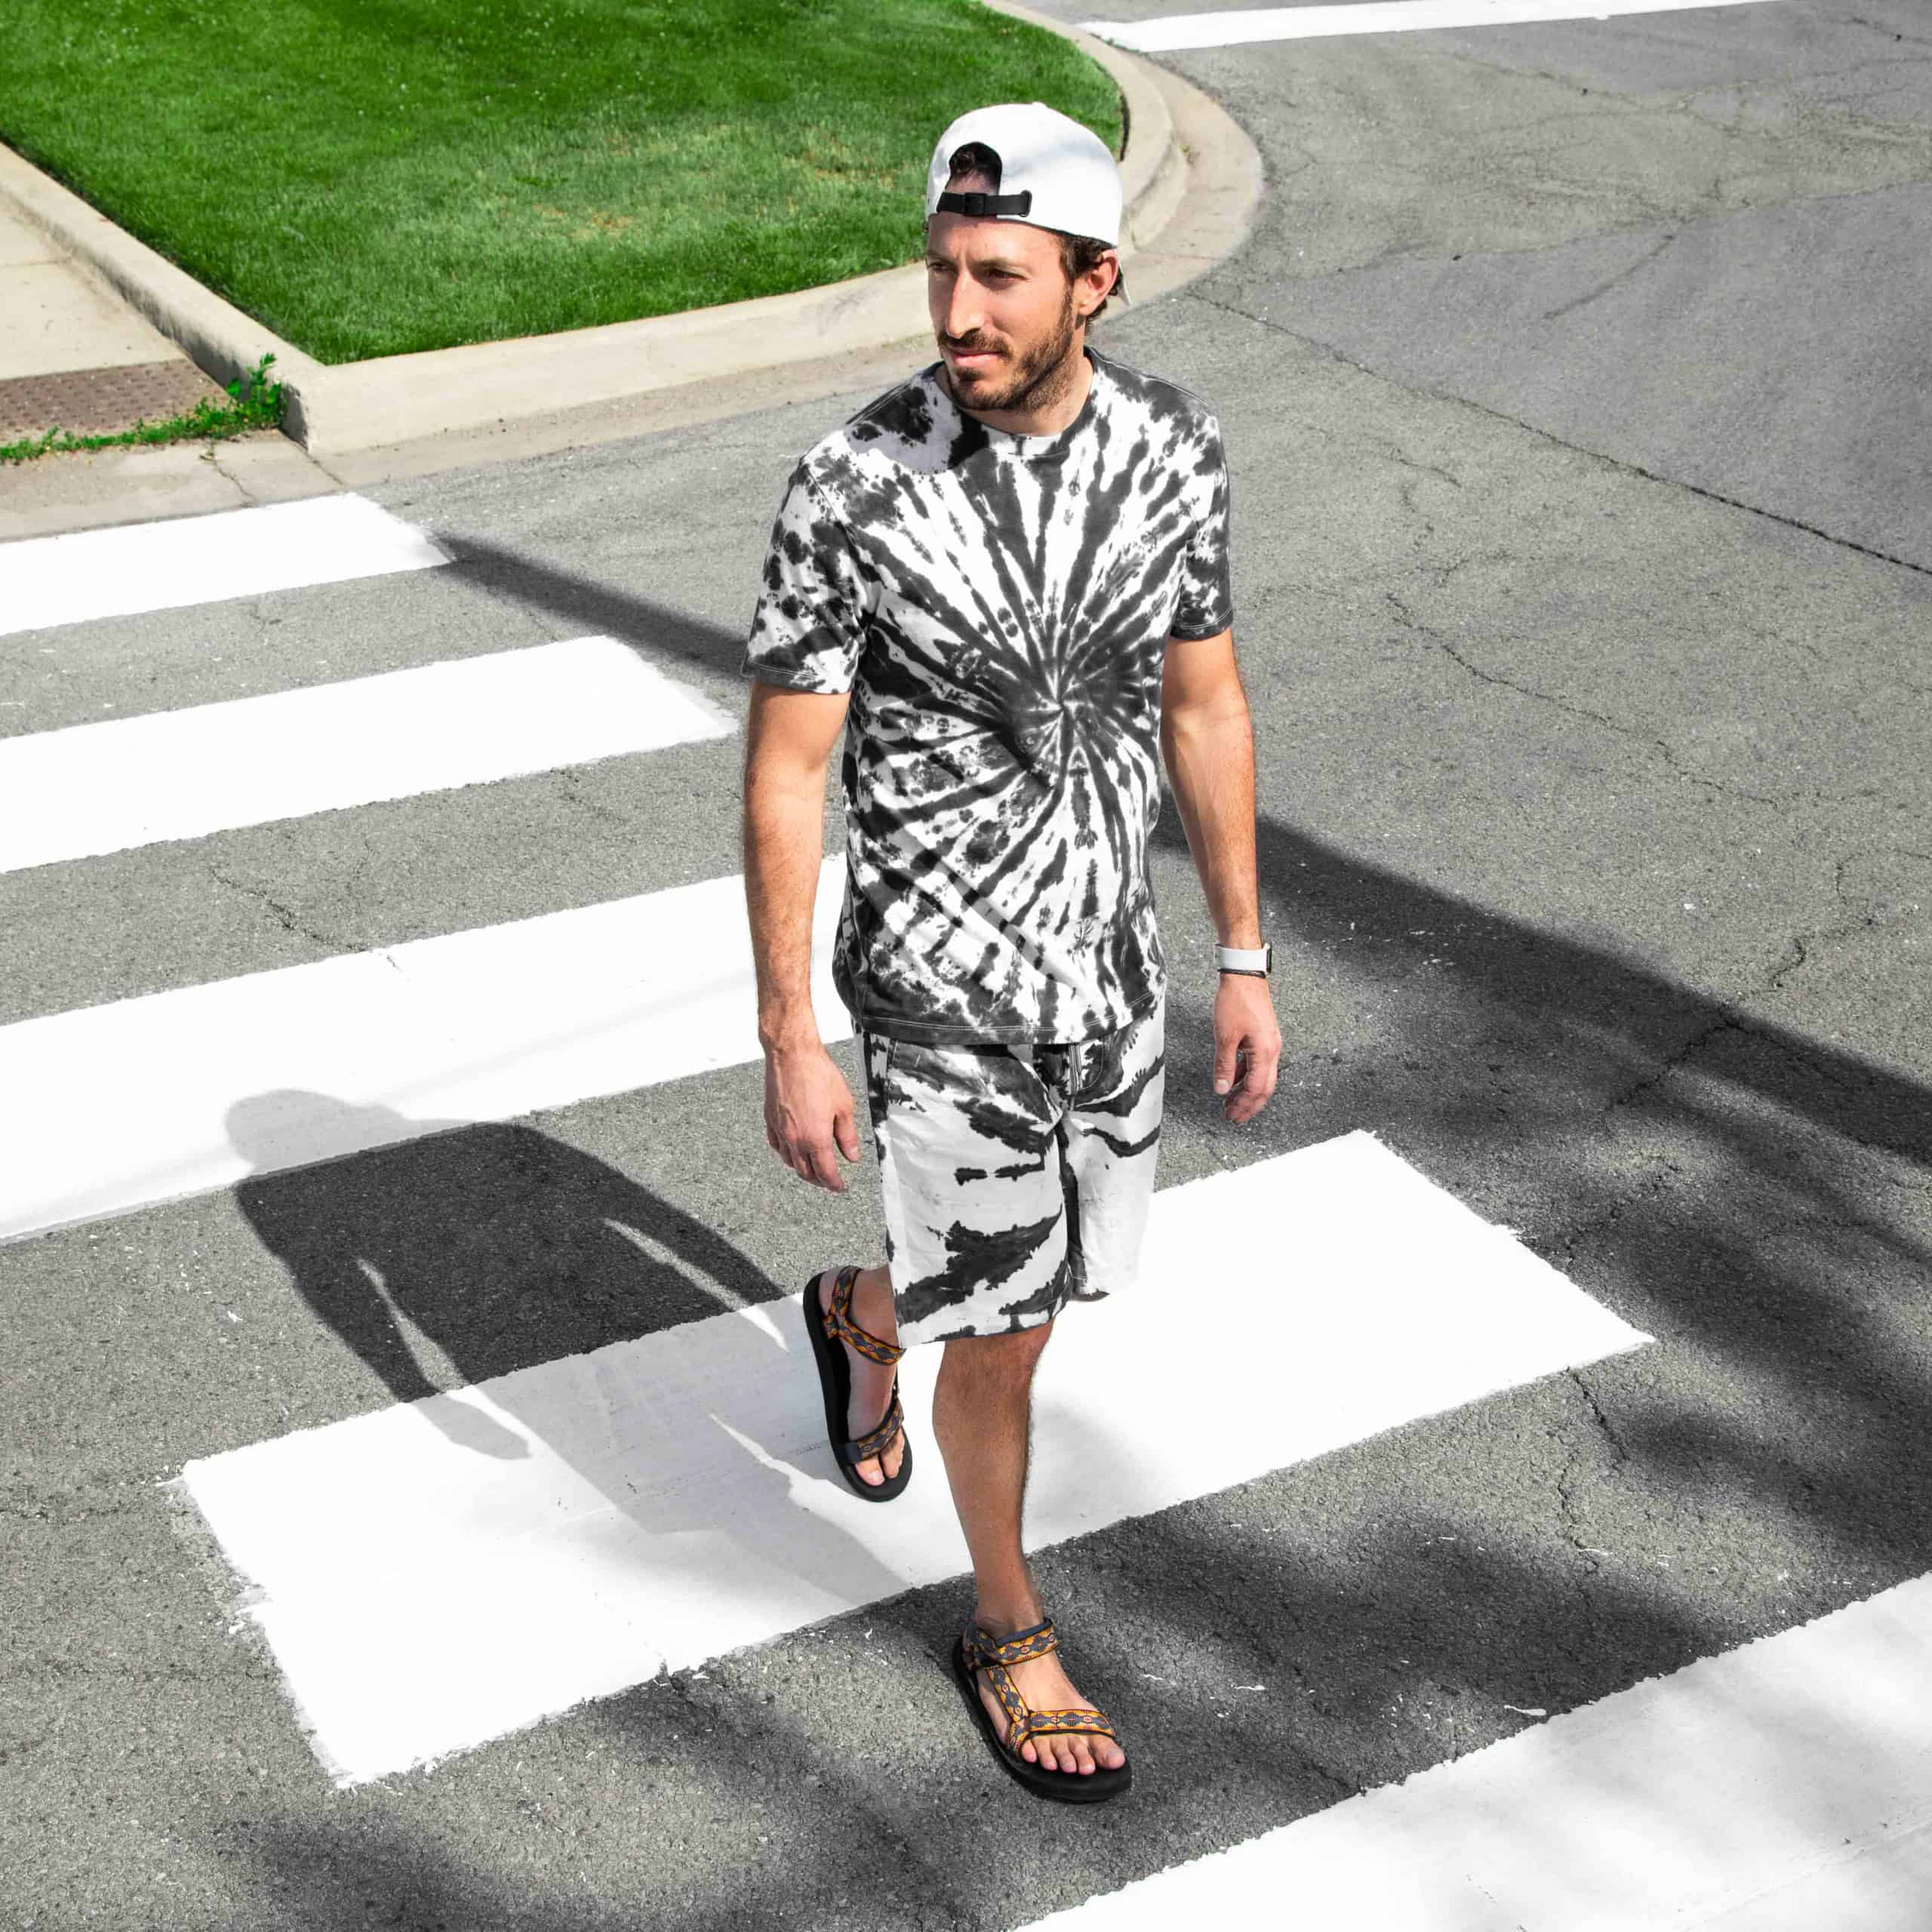
- Cotton T-Shirt + Shorts
- Salt
- Squirt Bottle
- Baking Rack + Tray
- Measuring Cup and Spoon
- Plastic Table Cover
- Paper Towels
Time
1-2 Hours Total: {{ partial.tYMC.total }}
Difficulty
Beginner Total: {{ partial.tXLN.total }}
Instructions
- Prewash clothing items in warm, soapy water. This helps to remove any finishes that may interfere with dye absorption.
- Leave the fabric damp and lay it out on a flat surface.
- Decide where to place the center of the spiral. Then position your fingers around the center point and slowly begin to twist fabric in a spiral direction. Loosely wrap rubber bands around fabric to hold spiral together.
- Wearing rubber gloves, mix 2 tablespoons of well-shaken dye with two cups of hot tap water.
- Add 1 tablespoon of salt.
- Pour into a squirt bottle. Shake well.
- Place shirt and shorts on baking rack with a tray under it. This keeps the dye from puddling under the fabric.
- For the shirt, we squeezed the dye onto the entire fabric. For the shorts, we squeezed the dye in random sections. Flip over and repeat.
- After the dye is applied, let the fabric sit for 30 minutes to allow the dye to absorb.
- To set the dye, do the following while the fabric is still tied up:
- Apply Rit ColorStay Dye Fixative with a squeeze bottle, which will enhance the colors and reduce bleeding. Mix 2 tablespoons of well-shaken ColorStay Dye Fixative with water and apply liberally to both sides of the fabric.
- We strongly recommend using your microwave, as long as the fabric does not have any metal parts on it. After applying ColorStay Dye Fixative, wrap the fabric in plastic wrap and seal the edges. Place the wrapped fabric on a paper towel in the microwave and heat for 2 minutes. Plastic will puff up, creating a heat chamber that helps bond the dye with the fabric. Once the microwave is done, remove the fabric and open the plastic, letting it cool down.
- If a microwave is not available or feasible to use and it is a hot sunny day, lay the wrapped fabric out in the sun for a few hours.
- Rinse in cool water until rinse water begins to run clear. This is very important to prevent unabsorbed dye from bleeding into any white areas. If possible, rinse with the fabric bundle sitting flat on the baking rack. If it is held vertically, some of the unabsorbed dye could run into white areas as it is rinsed off.
- Carefully remove rubber bands with a scissors and unfold the fabric.
- Wash in cold water with a mild detergent, rinse and dry.

Posts You May Like
