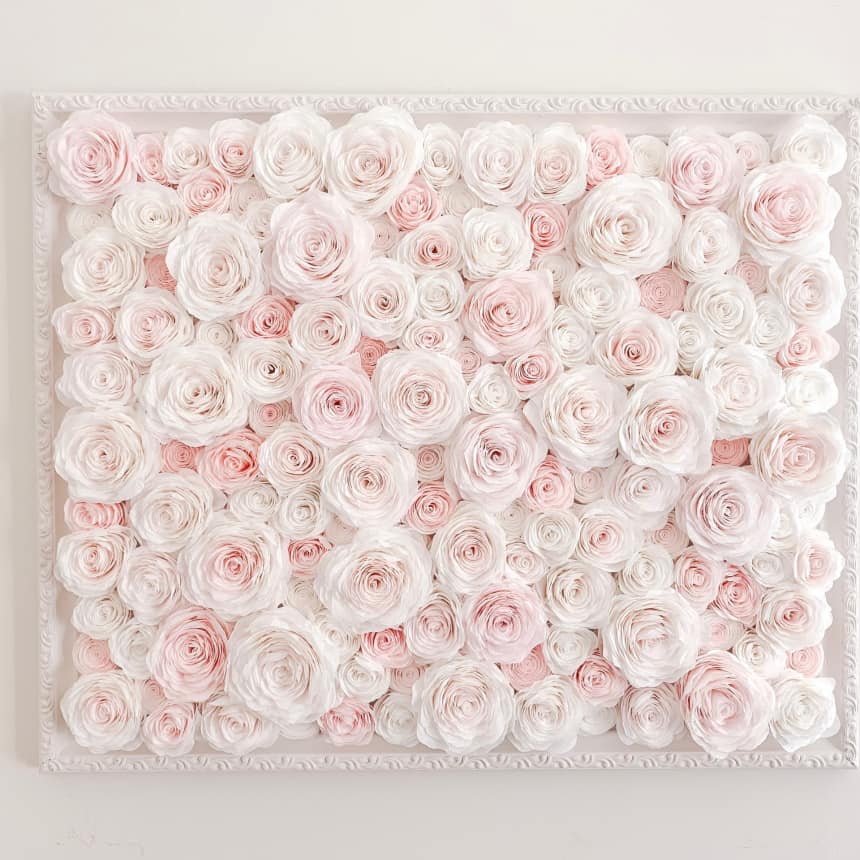
Dyed Coffee Filter Flowers
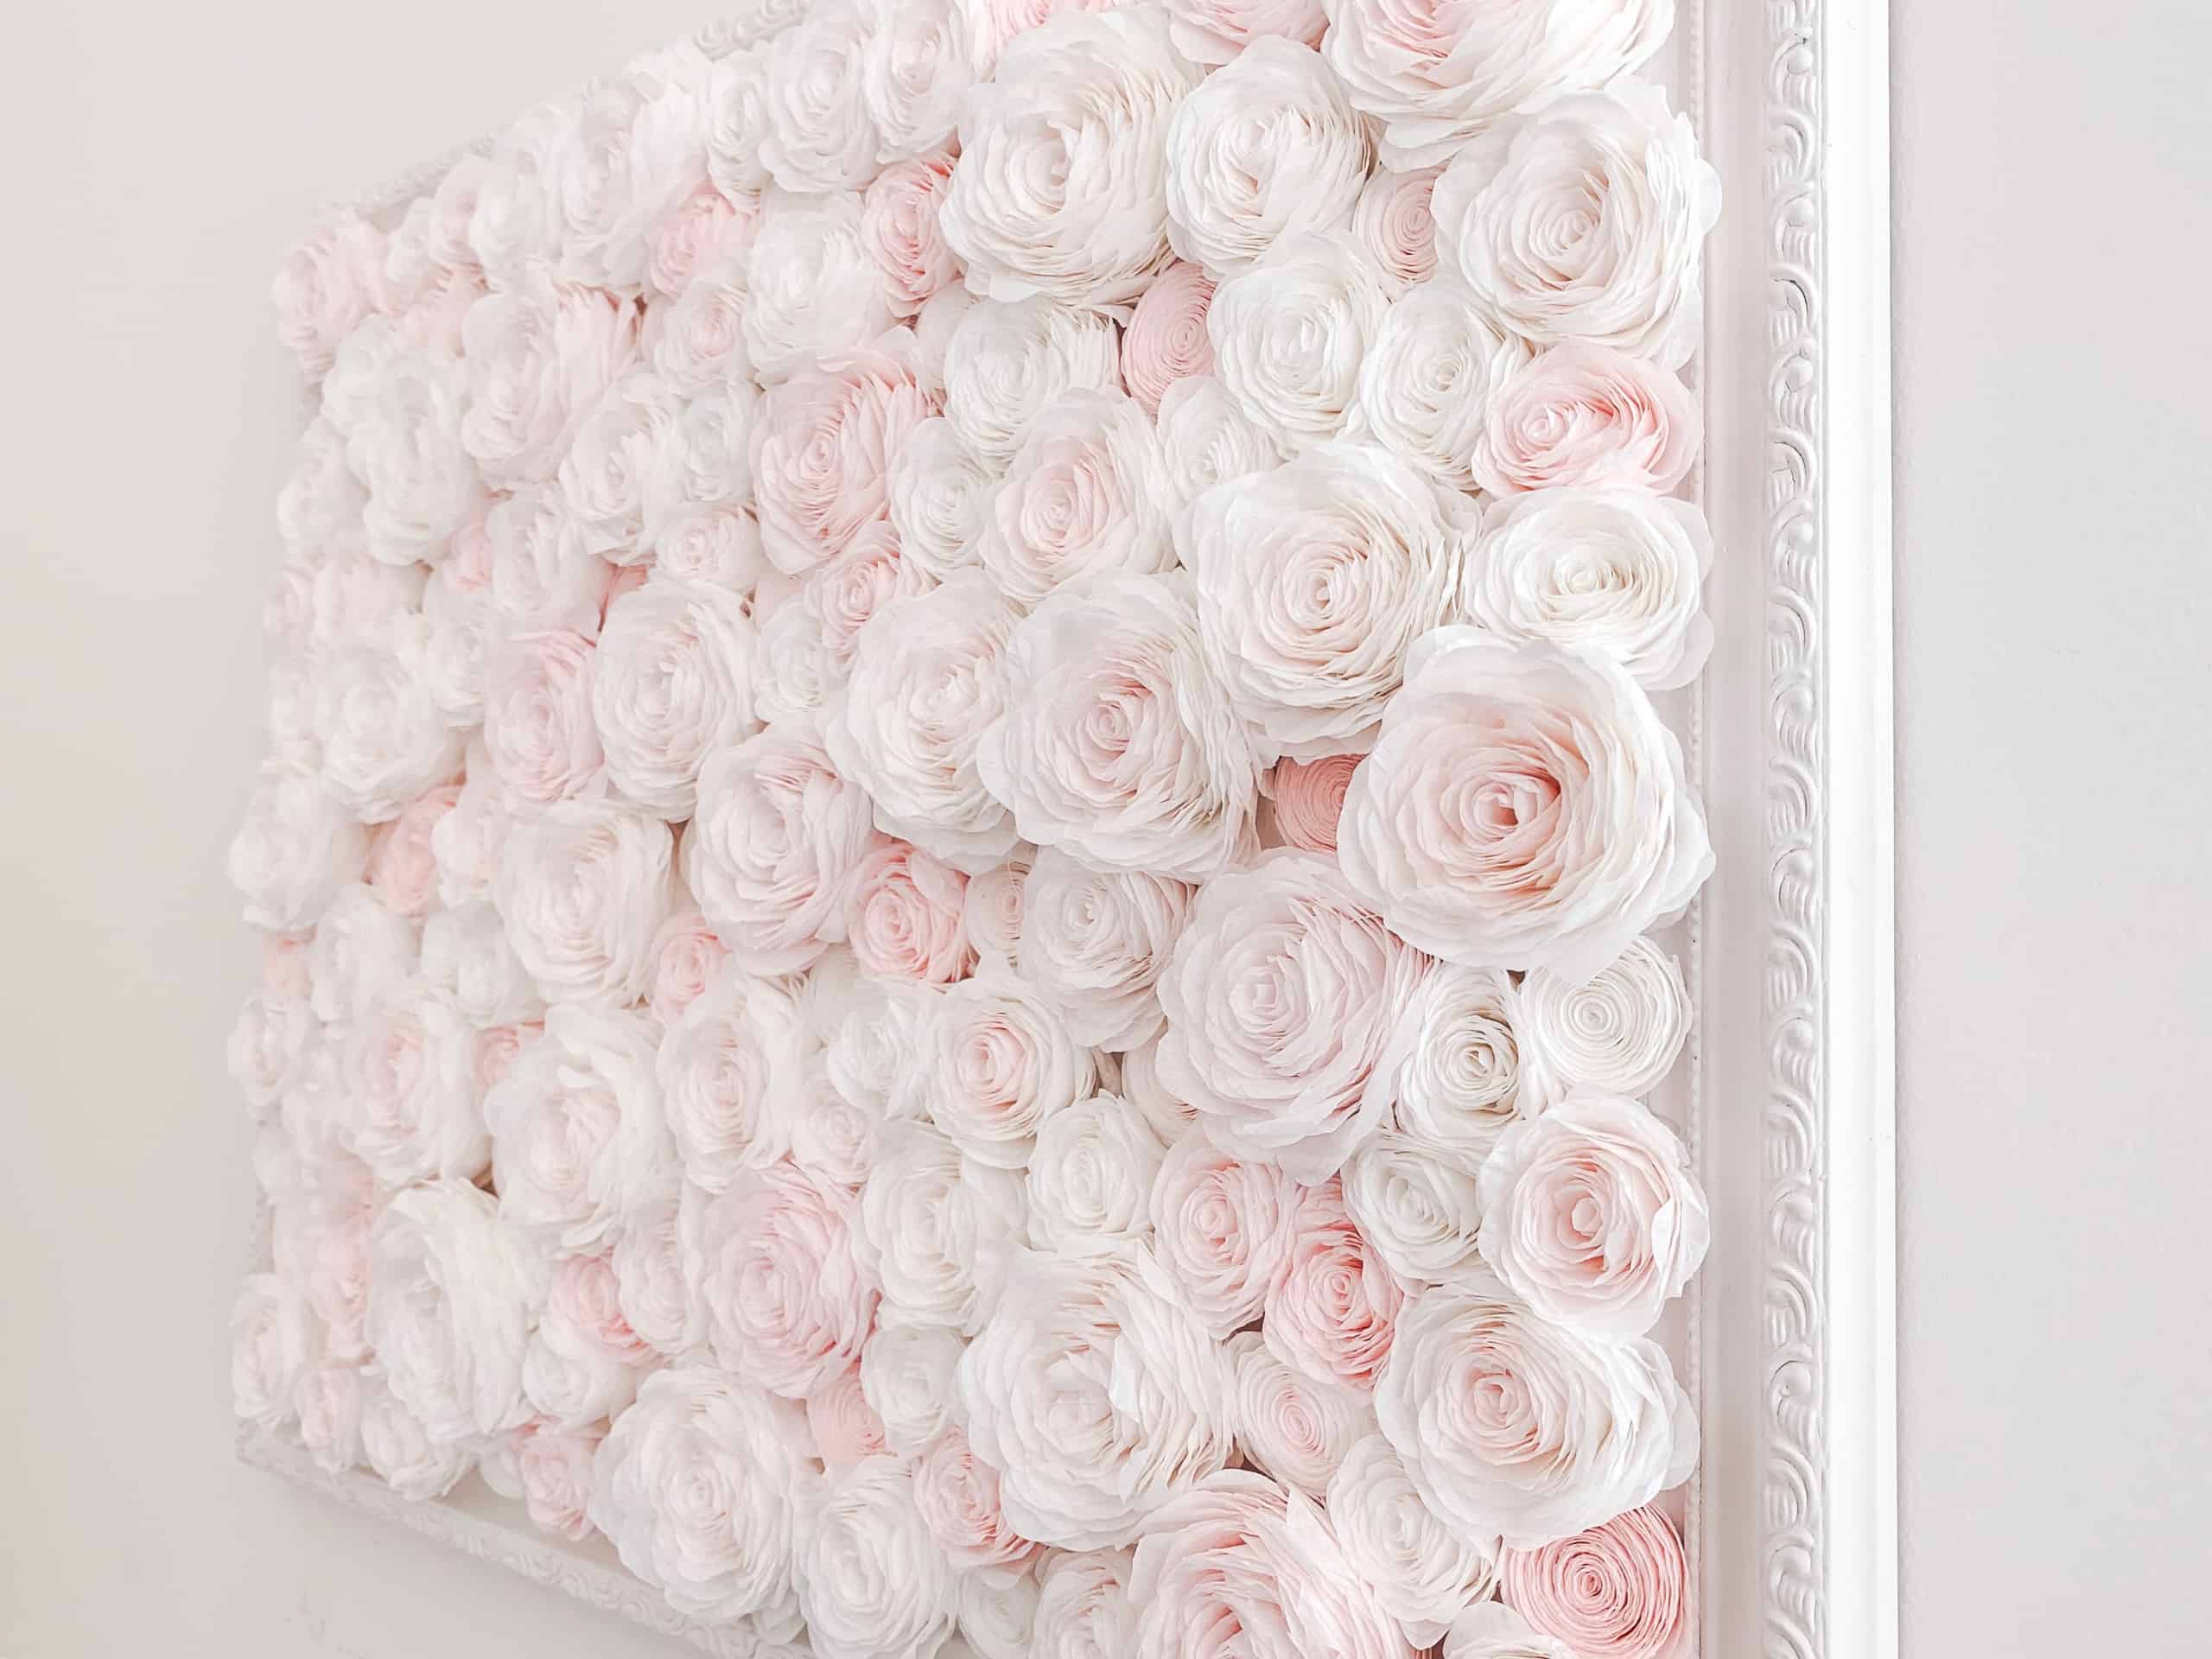
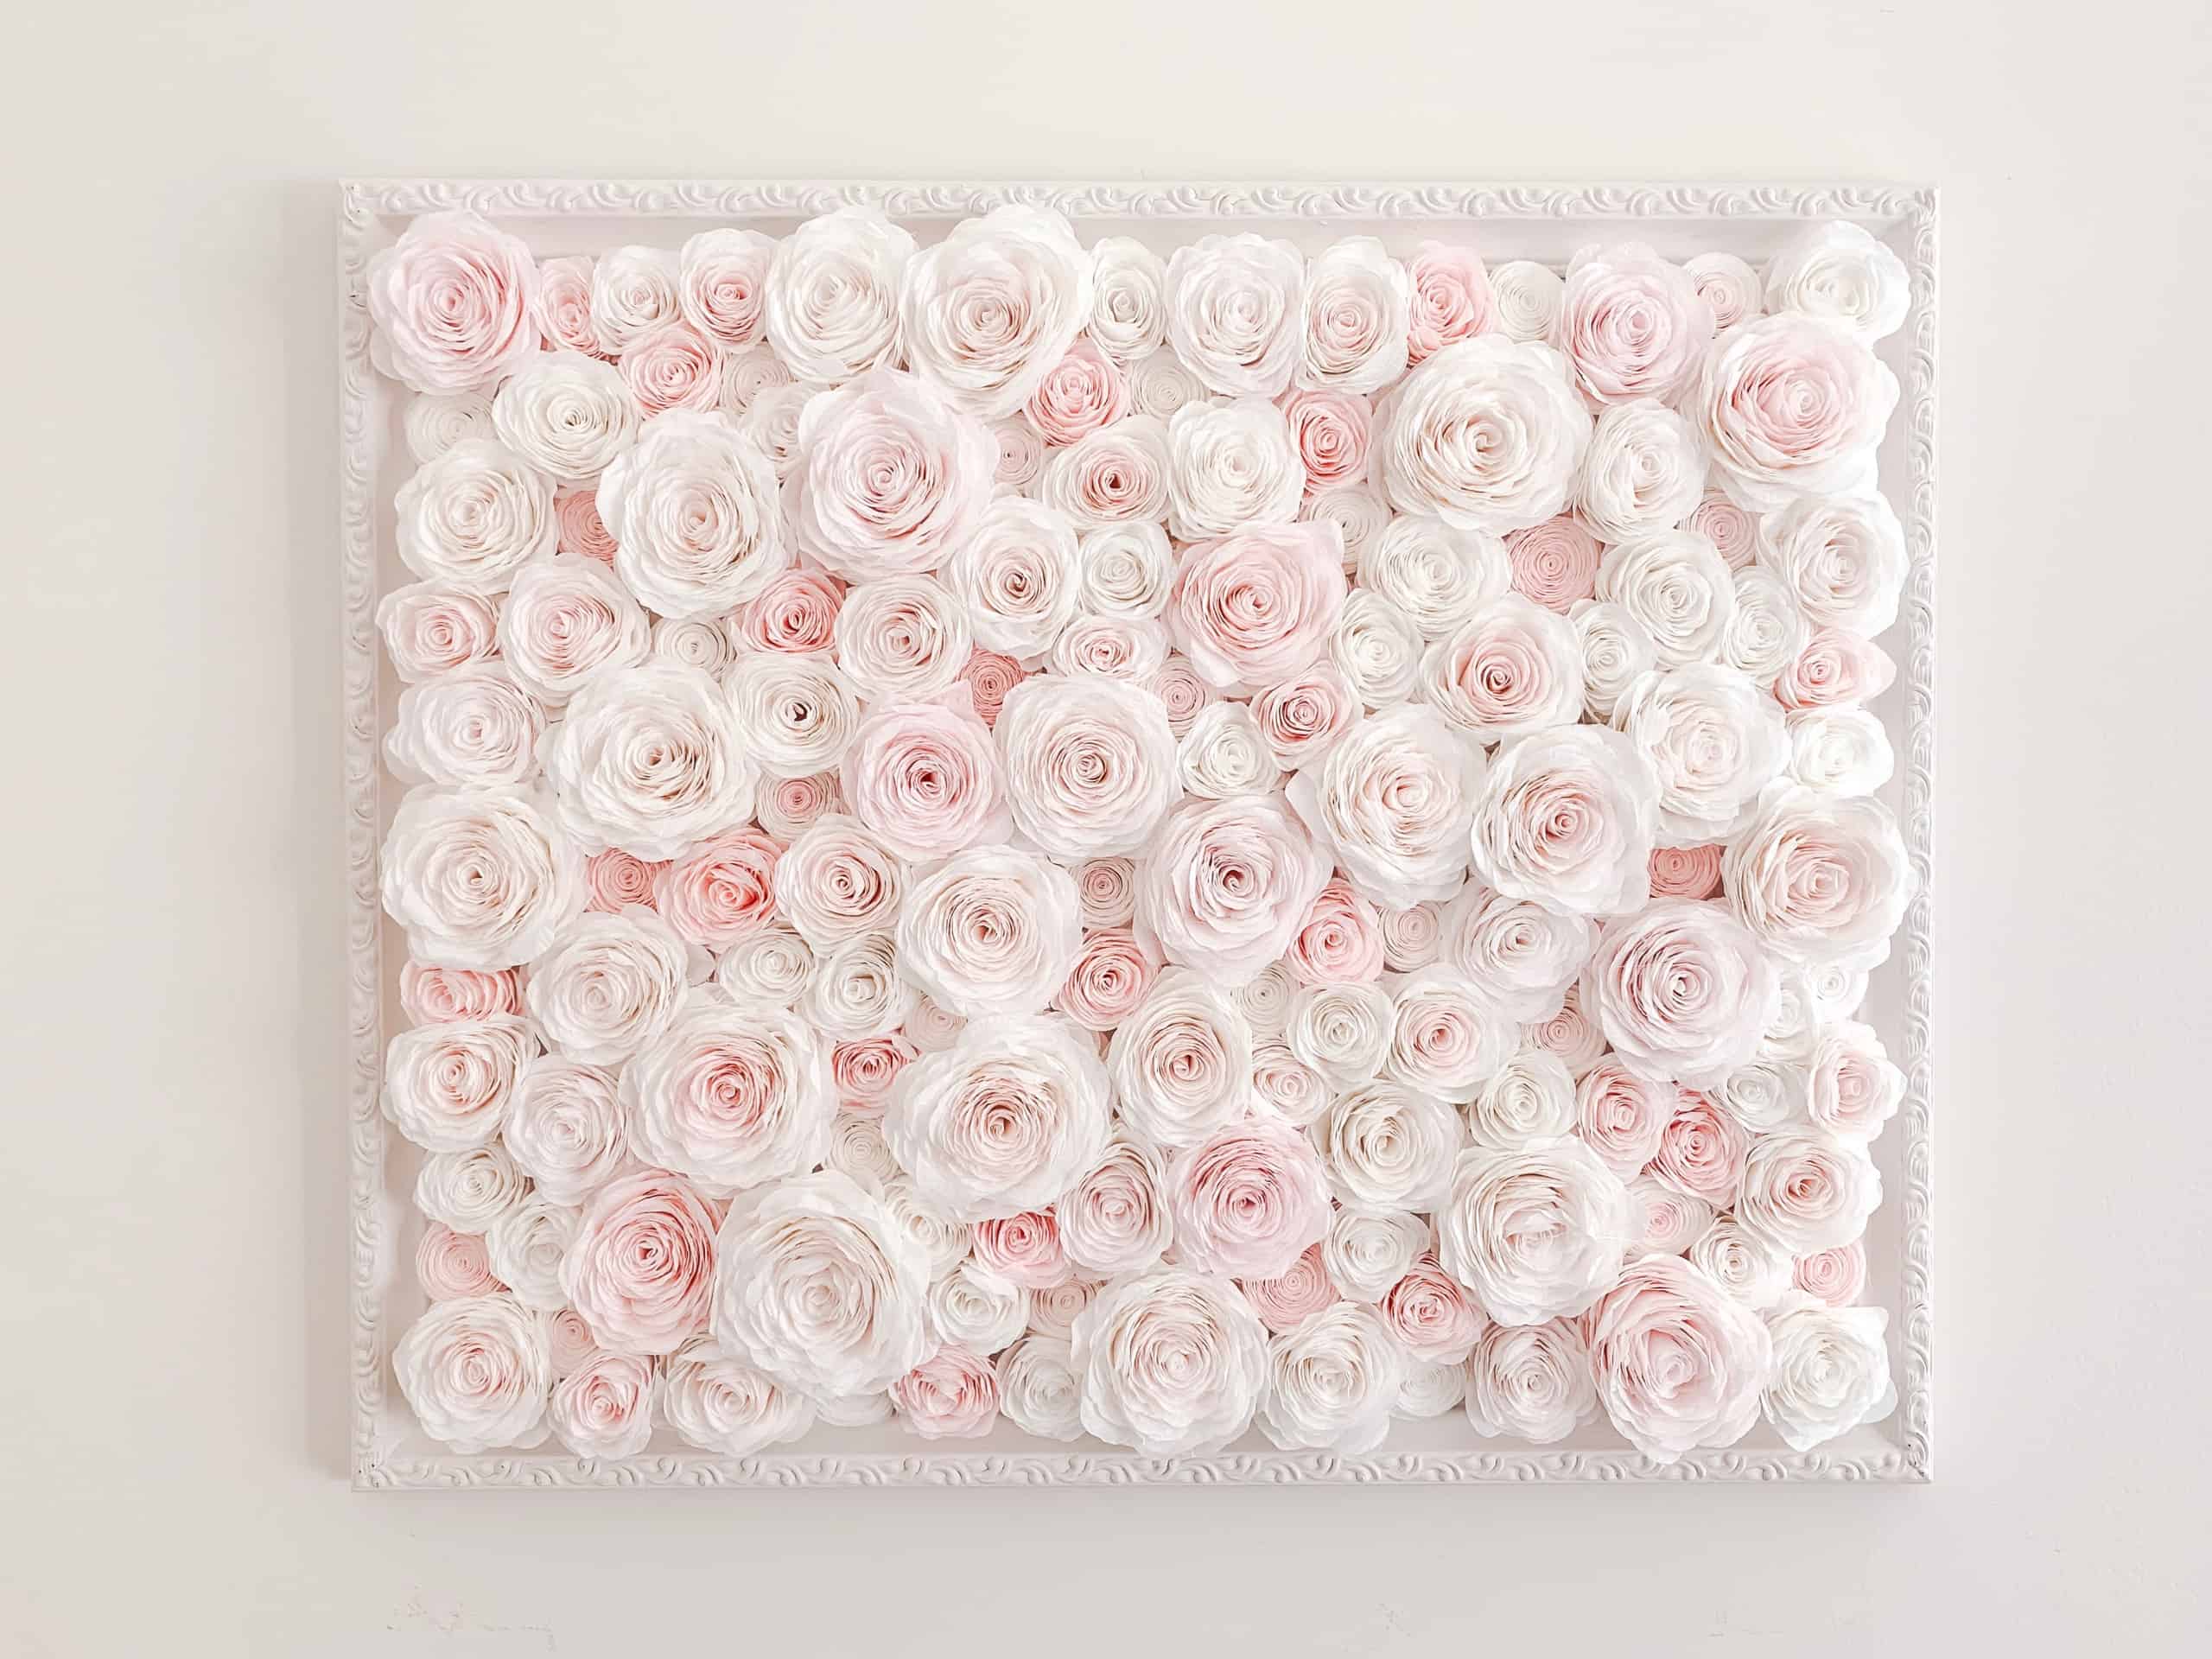
We are over the moon about this beautiful wall art created with inexpensive coffee filters! Maia from One Dimple Studios dip dyed the coffee filters and arranged them into flowers to create this masterpiece. What a cool idea! And the idea of dyeing coffee filters opens up the door to so many possibilities.
Supplies
- Rit All-Purpose Liquid Dye: Fuchsia Used Here
- 12 Cup Coffee Filters
- Container for Dyeing
- Rubber Gloves
- Paper Towels
- Plastic Table Cover
- Measuring Spoon
- Hot Glue Gun
Time
1-2 Hours Total: {{ partial.tYSU.total }}
Difficulty
Beginner Total: {{ partial.t6FW.total }}
Instructions
- Cover table with plastic and gather your supplies.
- Fill a small container with 4 cups of hot water (140°F). Wearing rubber gloves, add 1 cap full of well-shaken Fuchsia dye into dyebath; stir well.
- Test dye color on one coffee filter. If color is too light, add more dye; if it’s too dark; add more water.
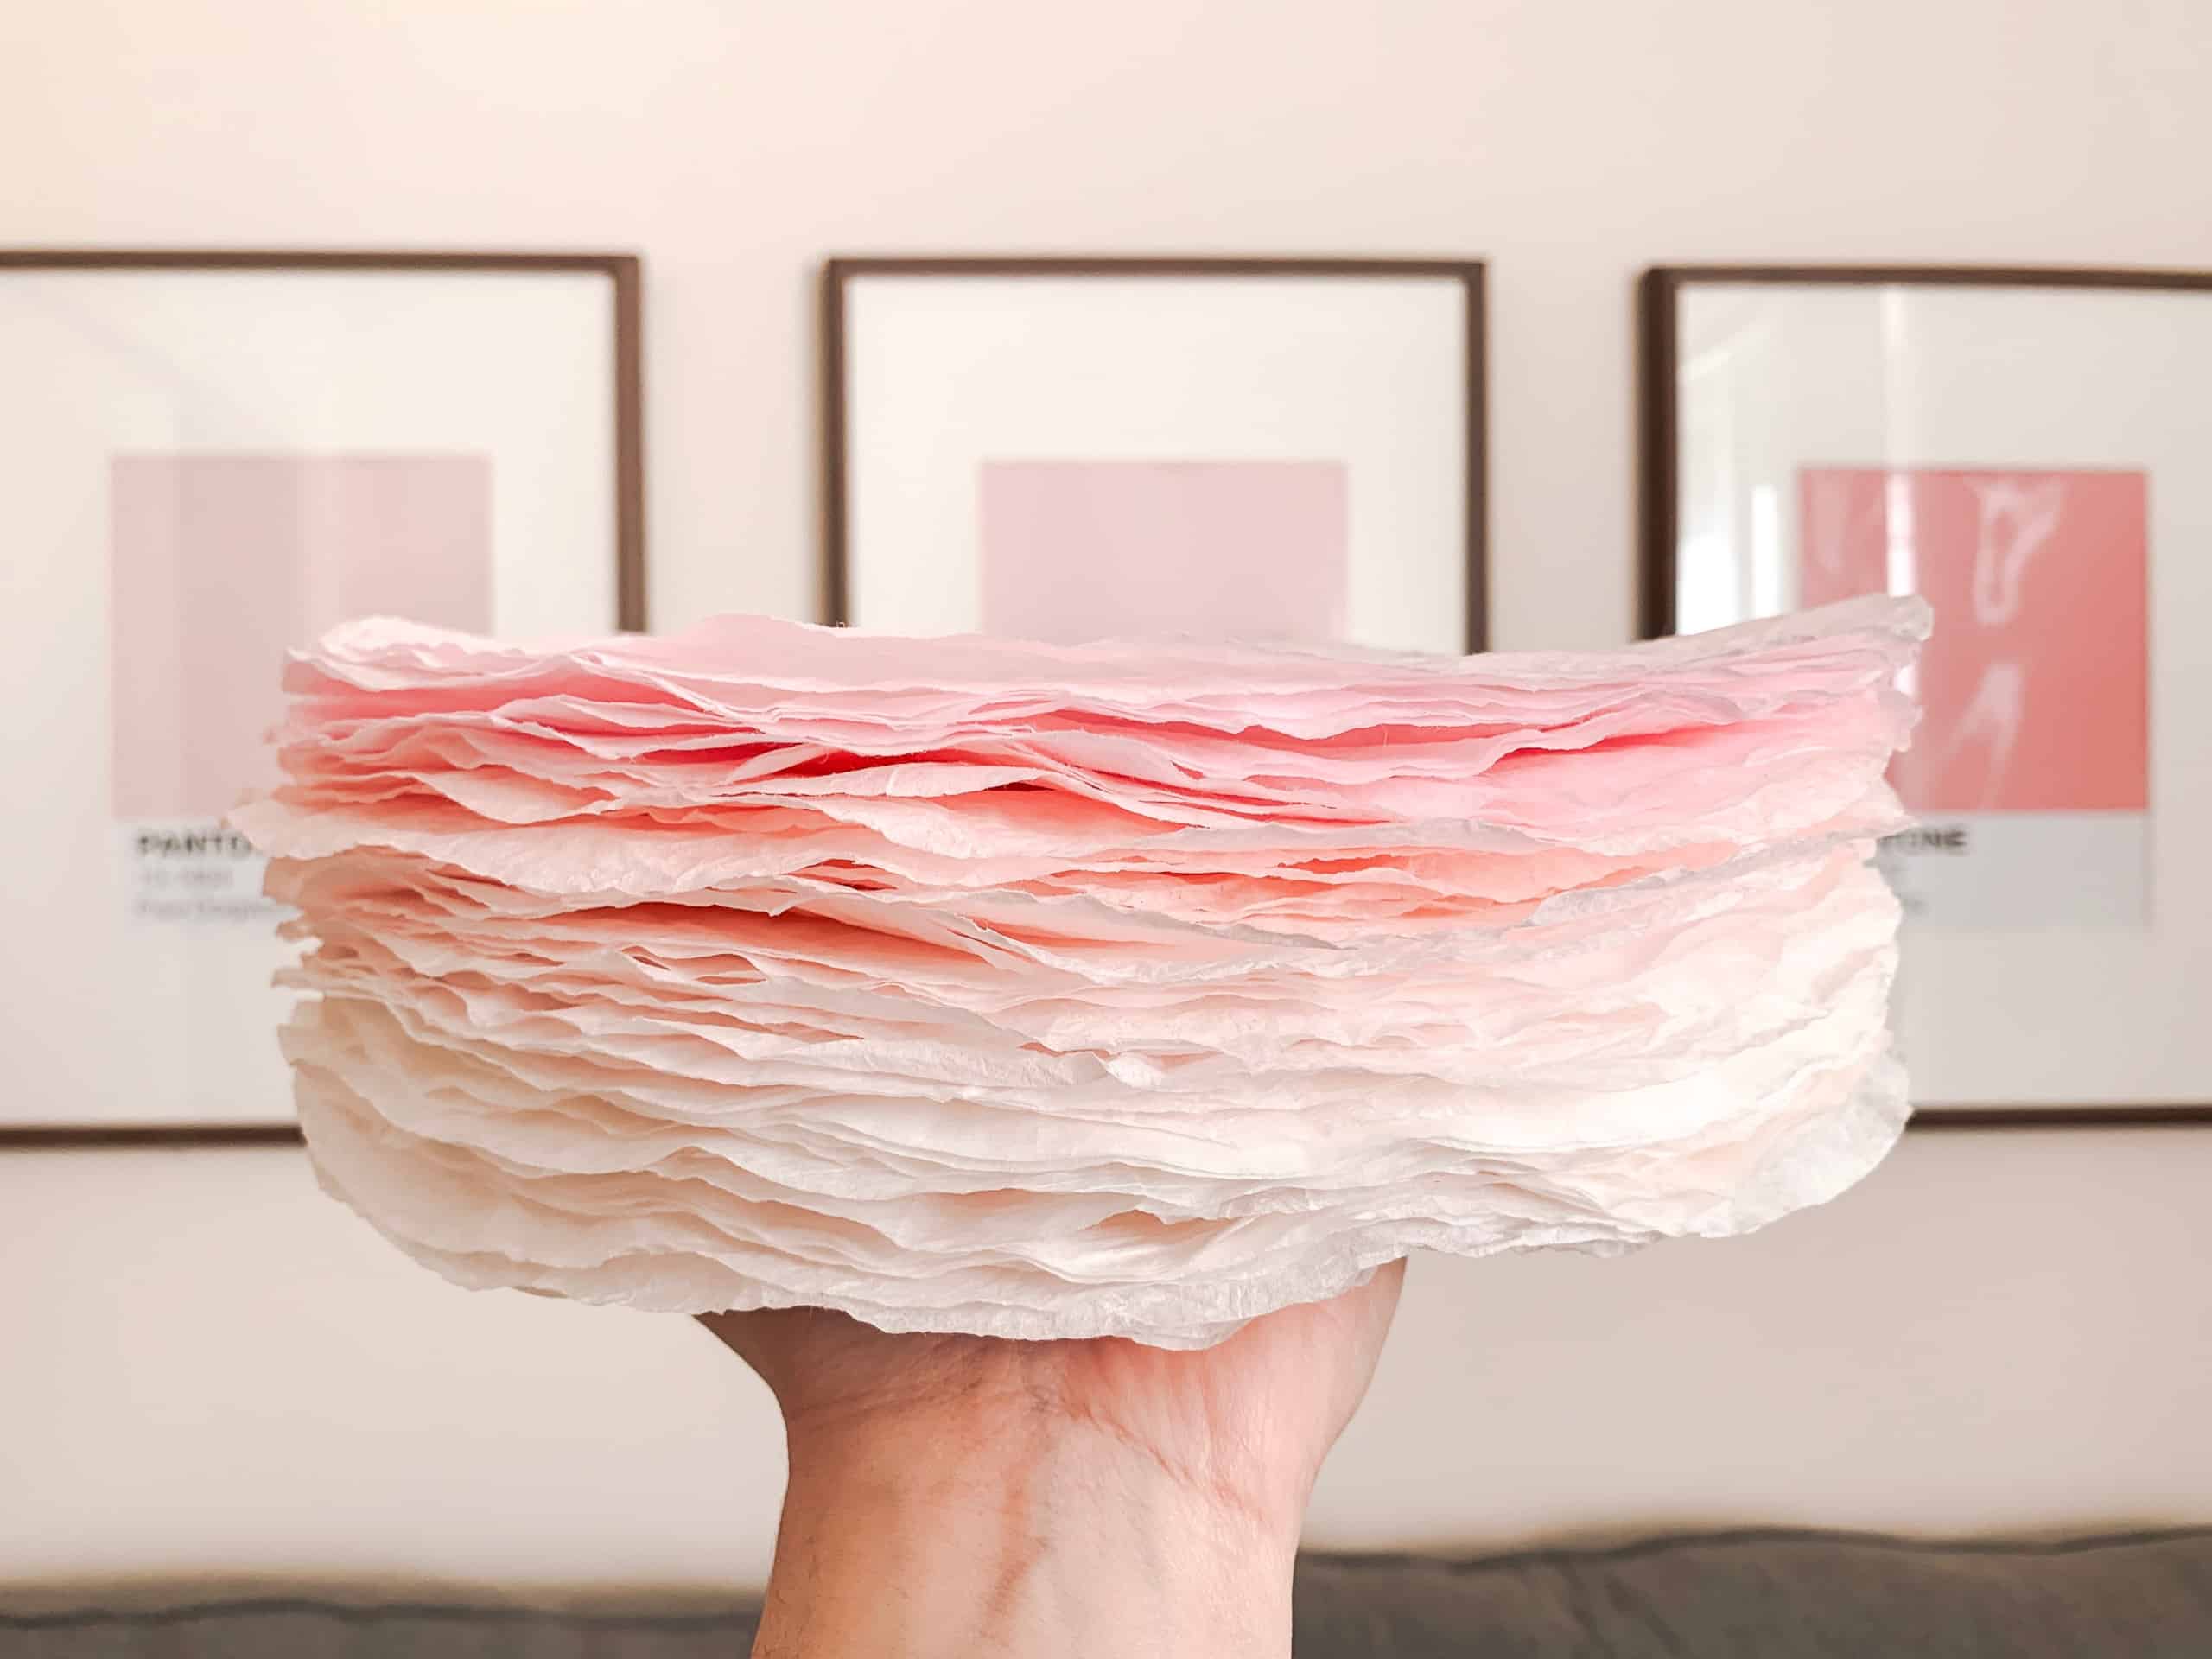
- Immerse coffee filters into the dyebath for a few seconds while they absorb the dye.
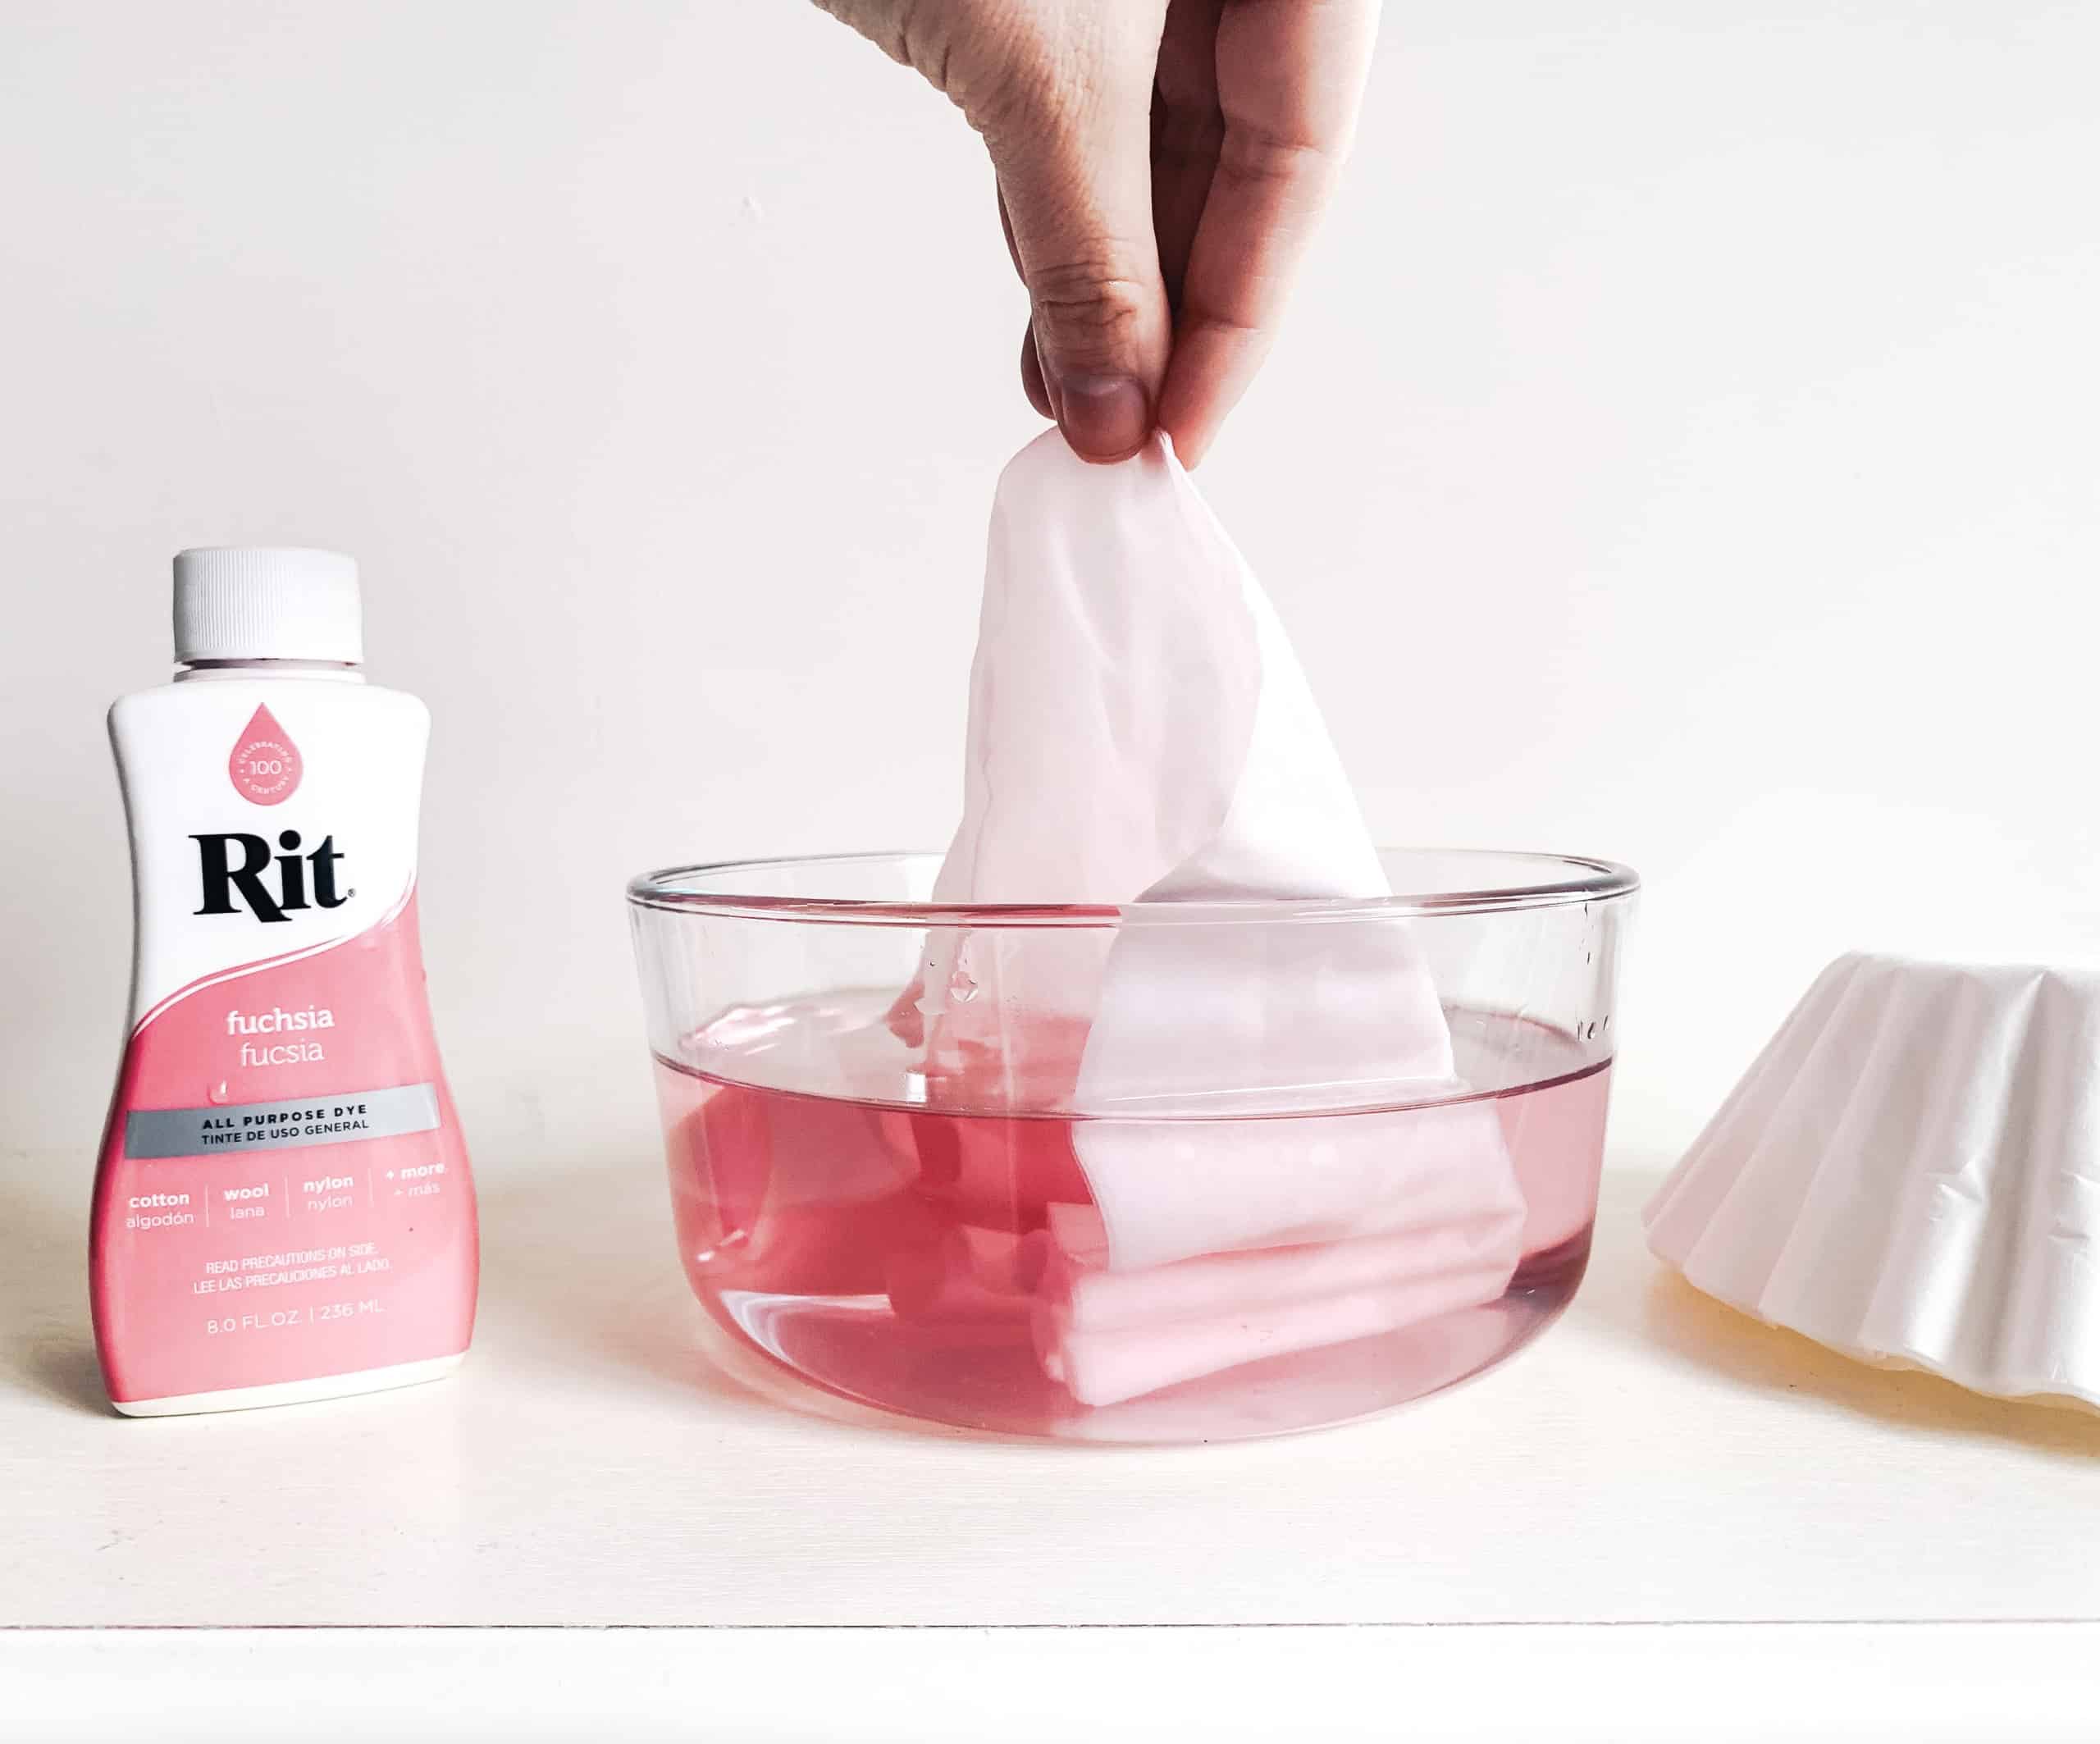
- Remove filters from the dyebath and separate them to dry on newspapers or paper towels.
- Once dry, it is time to create the coffee filter flowers.
- Cut a spiral into the coffee filter starting from the outside-in. You can choose to cut a simple spiral or use your scissors to create a scalloped edge the whole way to the center. The larger the space between the spiral, the taller the flower will be.
- You then coil or roll them, again from the outside-in, and leave a dab of hot glue to secure the bottom where the center of your spiral ends.
- You can use multiple filters to create fuller/larger blooms.
- Once the flower is created, use a hot glue gun to adhere to surface.
Posts You May Like
