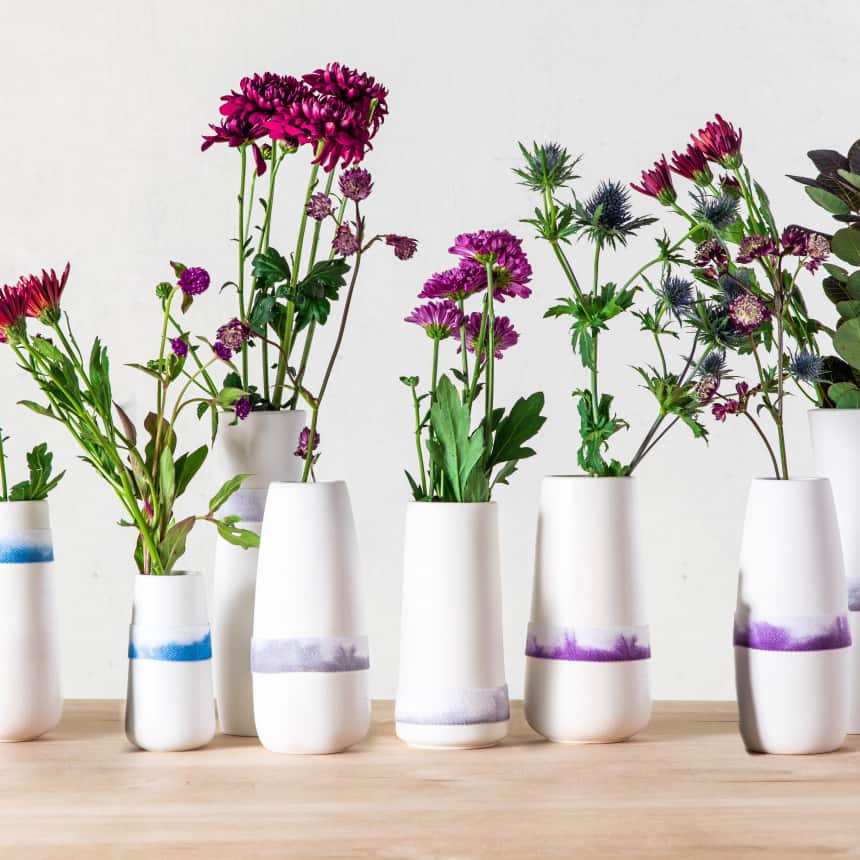
Dip Dyed Ribbon
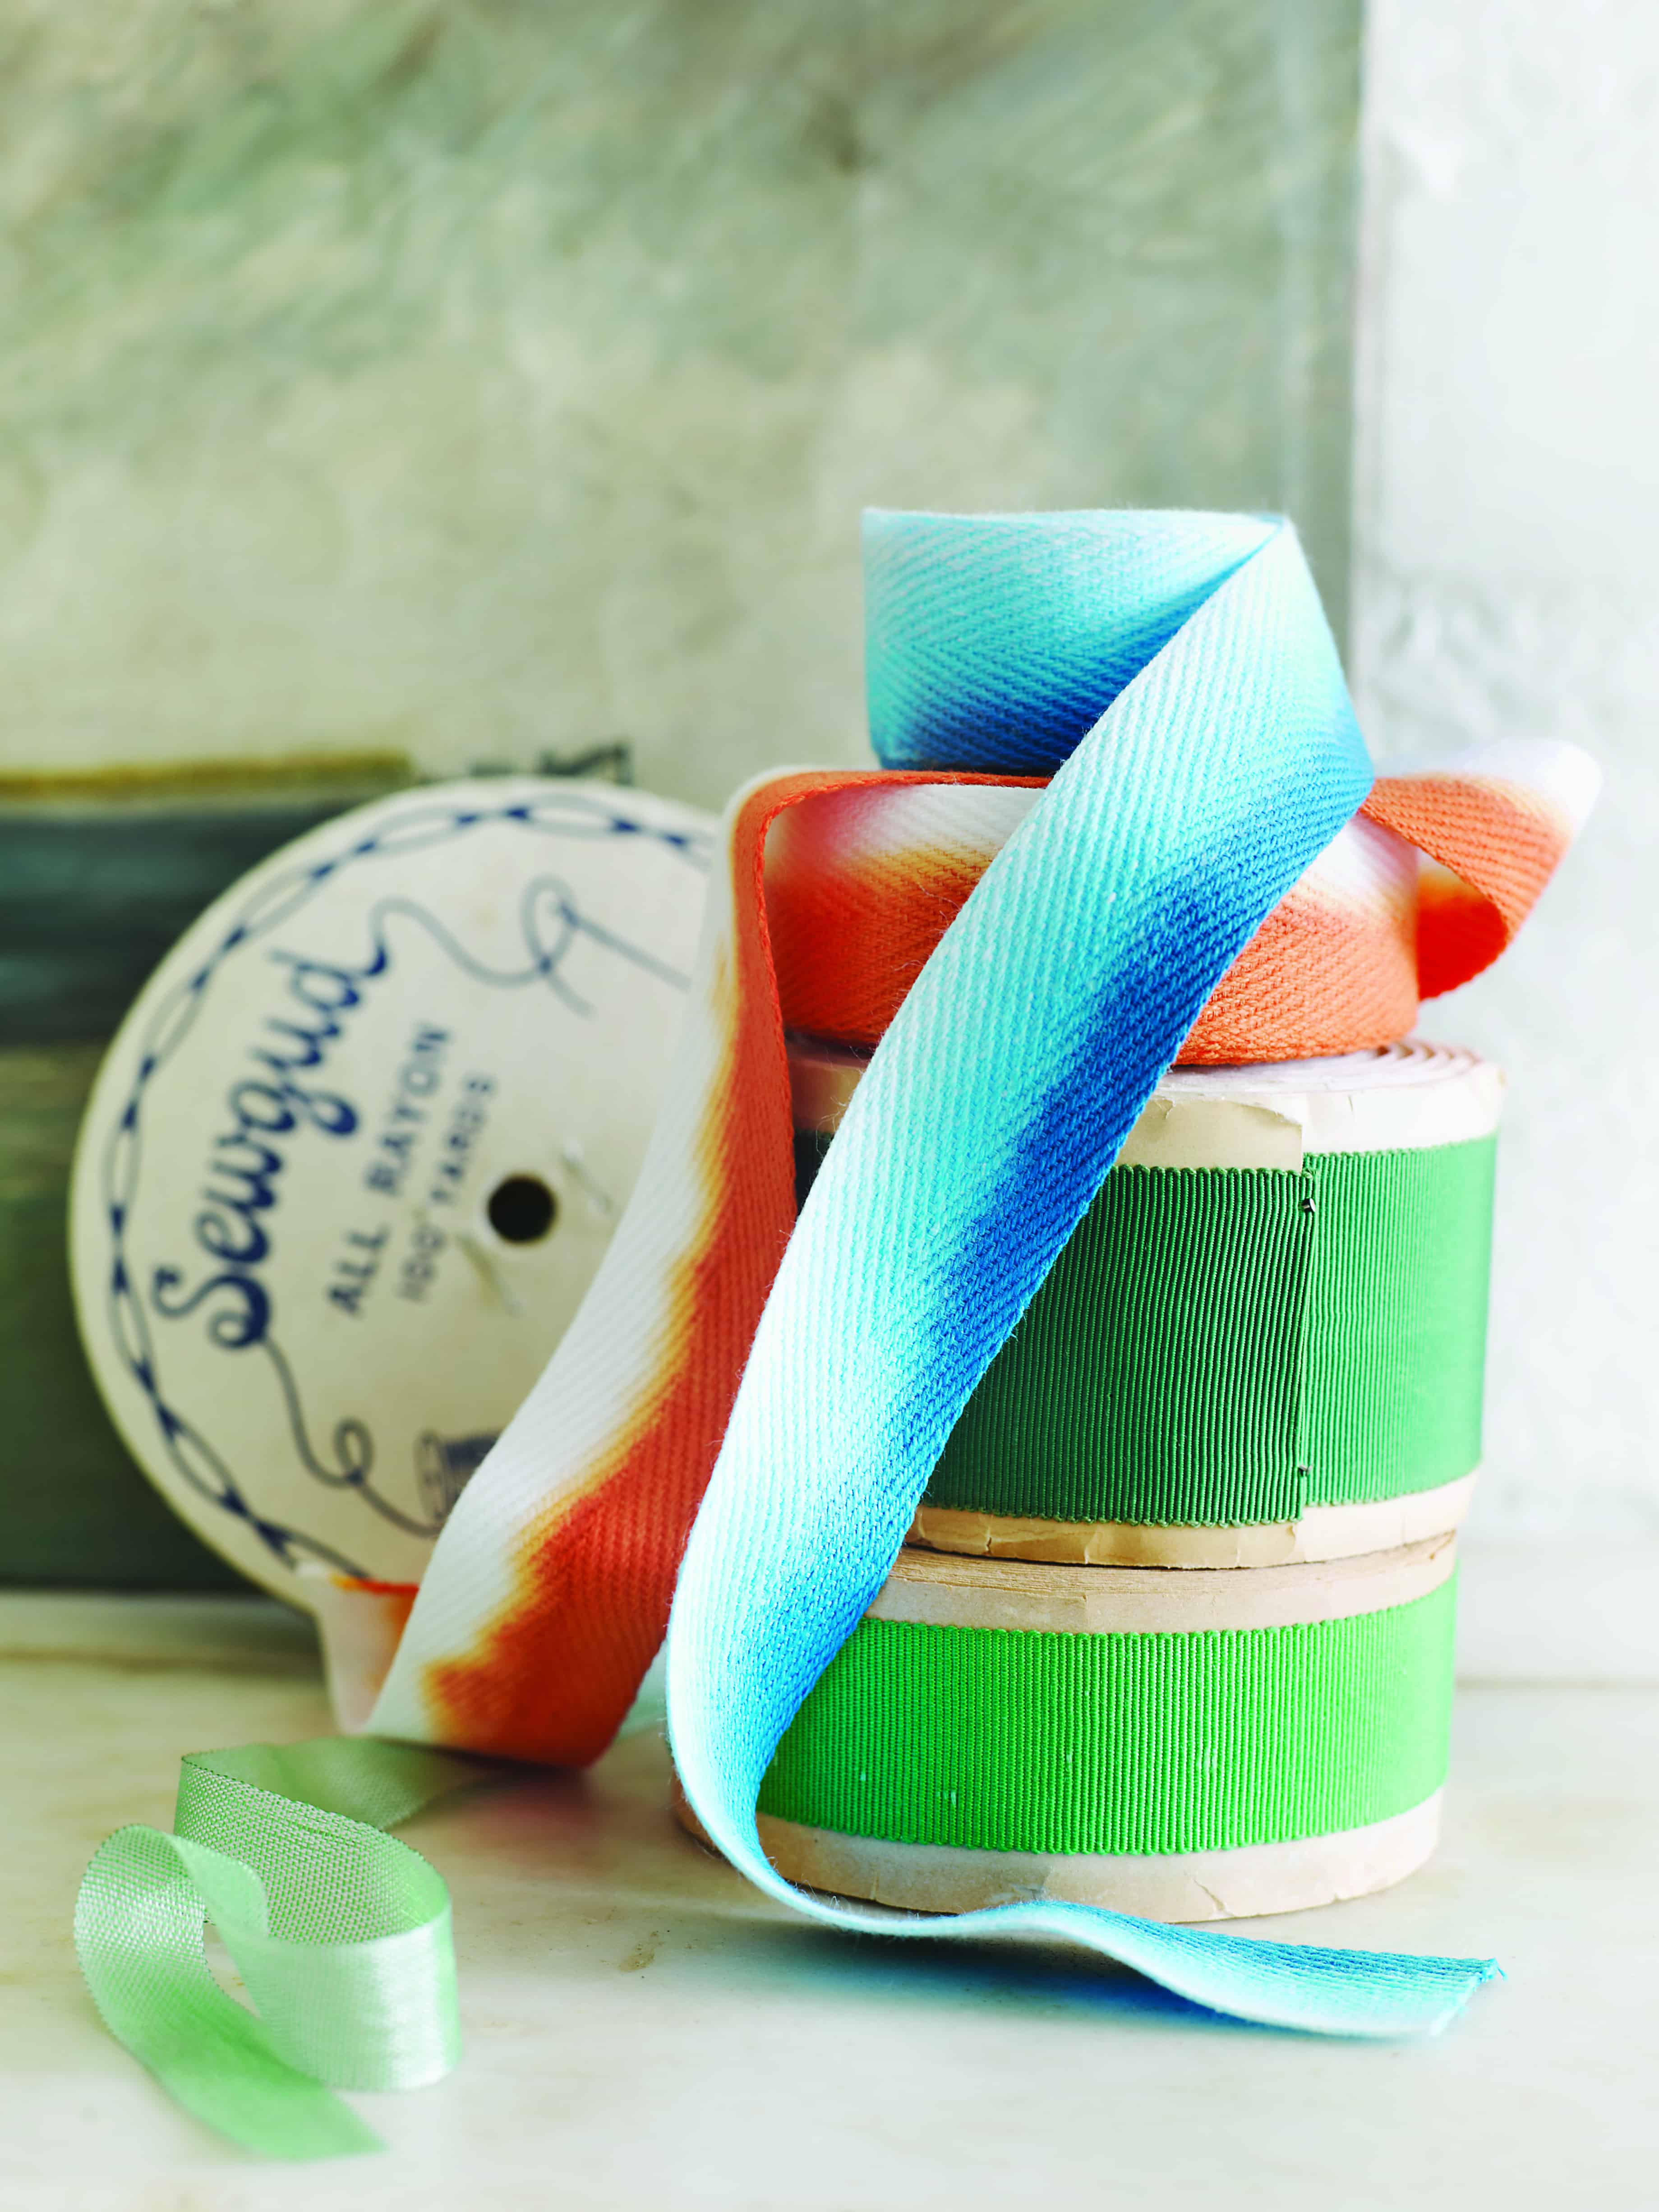
Ribbon is so versatile, whether you use it to wrap a present or you add it to a vase — there are endless uses! Try transforming simple white ribbon into a colorful statement using our dip dye method. We just love the finished look with the uneven dye lines. Learn how we created these dip dyed ribbons and see images from a similar project completed by our good friend Sweet Paul.
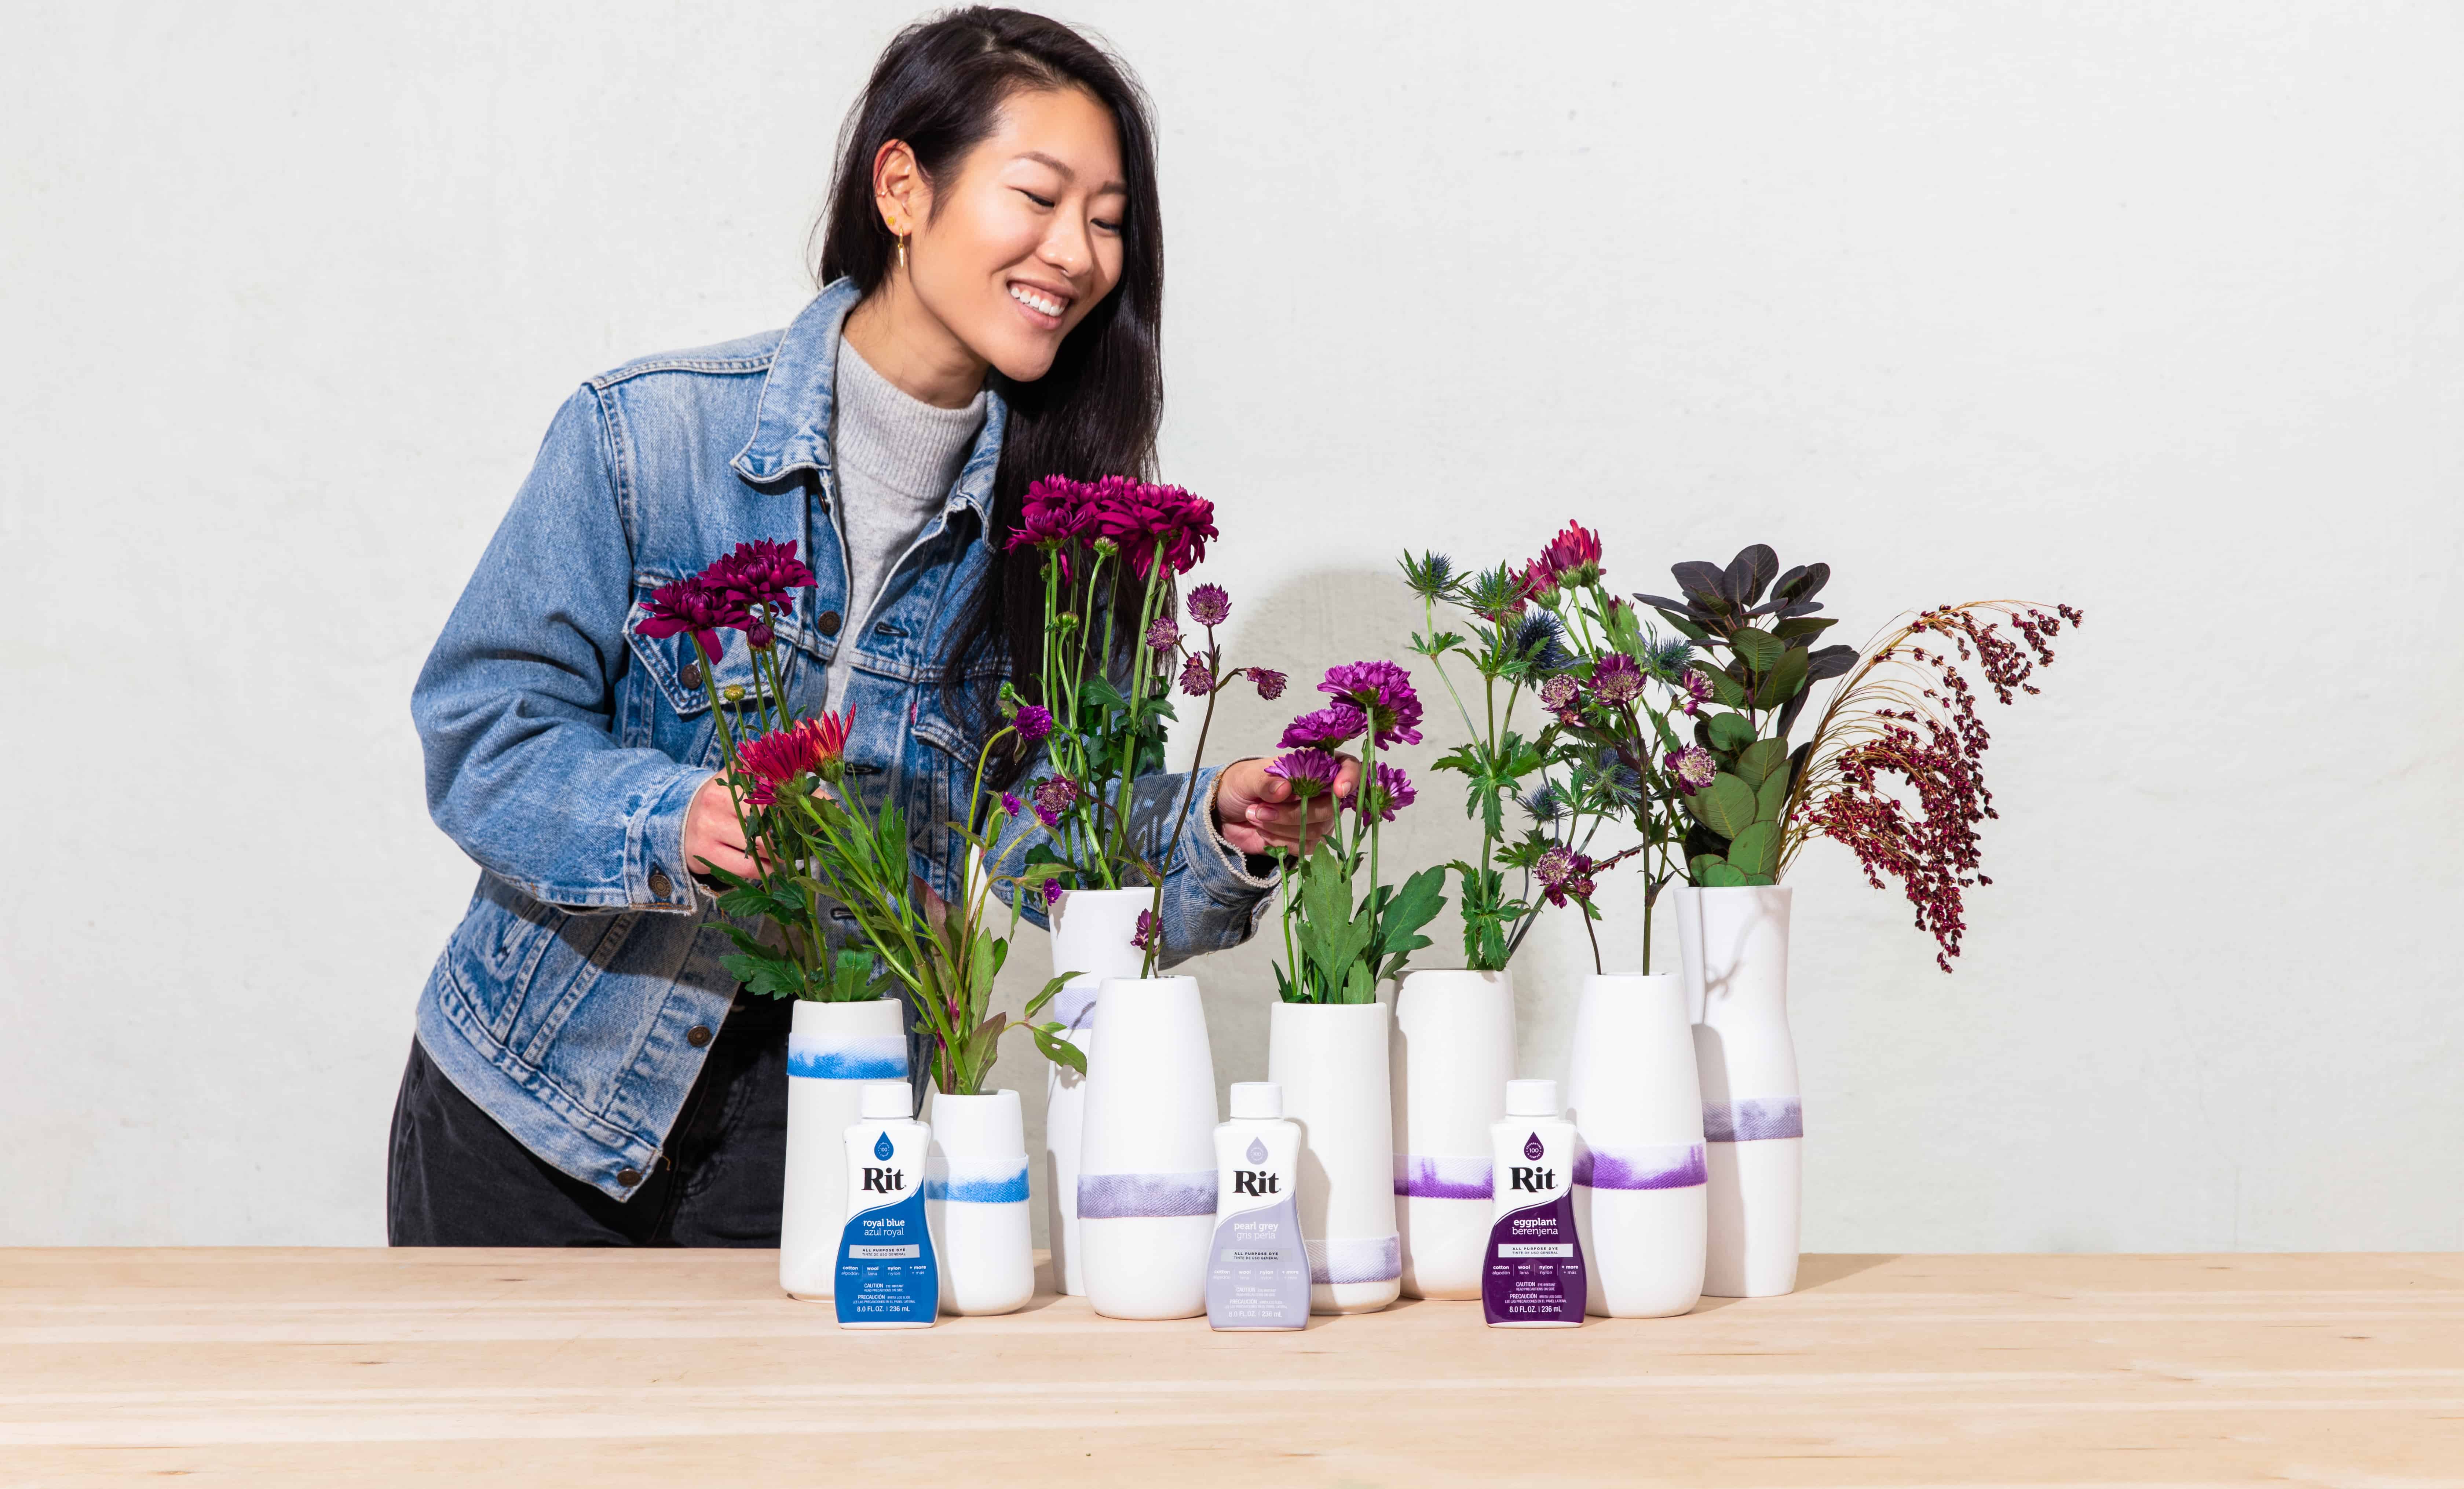
Supplies
- Rit All-Purpose Liquid Dye: Royal Blue, Eggplant and Pearl Grey
- Rit ColorStay Dye Fixative
- White Cotton Ribbon
- Plastic Container for Dyeing
- Liquid Dish Detergent
- Salt
- Spoon
- Measuring Spoons
- Paper Towels
- Plastic Table Cover
- Rubber Gloves
Time
Less Than 1 Hour Total: {{ partial.tUZ3.total }}
Difficulty
Beginner Total: {{ partial.tSYQ.total }}
Instructions
- Cover table with plastic and gather your supplies.
- Fill a plastic container with 4 cups of very hot tap water (around 140F). If the water is not hot enough, heat water on the stove or in a microwave and add to the dyebath.
- Wearing rubber gloves, add 2 teaspoons of All-Purpose Eggplant Liquid Dye to water; stir well.
- Add 1 tablespoon salt to dyebath; stir well. Salt helps to intensify the color.
- Add a squirt of liquid dish detergent. Stir well.
- Test dye color by dipping a paper towel into the dyebath. If color is too light, add more dye; if it is too dark, add more water.
- Loosely roll up the cotton ribbon.
- Wearing rubber gloves, dip the bottom half of the ribbon into dyebath. Move the ribbon slowly up and down and back and forth to create uneven dye lines. Continue dipping ribbon until you are satisfied with the color. This should take no more than a minute. Color will look darker when wet and prior to washing.
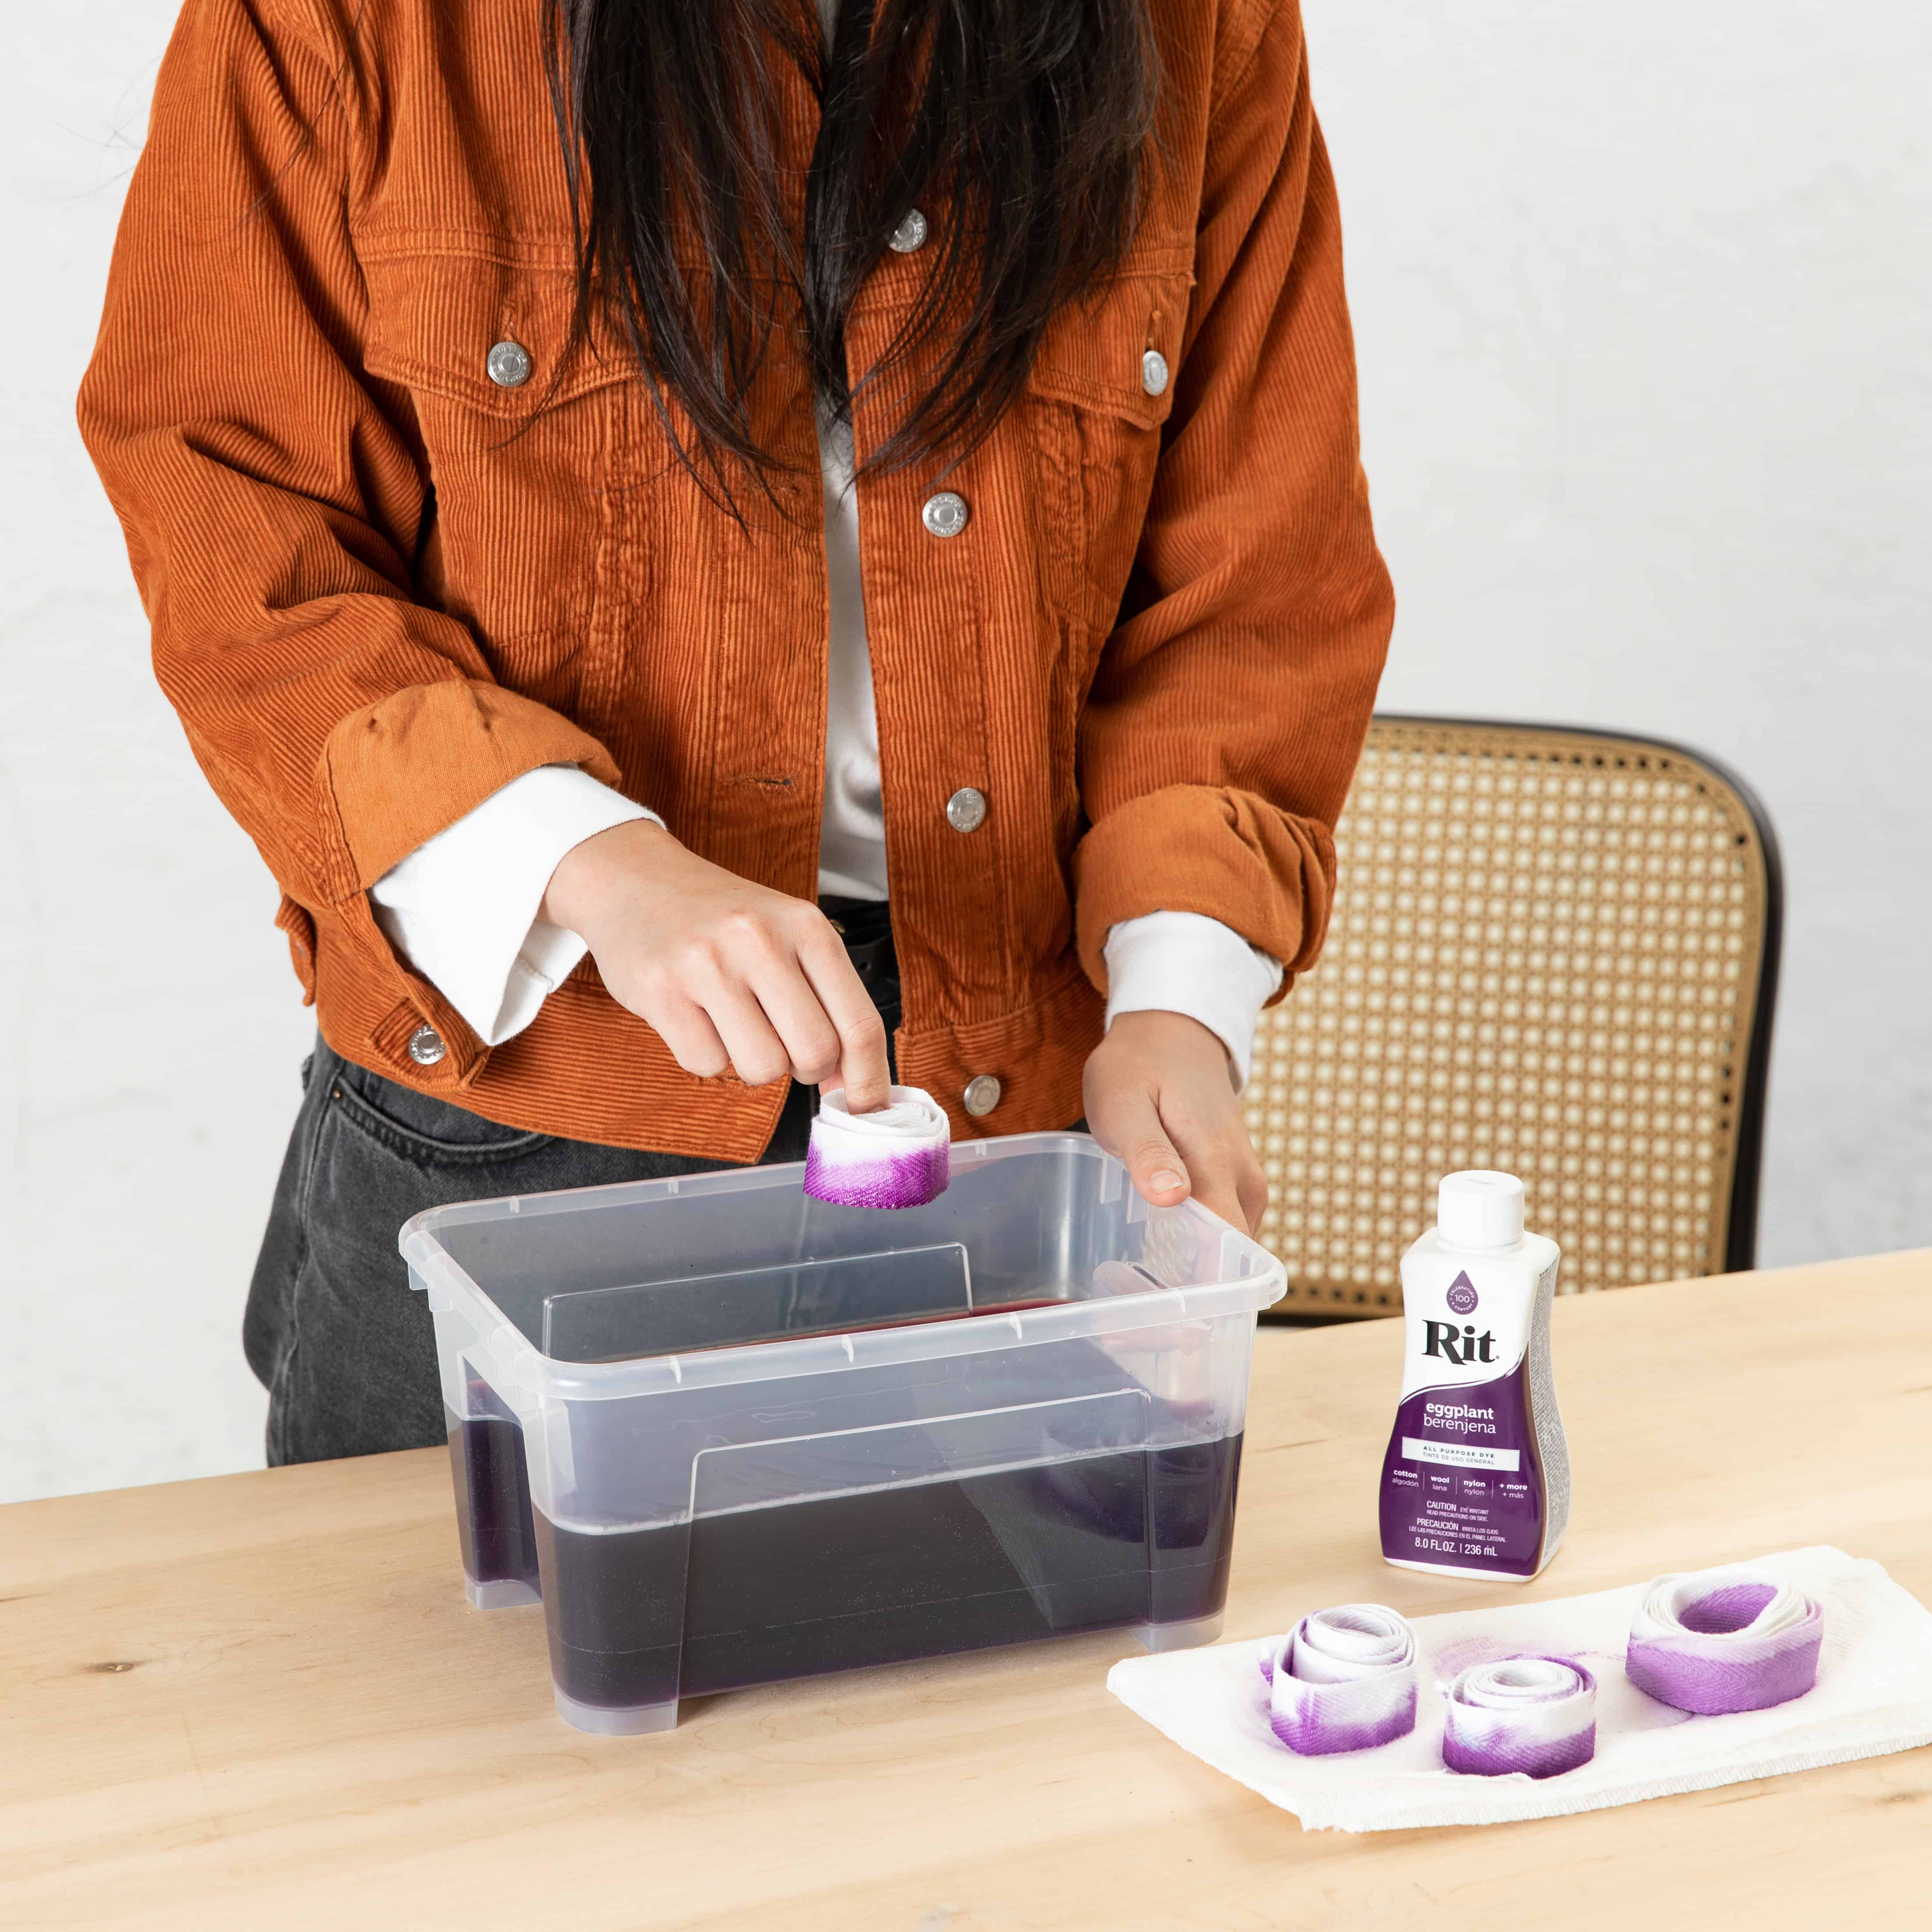
- When satisfied with the color, remove ribbon from dyebath. Wearing rubber gloves, squeeze out excess dye and set ribbon aside.
- Once dry, cut the ribbon to the appropriate length and secure the ribbon to a vase with double sided tape.
Posts You May Like
