

Supplies
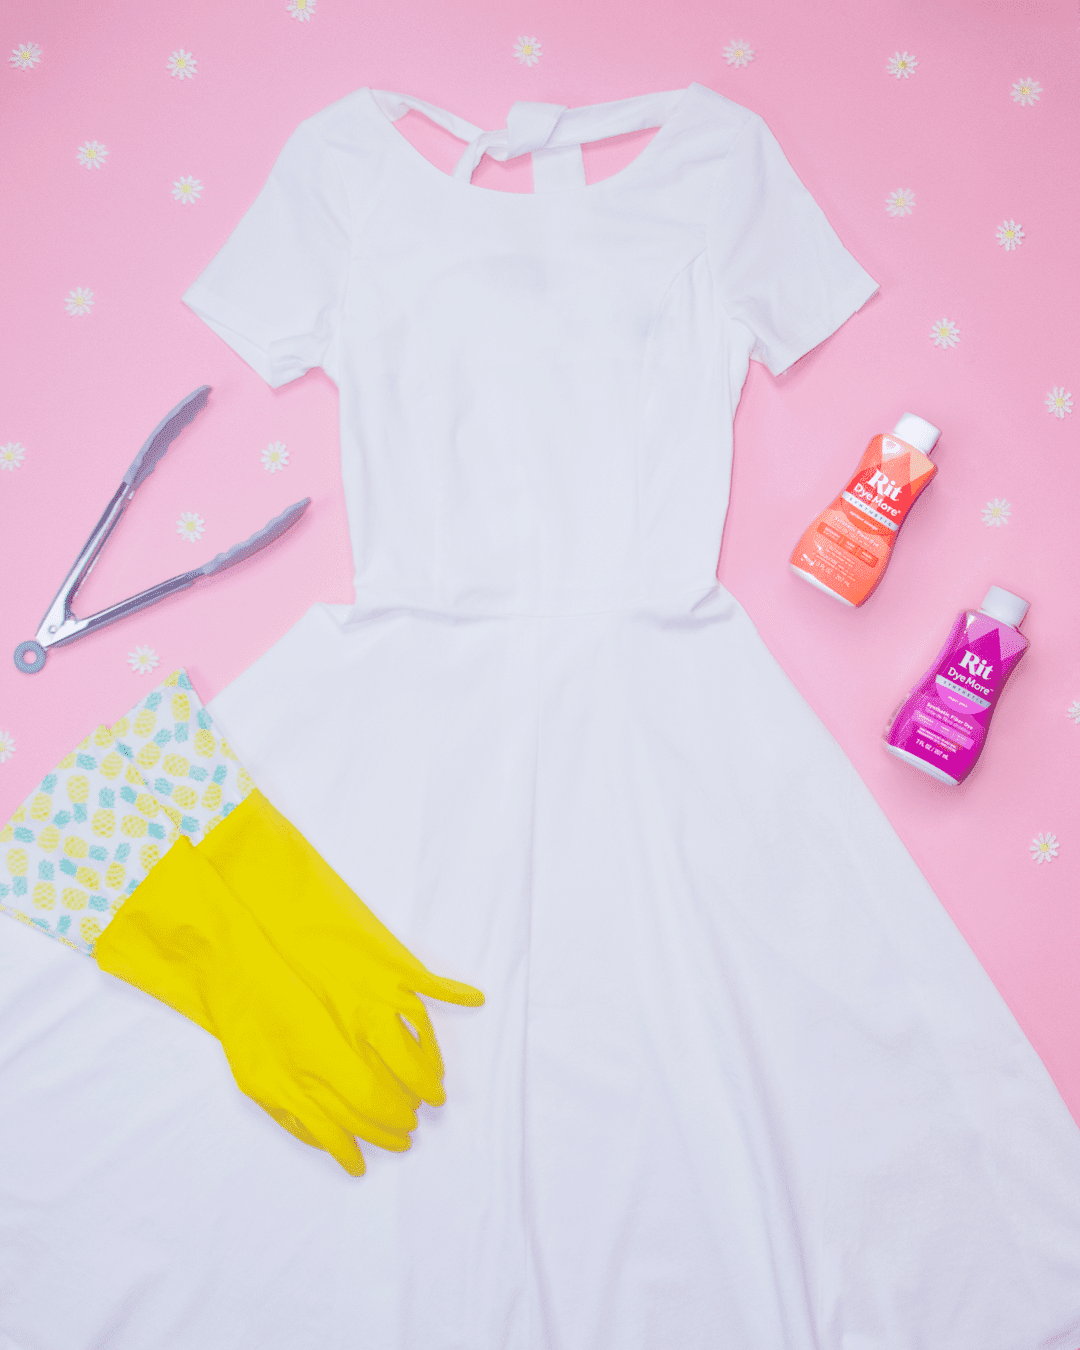
- Rit DyeMore: Super Pink + Apricot Orange
- White Dress
- Stainless Steel Pot + Stovetop
- Large Sheets of Cardboard
- Tape Measure
- Pencil
- Exacto Knife
- Spray Adhesive
- Scissors
- Hot Glue Gun
- Duct Tape
- Pink Wrapping Paper
- Measuring Cup
- Metal Tongs
- Rubber Gloves
- Paper Towels
- Plastic Table Cover
Time
2-5 Hours Total: {{ partial.tLS3.total }}
Difficulty
Beginner Total: {{ partial.tCSN.total }}
Instructions
Directions for Dyeing the Dress:
- Cover table with plastic and gather your supplies.
- Prewash dress to remove any finishes that may interfere with dye absorption.
- Kailey is dyeing a polyester dress so she used our dye for synthetics, Rit DyeMore.
- Fill a large stainless steel pot with 3 gallons of water.
- Cover pot and heat until almost boiling. Water temperature should ideally be 200°.
- When water begins to simmer, add 1 teaspoon Rit DyeMore Super Pink and ½ teaspoon Apricot Orange. Shake bottle before pouring. Stir well.
- Add 1 teaspoon of dish detergent to help promote level dyeing.
- Test dye color by dipping paper towel in the dyebath. If color is too light, add more dye; if color is too dark, add more water.
- Wearing rubber gloves, use the metal tongs to lower the dress into the dyebath. The first 10 minutes are the most critical. Stirring helps to ensure an even color with no splotches.
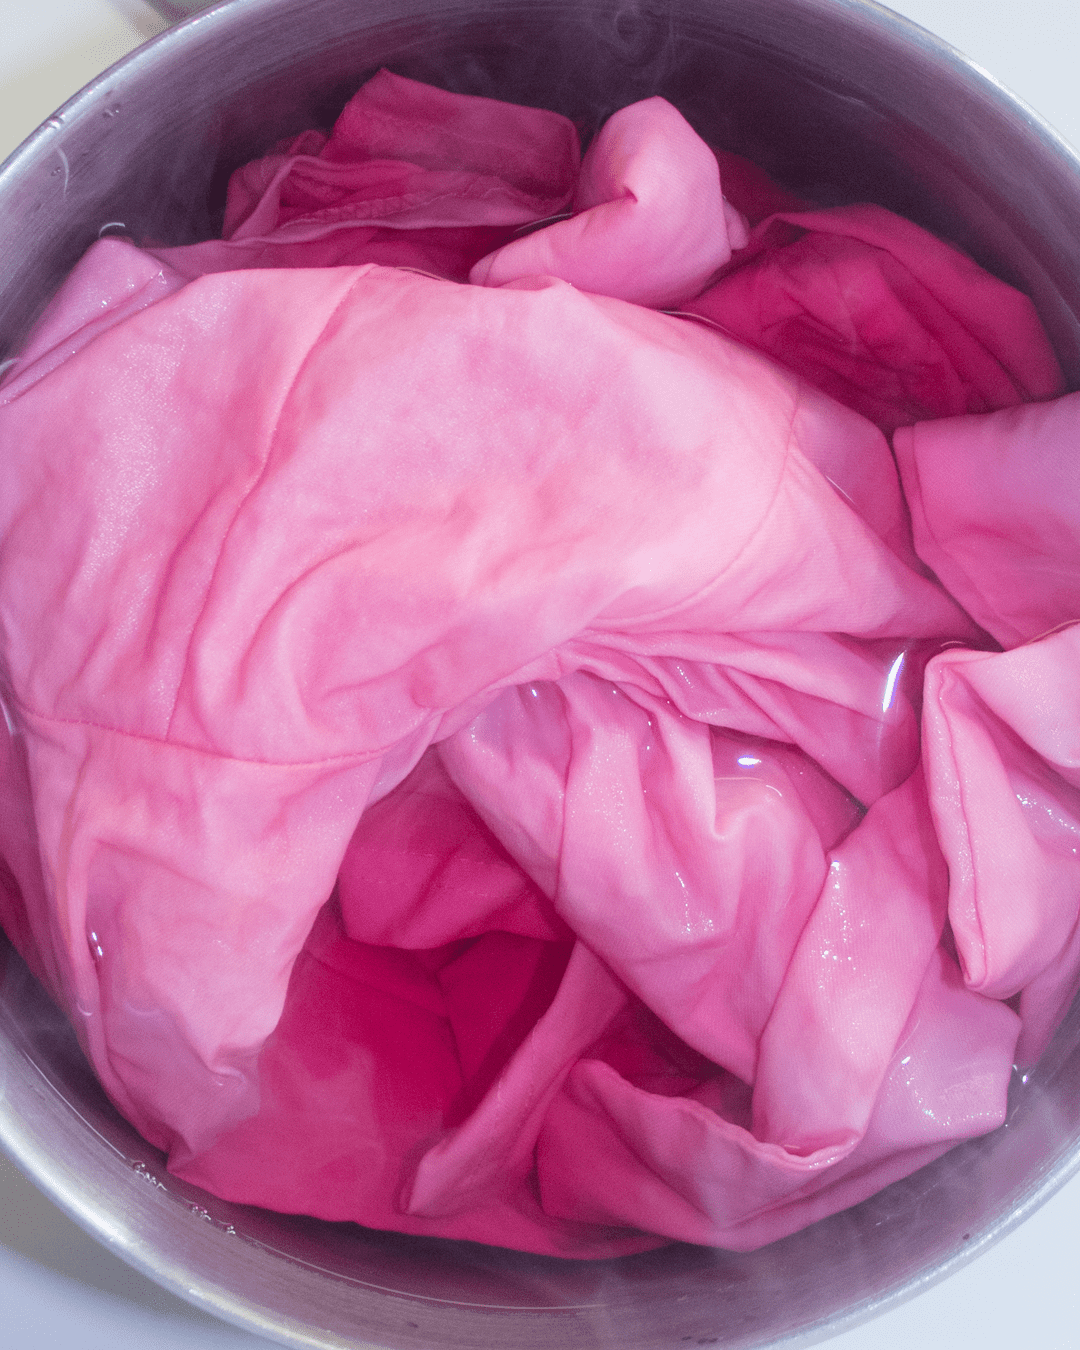
- When desired color is achieved, remove from dyebath. Fabric will look darker when wet and will dry lighter. Squeeze out excess dye.
- Rinse in cool water until the water runs clear.
- Wash in warm water with a mild detergent, rinse and dry.


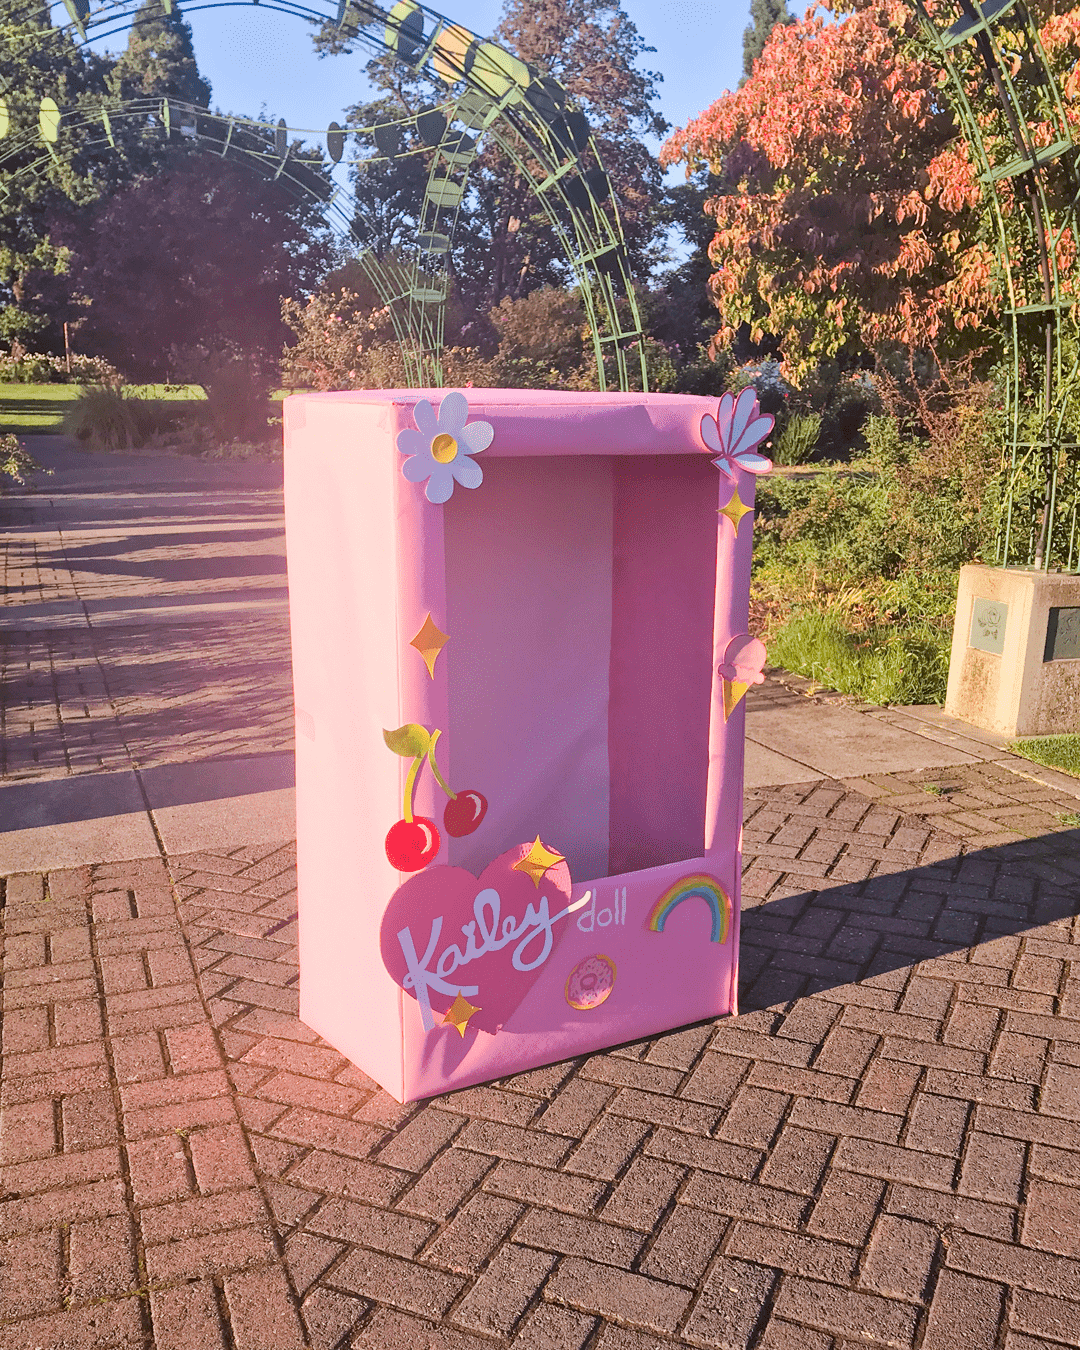
Directions for Creating the Doll Box:
- Measure and cut sheets of cardboard with an exacto knife. The front and back of the box is approximately 25″ x 40″, the sides of the box are approximately 14″ x 40″, and the top 25″ x 14″.
- Measure and cut out pieces of pink wrapping paper to match the size of your box. Repeat with white wrapping paper for the inside of the back of the box.
- In a well-ventilated area, spray the pieces of cardboard with spray adhesive and apply the wrapping paper. Allow to dry completely.
- Once the cardboard pieces are covered with pink and white wrapping paper, assemble the box using a hot glue gun. Make sure the glue has dried before moving on.
- On the inside of the box, create handles with duct tape. This will allow you to hold up the box.
- Decorate the outside of the box with paper flowers, hearts and rainbows. Add your name to the inside of the heart design.

Posts You May Like
