

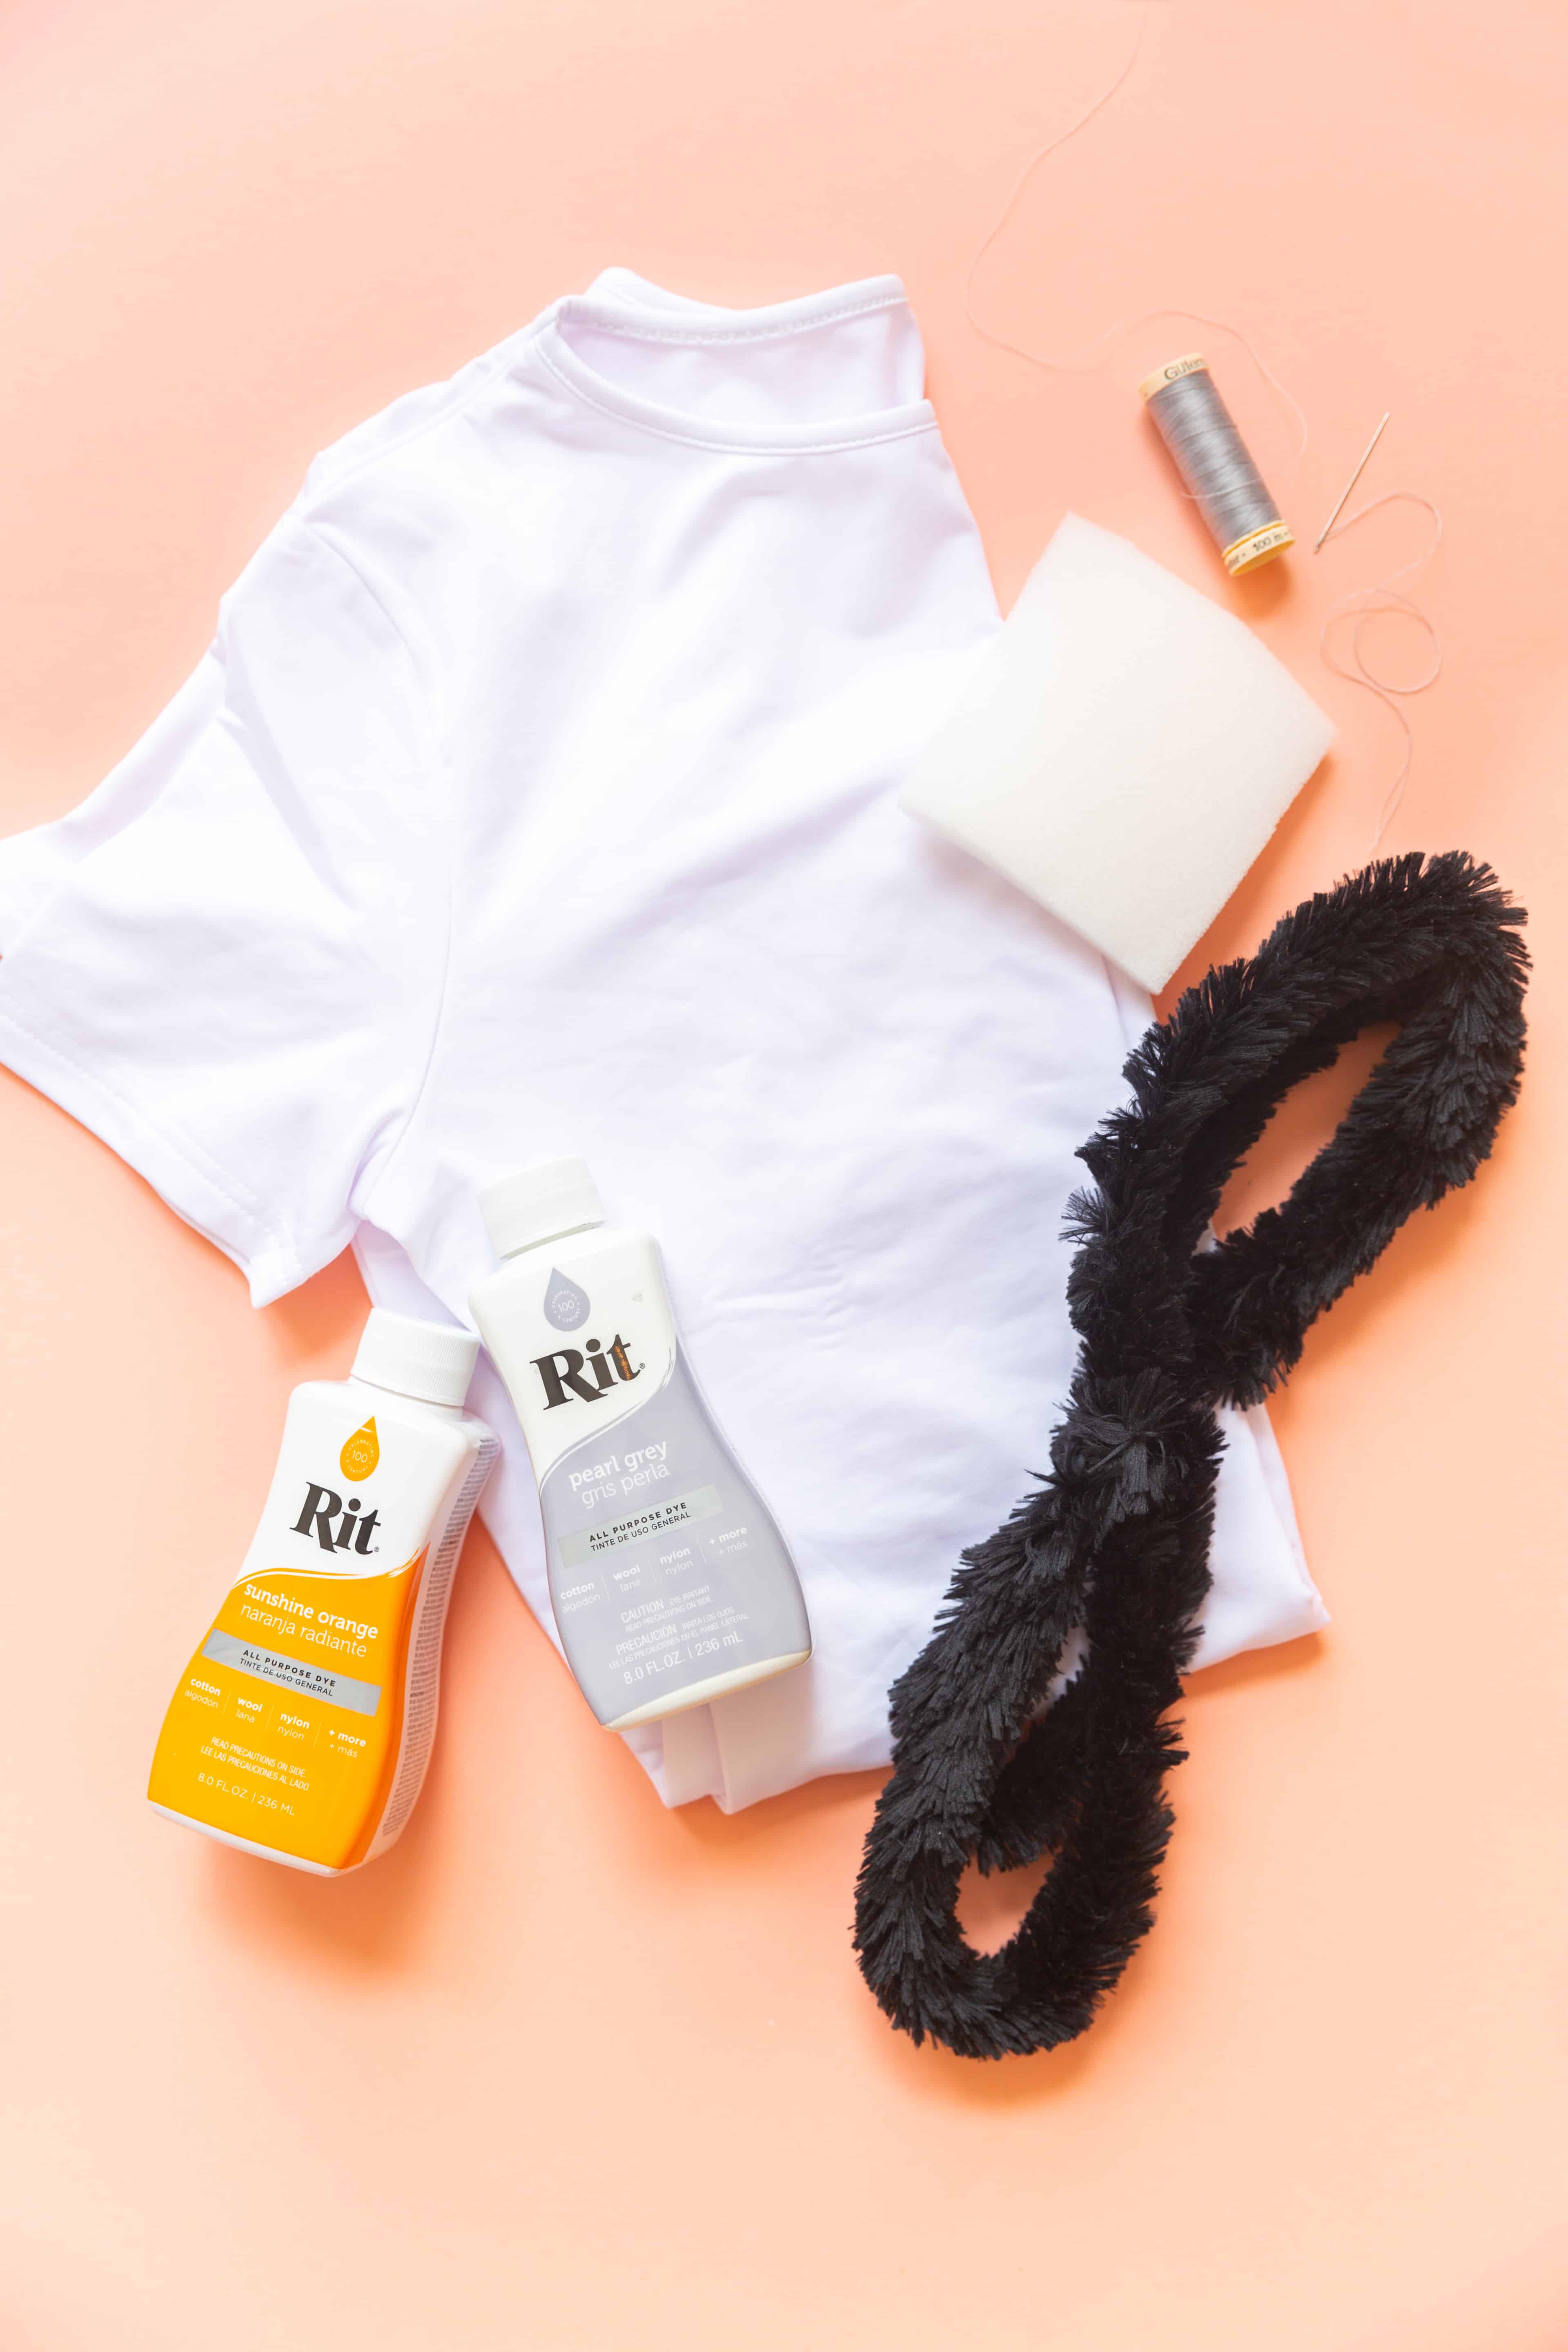
Supplies
- Rit All-Purpose Dye: Sunshine Orange + Pearl Grey
- Rit ColorStay Dye Fixative
- White Cotton Shirt
- White Cotton Skirt
- White Chefs Hat
- Large Pipe Cleaner
- Black Duct Tape
- Foam Board
- Black Spray Paint
- Orange Spray Paint
- Silver Spray Paint
- Cotton Fabric
- Thick Fabric Interfacing
- Stainless Steel Sink/Plastic Container
- Metal Tongs
- Rubber Gloves
- Paper Towels
- Plastic Table Cover
- Measuring Spoon
- Thread + Needle
- Velcro
Time
Total: {{ partial.tRM2.total }}
Difficulty
Beginner Total: {{ partial.tWGZ.total }}
Instructions
- Cover table with plastic and gather your supplies.
- Prewash shirt, skirt and hat to remove any finishes that may interfere with dye absorption. Leave damp.
- You will need to create two separate dye baths. One for the orange shirt (Sunshine Orange) and the second for the grey skirt, chefs hat and cotton fabric piece (Pearl Grey).
- Fill each stainless-steel sink or plastic container with 3 gallons of very hot water. Temperature should ideally be 140F.
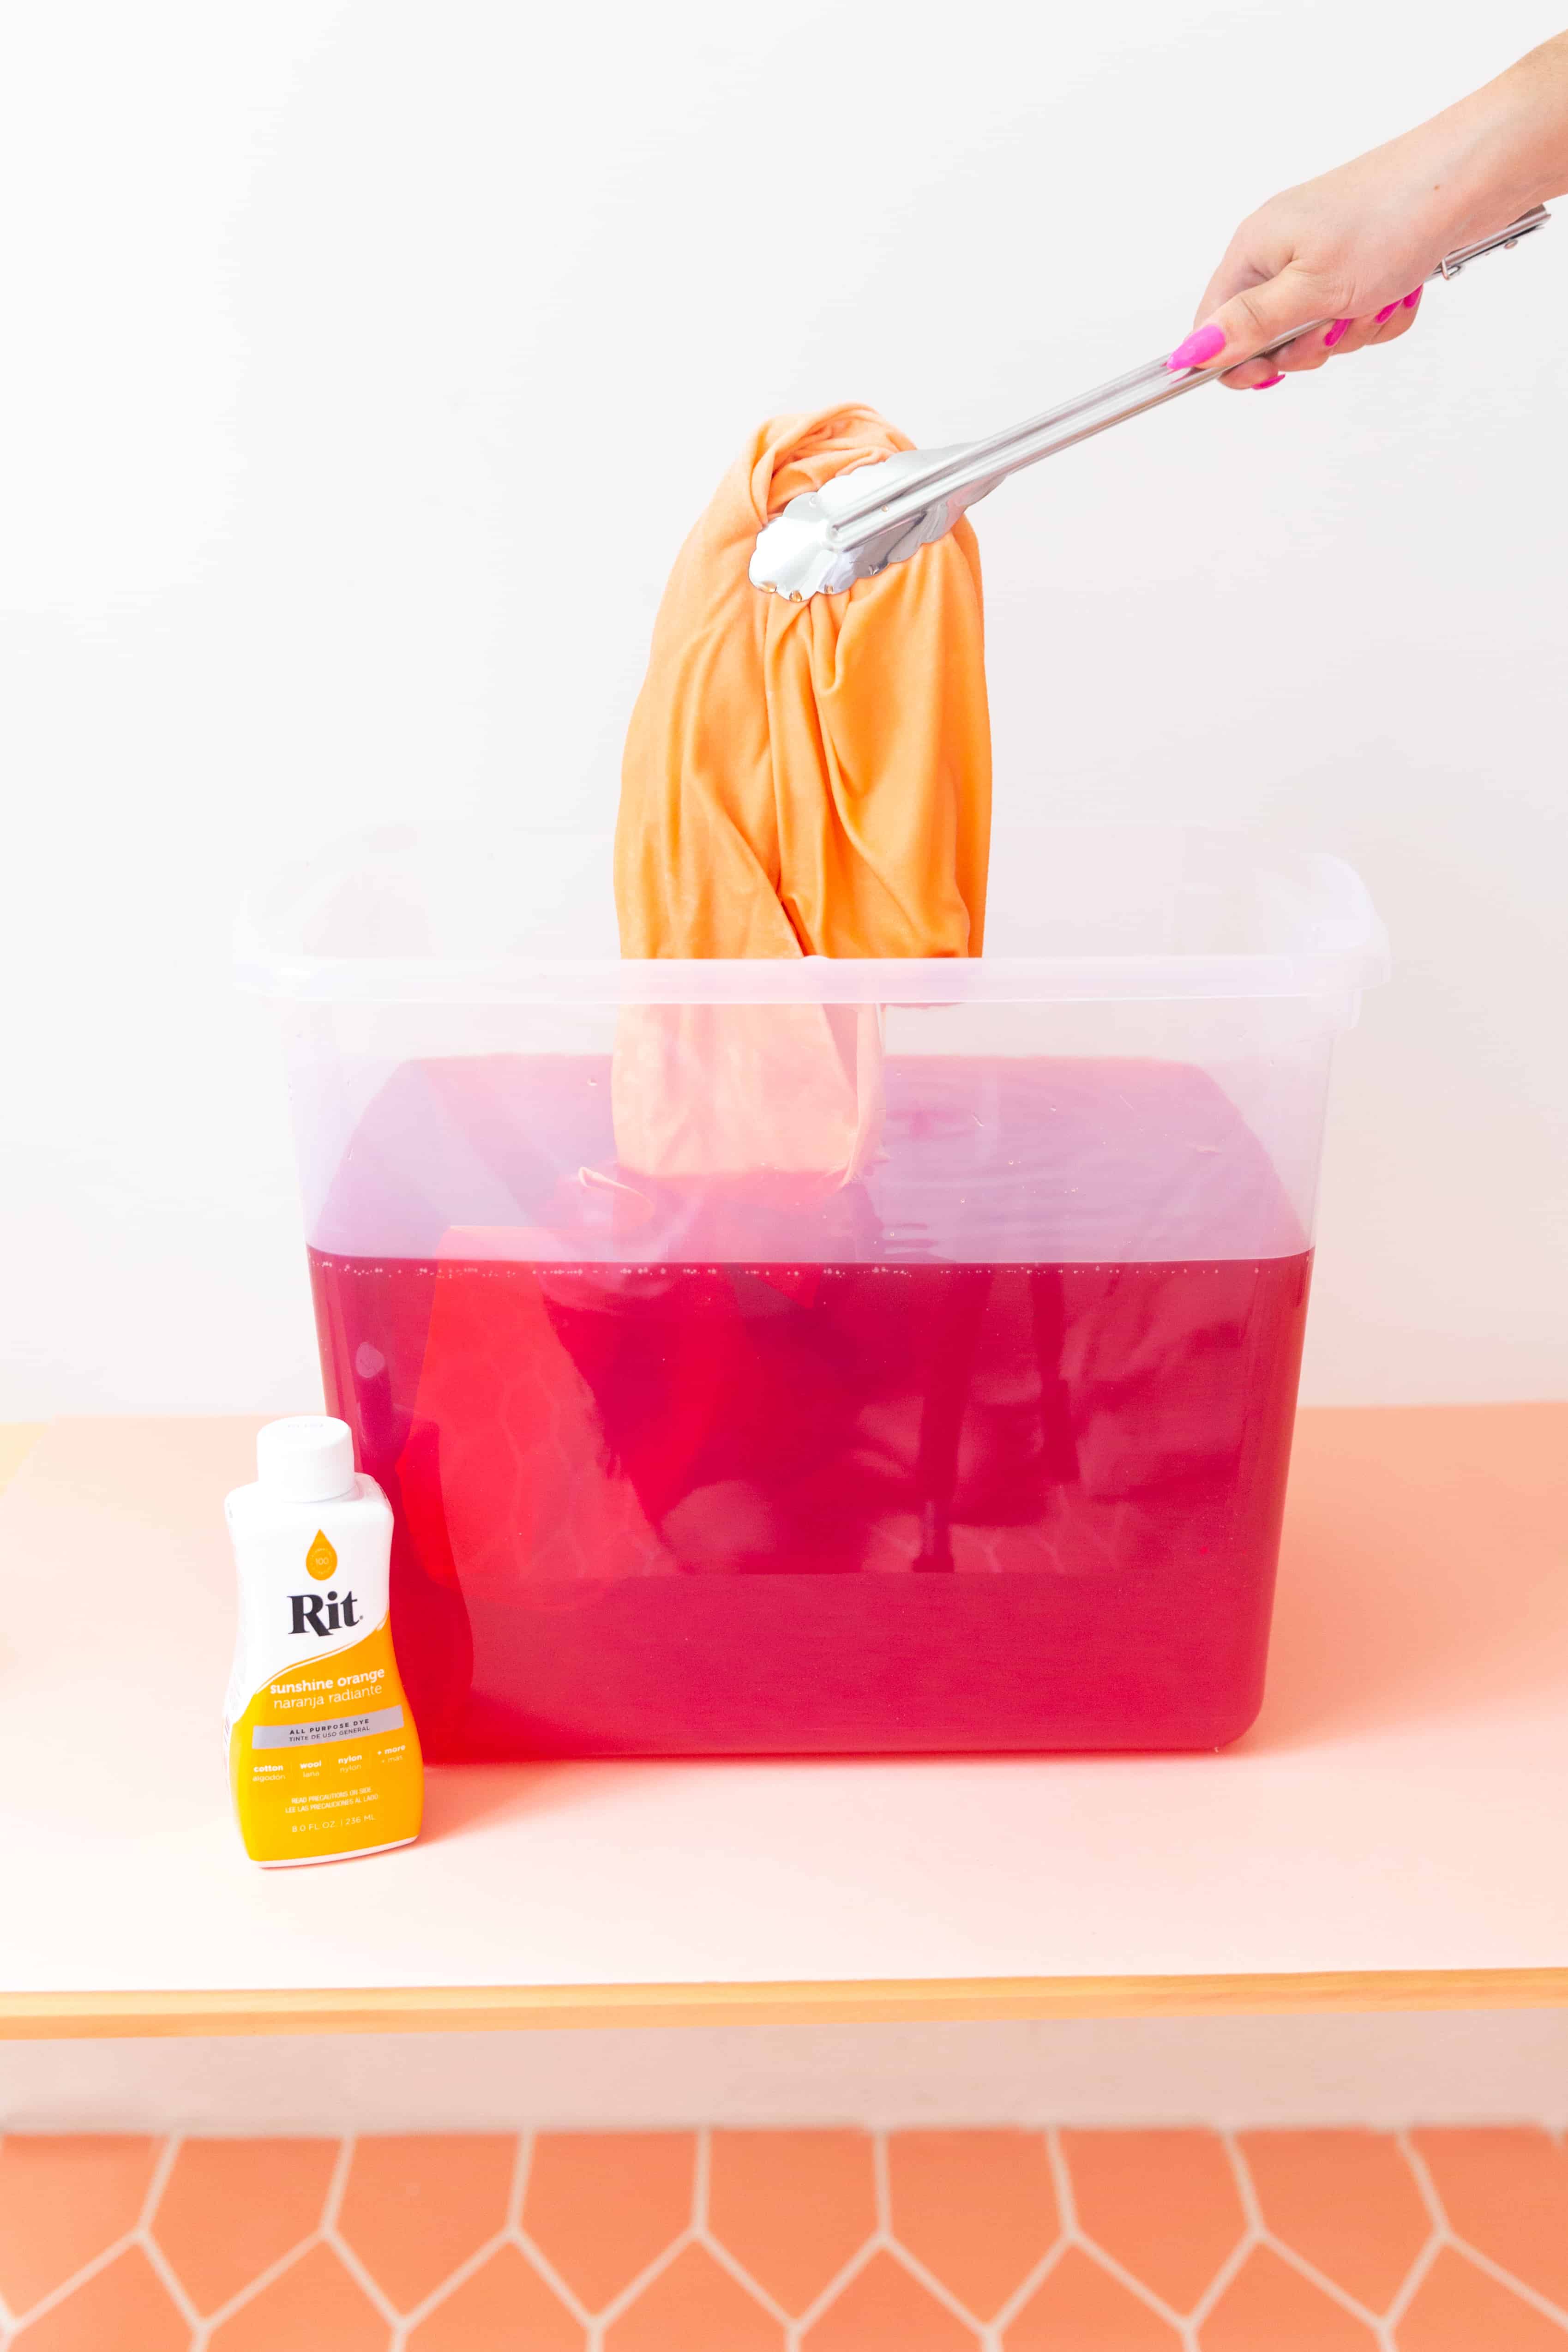
- Add ½ cup of Rit All-Purpose Dye in Sunshine Orange to the first dye bath. Shake bottle before pouring. Stir well. Add ½ cup Rit All-Purpose Dye in Pearl Grey to the second dye bath bath. Stir well.
- Add 1 teaspoon of dish detergent to each dyebath to help promote level dyeing.
- Test dye color by dipping paper towel in the dyebath. If color is too light, add more dye; if color is too dark, add more water.
- Wearing rubber gloves, lower the shirt into the Sunshine Orange dyebath and start stirring. Lower the skirt, chefs hat and cotton fabric piece into the Pearl Grey dyebath and start stirring. The first 10 minutes are the most critical. Stirring helps to ensure an even color with no splotches.
- When desired color is achieved, remove clothing and hat from the dyebath. Fabric will look darker when wet and will dry lighter. Squeeze out excess dye.
- We recommend using Rit ColorStay Dye Fixative immediately after dyeing and before washing to enhance color, increase color retention and prevent dye from bleeding. Follow package instructions.
- Rinse in cool water until the water runs clear.
- Wash in warm water with a mild detergent, rinse and dry.
- Once dry, the following items were added to the costume.
- The lava bubbles were cut from upholstery foam and spray-painted orange. The foam pieces were attached to the shirt with Velcro.
- To create the base of the skirt, the dyed cotton fabric was ironed onto a thick piece of fabric interfacing. The interfacing was then cut into a cone shape and sewn onto the bottom of the dyed skirt.
- To create the cord, wrap black duct tape around a large pipe cleaner. Insert the pipe cleaner into a square piece of foam board that has been spray painted black. Spray paint two small rectangle pieces silver and insert them into the opposite end of the black base of the plug. Attach the cord to the skirt with a safety pin.


Posts You May Like
