
Supplies
- Rit DyeMore: Super Pink (For the Tights and Shirt)
- Rit All-Purpose Liquid Dye: Fuchsia (For the Shoes)
- Rit ColorStay Dye Fixative (Recommended)
- White Shirt
- White Tights
- White Canvas Shoes
- Stainless Steel Pot
- Metal Tongs
- Electrical Tape
- Pink Boa
- Safety Pins
- Rubber Gloves
- Paper Towels
- Plastic Table Cover
- Measuring Spoon
Time
1 Hour Total: {{ partial.t4PU.total }}
Difficulty
Beginner Total: {{ partial.t526.total }}
Instructions
Dyed Shirt + Pants:
- Cover table with plastic and gather your supplies.
- Prewash shirt and tights to remove any finishes that may interfere with dye absorption.
- Fill a large stainless-steel pot with 3 gallons of water.
- Cover pot and heat until almost boiling. Water temperature should ideally be 200°.
- When water begins to simmer, add 1/2 cup Rit DyeMore in Super Pink. Shake bottle before pouring. Stir well.
- Add 1 teaspoon of dish detergent to help promote level dyeing.
- Test dye color by dipping paper towel in the dyebath. If color is too light, add more dye; if color is too dark, add more water.
- Wearing rubber gloves, use the metal tongs to lower the clothing into the dyebath. The first 10 minutes are the most critical. Stirring helps to ensure an even color with no splotches.
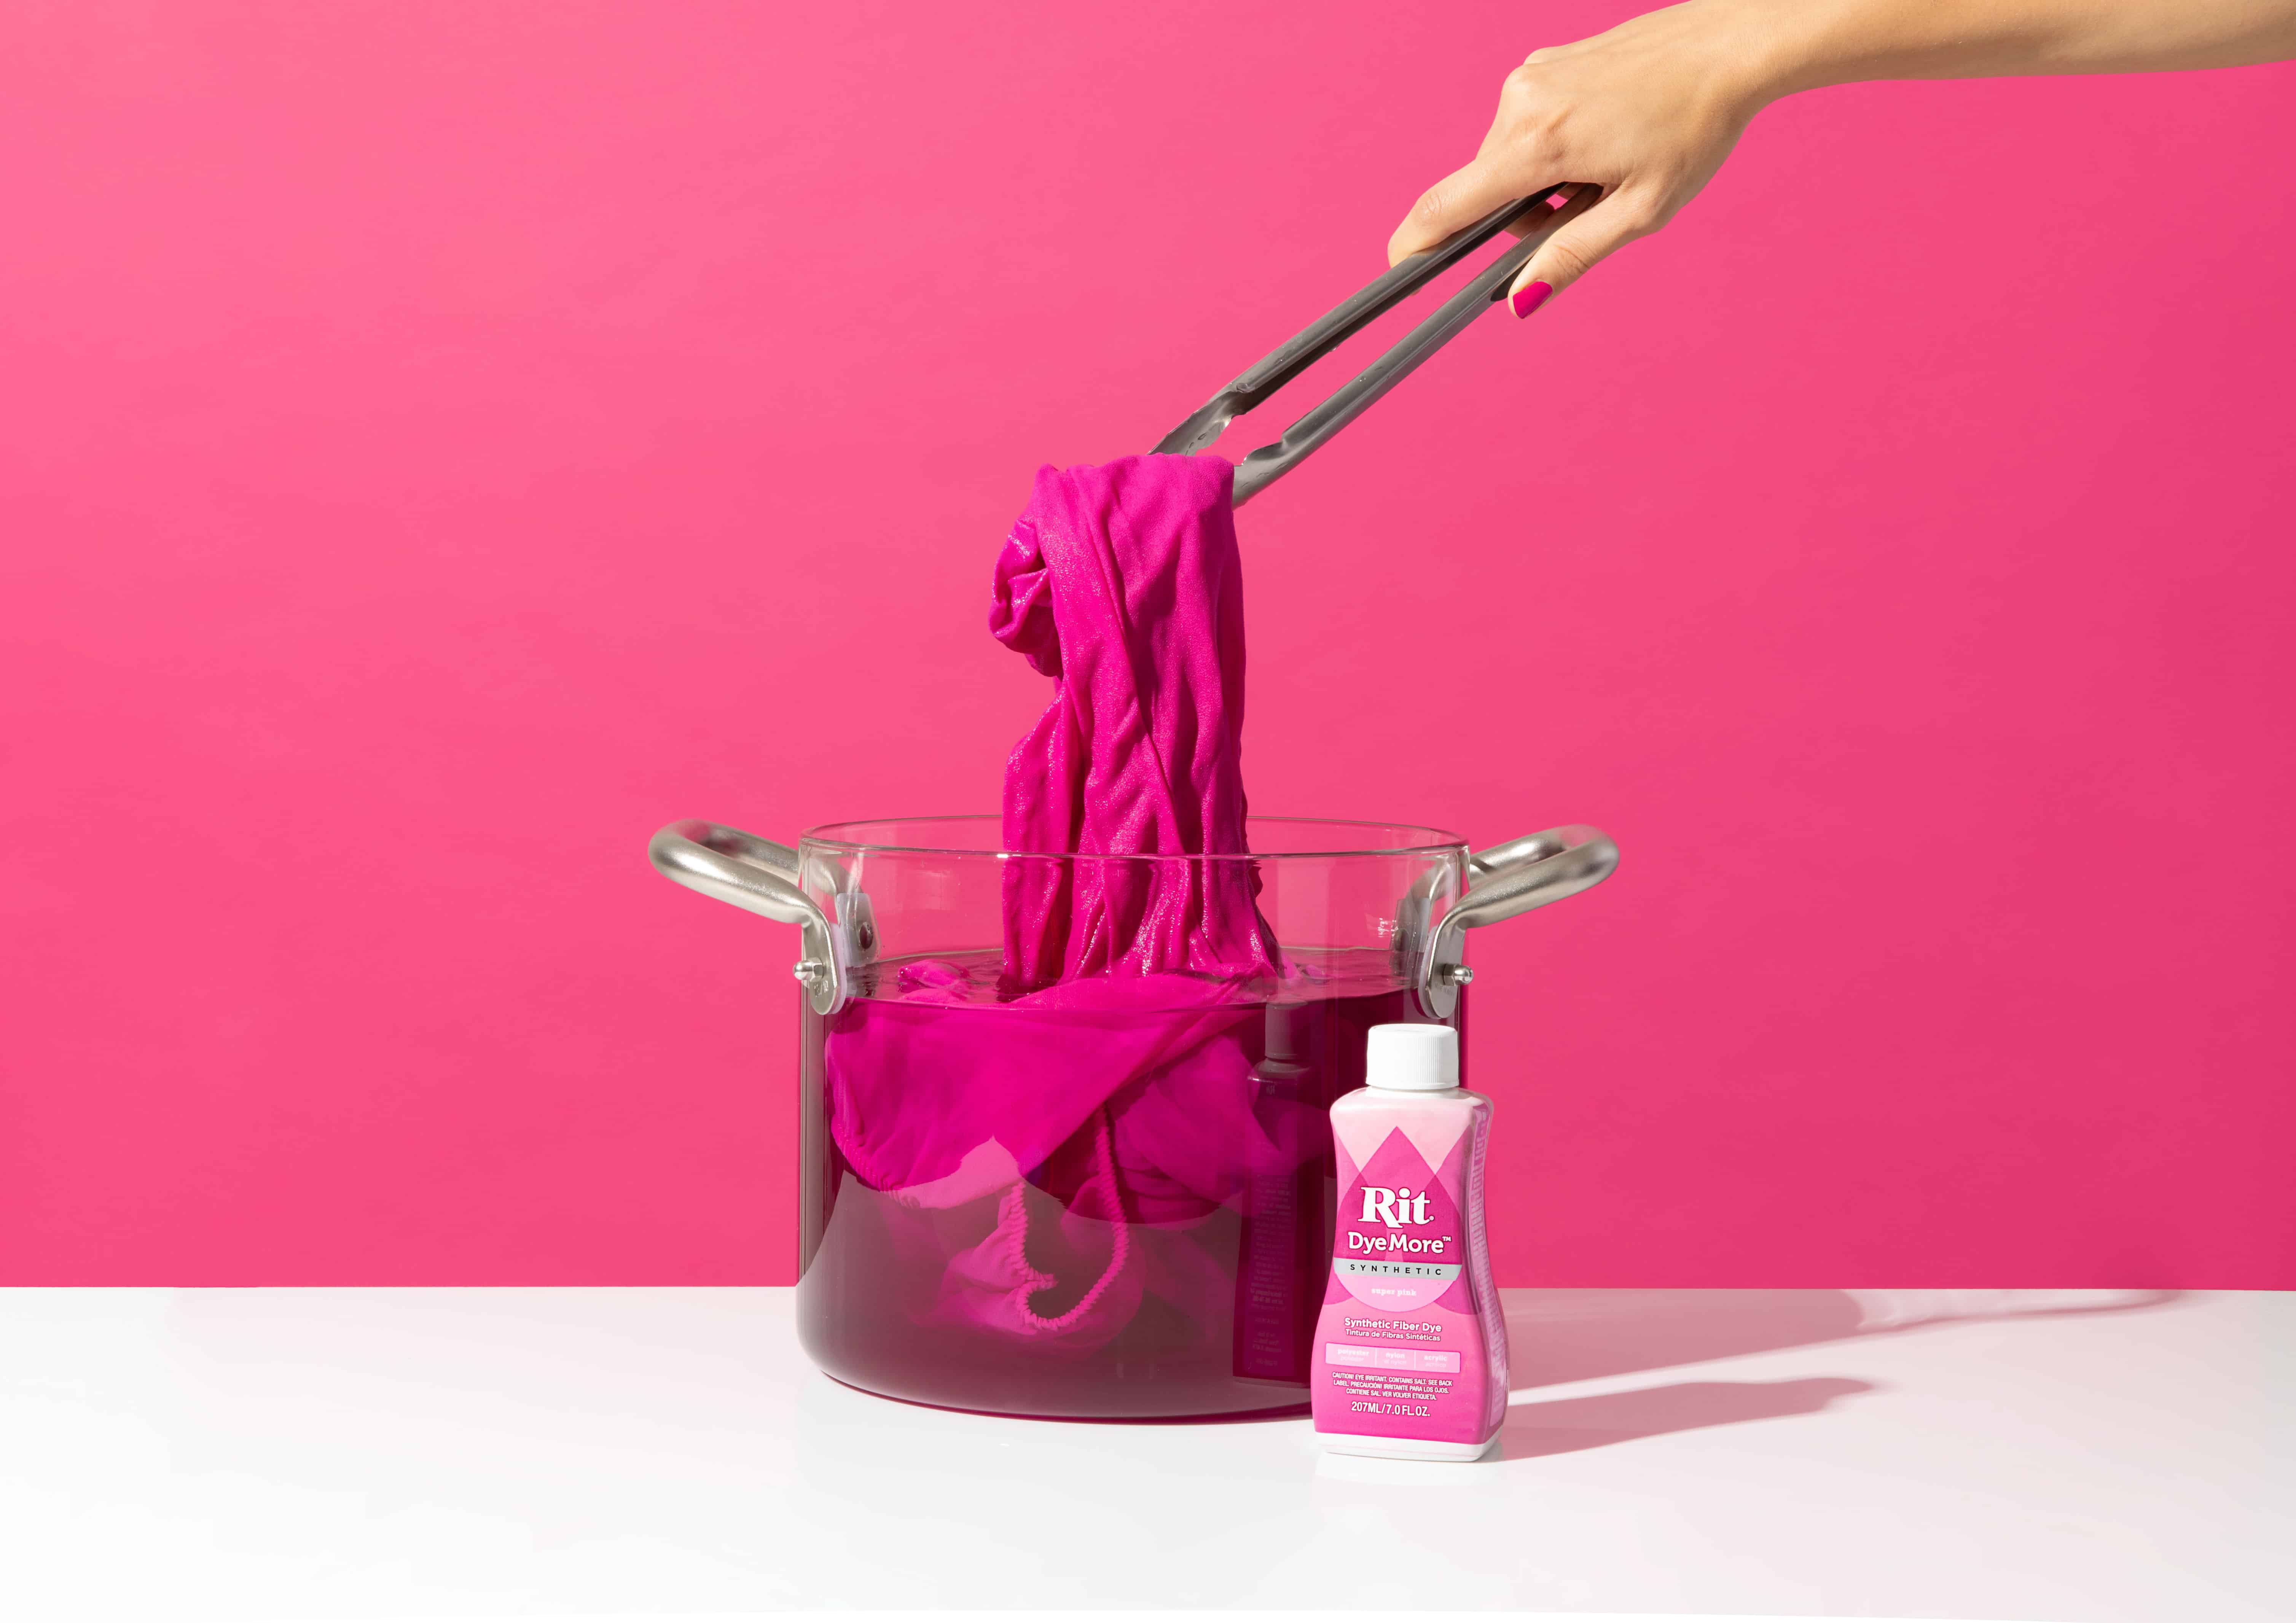
- When desired color is achieved, remove from dyebath. Fabric will look darker when wet and will dry lighter. Squeeze out excess dye.
- Rinse in cool water until the water runs clear.
- Wash in warm water with a mild detergent, rinse and dry.
- Once dry, add pink boa and secure to fabric with safety pins.

Dyed Shoes:
- Cover table with plastic and gather your supplies.
- Pre-wash shoes in warm, soapy water. This helps to remove any finishes that may interfere with dye absorption.
- To protect the inside of the shoes from dye, line them with electrical tape and stuff the shoes with paper towels.
- Cover soloes of the shoes with electrical tape.
- Fill a plastic container or stainless steel sink with three gallons of hot water. The water should ideally be 140ºF. If tap water is not hot enough, heat water on the stove and add to the dyebath. To enhance the color, add one cup of salt.
- Wearing rubber gloves, add 1/2 bottle of well-shaken Fuchsia dye.
- Test color by dipping a paper towel into the dyebath. If color is too light, add more dye. If color is too dark, add more water.
- Immerse shoes in dyebath. Stir slowly and continuously. The first 10 minutes are the most critical. Stirring helps to ensure an even color with no splotches.
- The shoes can remain in the dyebath for 10 minutes up to 1 hour. When desired color is achieved, remove from dyebath. Shoes will looker darker when wet and will dry lighter. Squeeze out excess dye.
- We strongly recommend using Rit ColorStay Dye Fixative immediately after dyeing and before washing. It enhances the color, increases color retention and prevents dye from bleeding into white areas. Follow these instructions.
- Rinse in cool water until rinse water begins to run clear.
- Remove electrical tape.
- Wash in warm water with a mild detergent, rinse and dry.
Posts You May Like
