
Supplies
- Rit All-Purpose Dye: Aquamarine Used Here
- Rit ColorStay Dye Fixative (Recommended)
- Plastic Squirt Bottle/Container
- Rubber Bands
- Salt
- Baking Rack
- Measuring Cup
- Microwave (Optional)
- Plastic Gloves
- Plastic Table Cover
Time
1 Hour Total: {{ partial.tJQ5.total }}
Difficulty
Beginner Total: {{ partial.tDNV.total }}
Instructions
- Prewash sheets in warm, soapy water. This helps to remove any finishes that may interfere with dye absorption.
- Lay sheets out on a flat surface.
- Decide where to place the center of the spiral. Then position your fingers around the center point and slowly begin to twist fabric in a spiral direction.
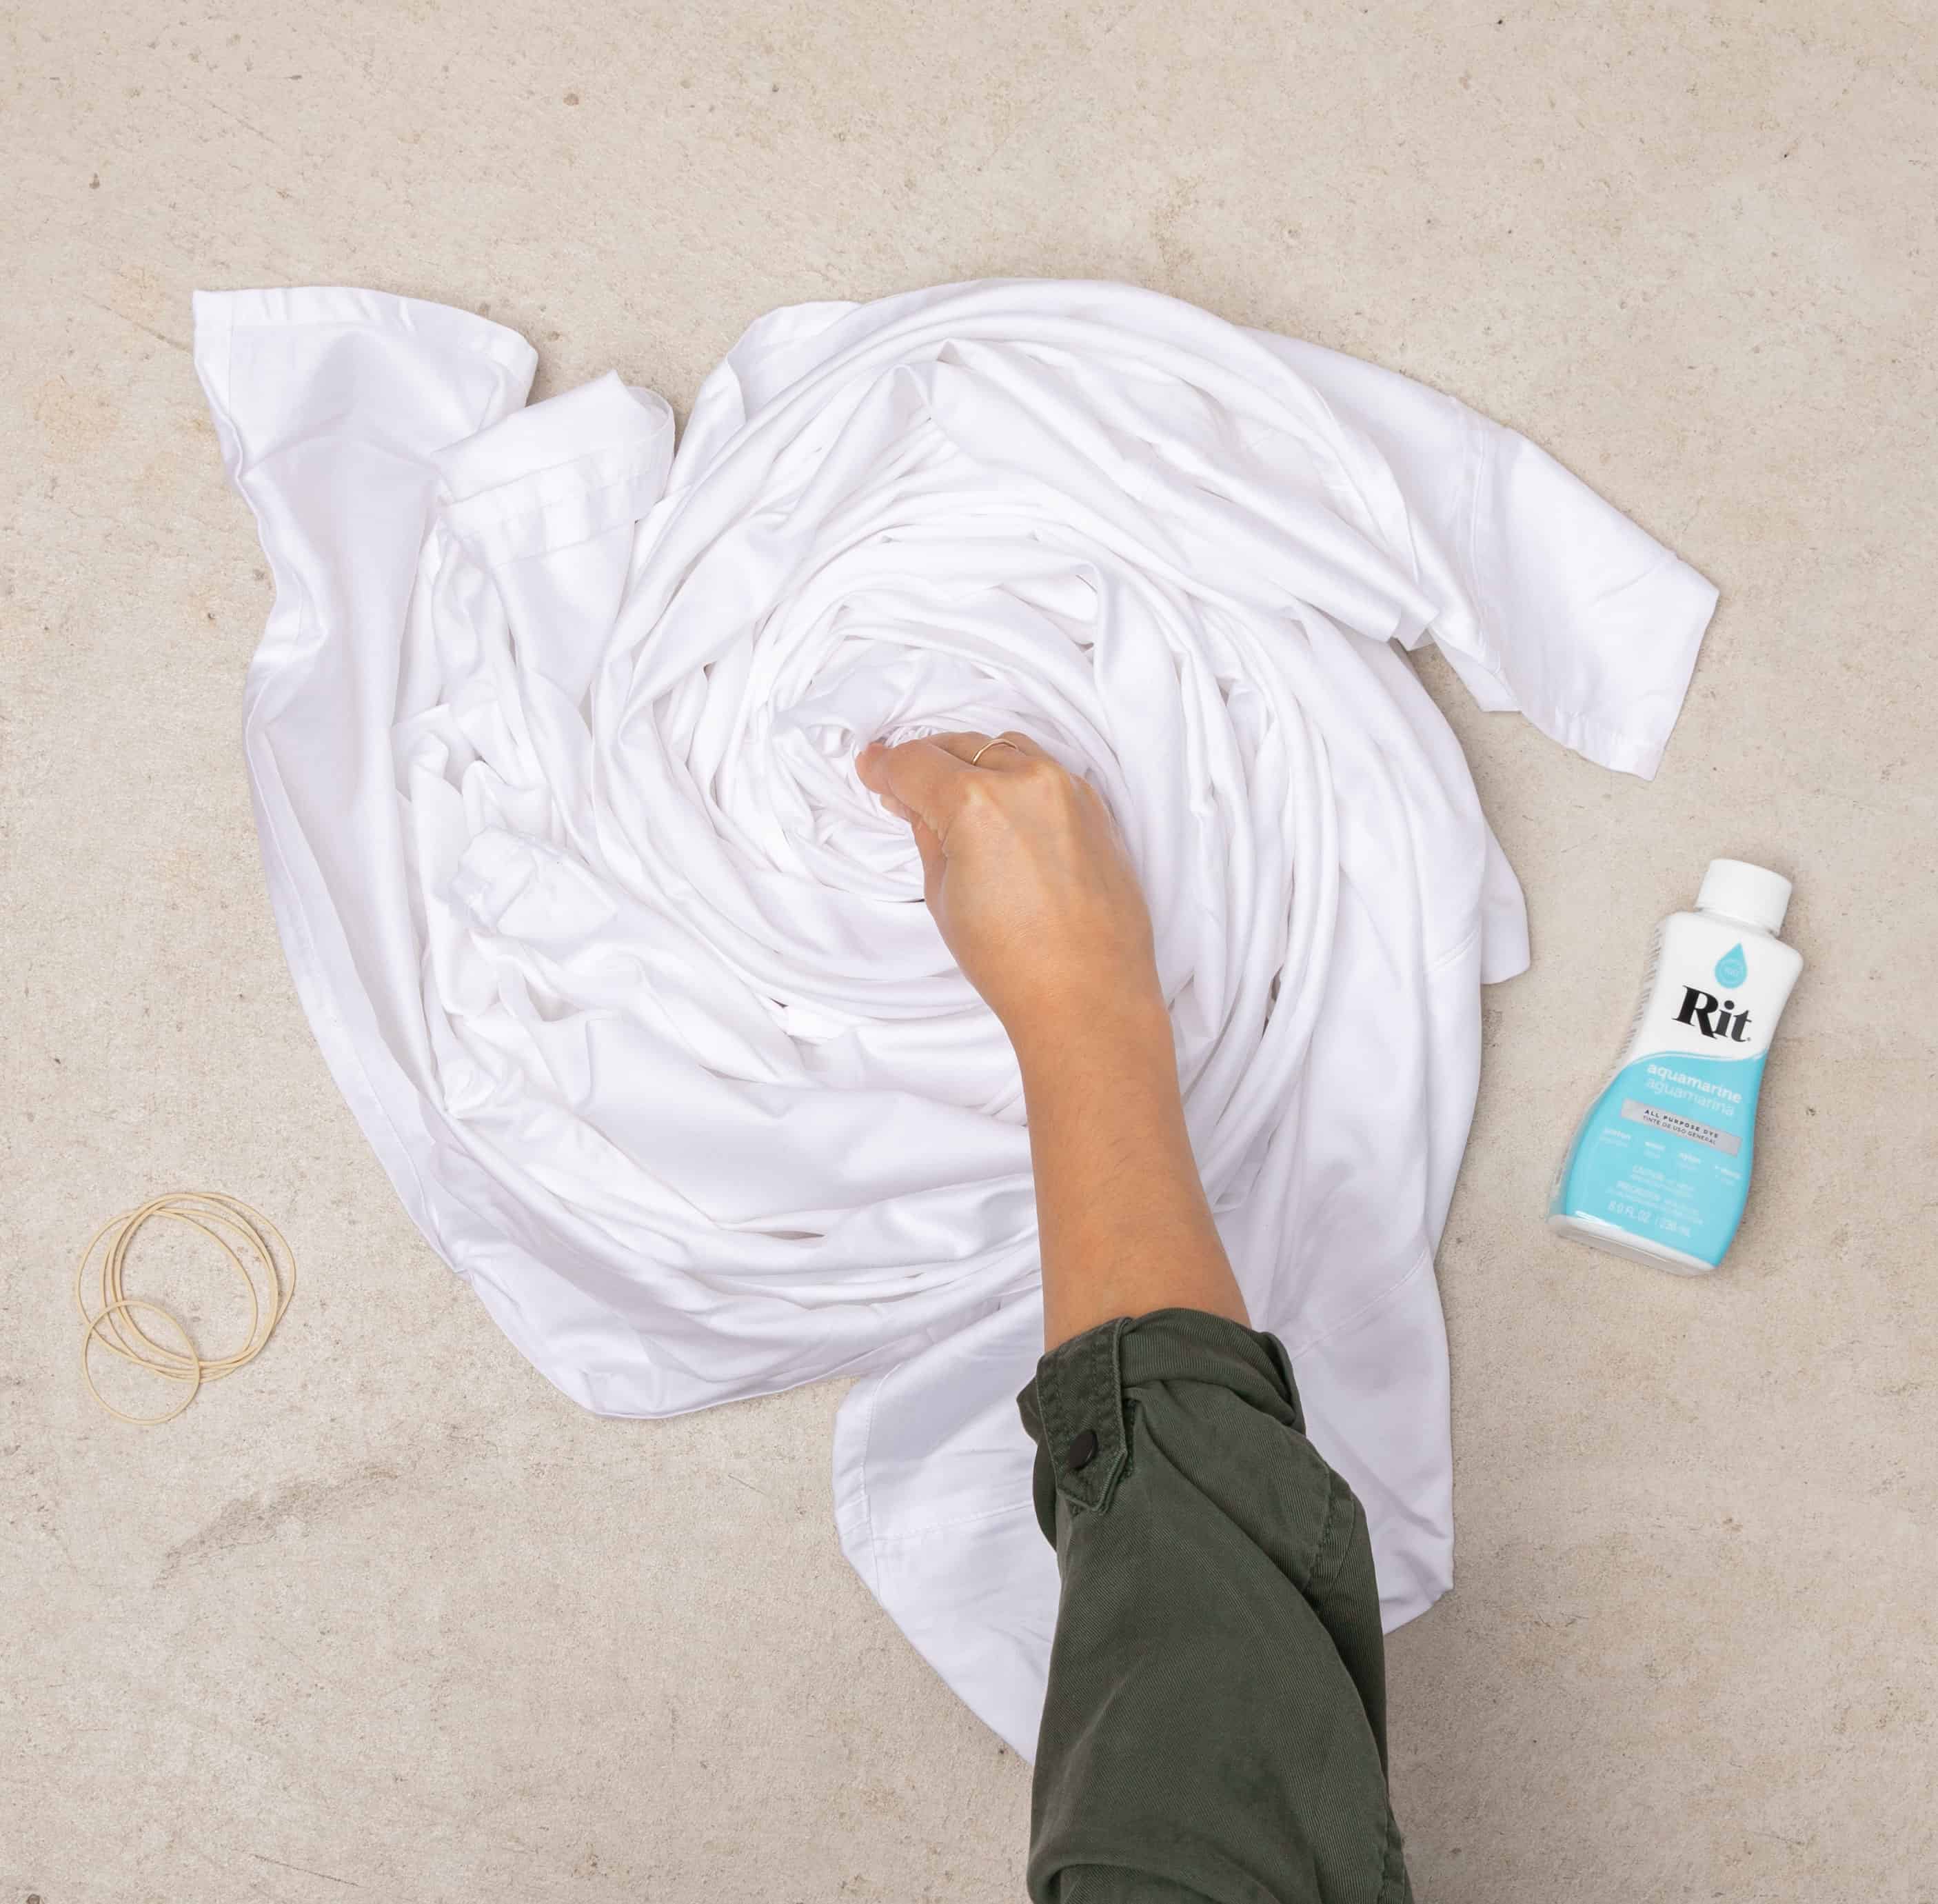
- Loosely wrap rubber bands around fabric to hold spiral together.

- Now it is time to create your dyebath.
- Cover work area with plastic table cover and have paper towels handy to protect against any possible spills.
- Fill a plastic container with three gallons of hot water. The water should ideally be 140ºF. If tap water is not hot enough, heat water on the stove and add to the dyebath.
- To enhance the color: add one cup of salt when dyeing fabrics containing cotton, rayon, ramie or linen.
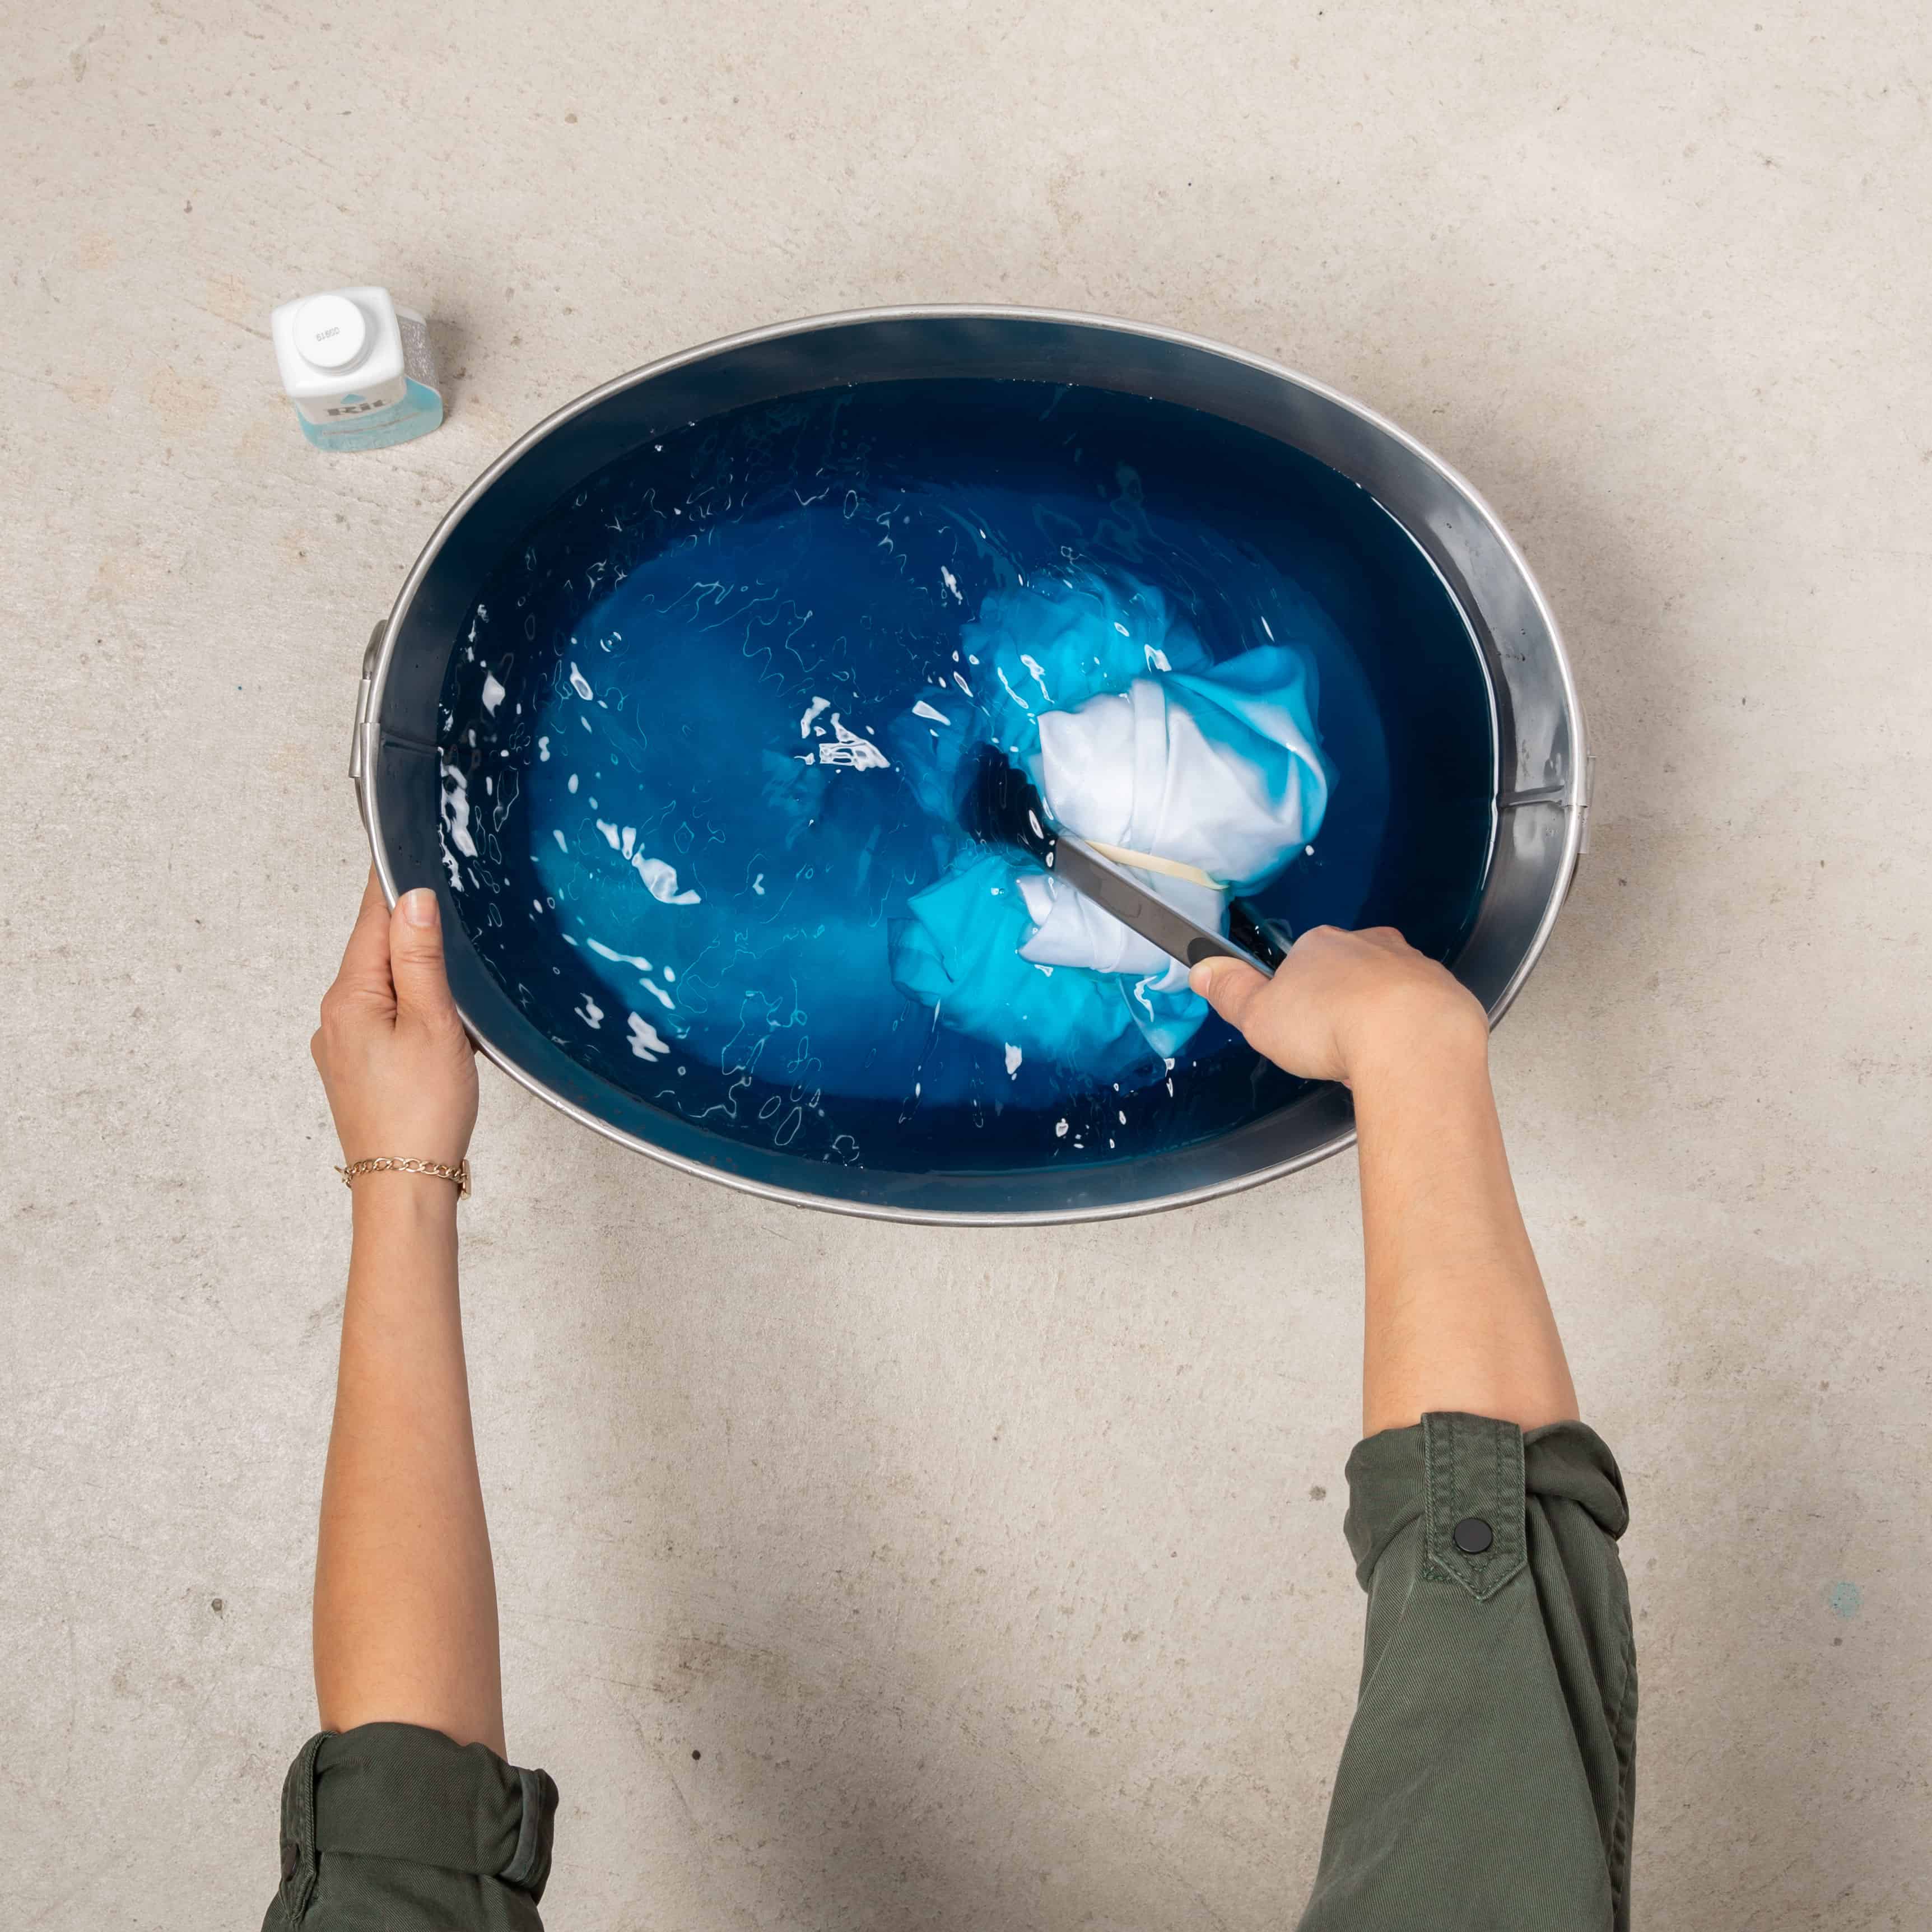
- Wearing rubber gloves, add 1/2 bottle of well-shaken All-Purpose Aquamarine dye to dyebath.
- Wet fabric.
- Immerse your wrapped sheets in the dyebath for 4-10 minutes, no more than 30 minutes, stirring occasionally. Please note that fabric will look darker when wet and will dry lighter.
- When desired color is achieved, remove wrapped fabric from the dyebath. Squeeze out excess dye. Do not remove rubber bands.
- We strongly recommend using Rit ColorStay Dye Fixative immediately after dyeing and before washing. It enhances the color, increases color retention and prevents dye from bleeding into white areas. Follow these instructions.
- Rinse in cool water until rinse water begins to run clear.
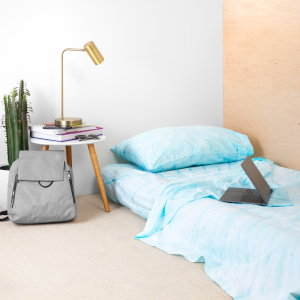
- Carefully remove rubber bands with a scissors and unfold the fabric.
- Wash in cool water with a mild detergent, rinse and dry.


Posts You May Like
