
Supplies
- Rit All-Purpose Liquid Dye: Pearl Grey Used Here
- Rit ColorStay Dye Fixative (Recommended)
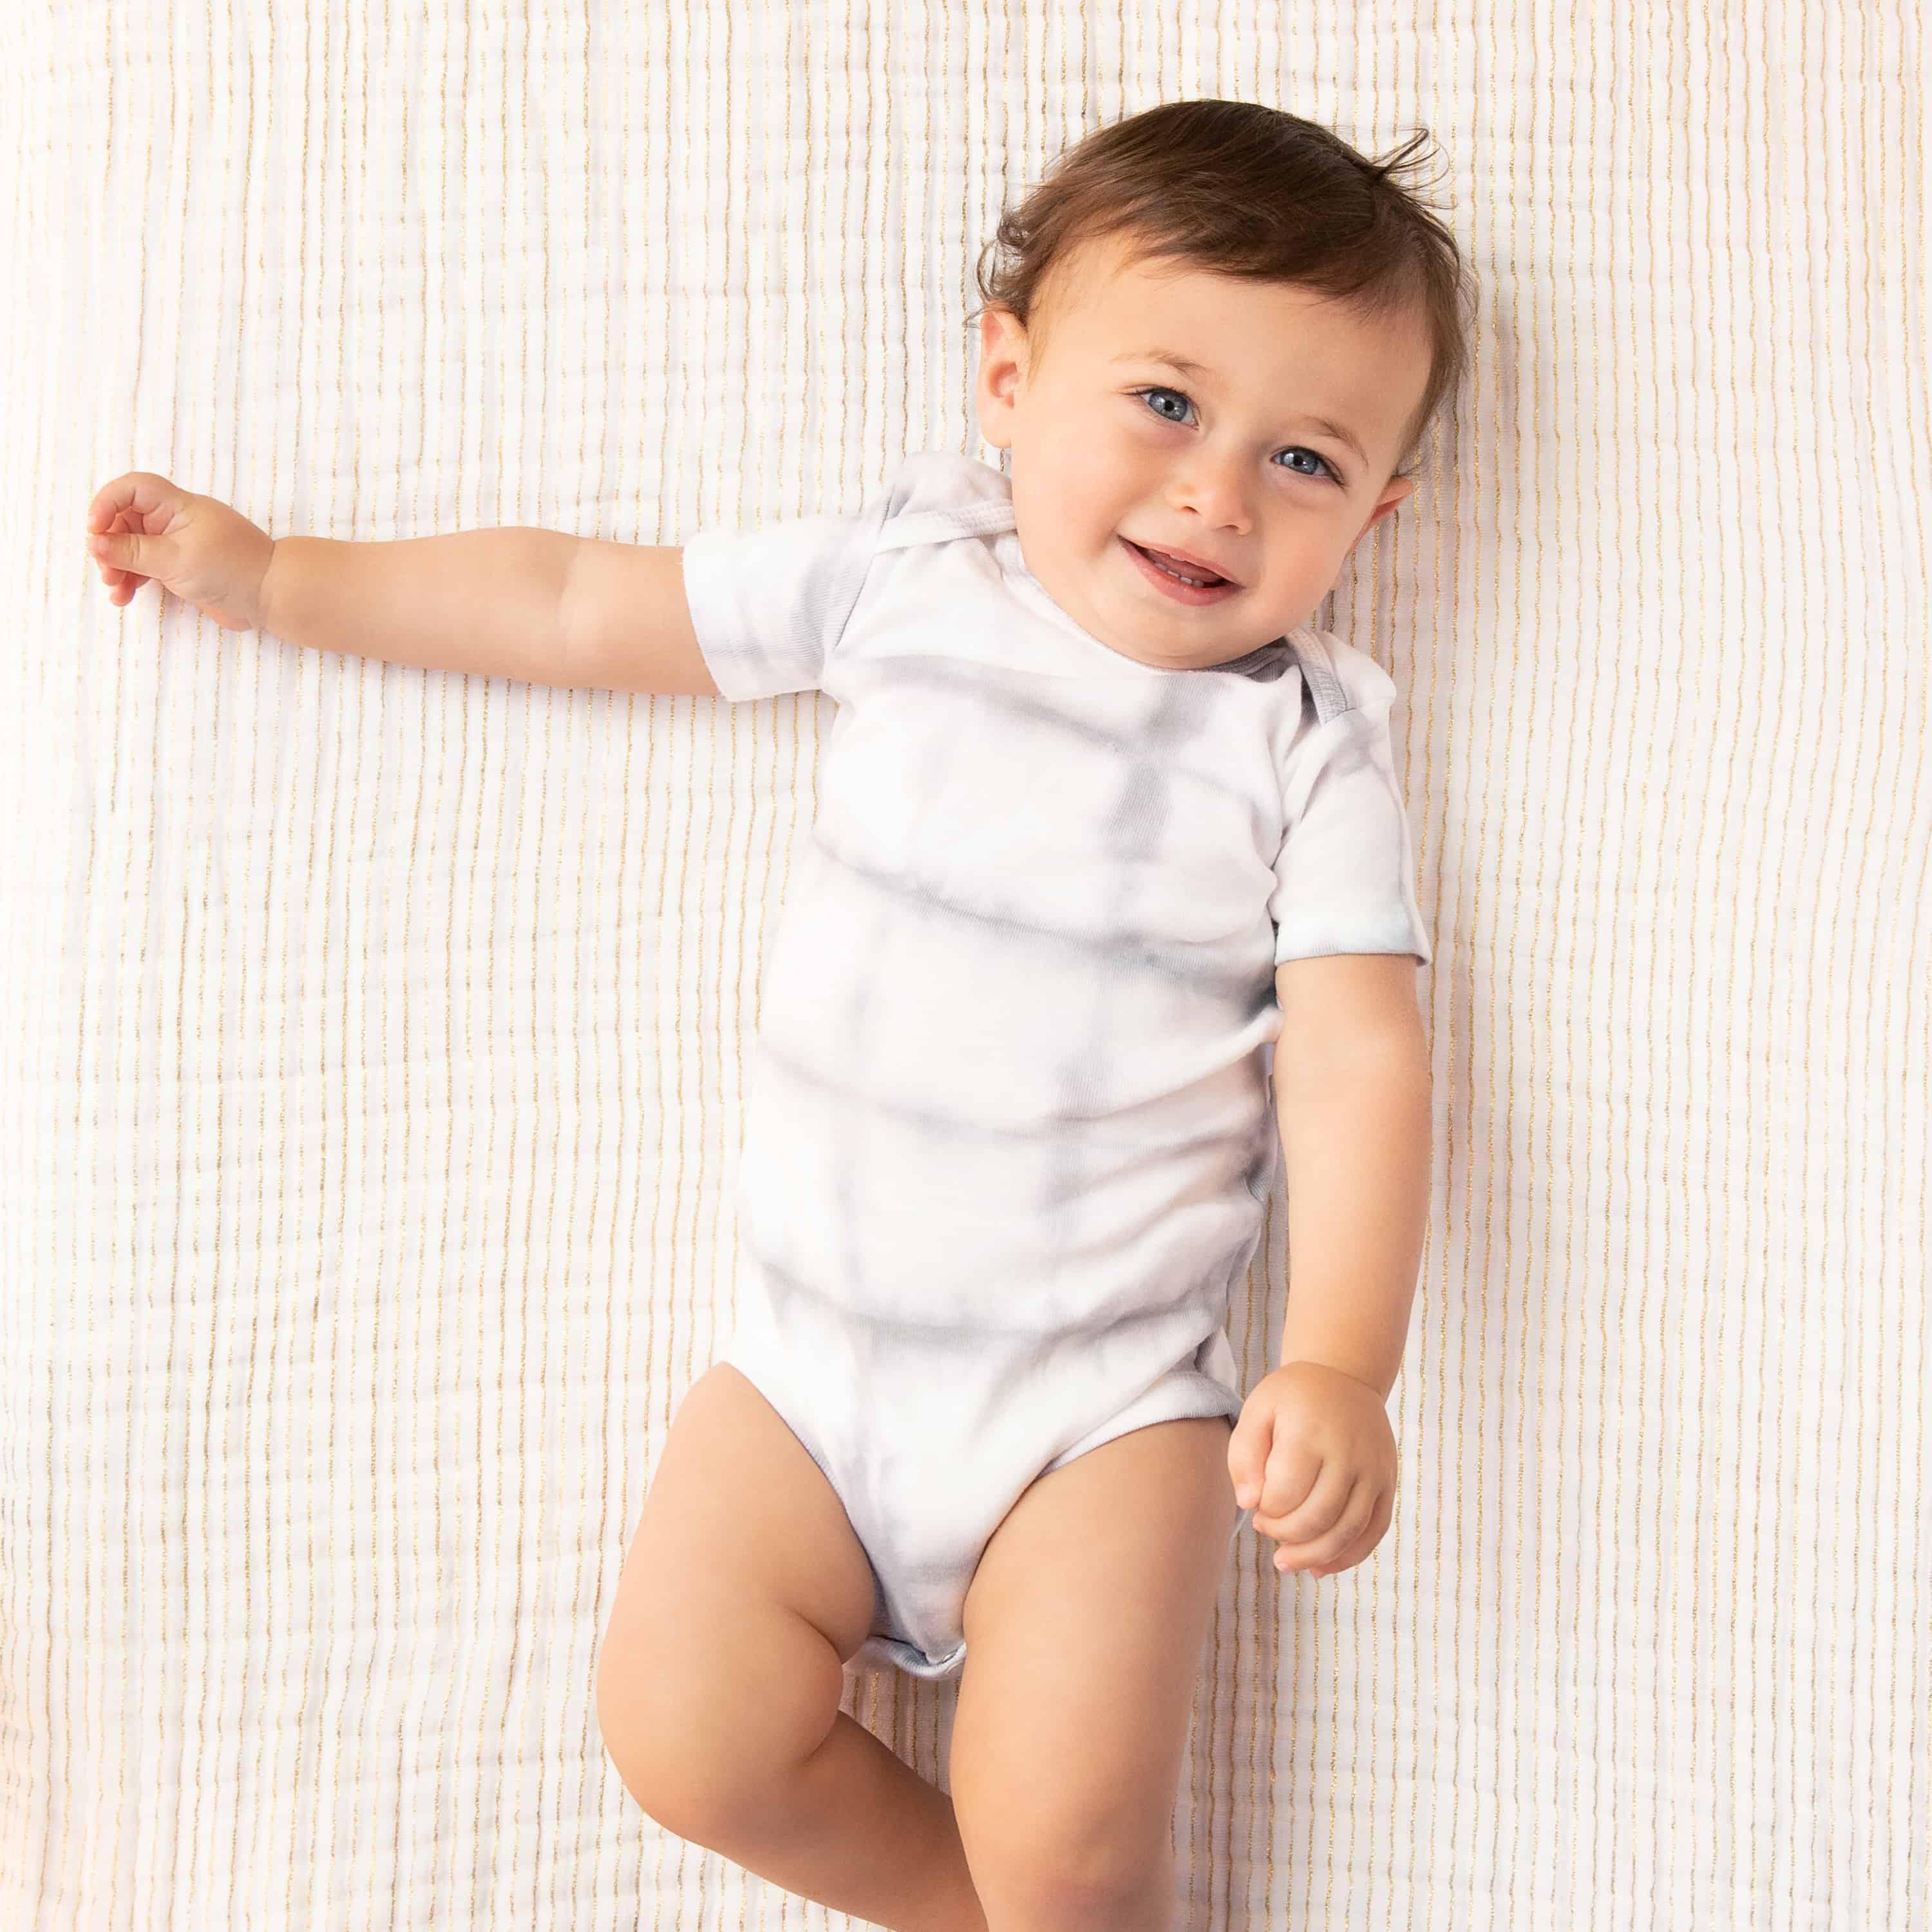
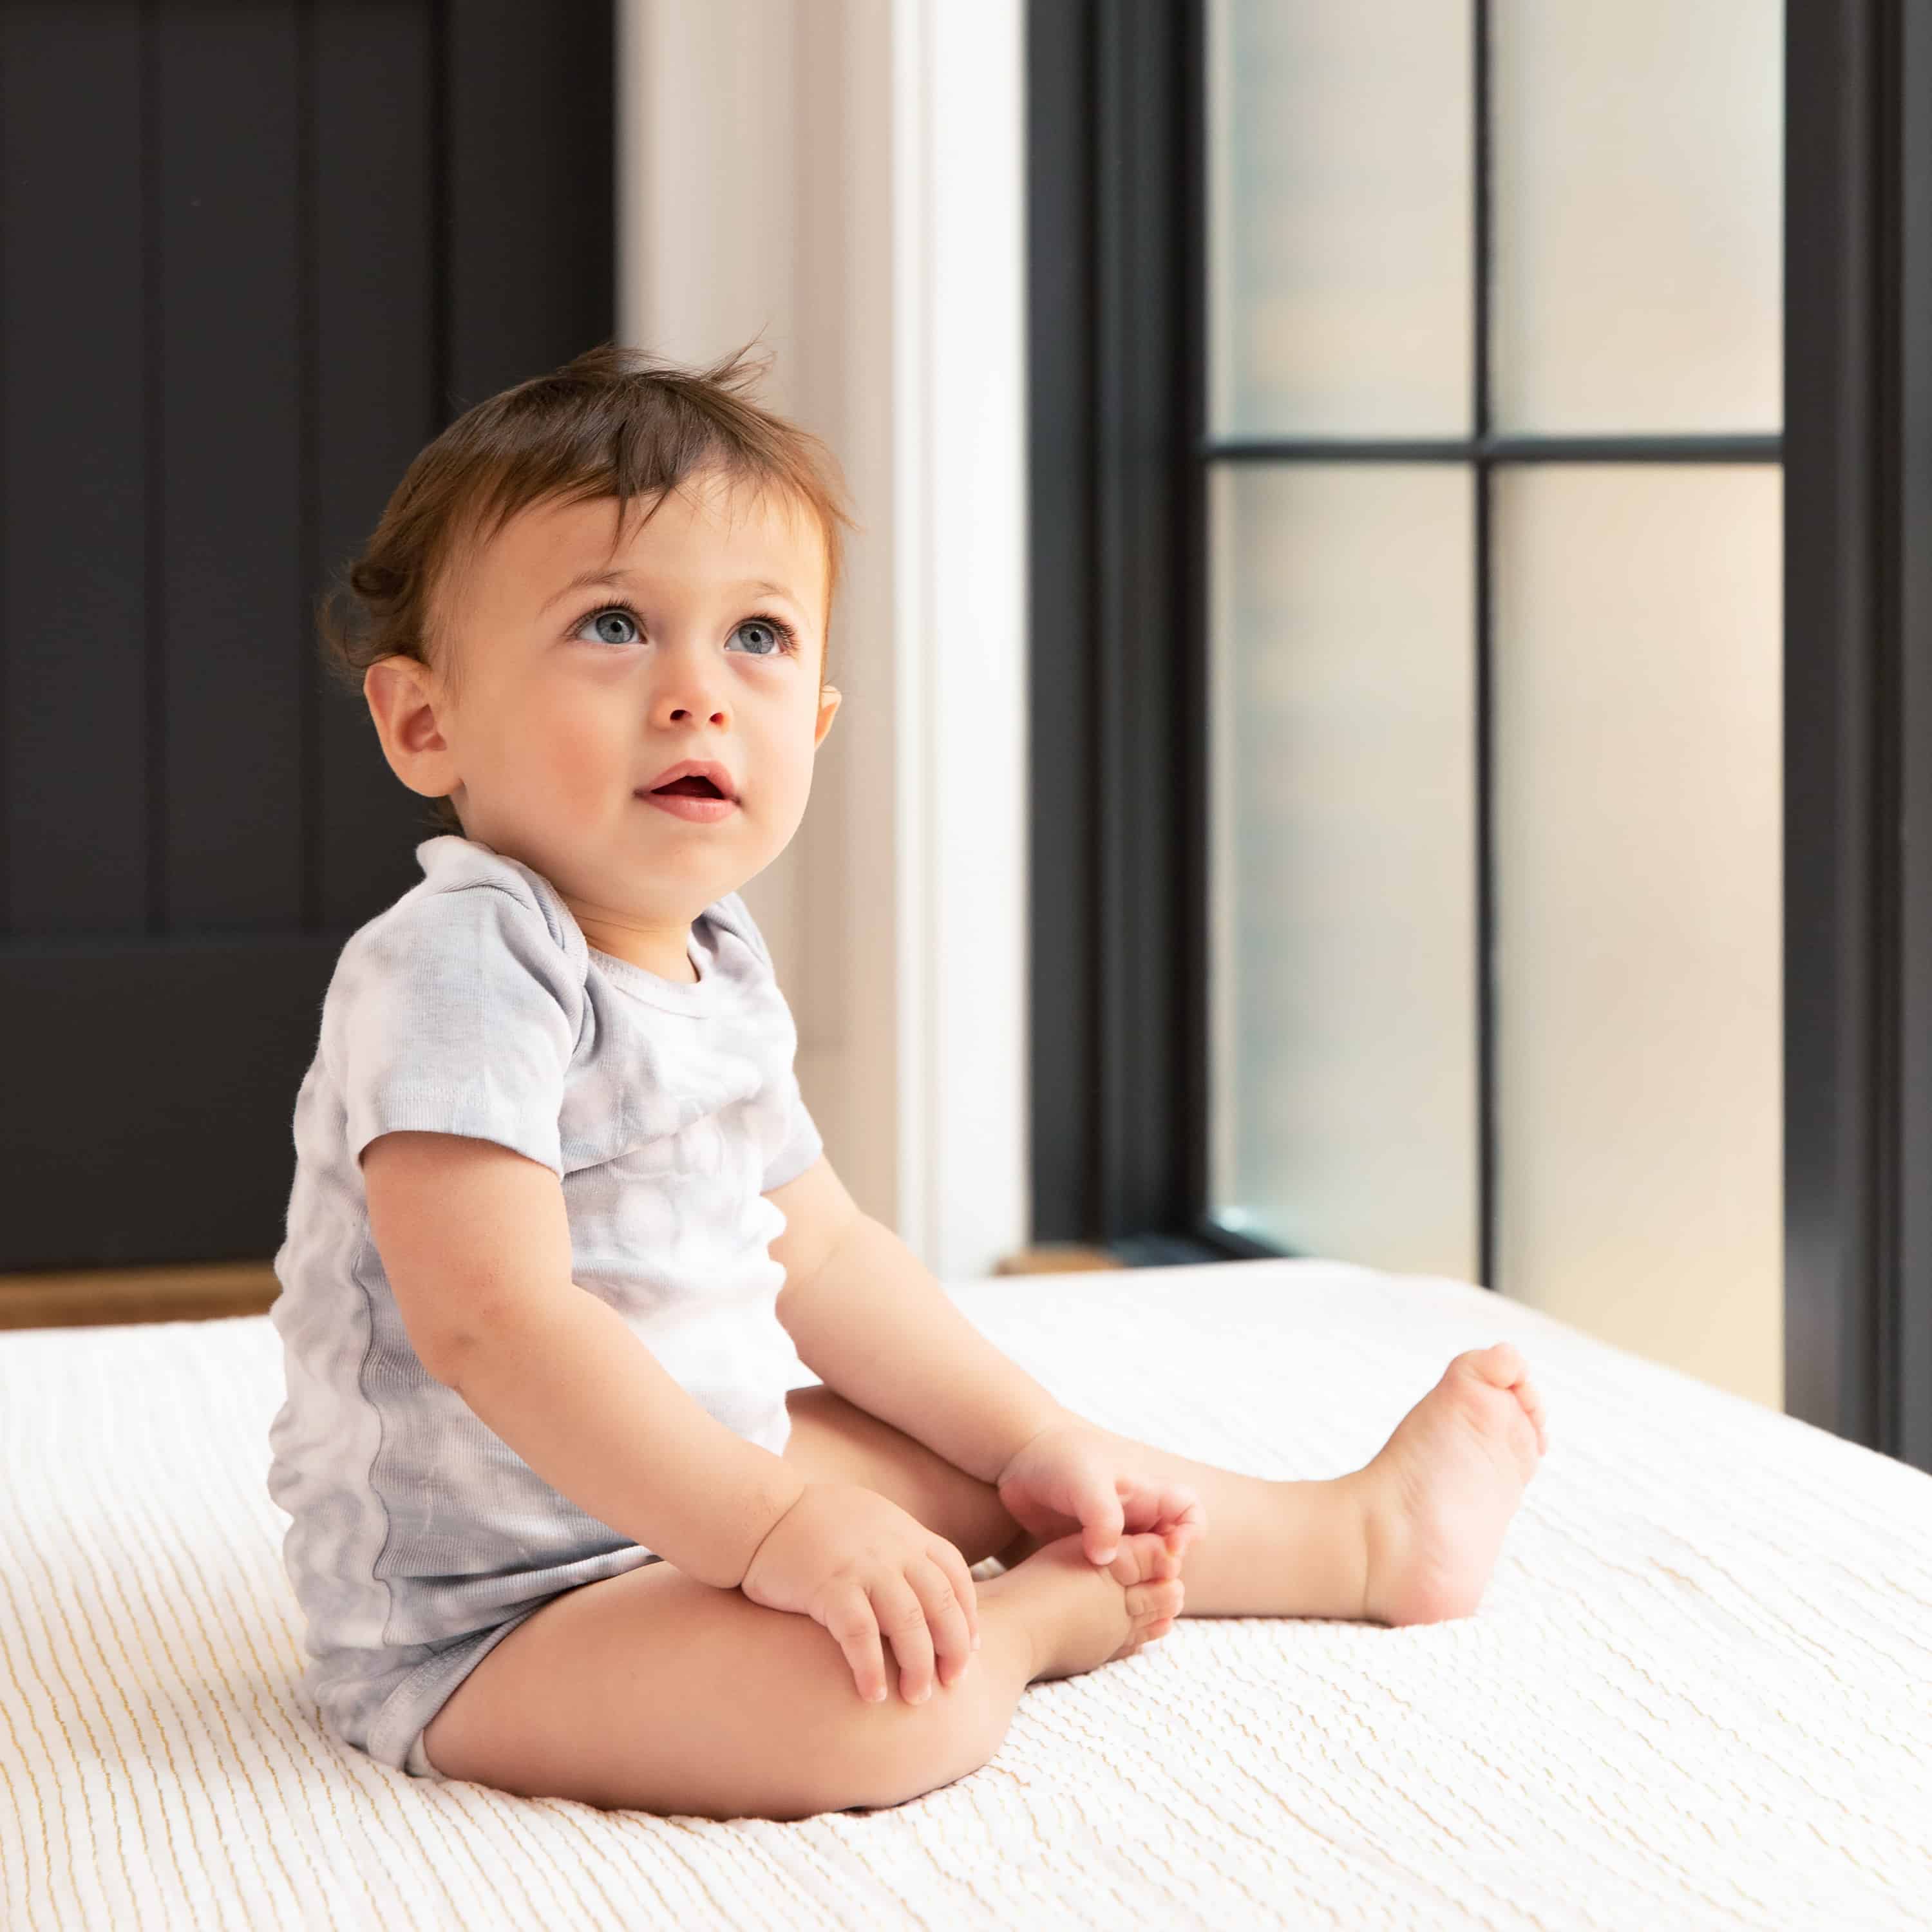
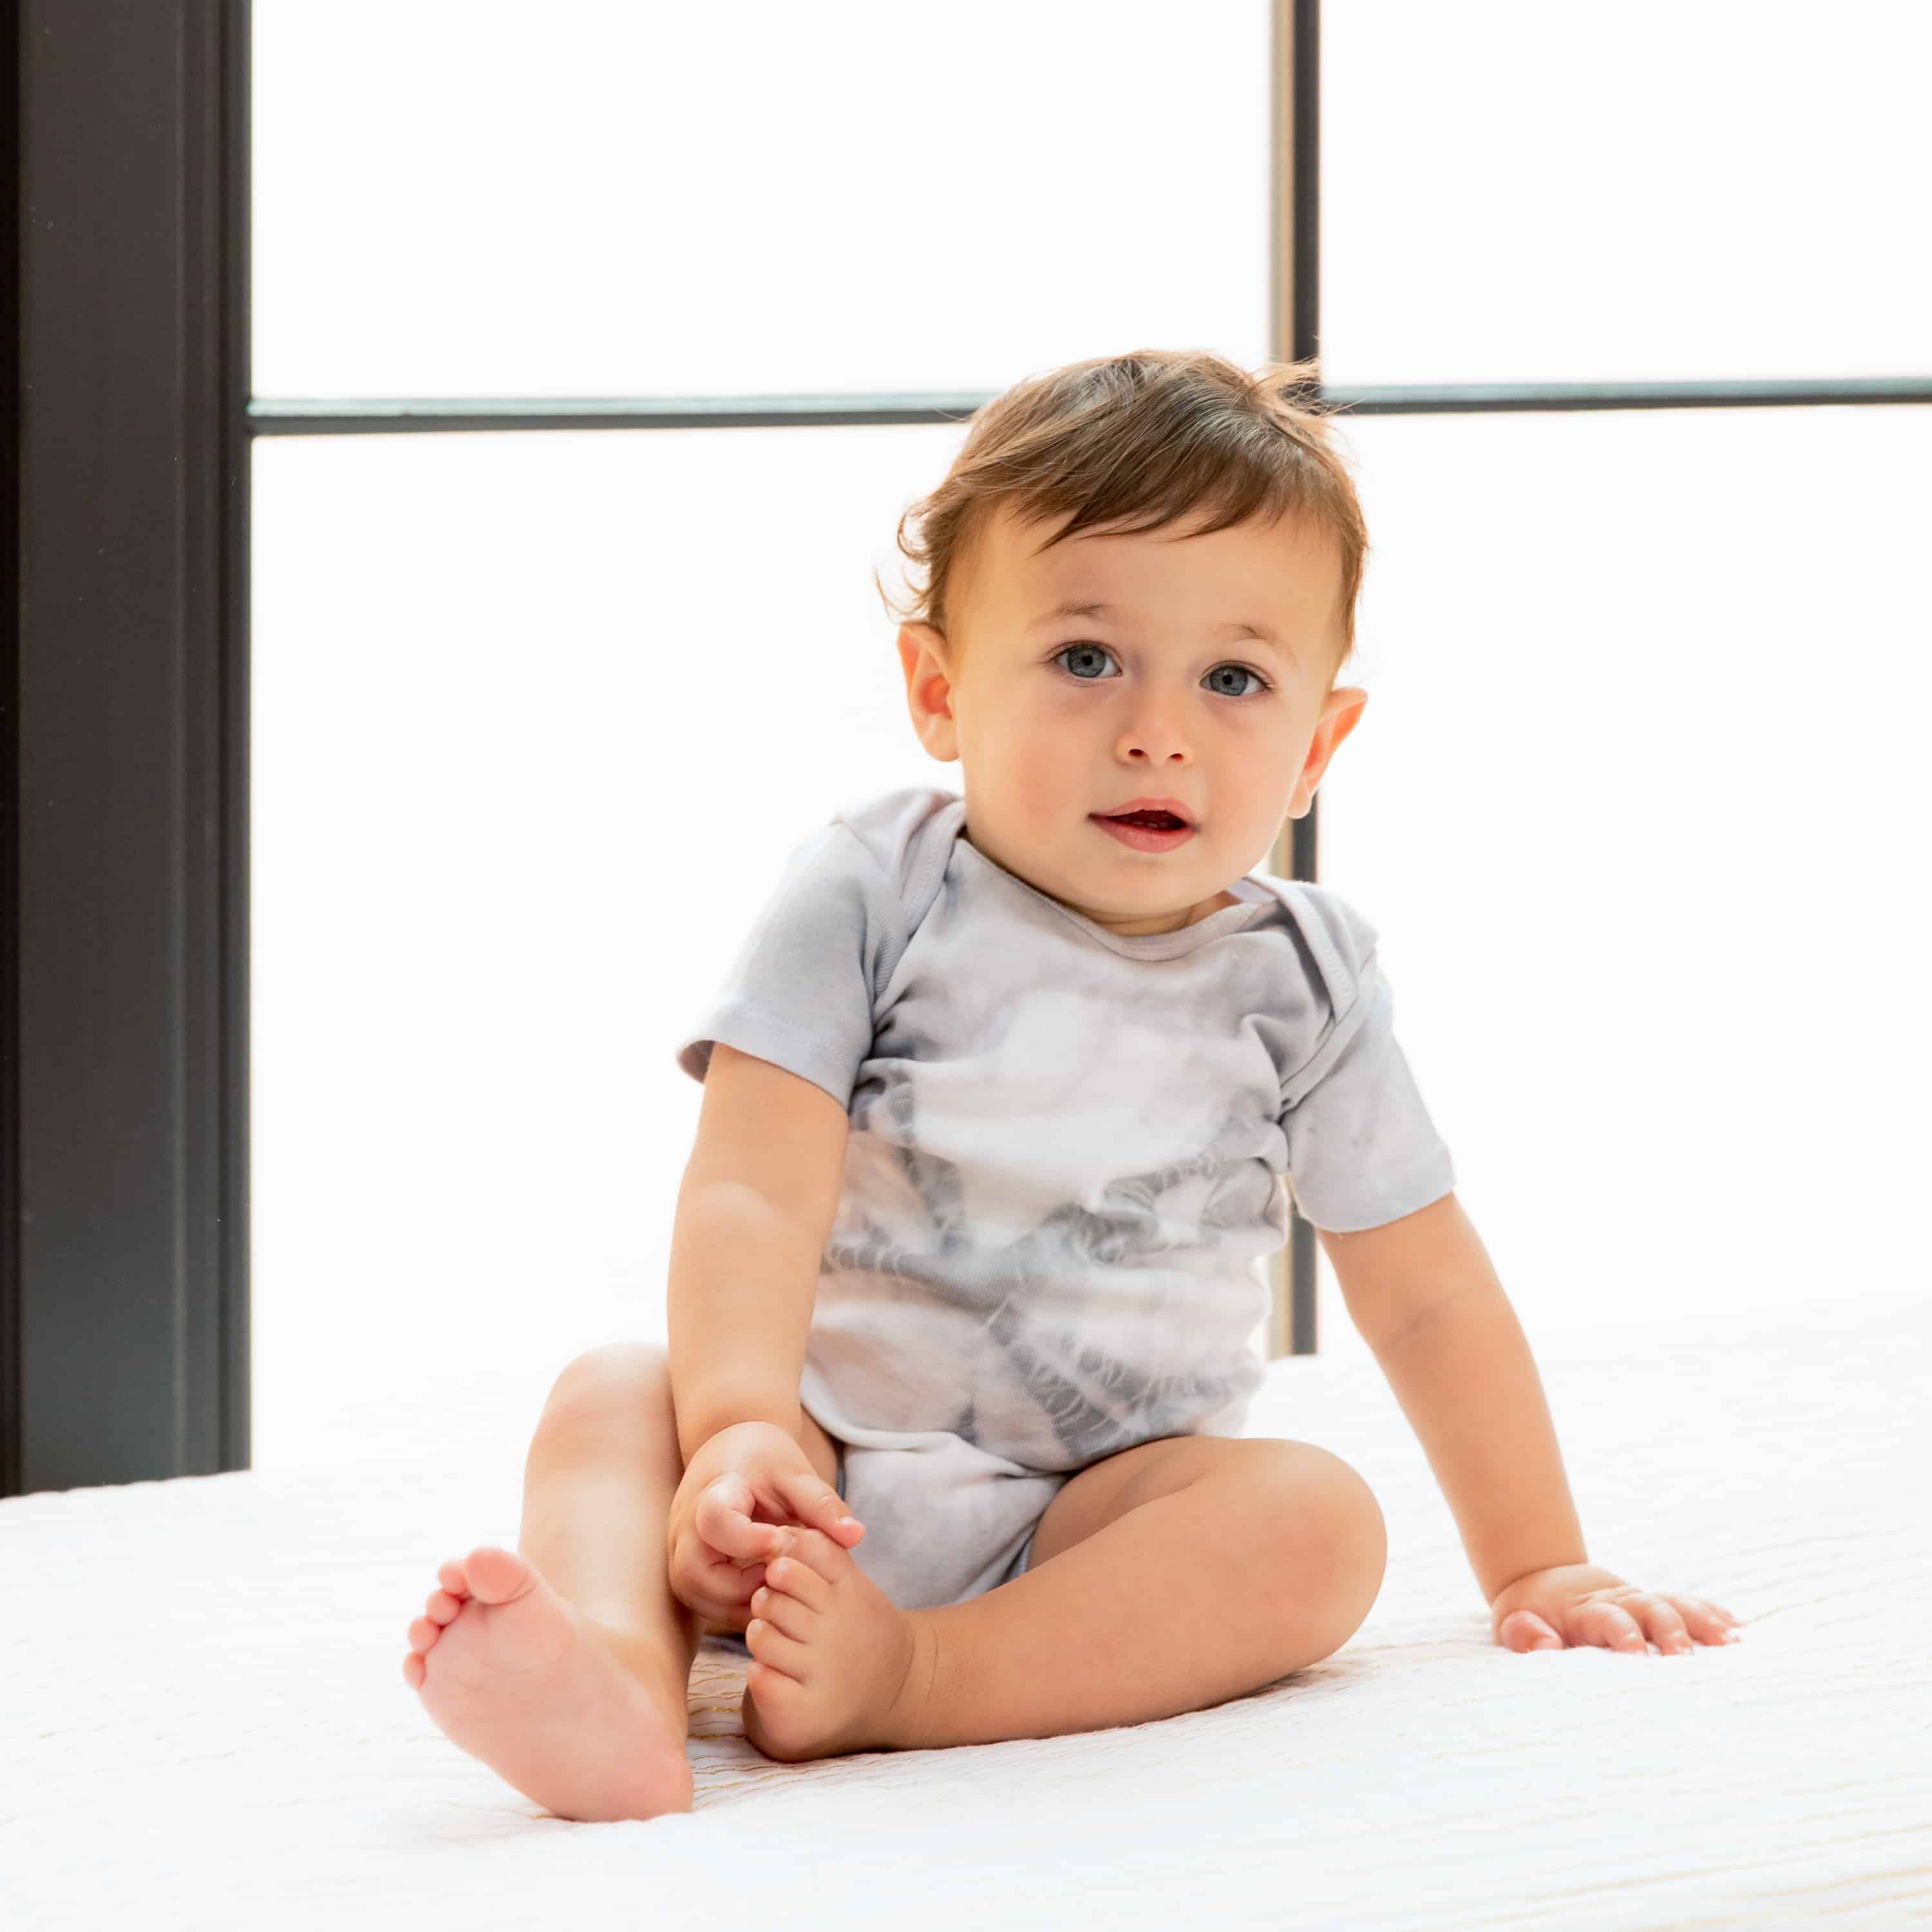
- White Cotton Onesie
- Twine (Optional)
- Rubber Bands (Optional)
- Wood Blocks (Optional)
- Salt
- Plastic Container
- Dishwashing Liquid
- Measuring Cup
- Rubber Gloves
- Plastic Table Cover
Time
1 Hour Total: {{ partial.t3YN.total }}
Difficulty
Beginner Total: {{ partial.tZ3J.total }}
Instructions
- Prewash onesie in warm, soapy water. This helps to remove any finishes that may interfere with dye absorption.
- Cover work area with plastic table cover and have paper towels handy to protect against any possible spills. Gather supplies.
- Wet fabric.
- We used three different methods for dyeing the onesies:
- Itajime Pattern: For a video on how to do this technique, click here. Accordion fold or “fan fold” the fabric in 4 ½” wide folds down the length of the fabric. This will form a long rectangle. Accordion fold or “fan fold” the long rectangle into a 4 ½” fabric square. Sandwich the fabric square between the 4” blocks of wood. Secure “sandwich” with rubber bands to tightly hold the fabric square together.
- Arashi (Pole Wrapping) Technique: For a video on how to do this technique, click here. Accordion fold or “fan fold” the length of the fabric in 3” to 4” wide folds. This will form a long rectangle. After the fabric is folded into a long rectangle, secure one end of the fabric rectangle to a PVC pipe or pole with a rubber band. Then, wrap the fabric rectangle tightly around the pipe or pole without overlapping it. Secure the other end with a rubber band. Scrunch all the fabric very tightly back up to the top of the pipe or pole.
- Kanoko Style: For a video on how to do this technique, click here. Pinch the center portion of the fabric and hold it in the air, letting the 4 corners drop. About ½” from the pinched center, wrap fabric tightly with a rubber band. Continue by wrapping twine in a crisscross pattern down the length of the fabric. Pattern will vary based on the spacing and wrapping of the twine.
- Itajime Pattern: For a video on how to do this technique, click here. Accordion fold or “fan fold” the fabric in 4 ½” wide folds down the length of the fabric. This will form a long rectangle. Accordion fold or “fan fold” the long rectangle into a 4 ½” fabric square. Sandwich the fabric square between the 4” blocks of wood. Secure “sandwich” with rubber bands to tightly hold the fabric square together.
- Fill a plastic container with two gallons of hot water. The water should ideally be 140ºF. If tap water is not hot enough, heat water on the stove and add to the dyebath.
- To enhance the color: add one cup of salt when dyeing fabrics containing cotton, rayon, ramie or linen.
- Add 1 teaspoon of dish detergent to help promote level dyeing.
- Wearing rubber gloves, add 1/2 cup well-shaken Pearl Grey dye to dyebath.
- Add onesie to dyebath. For a high contrast pattern, keep the onesie in the dyebath for about 3 to 5 minutes to keep the wrapped part dye-free. For more color and less white areas, leave the wrapped fabric set in the dyebath for 10 to 20 minutes.
- When desired color is achieved, remove wrapped fabric from the dyebath. Do not remove rubber bands or wood blocks.
- We strongly recommend using Rit ColorStay Dye Fixative immediately after dyeing and before washing. It enhances the color, increases color retention and prevents dye from bleeding into white areas. Follow these instructions.
- Rinse in cool water until rinse water begins to run clear.
- Carefully remove wood blocks and rubber bands. Unfold the fabric.
- Wash in warm water with a mild detergent, rinse and dry.


Posts You May Like
