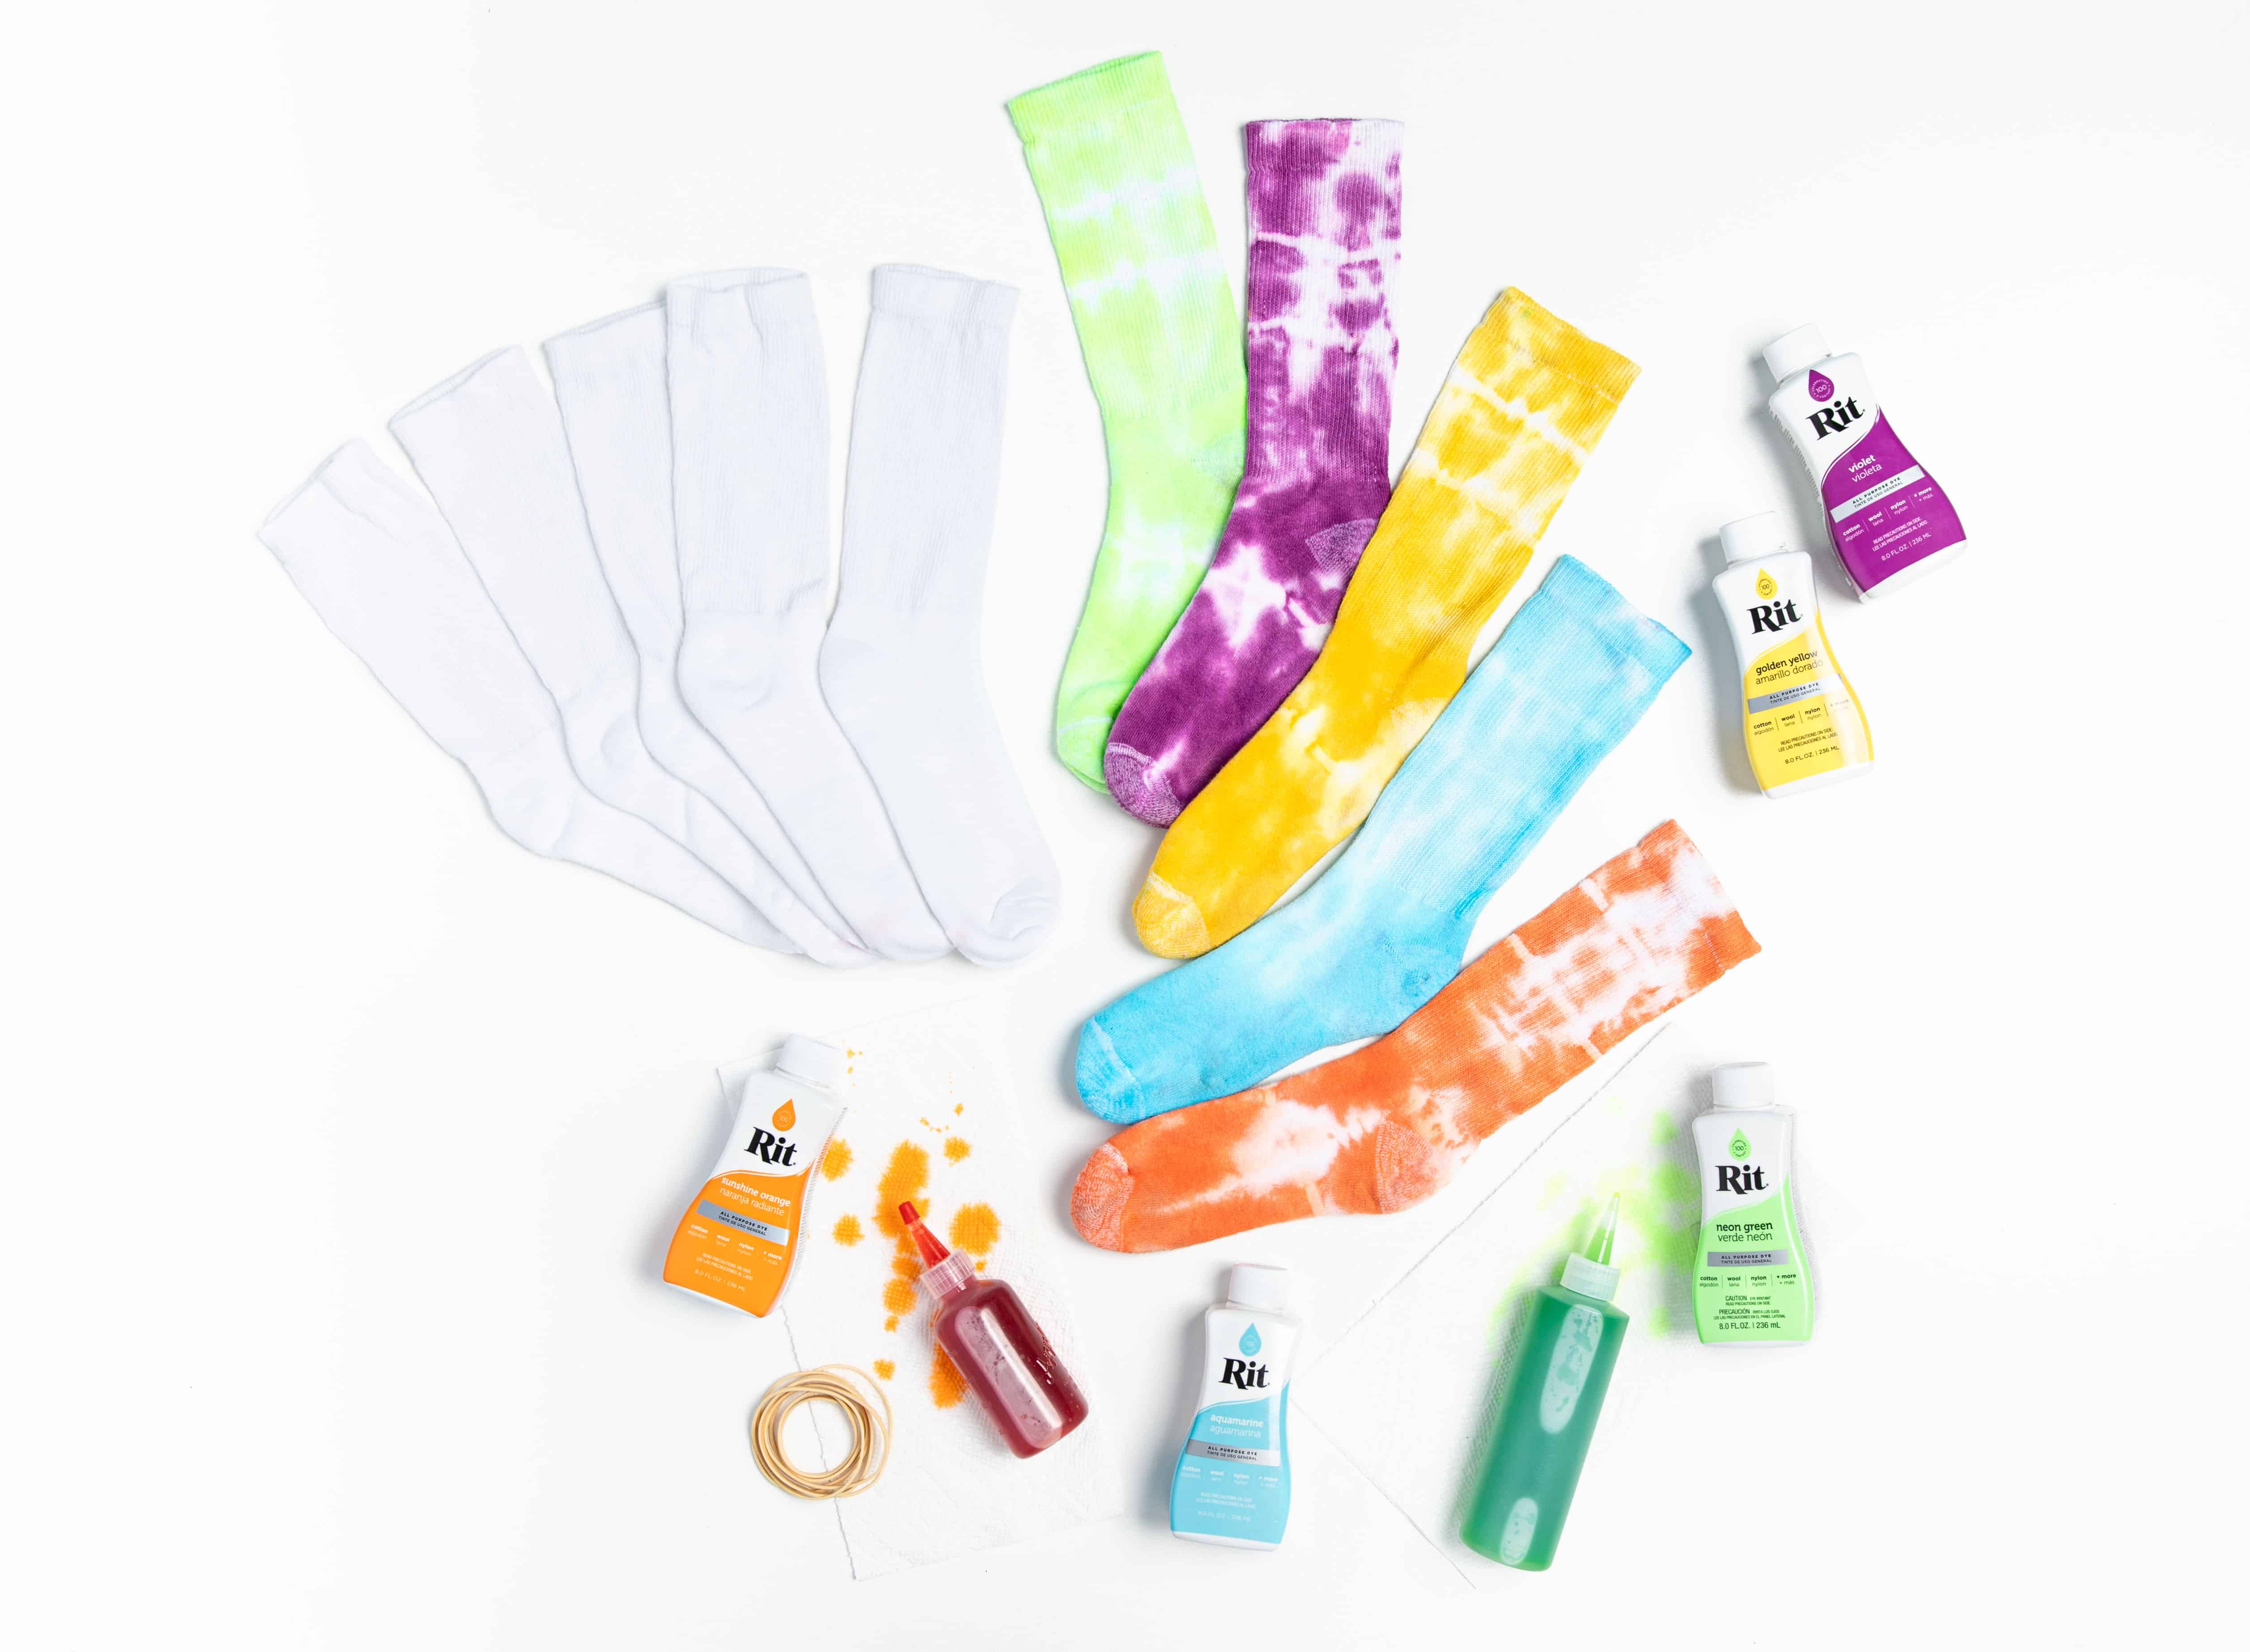
Supplies
- Rit All-Purpose Dye
- Rit ColorStay Dye Fixative
- White Cotton Socks
- Plastic Squirt Bottles or Plastic Containers
- Rubber Bands
- Salt
- Baking Rack and Tray
- Measuring Cup
- Plastic Gloves
- Plastic Table Cover
Instructions
- Prewash socks in warm, soapy water. This helps to remove any finishes that may interfere with dye absorption.
- Lay socks out on a flat surface.
- Pleat socks.

- Wrap rubber bands tightly around the socks at various points. The rubber bands act as a resist and create white spaces. The more rubber bands you use and the tighter they are wrapped, the more white space there will be.

- Since we wanted to use multiple colors and control exactly where the dye went, we applied the dye with squirt bottles. However, you could also create a dyebath in a plastic container.
- Wearing rubber gloves, mix 2 Tablespoons of well-shaken liquid dye with two cups of hot tap water. Add 1 tablespoon of salt. Pour into a squirt bottle. Shake well. Repeat for each color.
- Place socks on baking rack with a tray under it. This keeps the dye from puddling under the fabric.
- Squeeze dye in between rubber bands.
- We strongly recommend using Rit ColorStay Dye Fixative on the socks. It enhances the color, increases color retention and prevents dye from bleeding into white areas. Follow these instructions. If you are planning to apply the fixative with a squirt bottle, mix 1/4 cup ColorStay Dye Fixative with 2 cups of hot water. Pour into squirt bottle.
- To help set the dye, we recommend using your microwave. Wrap the dyed socks in plastic wrap and seal the edges. You can also use the microwavable tray provided in our Tie-Dye Accessory Kit. Place the wrapped socks in the microwave and heat for 1 to 2 minutes. Once the microwave is done, remove the socks and open the plastic, letting it cool down.
- Carefully remove rubber bands with a scissors and unfold the fabric. Wash in warm water with a mild detergent, rinse and dry.

Posts You May Like
