Shibori Dyed Canvas Wall Hanging
Dyed wall hangings has become a favorite DIY at Rit HQ. This shibori dyed canvas might be our favorite project to date. Crafted with canvas and then stapled onto stretchers, this project was so fun to do that we are currently working on creating an entire gallery wall full of them! Follow along to learn how simple it was to make!

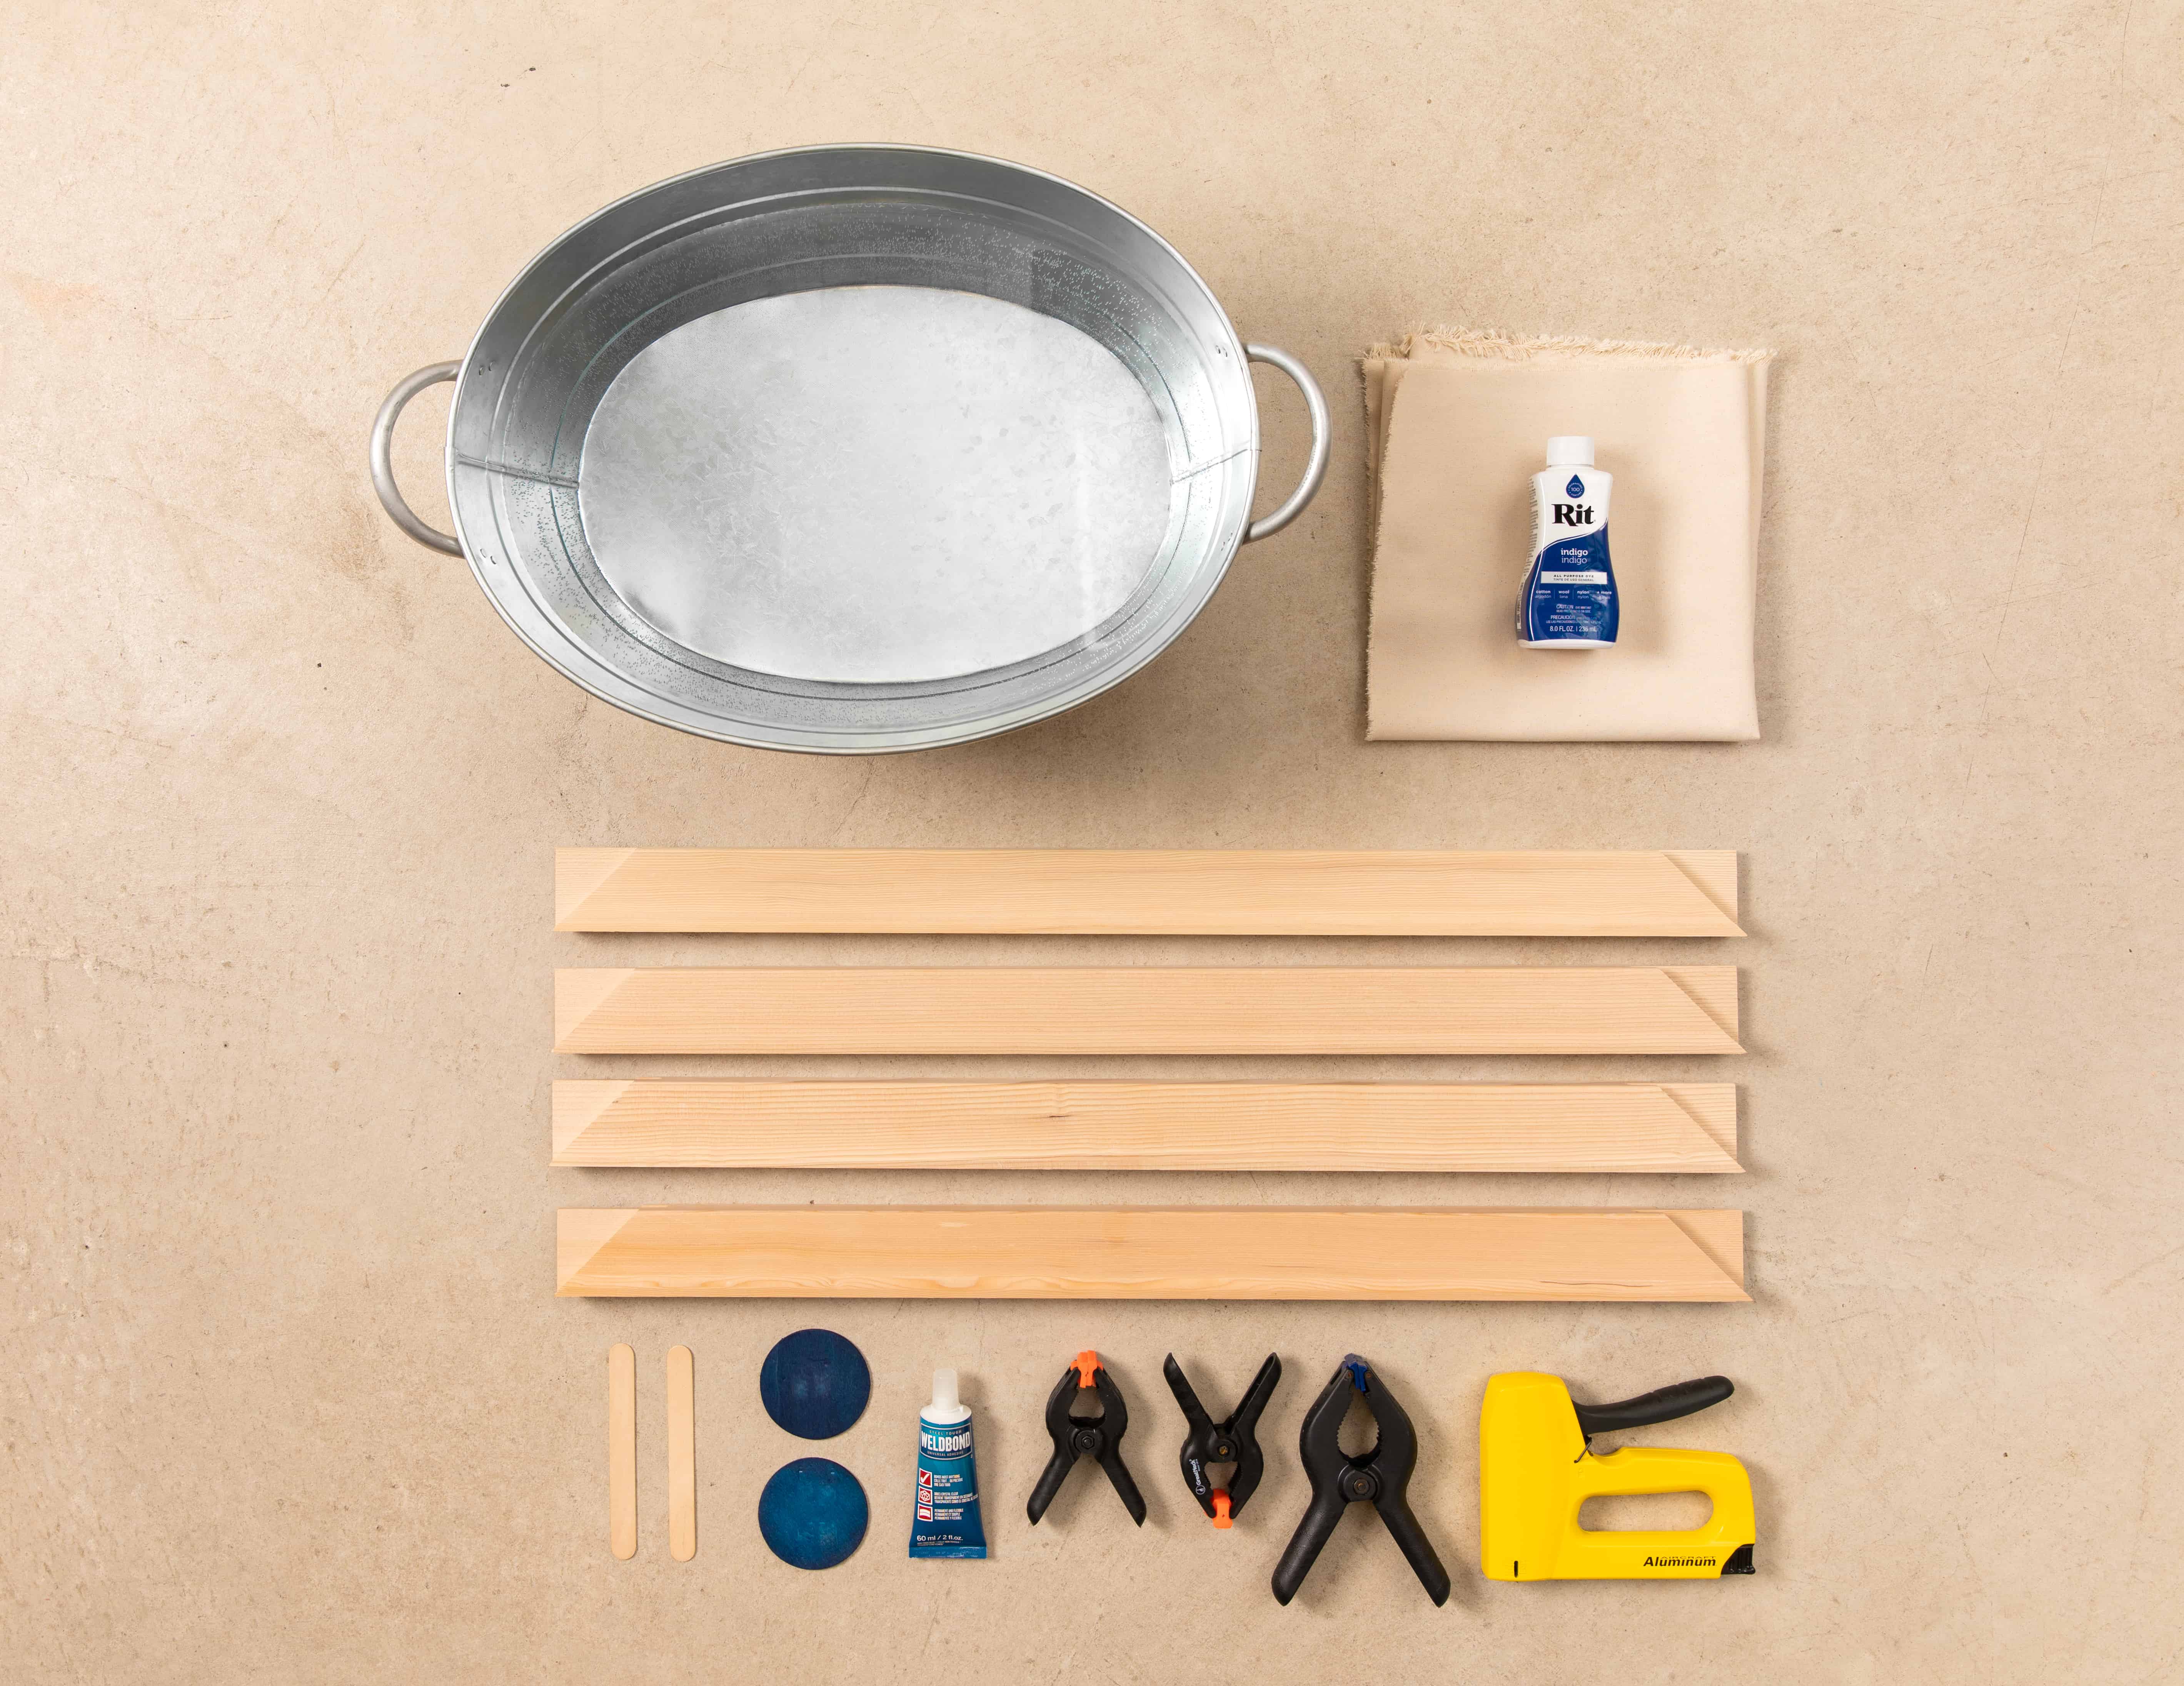
Supplies
- Indigo Rit All-Purpose Liquid Dye
- Rit ColorStay Dye Fixative
- Unfinished Cotton Canvas
- Standard Stretcher Bars
- Resist Items: Wood Blocks / Popsicle Sticks and Zip Ties / Clamps
- Wood Adhesive
- Measuring Spoons
- Measuring Cup
- Stirring Stick
- Plastic Container or Stainless-Steel Pot
- Rubber Gloves
- Plastic Table Cover
- Scissors
- Staple Gun
- 1/2” Heavy duty staples
- Iron and Ironing Board
Time
Total: {{ partial.tUPE.total }}
Difficulty
Intermediate Total: {{ partial.tDL3.total }}
Instructions
- Cover work area with plastic table cover and gather supplies.
- Soak unfinished cotton canvas in cold water and soap, rinse and leave damp.
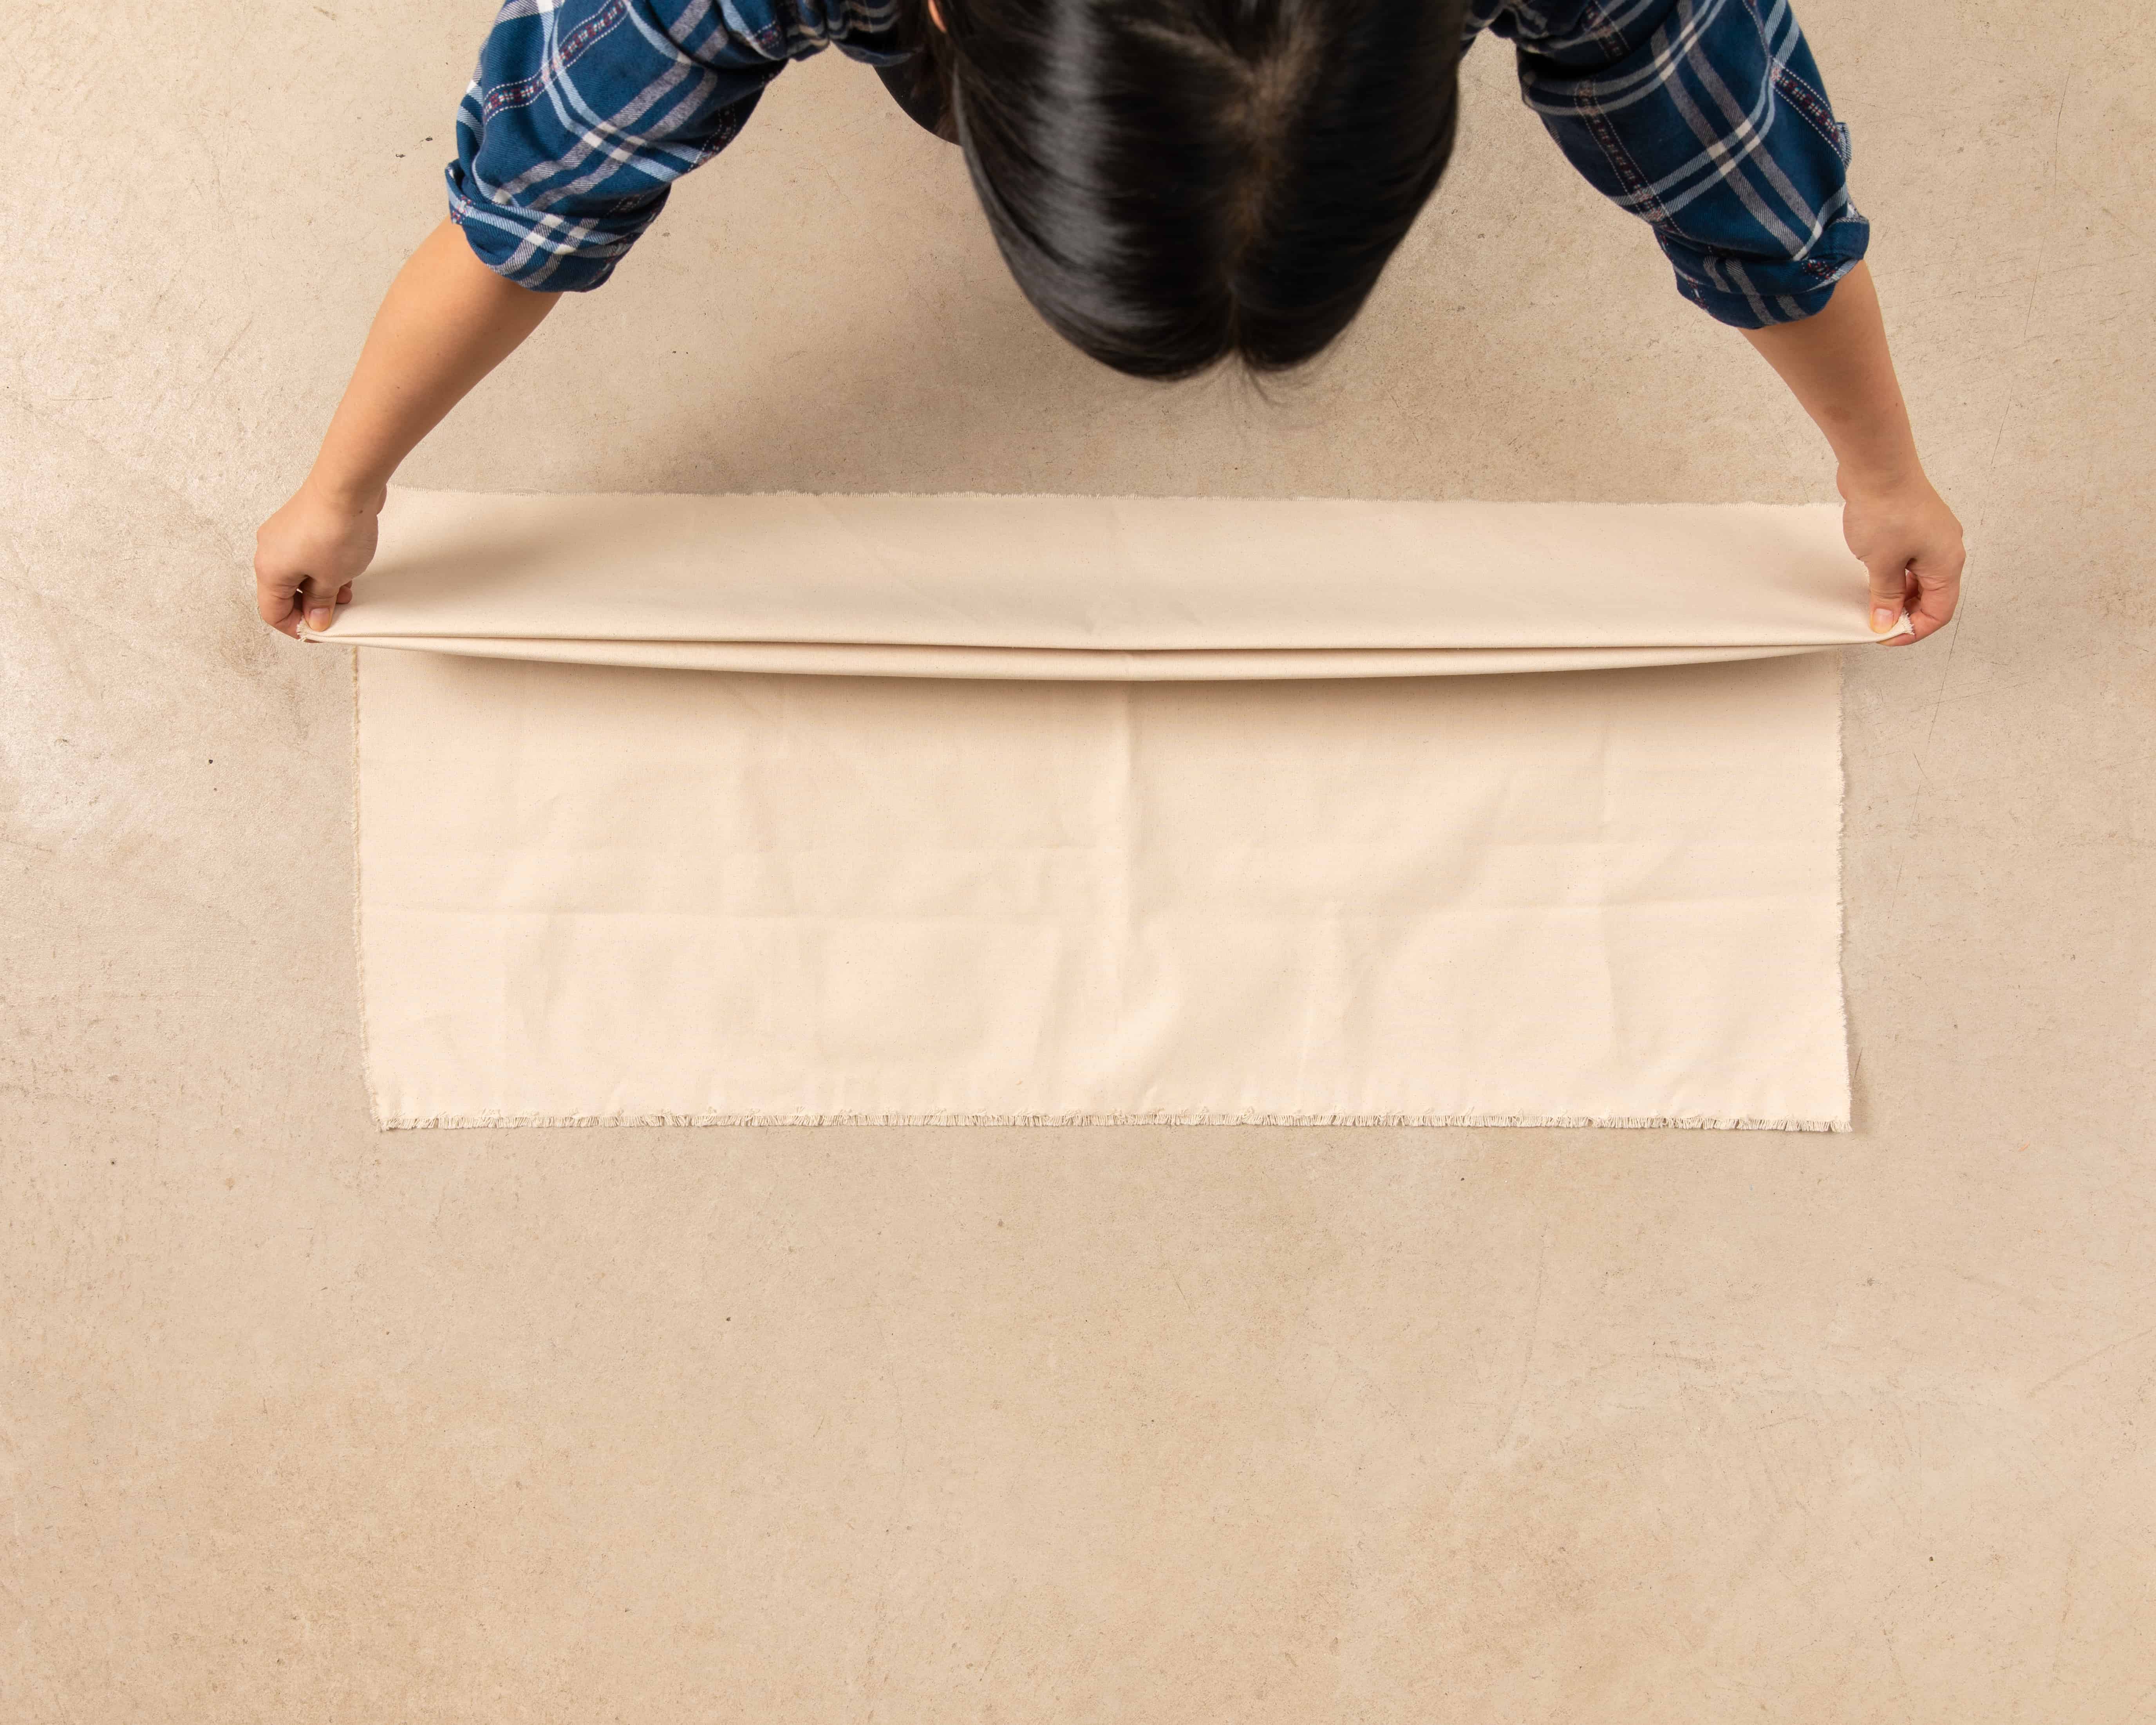
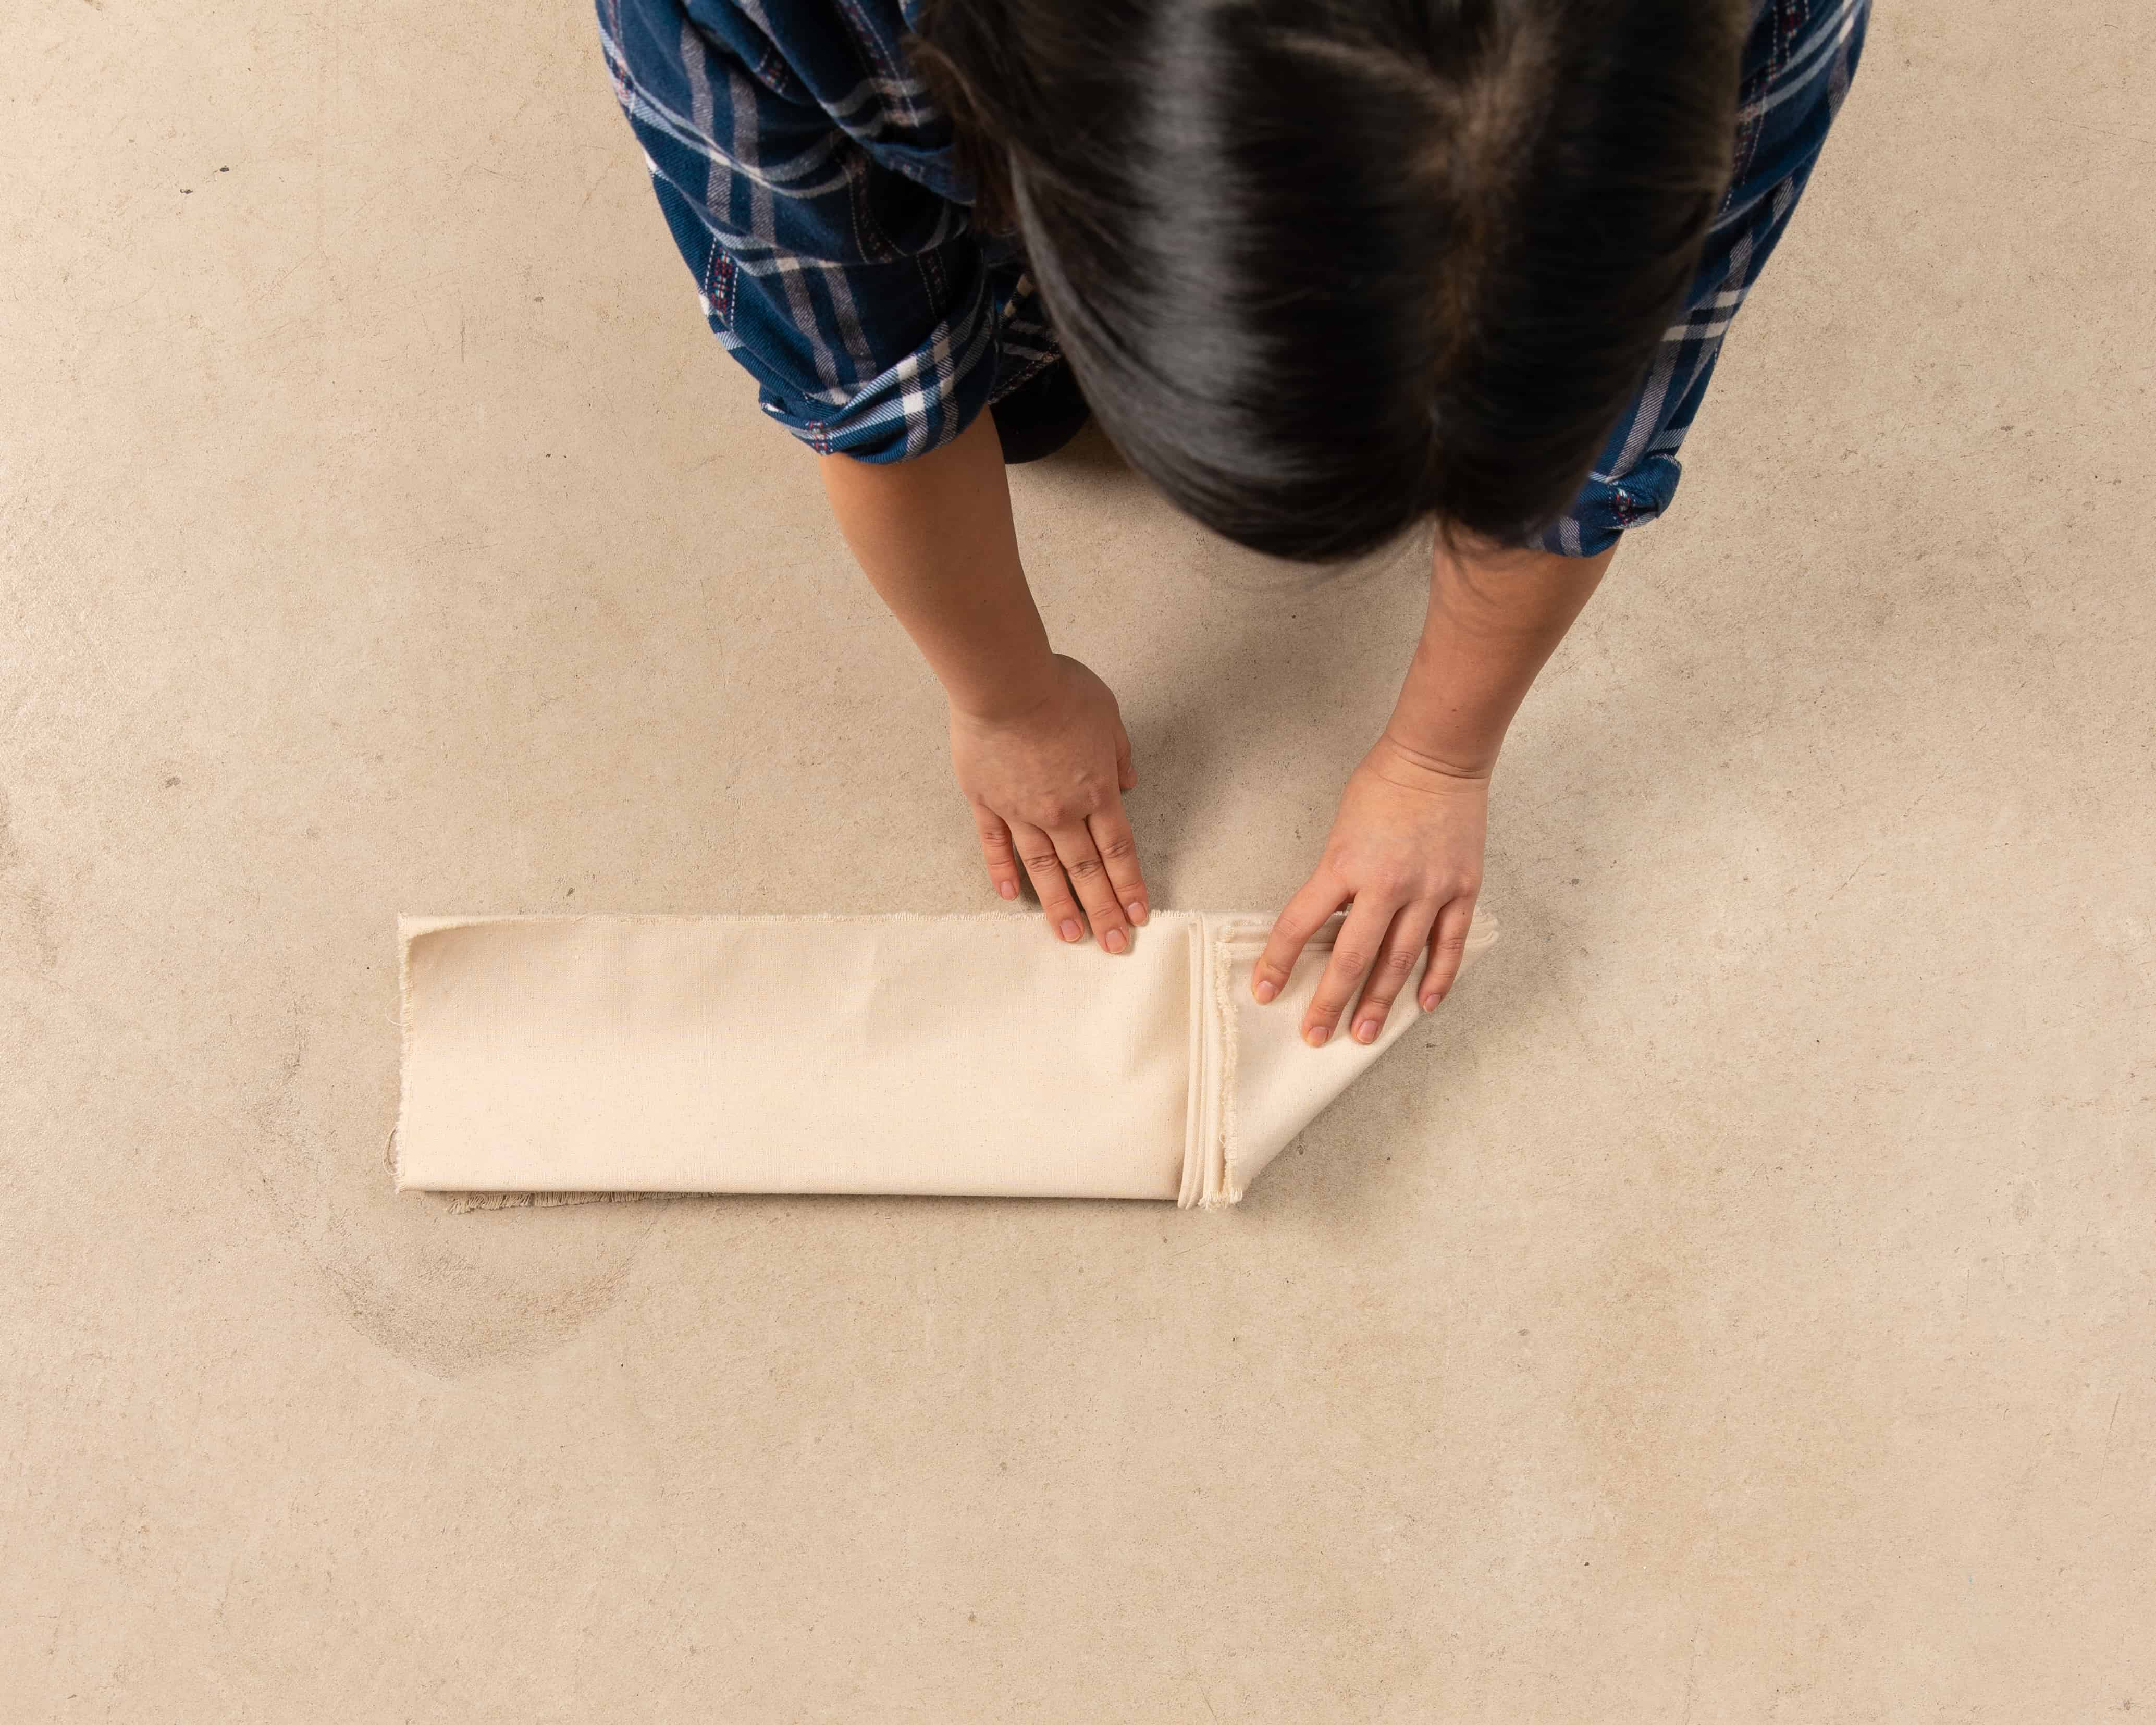
- Fold canvas using shibori dye techniques found here.
- For the Itajime style featured here, fan-fold horizontally, then vertically and use wood blocks, popsicle sticks, clamps and zip ties to create patterns.
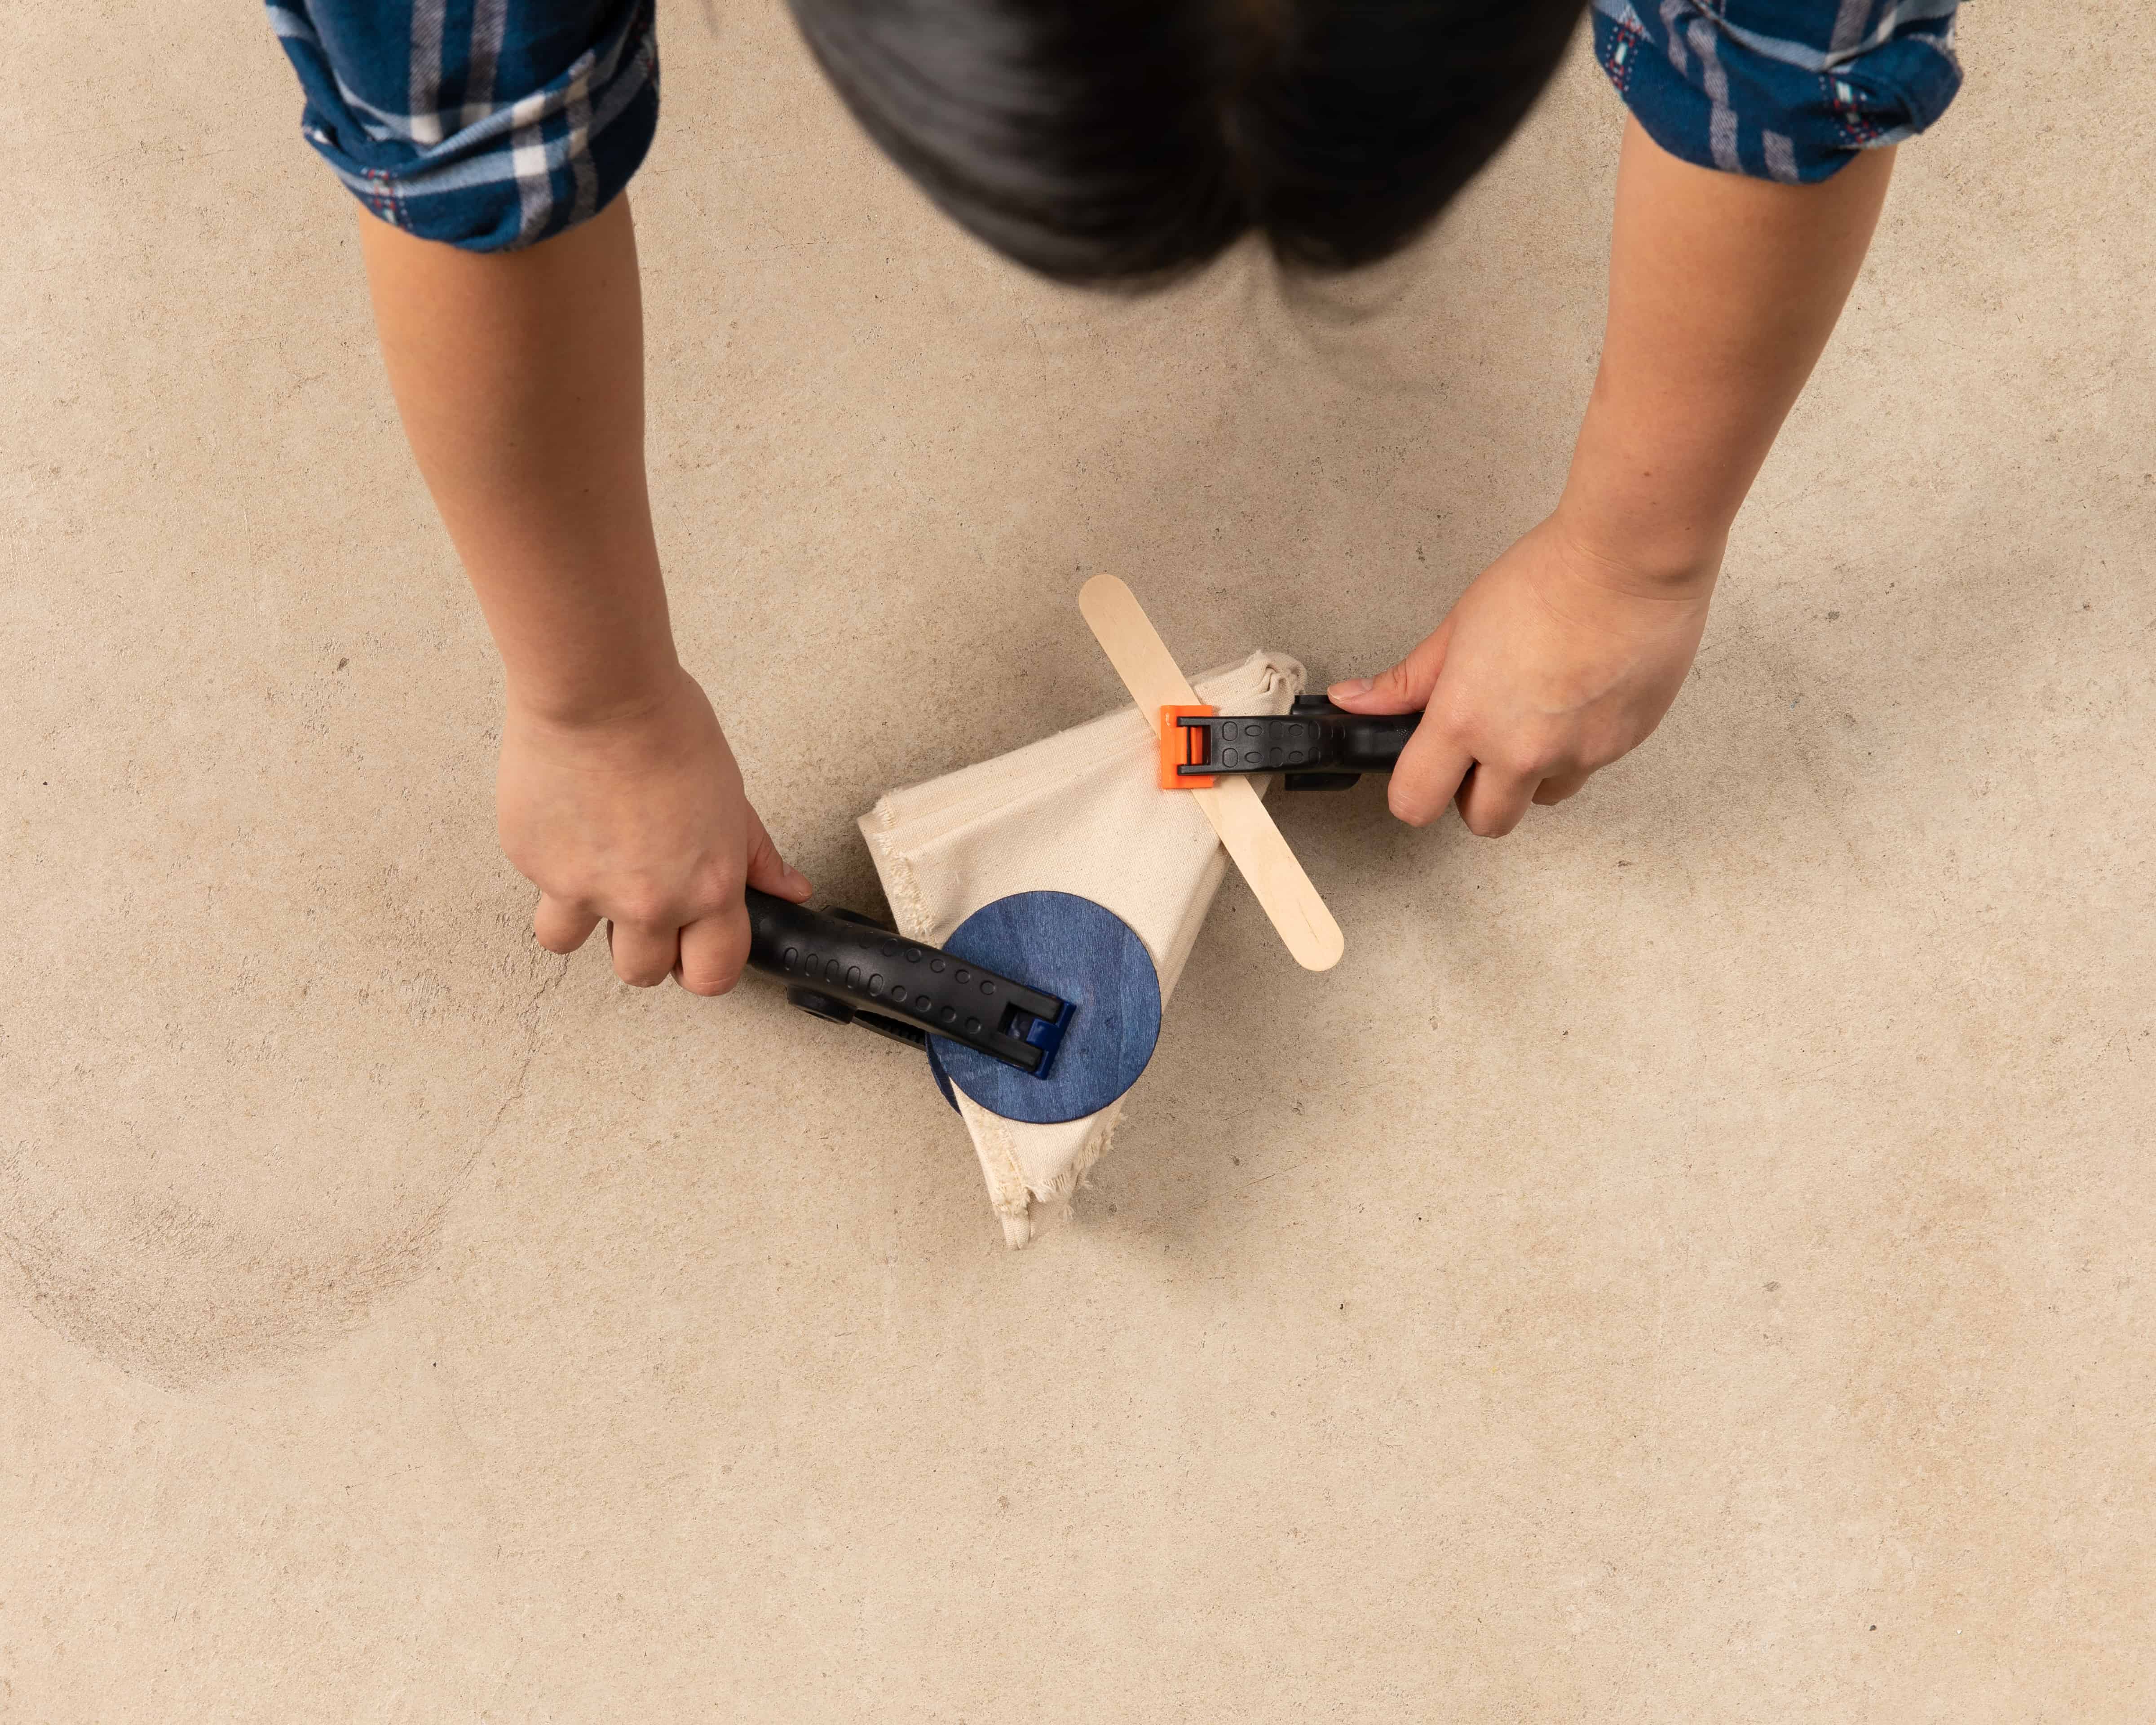
- For the circular pattern also featured, pinch a section of the fabric where you want the center of the circle to be. Pull it up toward you to make a teepee shape. Grab the base of the tee-pee and wrap with zip tie to secure. Repeat to create desired pattern and set aside.
- For the Itajime style featured here, fan-fold horizontally, then vertically and use wood blocks, popsicle sticks, clamps and zip ties to create patterns.
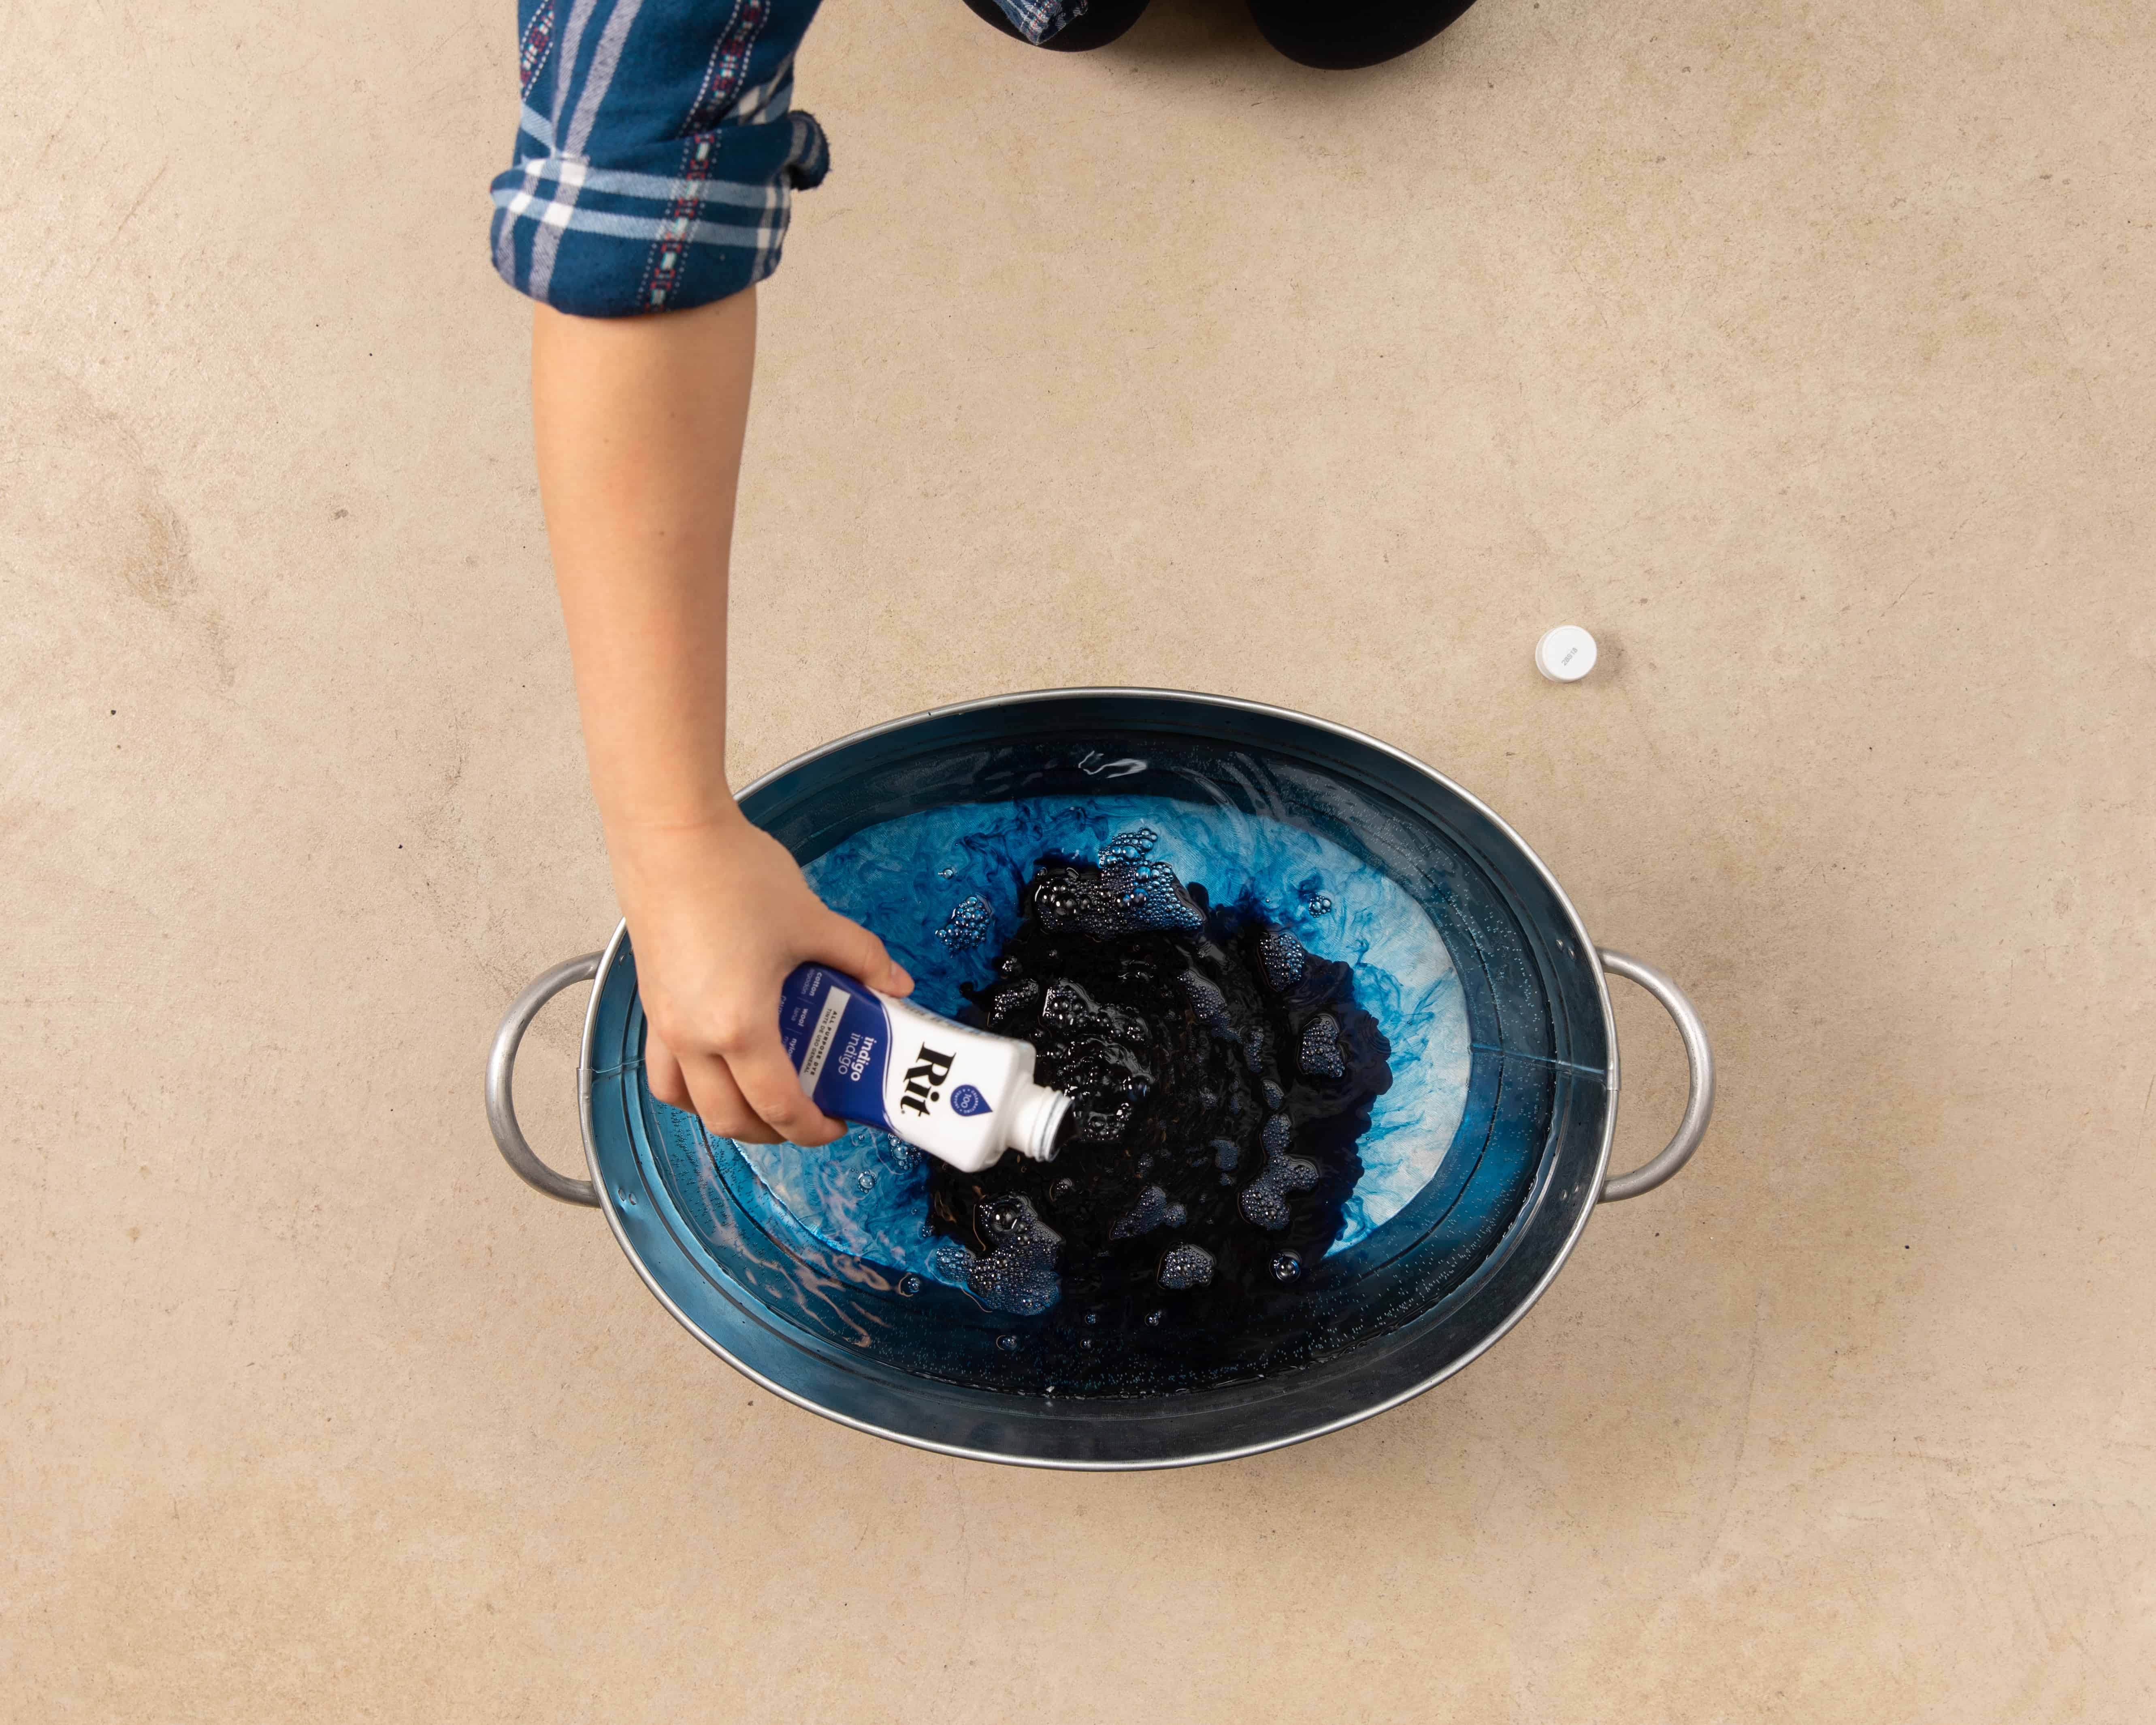
- To prepare dyebath: fill a large plastic container or metal sink with 3 gallons of very hot water. The water should ideally be 140ºF. If tap water is not hot enough, heat water on the stove and add to the dyebath.
- Wearing rubber gloves, add 1/2 cup of well-shaken Indigo to dyebath. Stir well.
- Submerge prepared fabric into dyebath. For high contrast pattern, keep in dyebath for about 3 to 5 minutes. For more color and less white space, leave wrapped fabric set in the dyebath for 10 to 20 minutes.
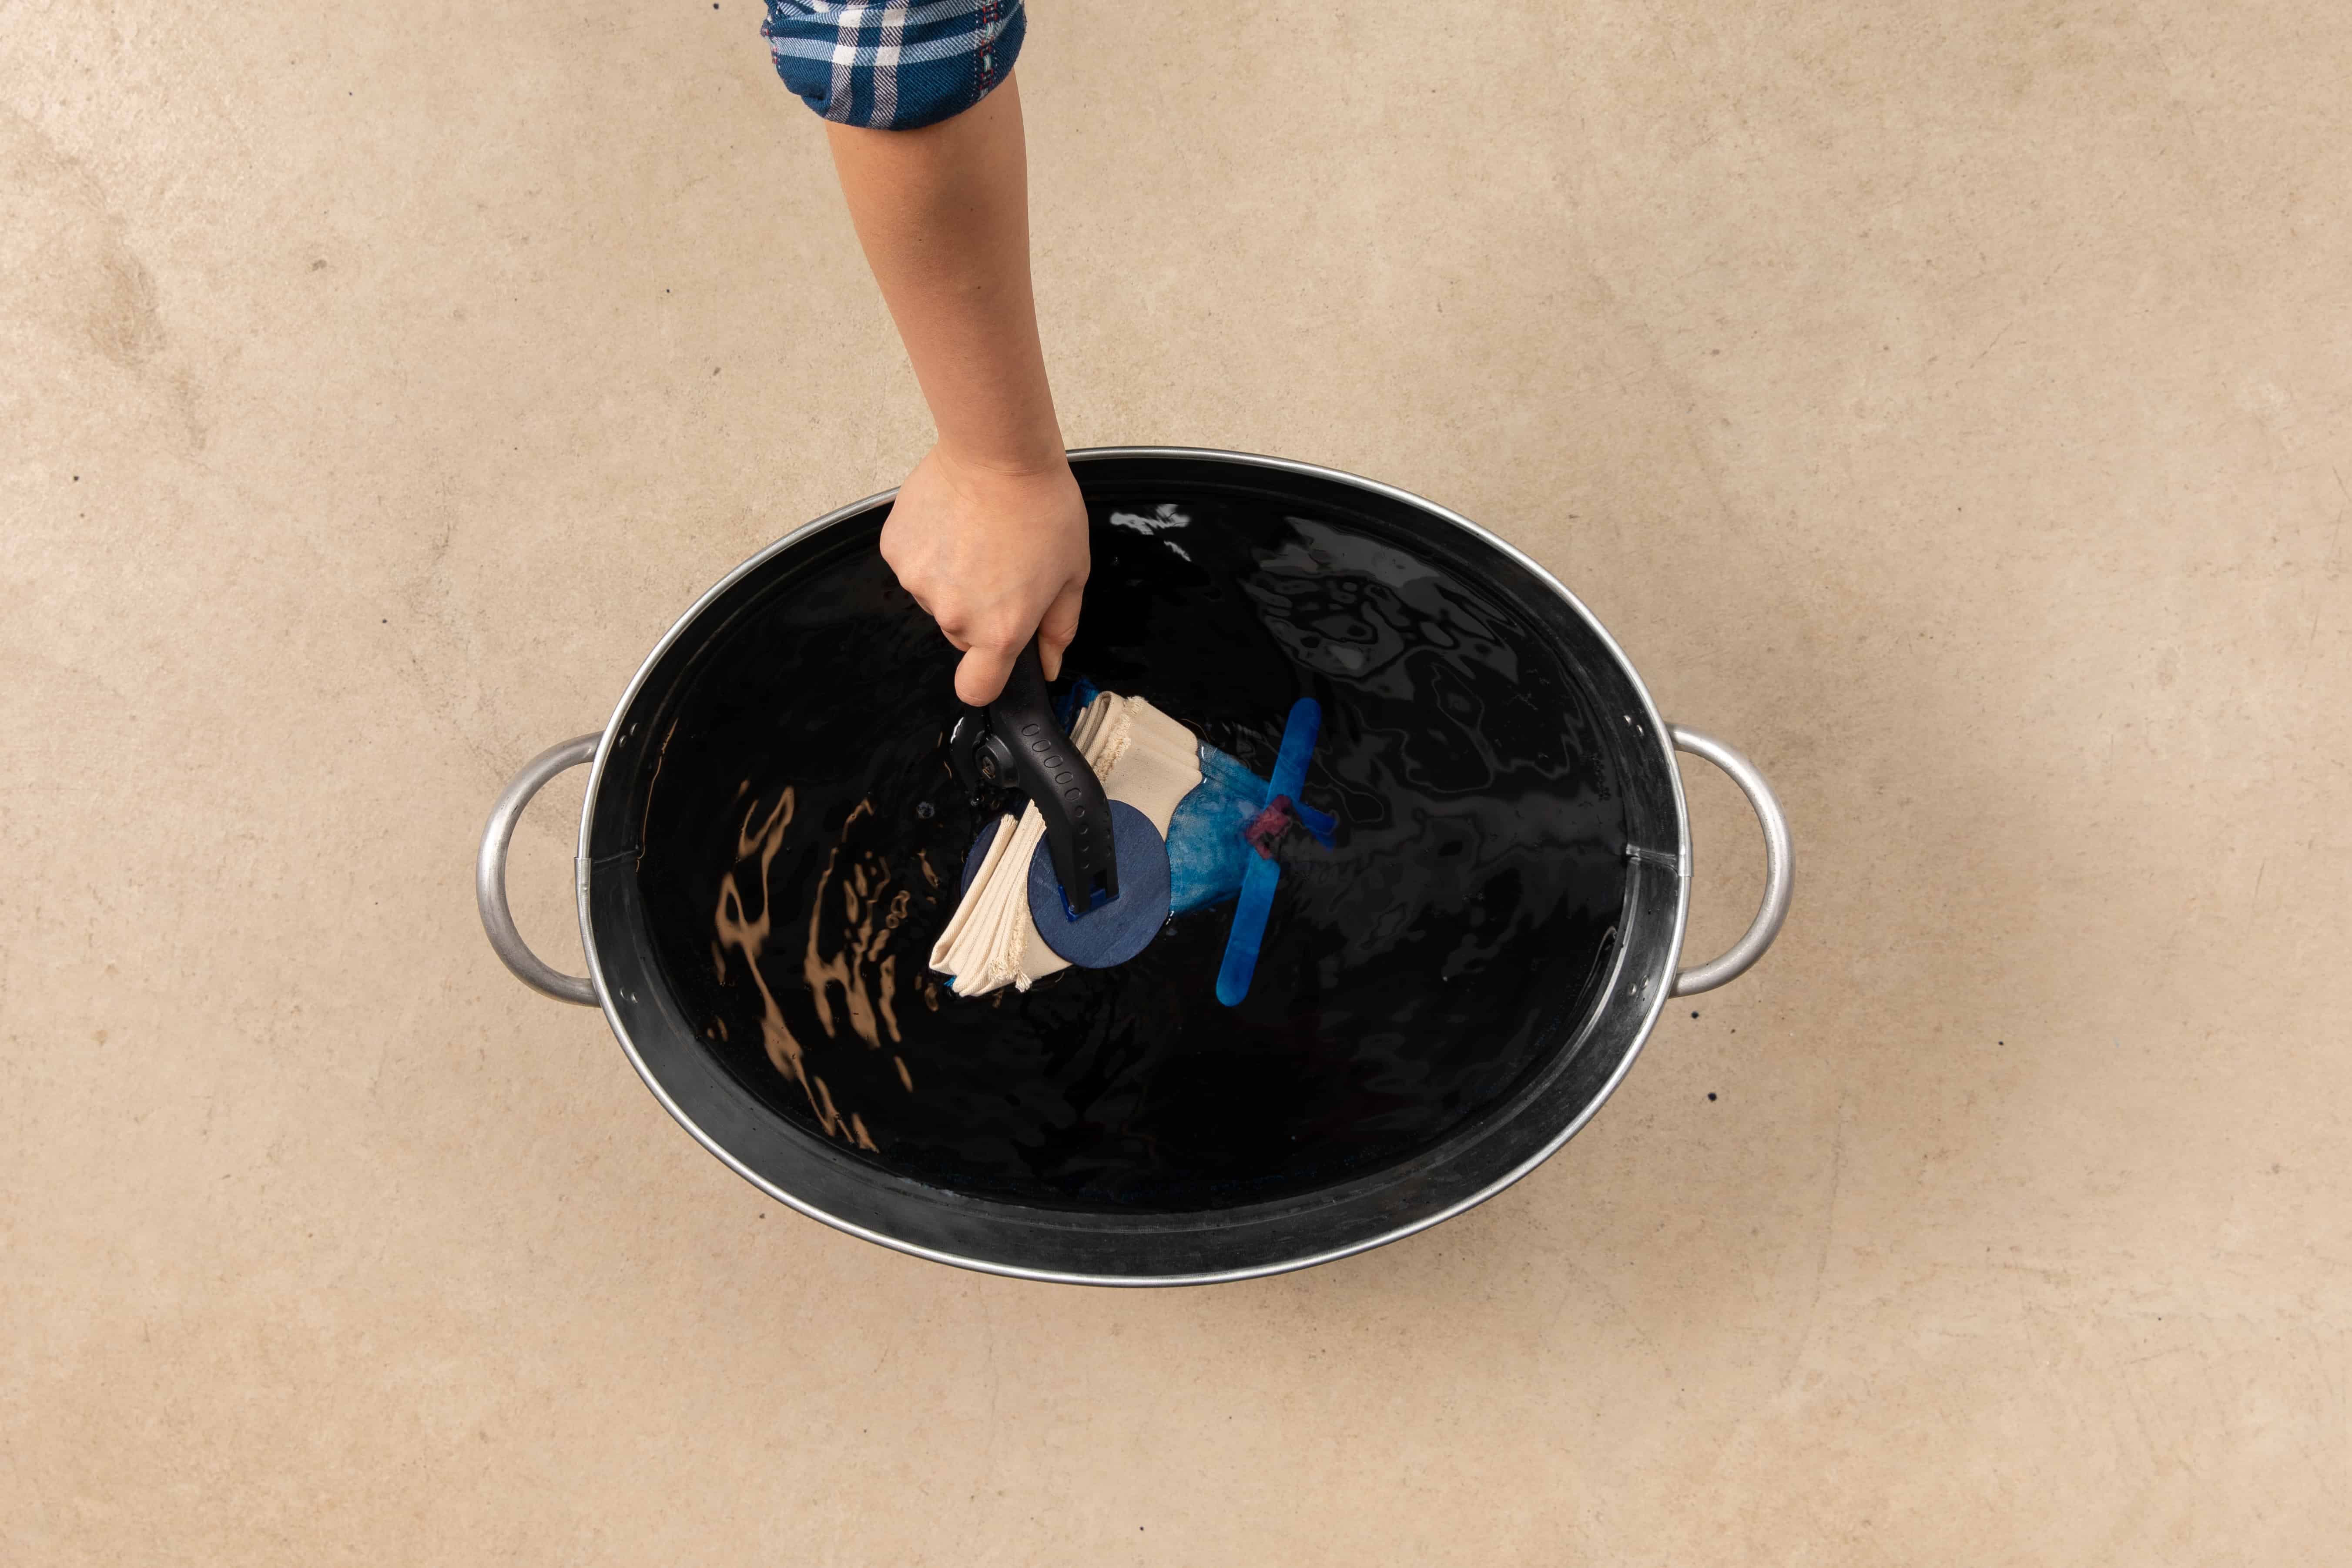
- When desired color is achieved, remove wrapped fabric from the dyebath. Do not remove wood blocks or zip ties.
- We strongly recommend using Rit ColorStay Dye Fixative immediately after dyeing and before washing, following package instructions. It enhances the color, increases color retention and prevents dye from bleeding into white areas.
- Rinse in cool water until water begins to run clear. Carefully remove wood blocks and zip ties.
- Unfold dyed canvas and hang to dry completely. When dry, iron out any wrinkles for a smooth surface.
- Using wood adhesive, assemble the stretcher bars and let dry.

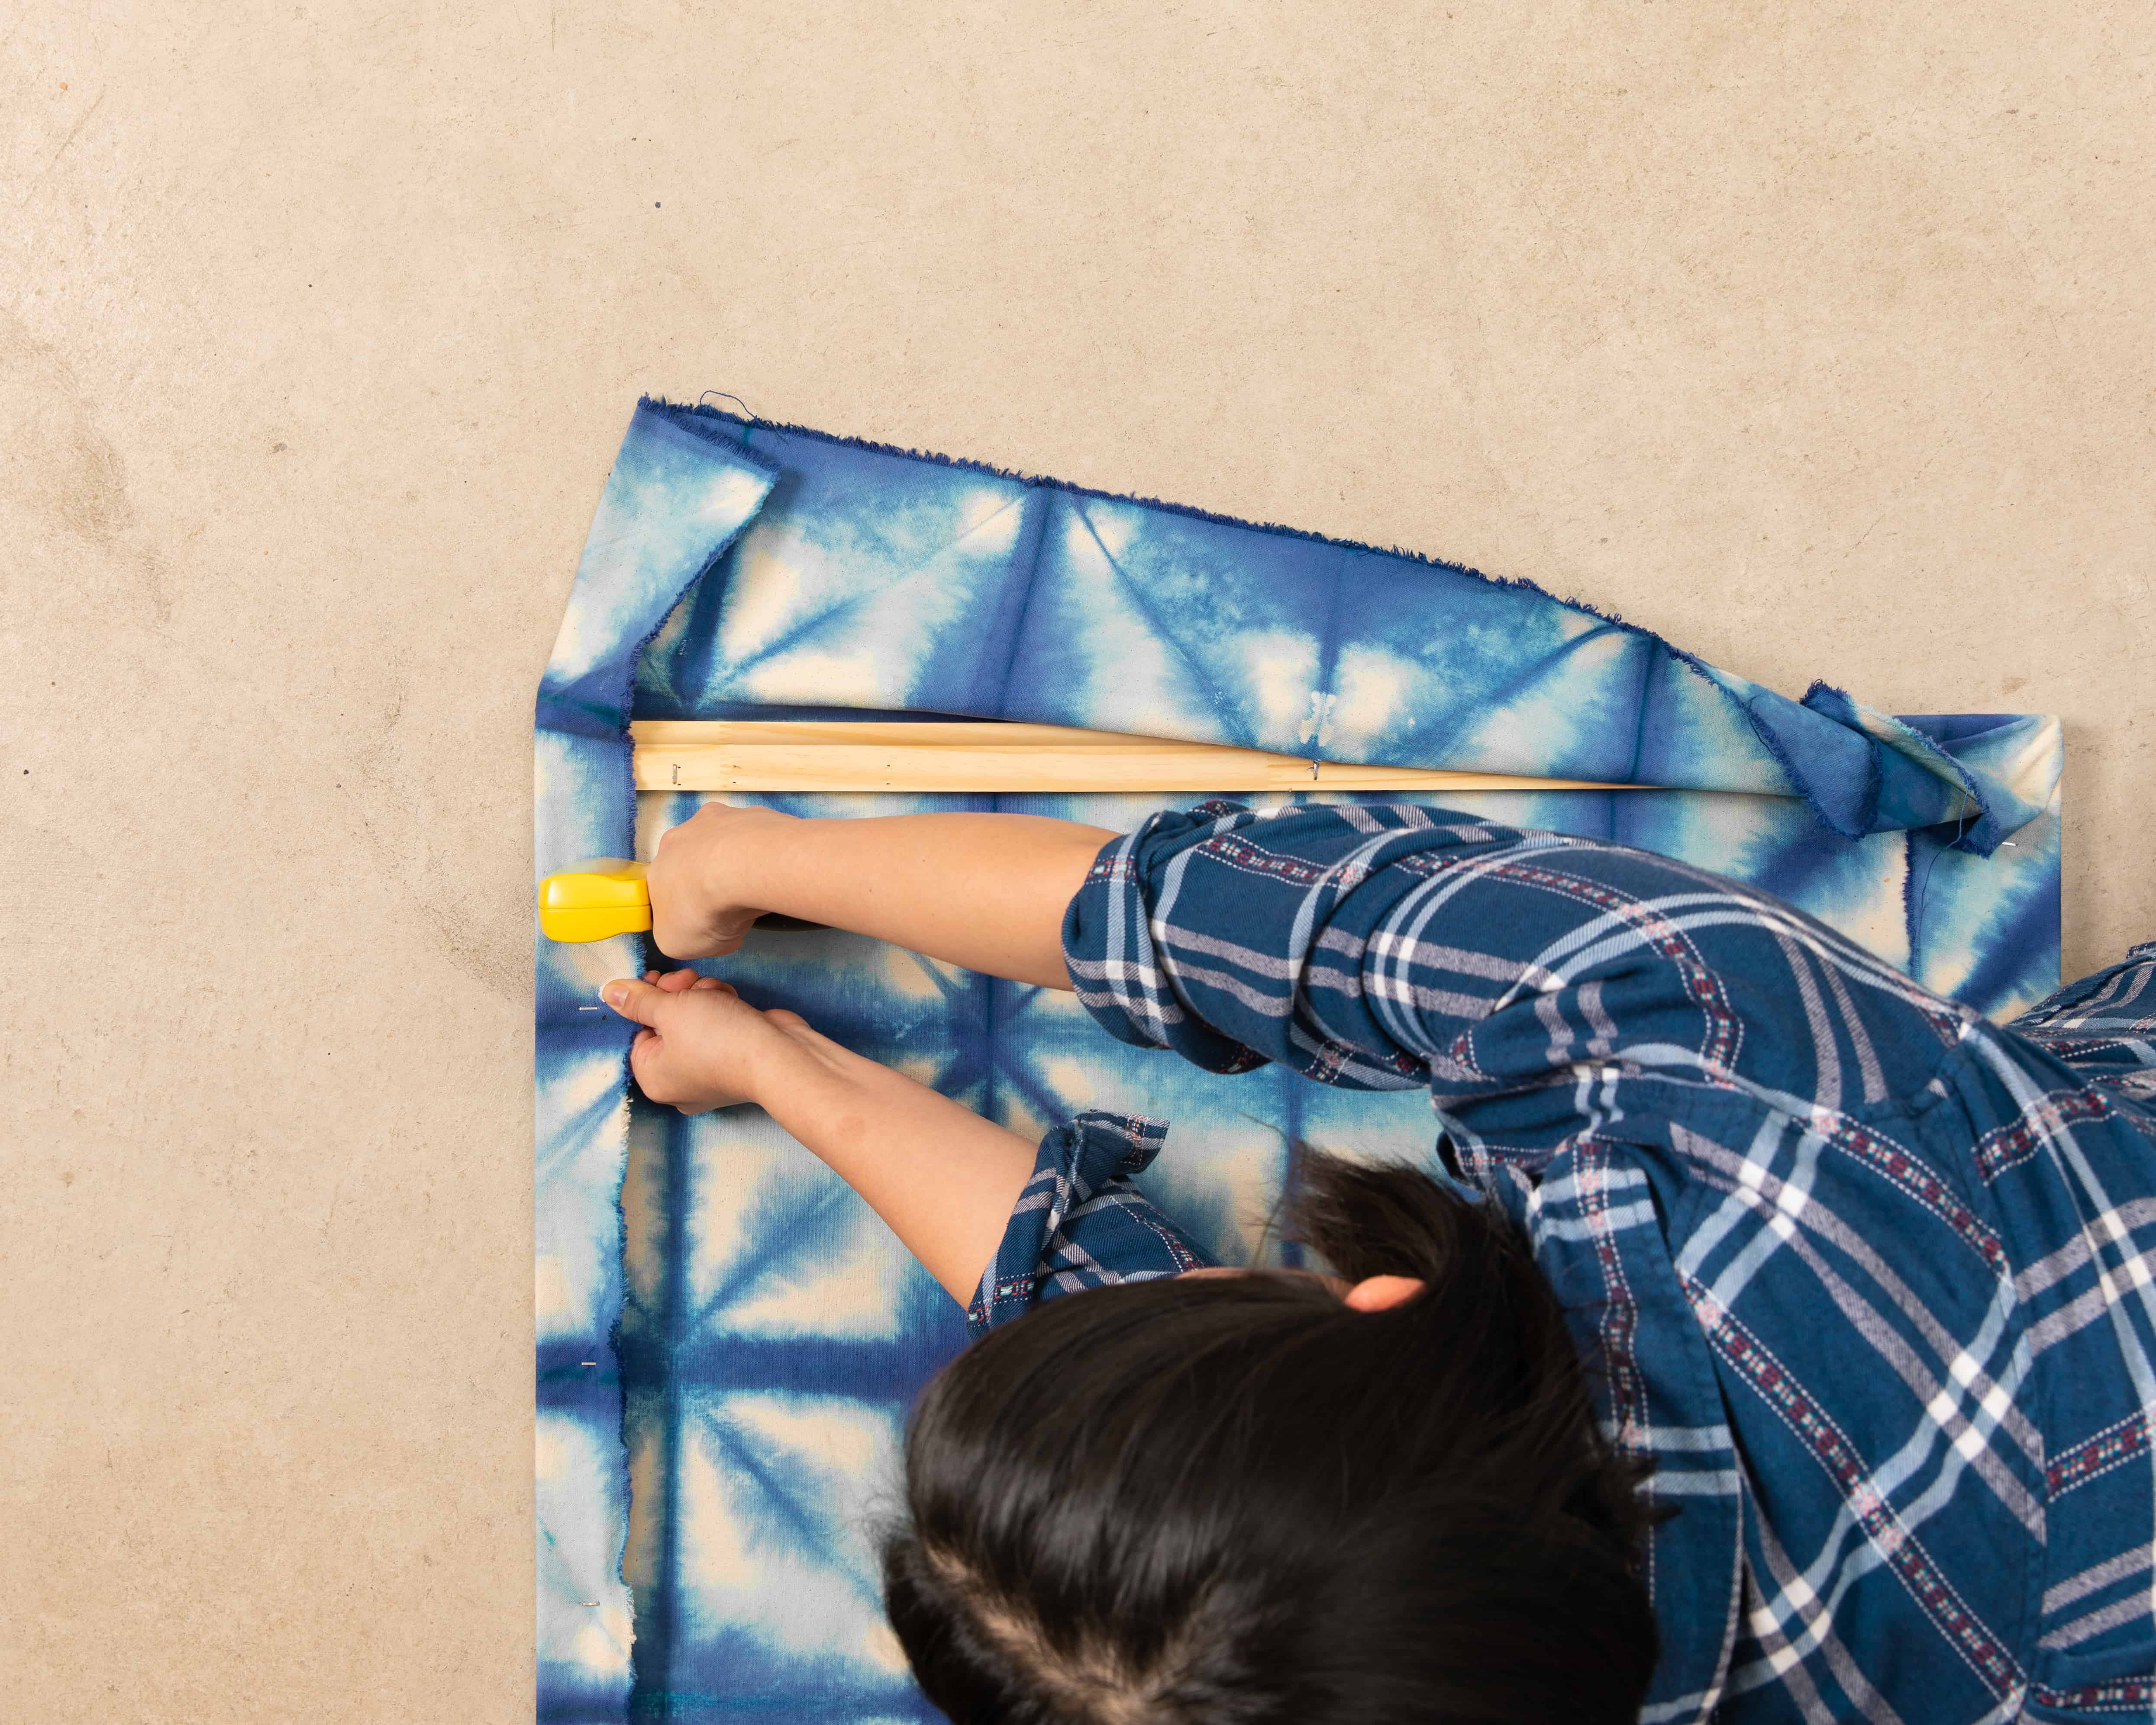
- Lay stretcher on top of the dyed canvas, make sure the front of the dyed canvas is facing down and the backside is facing up. Stretch canvas over the top bar and secure with one staple in the center. Stretch canvas over the bottom bar and secure with one staple in the center. Repeat on left and right side of frame. When satisfied with placement, continue to stretch and staple the canvas onto the frame. When you reach the corner, fold fabric around the corner and stretch towards the inside of the frame. Secure with staple.
- Hang to display!


Posts You May Like
