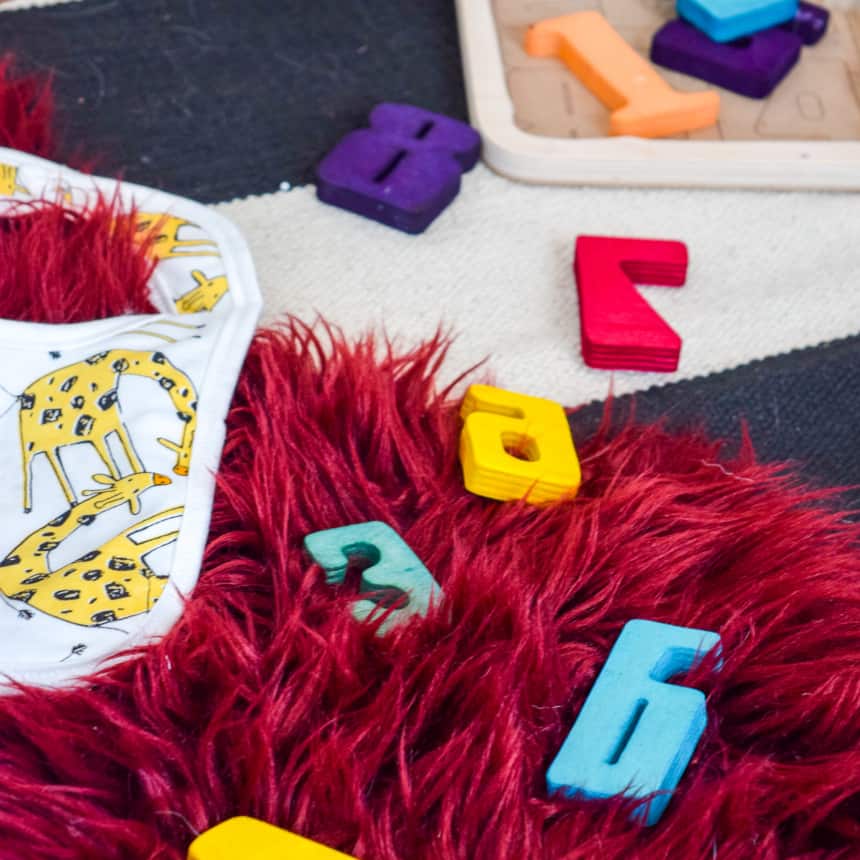
Dyed Wood Baby Toys
Our friend Ariel, the blogger behind PMQ for Two, is expecting her first baby this summer. In preparation of her baby’s arrival, she has started decorating the room and stocking up on baby essentials and toys. Ariel and her husband love the idea of wood toys and used Rit to make them vibrant and colorful. Learn how she dyed them below!
Supplies
- Unsealed Toy Wood Blocks
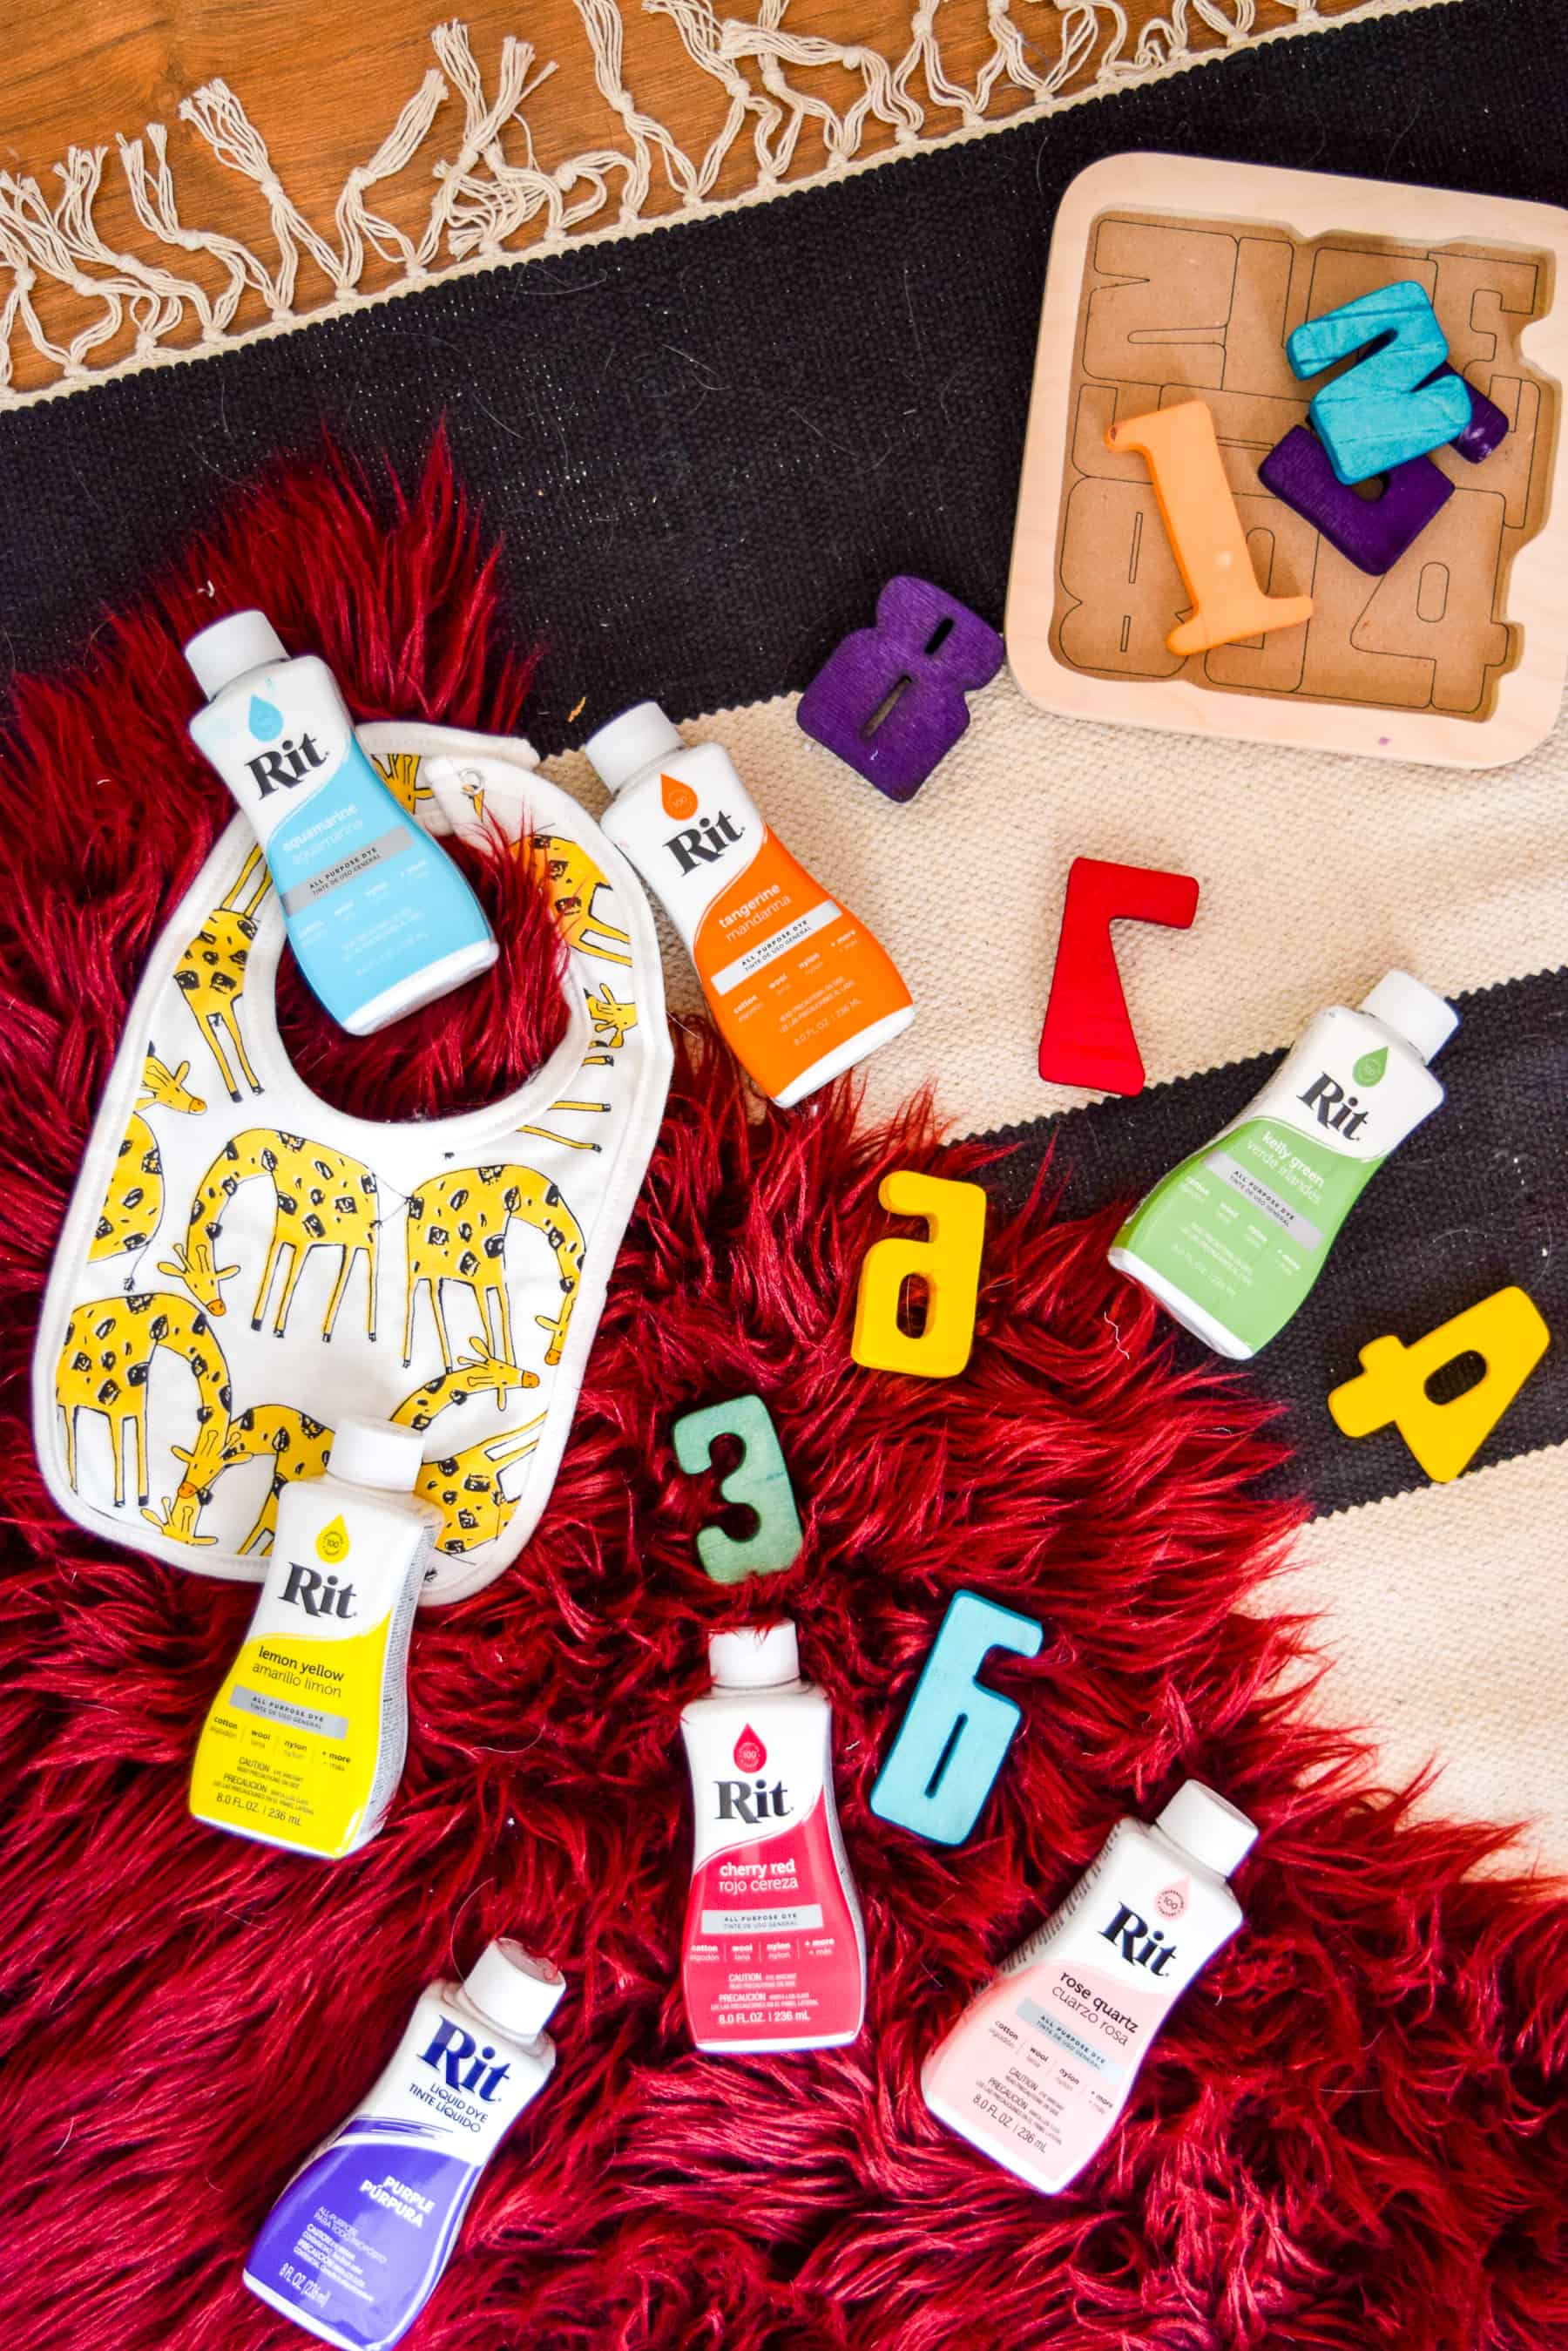
- All-Purpose Liquid Dye: Purple, Kelly Green, Aquamarine, Lemon Yellow, Tangerine, Rose Quartz & Cherry Red Used Here
- Glass Bowls
- Metal Spoon
- Paper Towels
- Plastic Table Cover
- Rubber Gloves
Time
1 Hour Total: {{ partial.tP8K.total }}
Difficulty
Beginner Total: {{ partial.tJD6.total }}
Instructions
- Cover work area with plastic table cover and have paper towels handy to protect against any possible spills. Gather supplies.
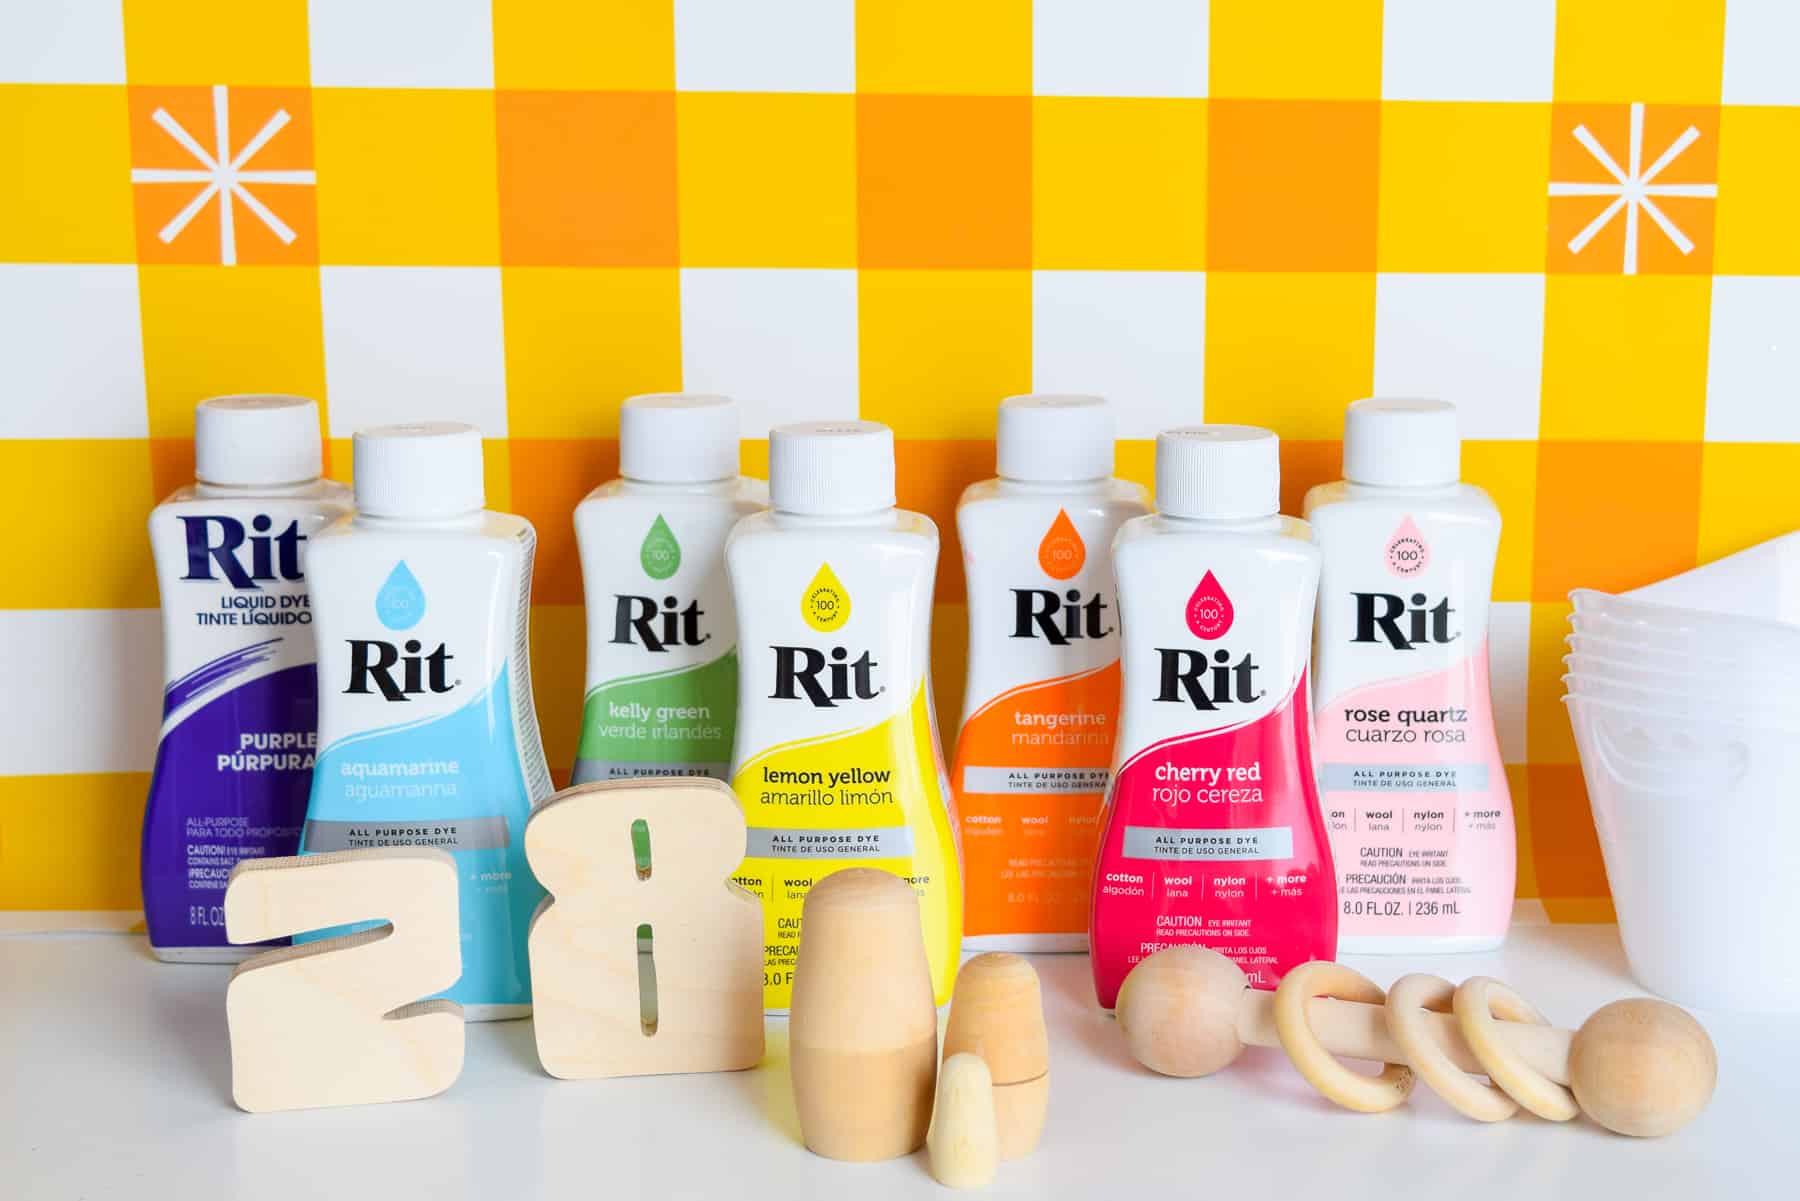
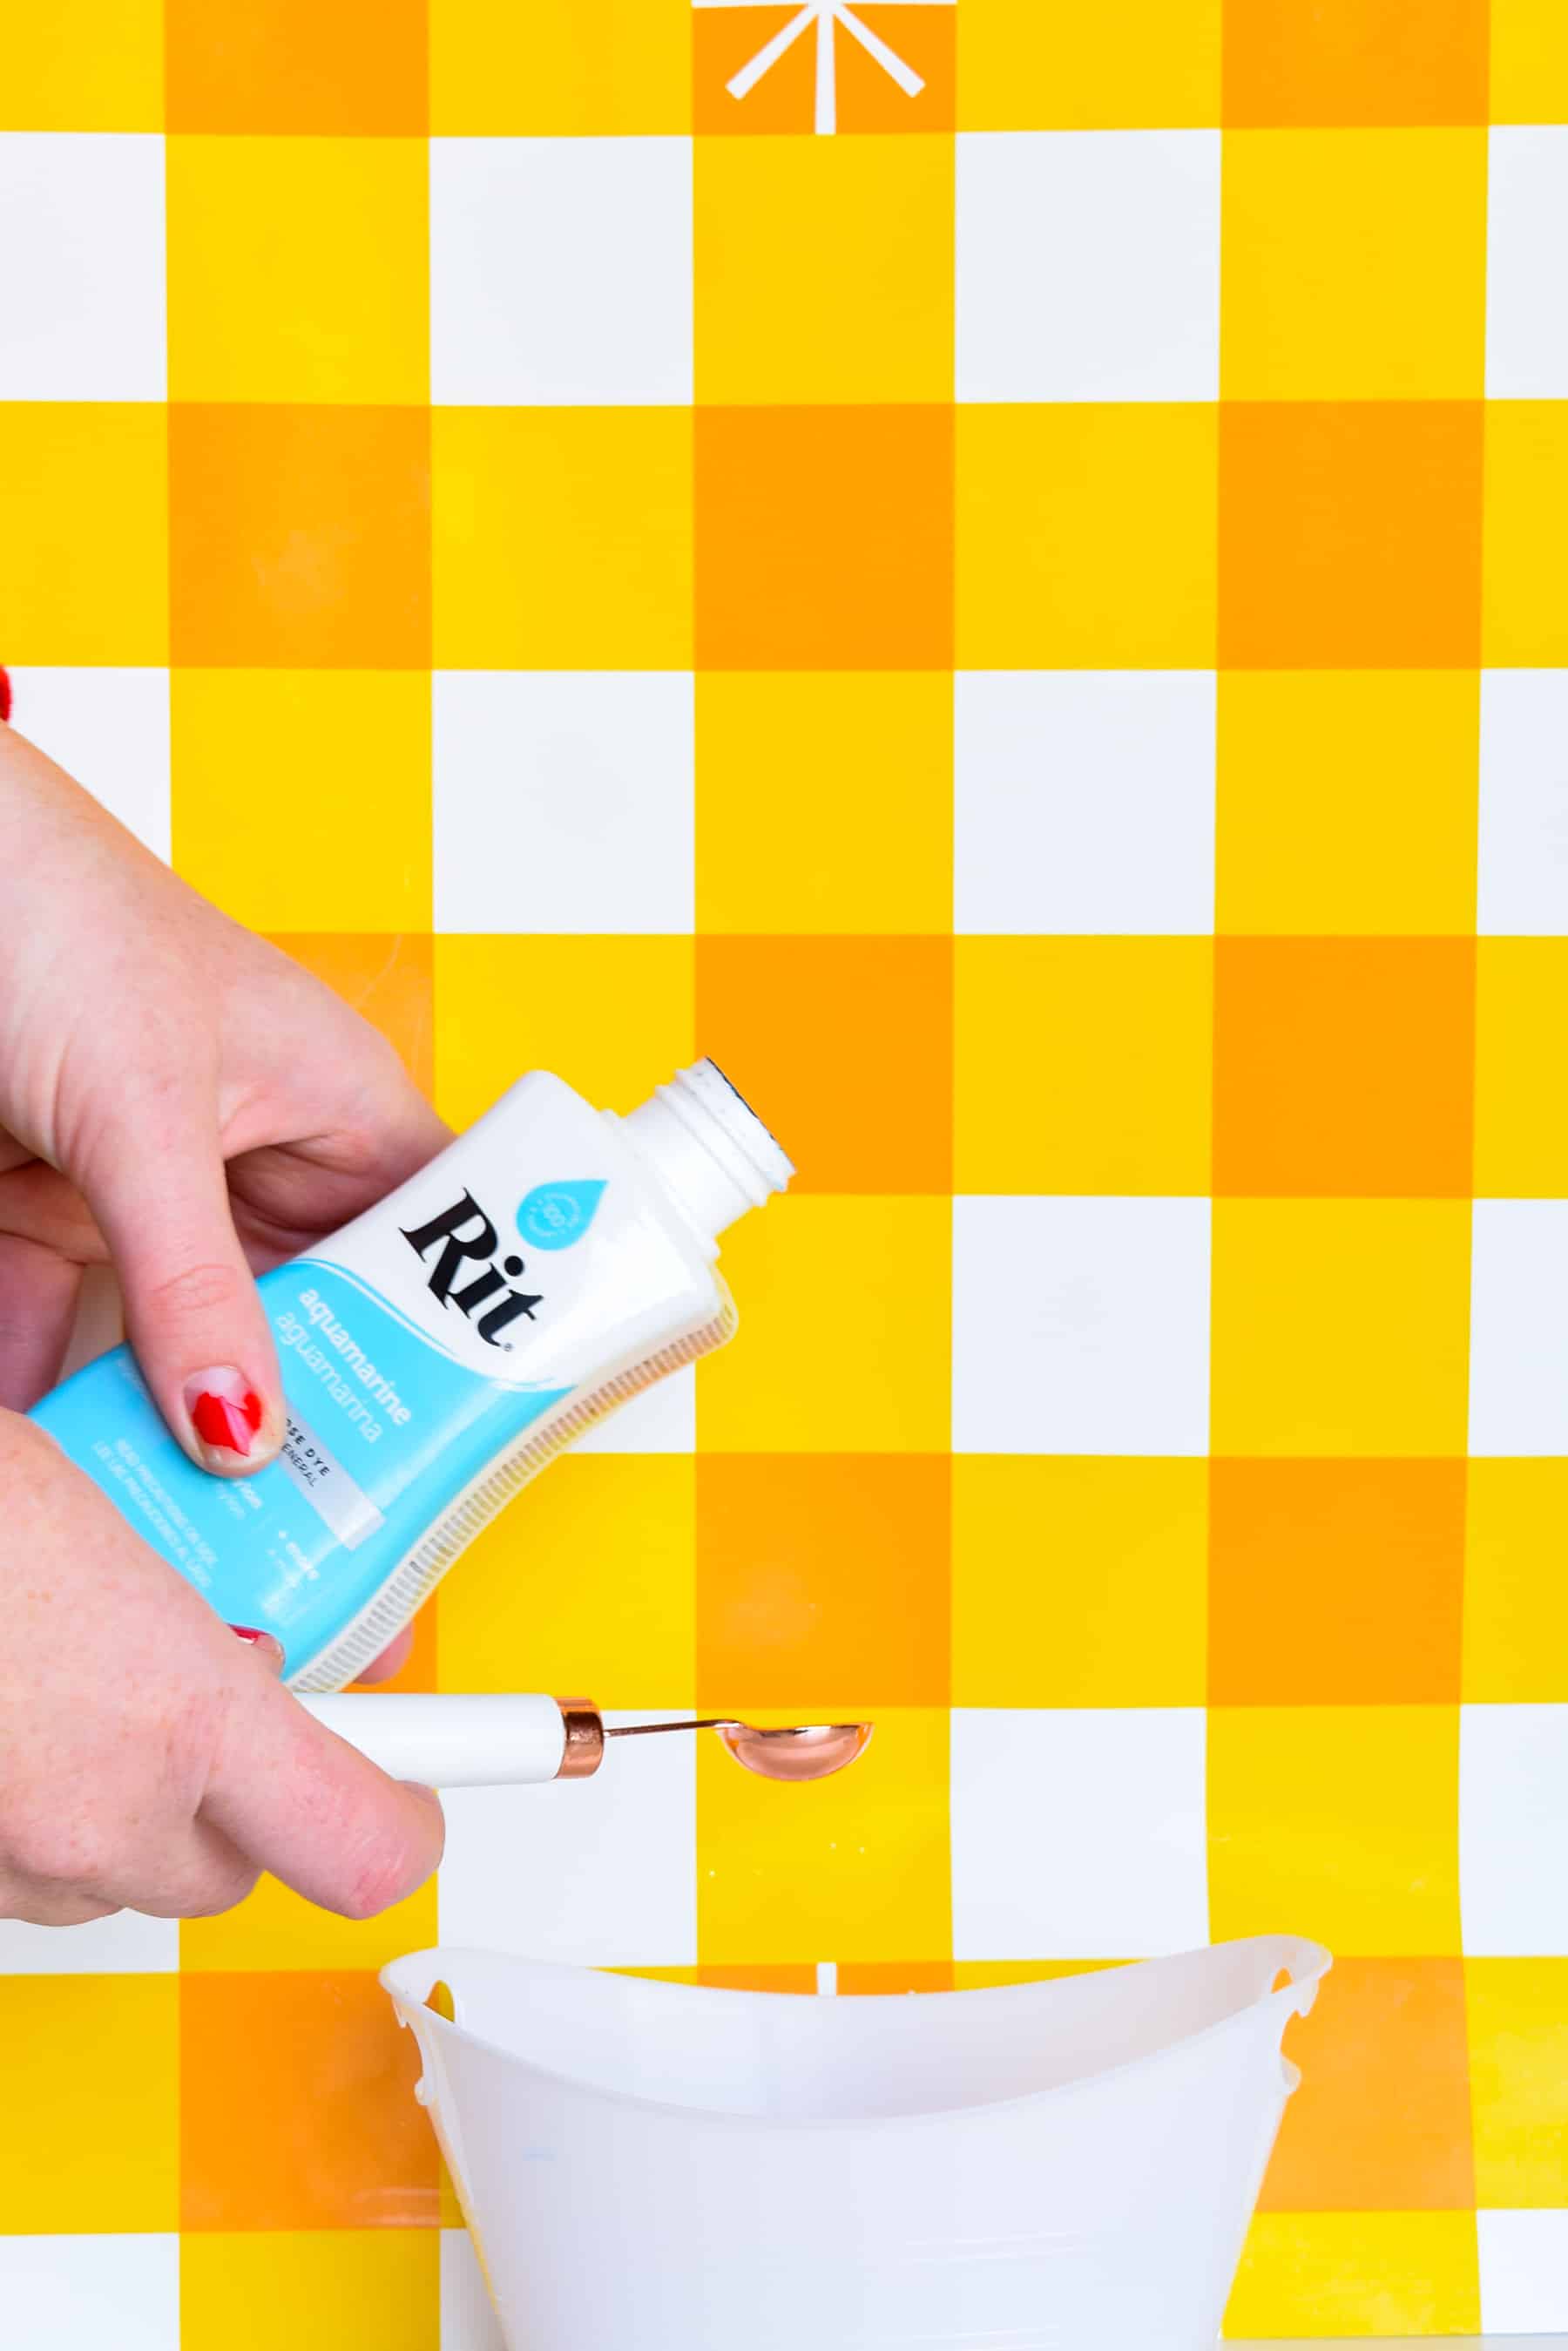
- Fill up a glass or plastic bowl with the hottest tap water and mix in dye. For this project, the following colors were used: Purple, Kelly Green, Aquamarine, Lemon Yellow, Tangerine, Rose Quartz and Cherry Red. For every 1/2 cup of hot water, we mixed in 4 teaspoons of dye. Play around with the dye to water ratio to determine your desired color. Stir well.
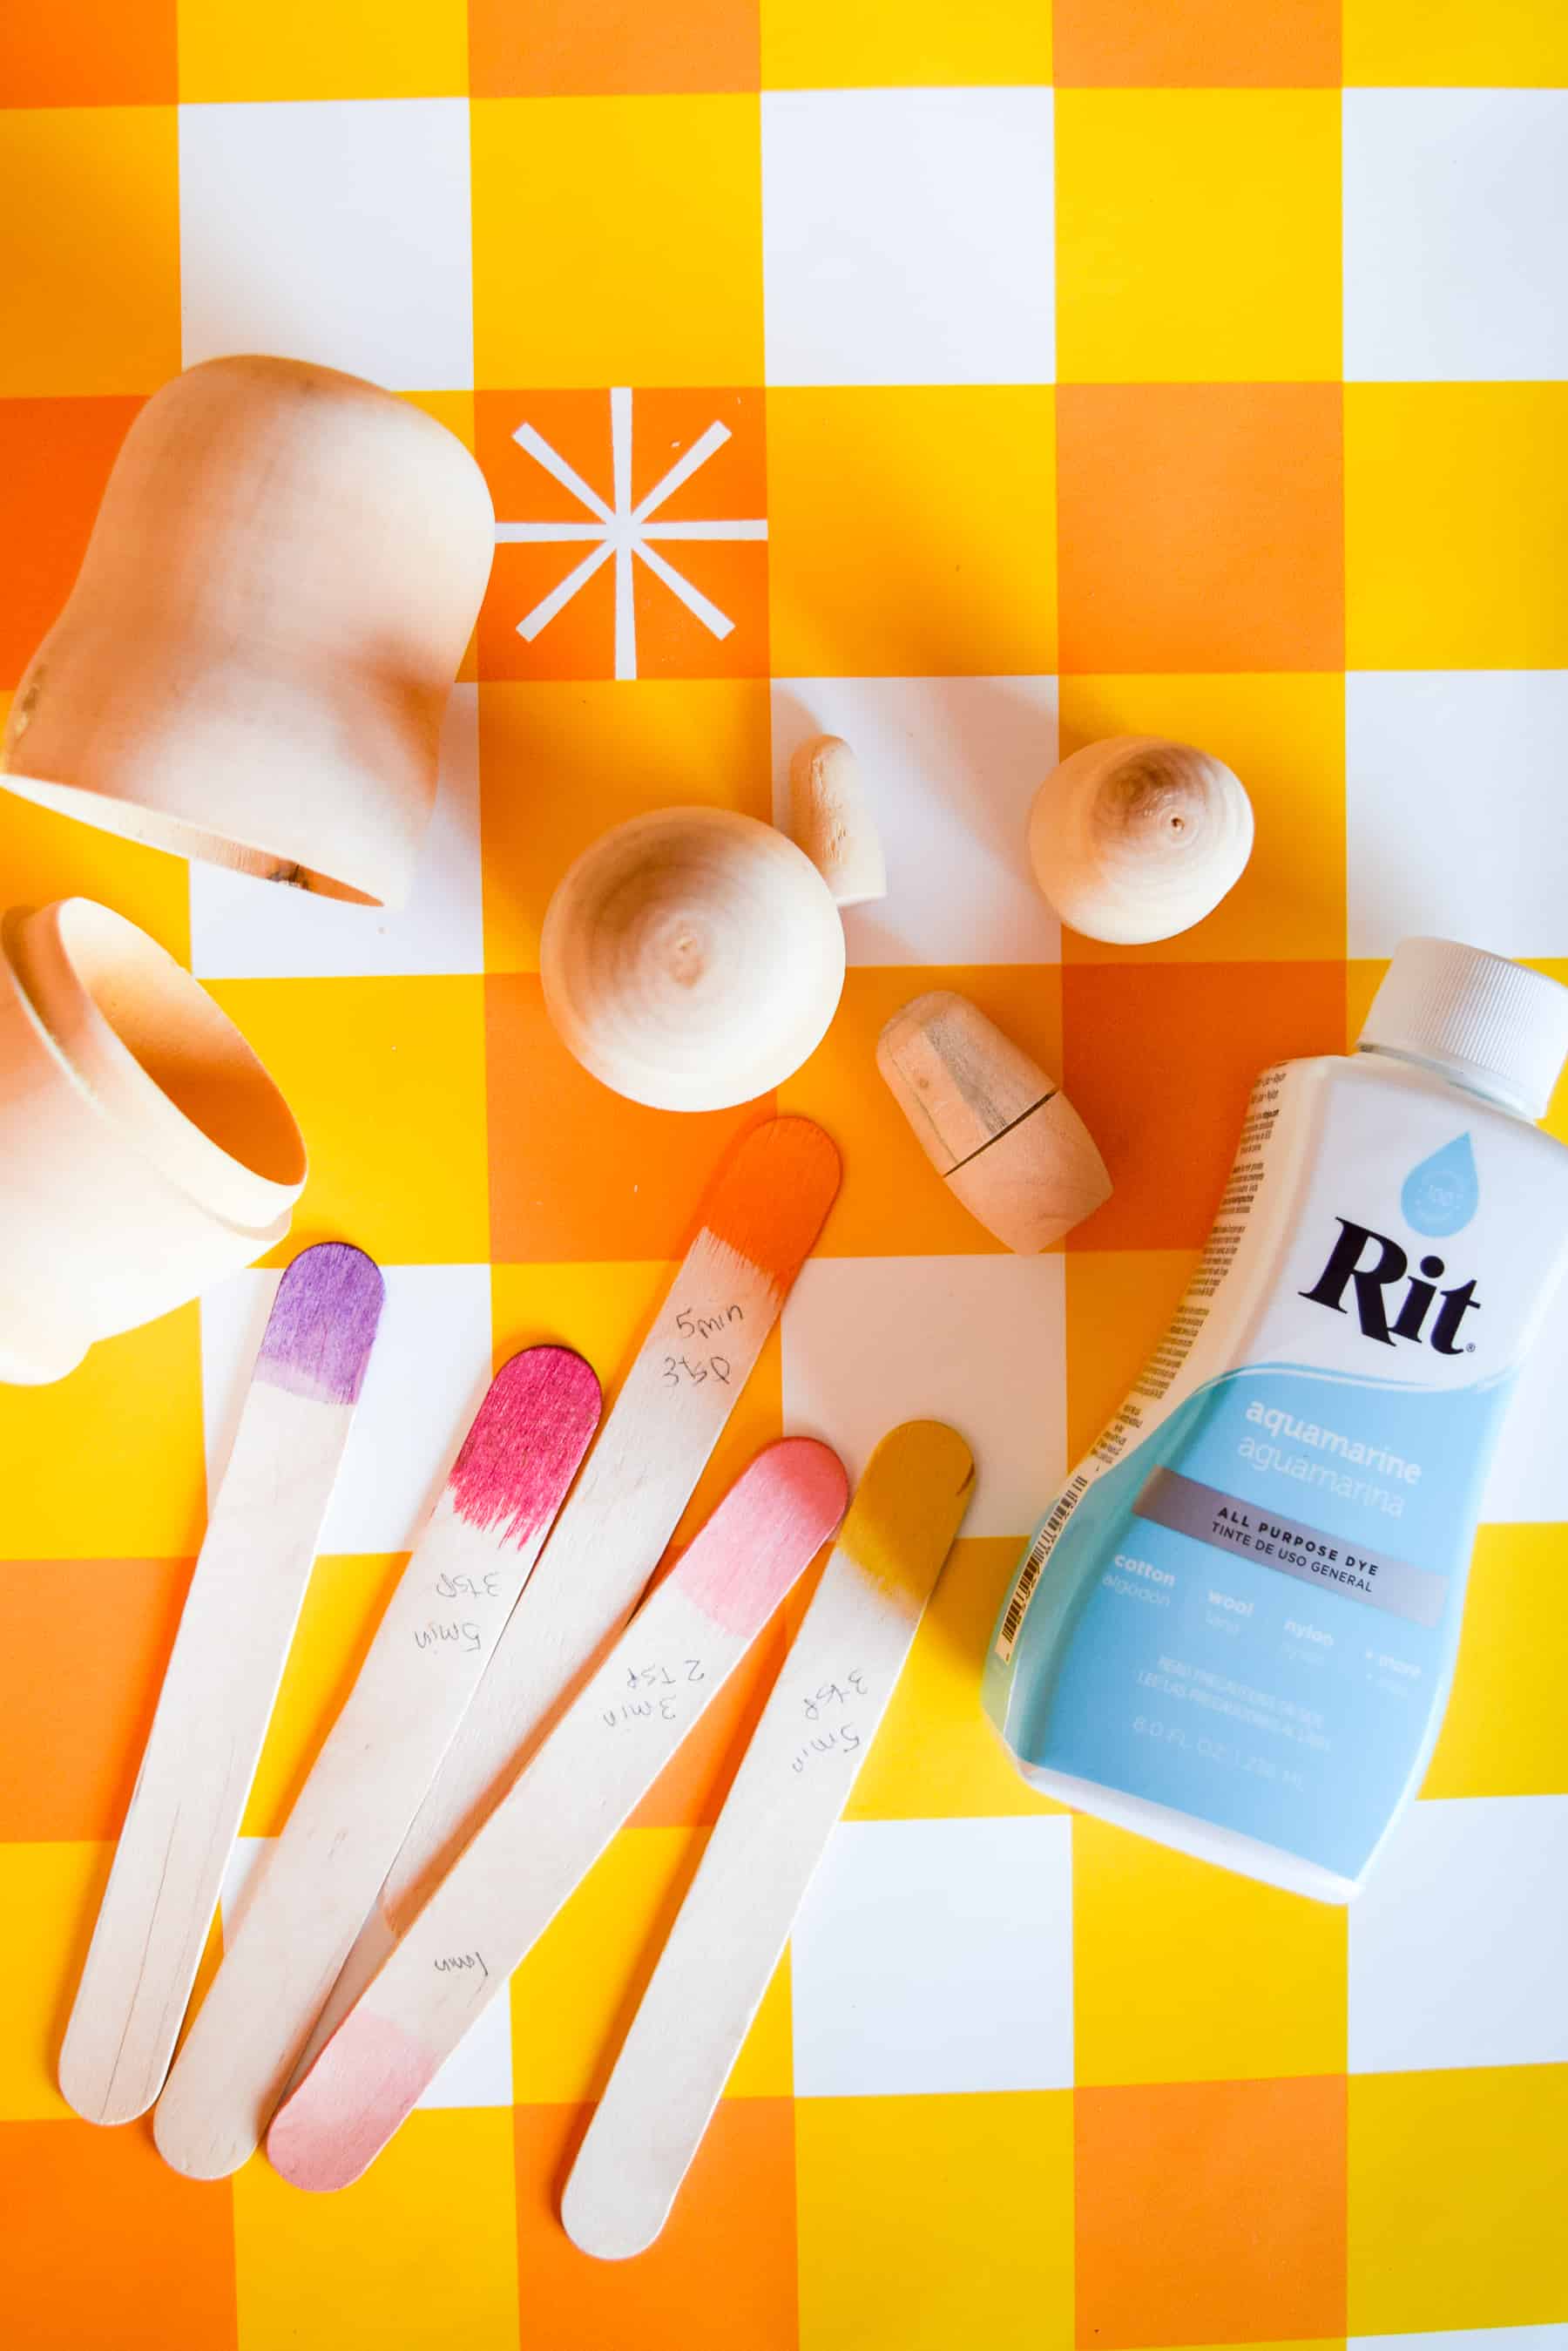
- Use a few pieces of scrap wood or popsicle sticks to test the color. If you want the color lighter, add more water. If you want a darker color, add more dye.
- After you’ve found the perfect color, it’s time to dye the wood blocks. The less amount of time you have your wood in the dye, the lighter the color…and the longer you leave the wood in the dye, the darker the color. These wood blocks sat in their dye baths for 5 to 15 minutes. Half way through the dye process, the blocks were flipped over.
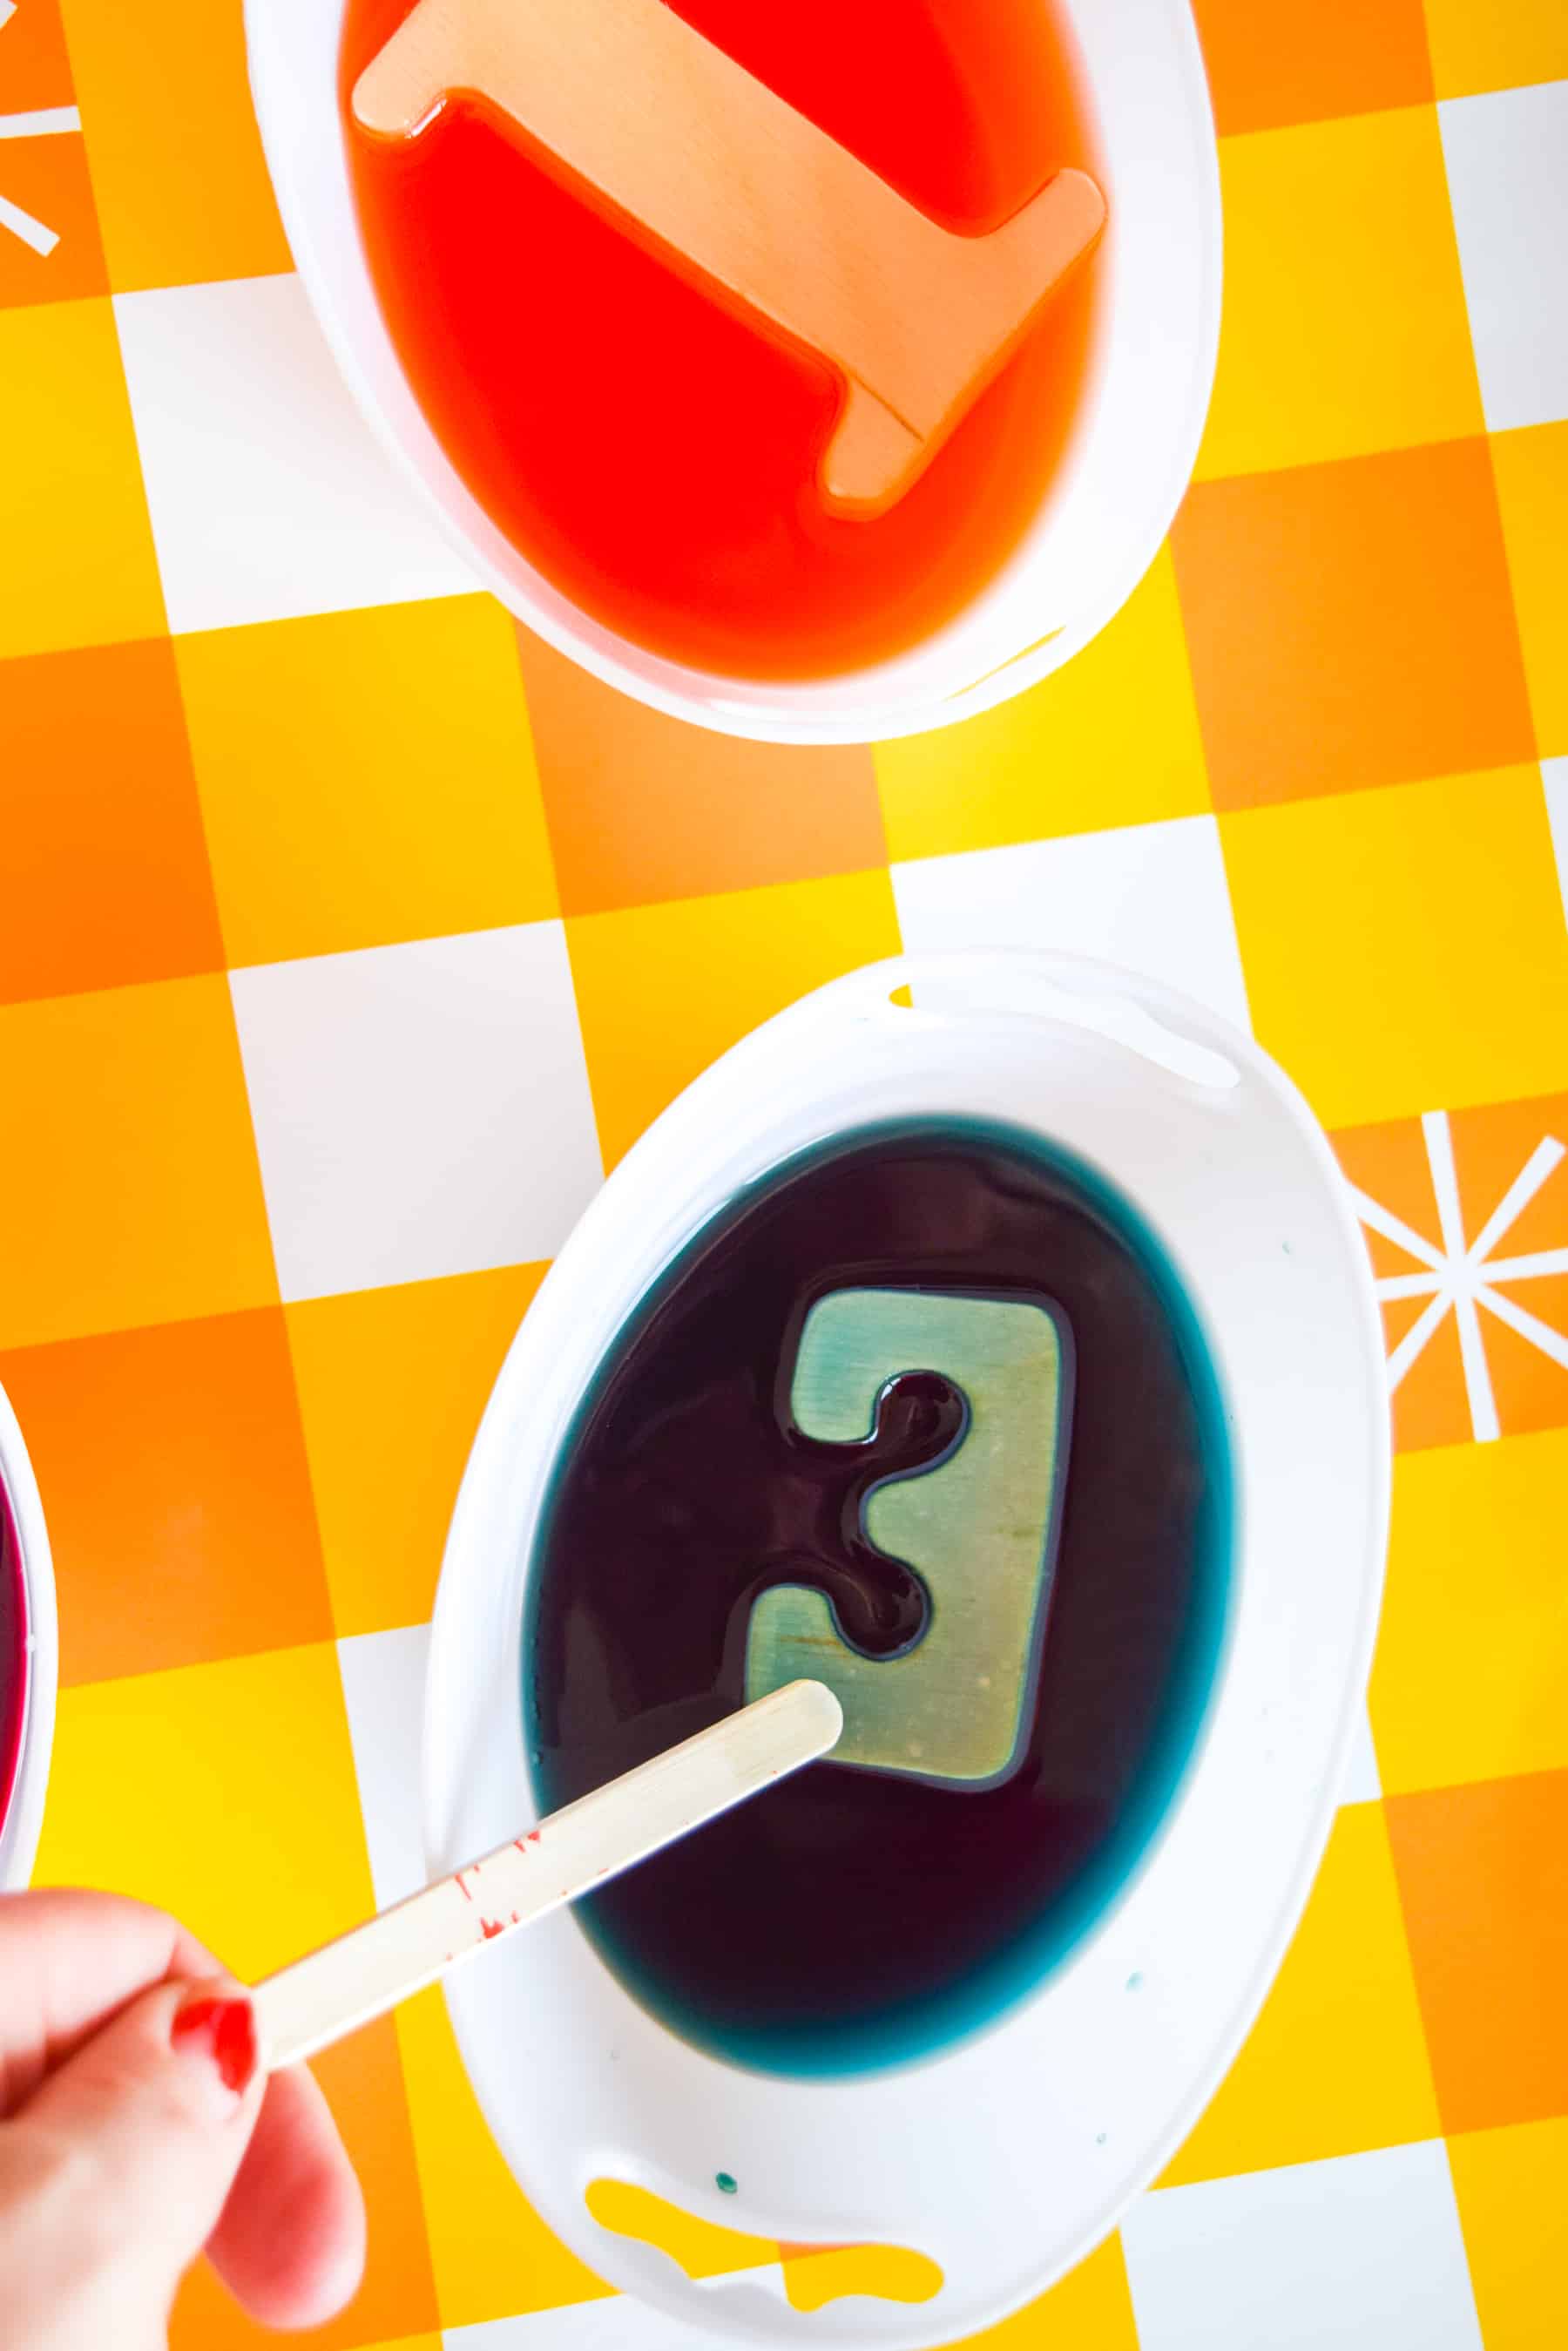
- Once the desired color is achieved, remove the wood blocks and place them on a cookie drying rack above a cookie sheet (to catch any excess) to dry.
- Optional: You can seal them once the color is set, using an oil or a food-safe wax like you would on a cutting board.
Posts You May Like
