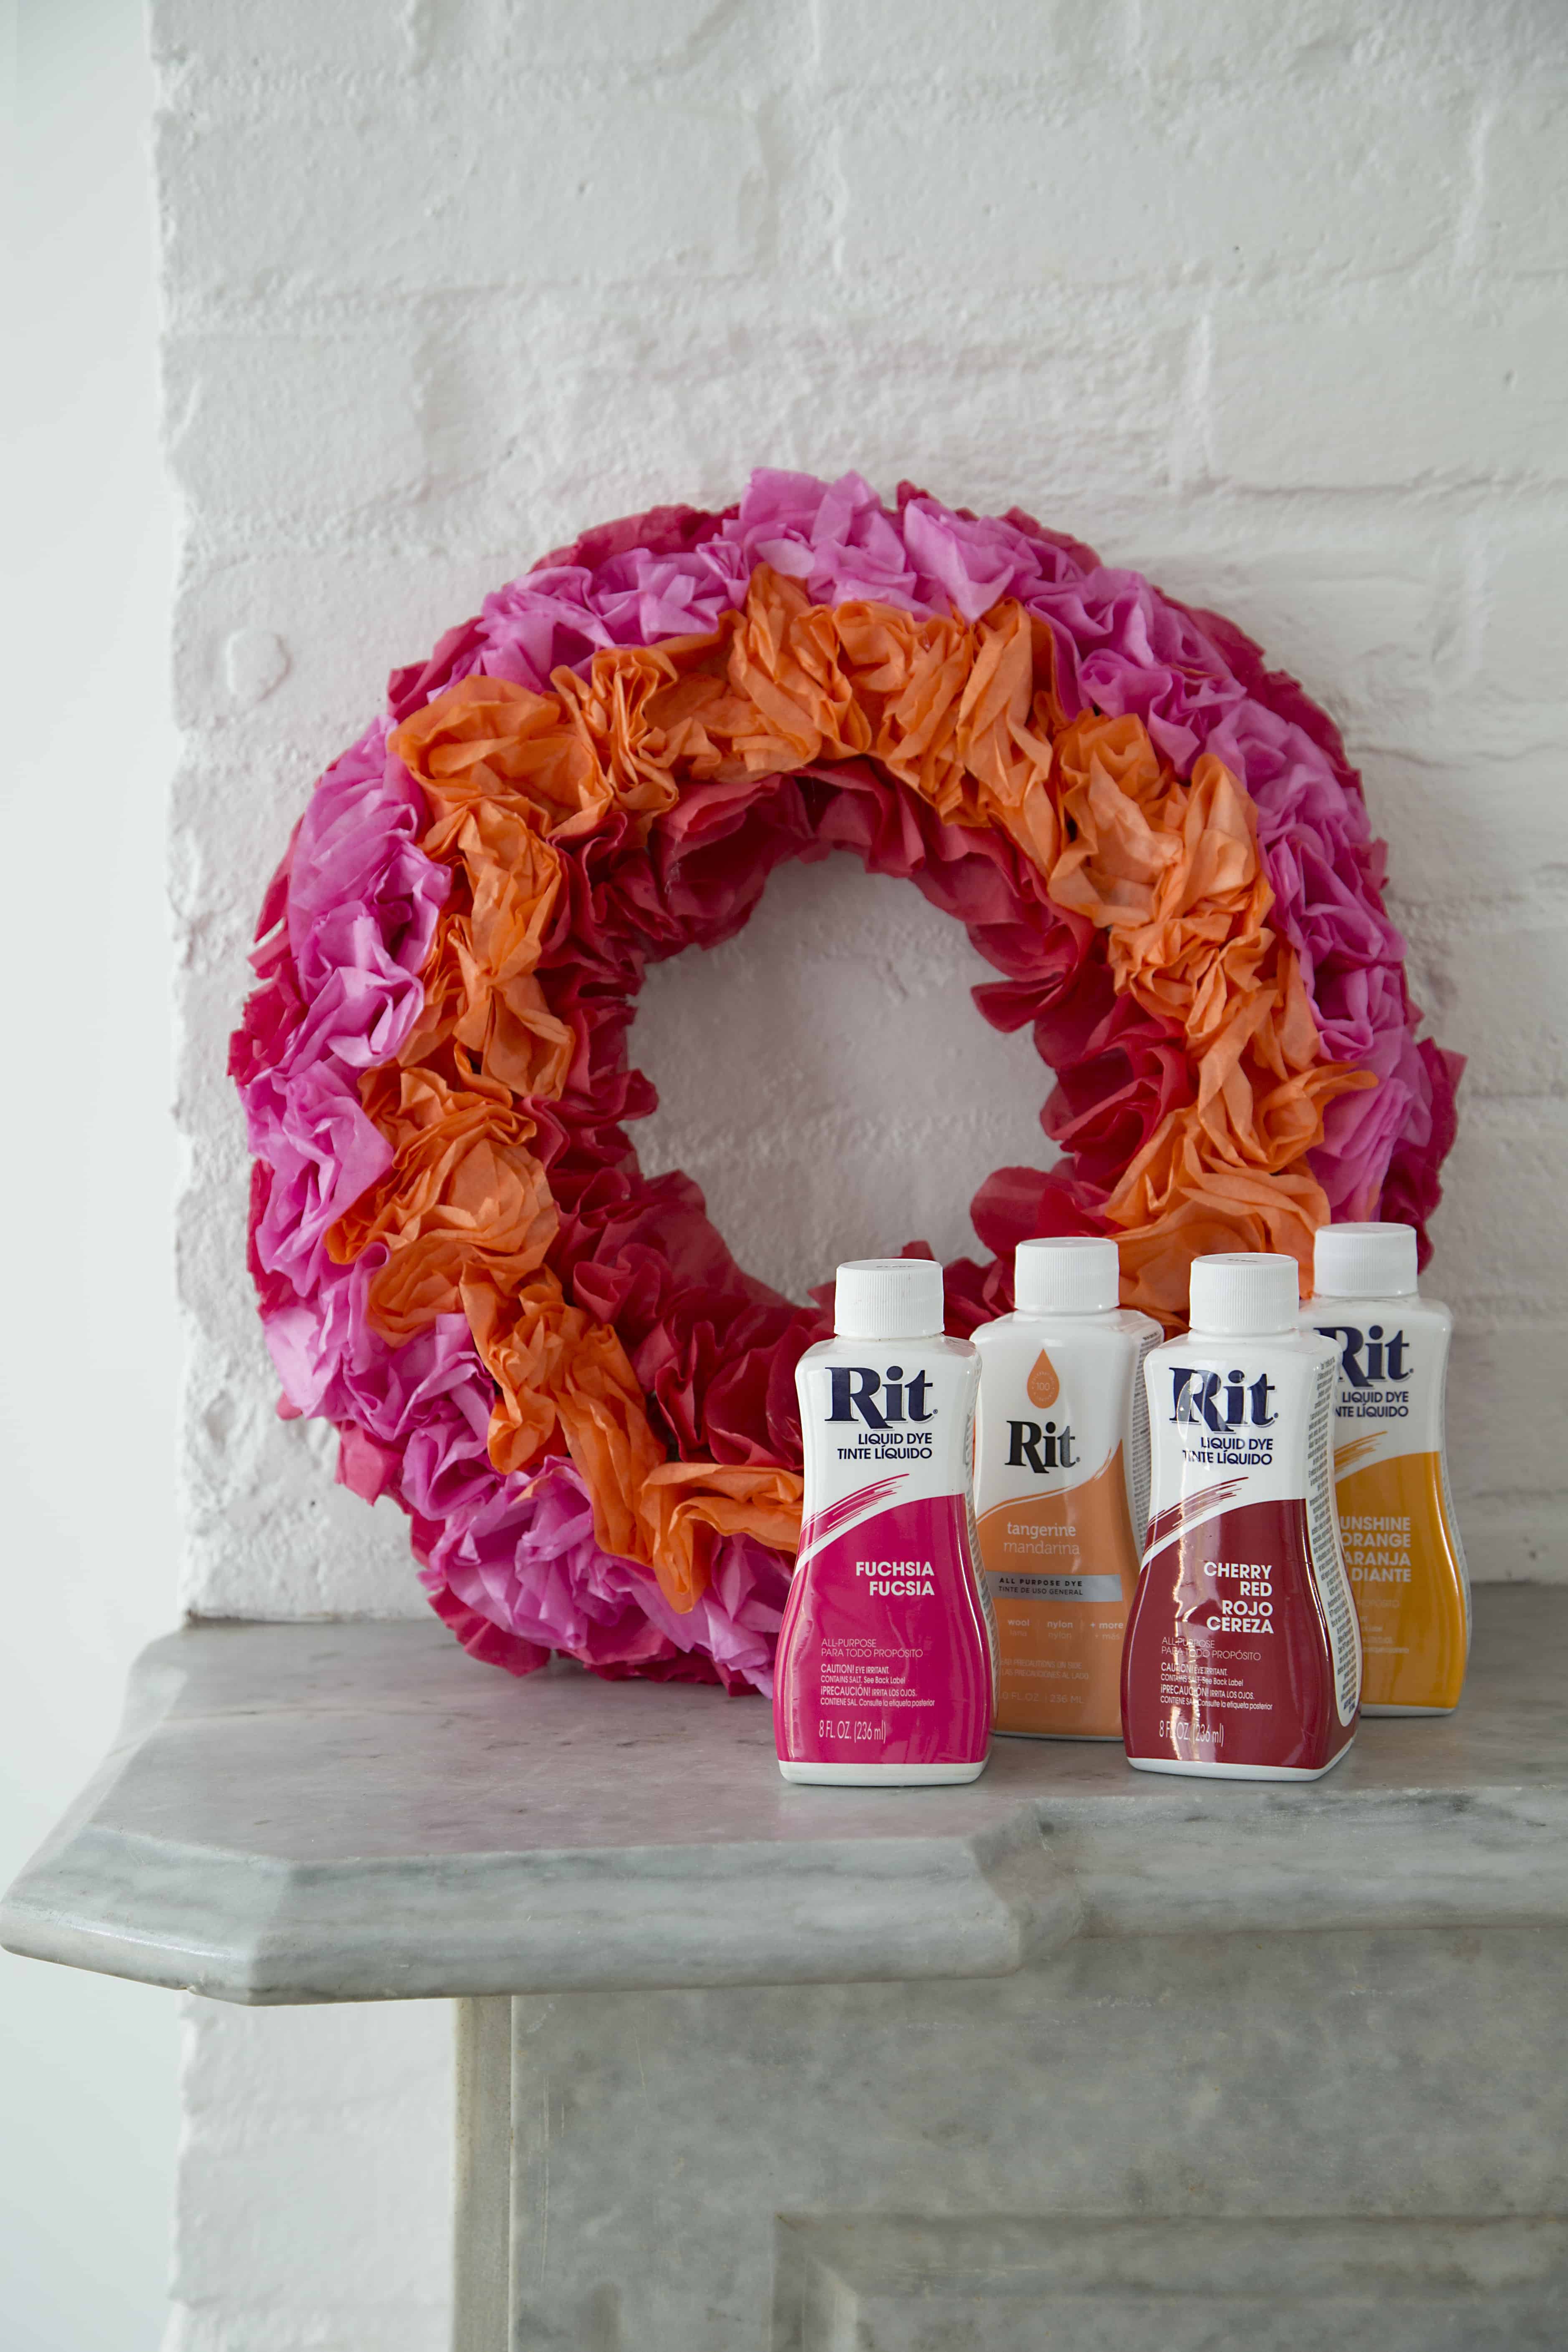
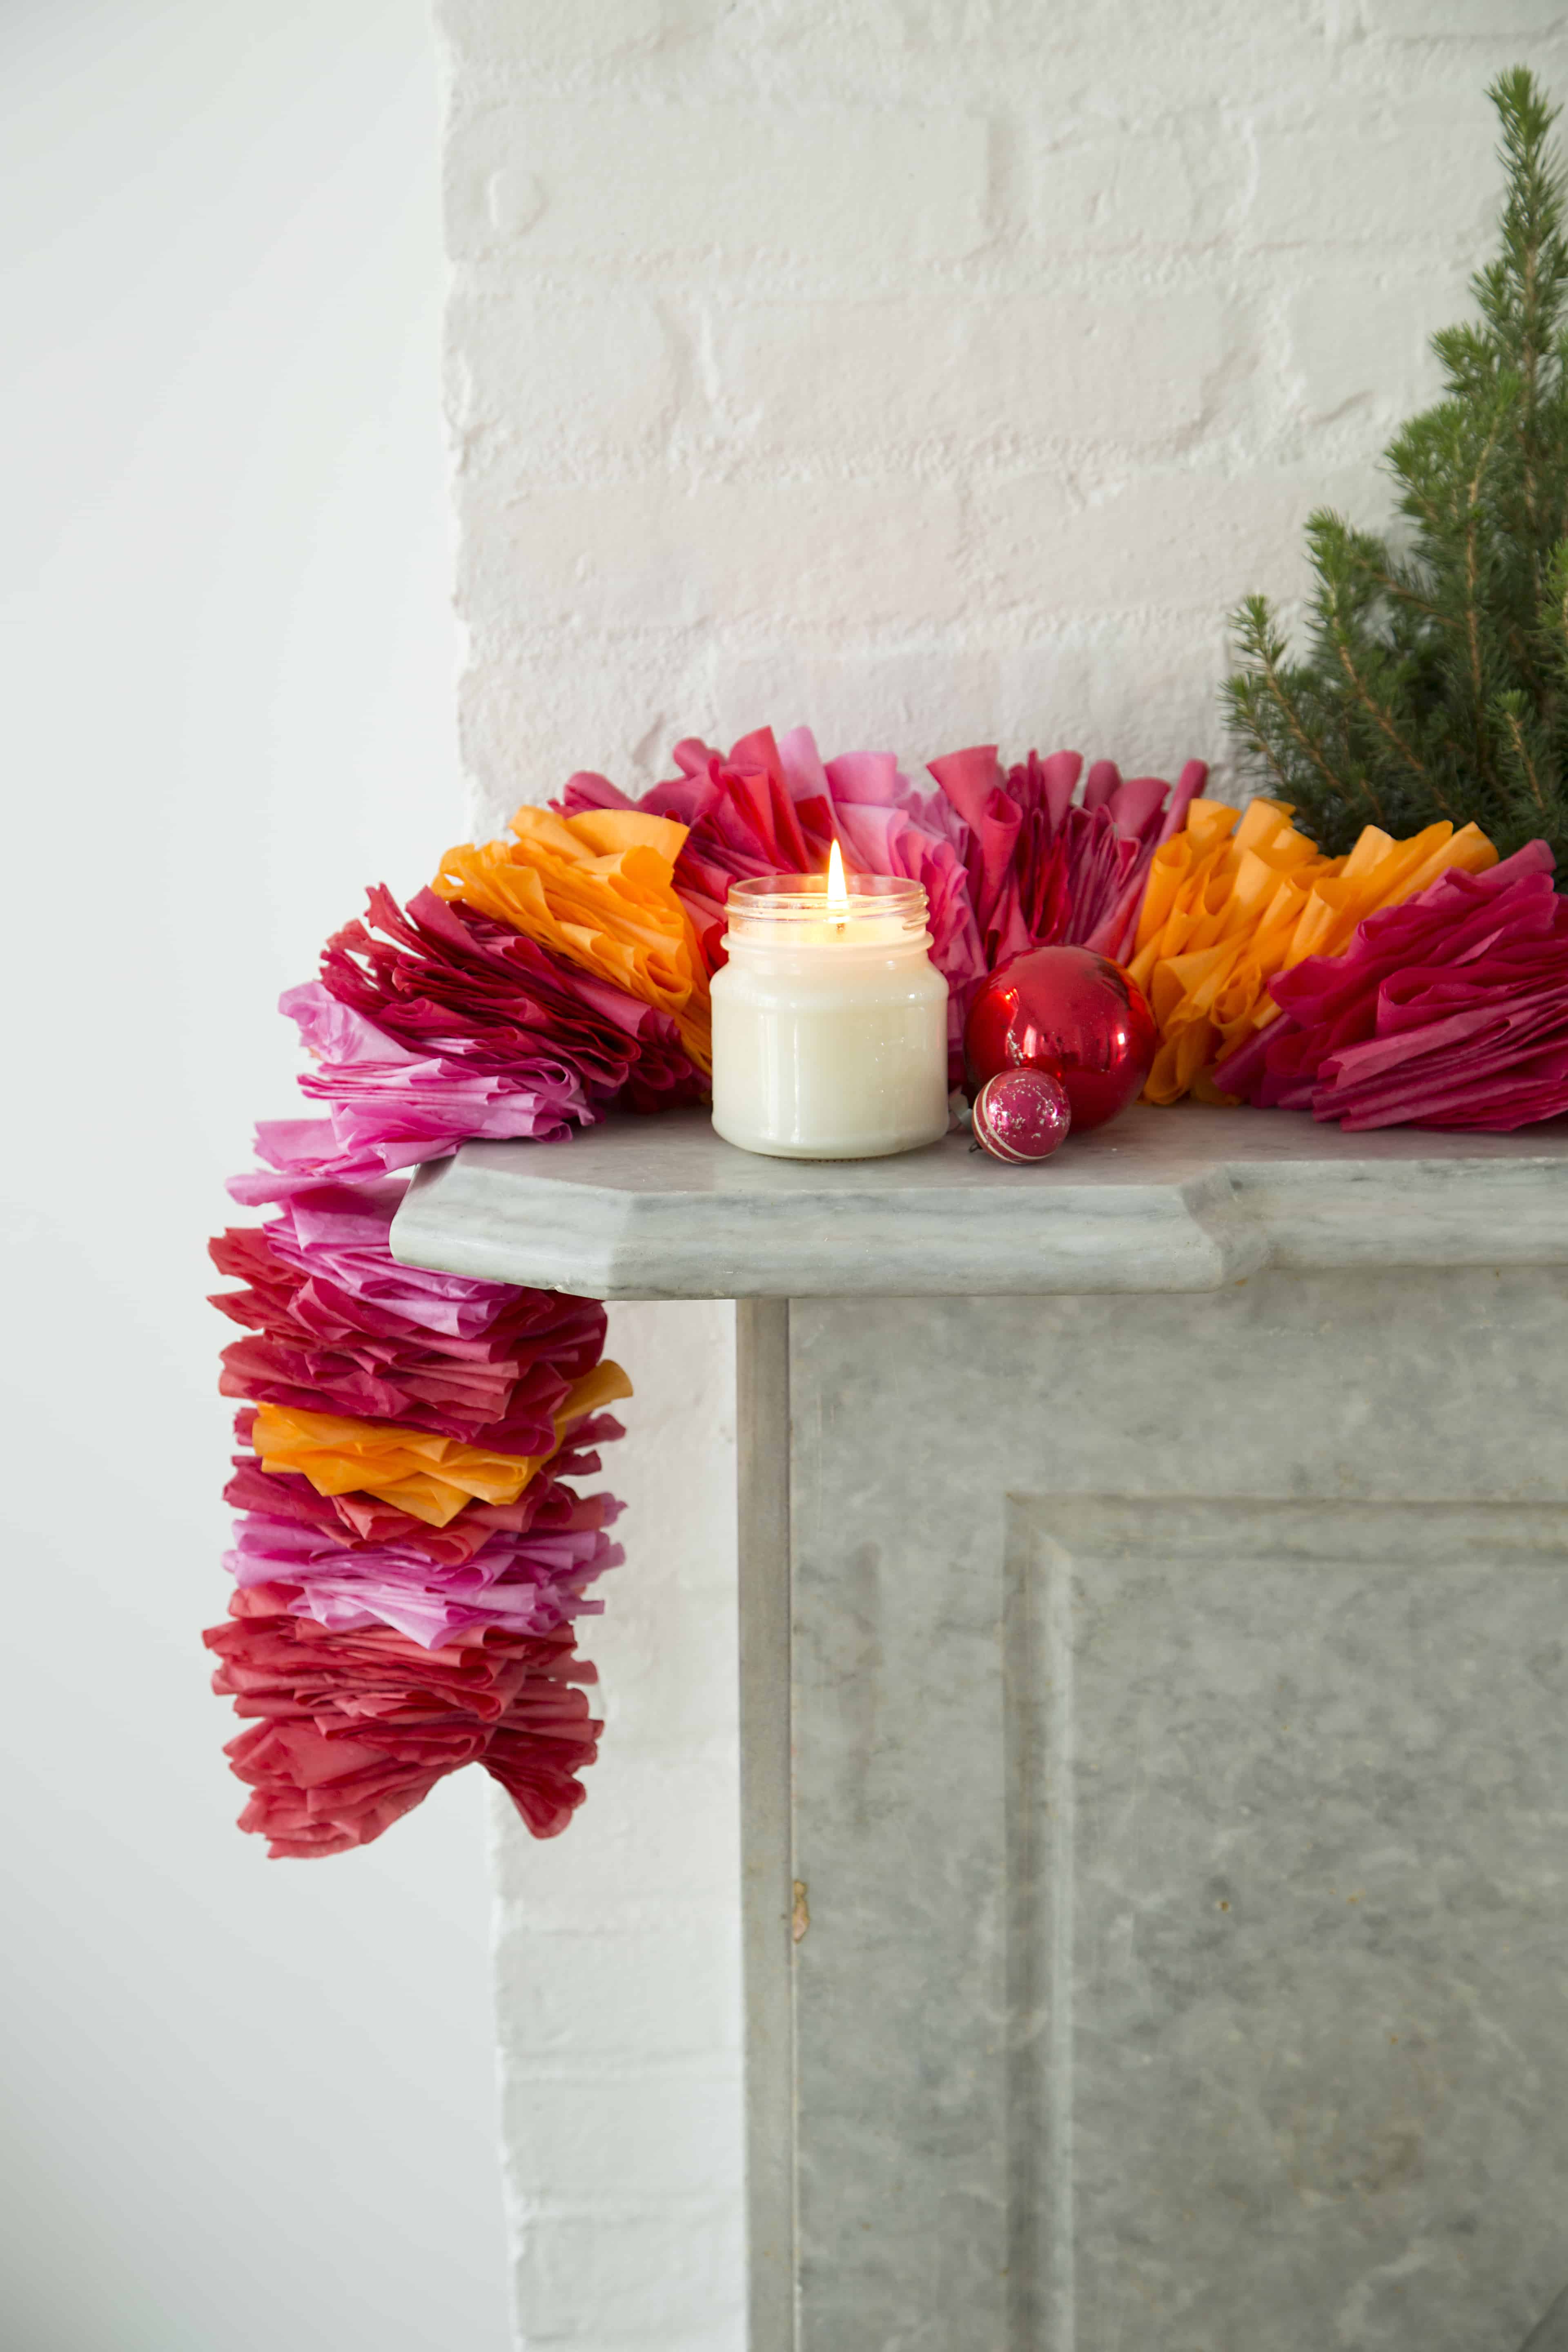
During the holidays, it’s important to create a warm, welcoming and festive home for your guests. We’re super excited to share these two DIY holiday projects that our good friend Sweet Paul created using Rit with coffee filters! Paul was able to make a beautiful wreath and garland by simply dyeing the coffee filters. It might be the most original (and affordable) project we’ve ever seen! Plus, you can customize the colors to match your holiday décor.
Supplies
8-12 Cup White Basket Style Paper Coffee Filters (At Least 200 for 3 Feet of Garland or 80-120 for a Wreath)
Wearing rubber gloves, prepare dyebath by mixing hot water with Rit. The water to dye ratio will depend on how many filters you are dyeing and how vibrant you want them to be. For our bright filters, we mixed 1/3 cup of dye with 1 quart of water.
To dye the filters, simply grab a stack and dip them into your dyebath for a few seconds until they absorb as much dye as you want. Remove filters from the dyebath and allow to drain for 1 hour. Separate filters and lay them out to dry on newspapers, paper towels or hang them on a clothesline to dry.
How to Make a Wreath:
Gently fold all the dyed coffee filters into quarters and twist the point of each one so it looks like a loose flower shape.
Start on the inside of the wreath and hot glue the flower stems all the way around the foam in a row.
Once that is done, start row number two, glue all the way around.
Continue gluing rows until your wreath is full and beautiful. Leave the back bare so it’s flat and easy to hang.
How to Make a Garland:
Start by folding one filter into quarters and then double it over one more time so it looks like a thin piece of pie.
Cut thread to desired length of garland. Thread needle and knot one end of thread. Take several stitches in center of pie piece
To create garland, simply fold each filter into quarters and add it to the thread.
Continue until your garland is the desired size.
To finish the garland, repeat step one at the other end.