DIY Fox Costume
If you have a thing for foxes, and we get why you might (thanks Wes Anderson), then this is the DIY for you! We have been big fans of Alice & Lois for some time and finally teamed up with them to create this easy dyed costume. All they used was a long sleeve white tee, white leggings, an inexpensive pair of white shoes, faux fur and a headband to make this costume a reality.


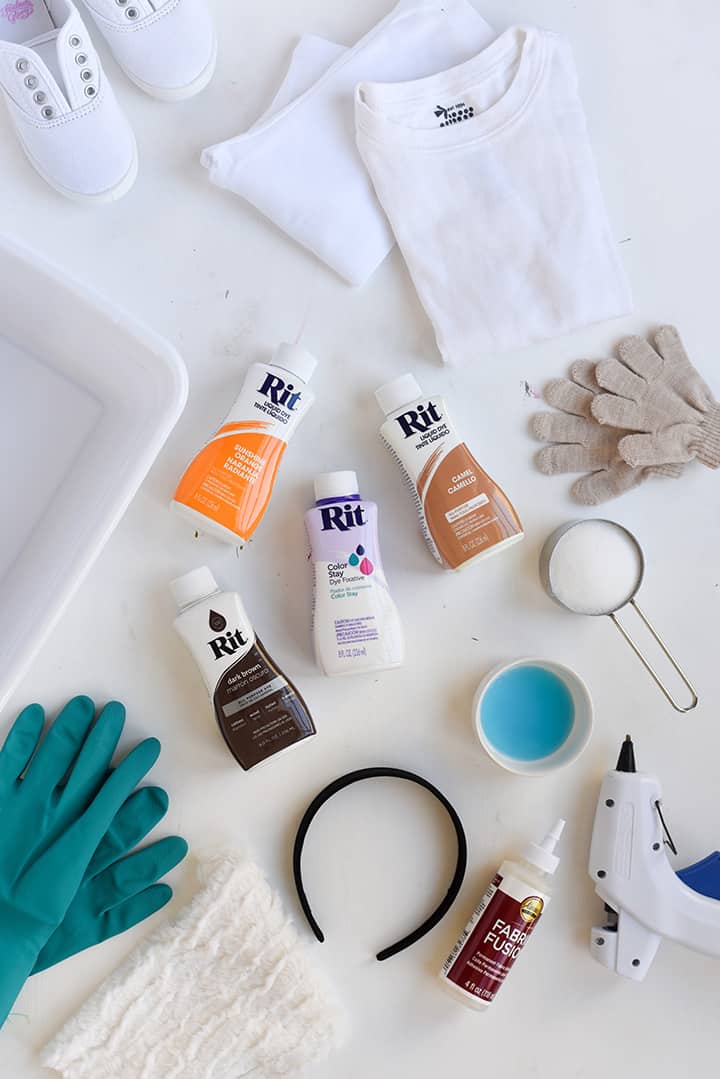
Supplies
- Rit All-Purpose Dye (They Used Sunshine Orange and Camel for the Tee and Leggings; Dark Brown and Camel for the Shoes)
- Rit ColorStay Dye Fixative
- Long Sleeve White Tee
- White Leggings
- White Shoes
- Faux Fur
- Headband
- Black and Orange Felt
- Glue
- Measuring Cup
- Large Metal Spoon
- Plastic Bucket
- Rubber Gloves
- Plastic Table Cover
- Electrical Tape
Time
Total: {{ partial.t4Z5.total }}
Difficulty
Beginner Total: {{ partial.t2CF.total }}
Instructions
- Cover work area with plastic table cover and have paper towels handy to protect against any possible spills. Gather supplies.
- For best results, prewash shirt, leggings and shoes to remove any finishes that may interfere with dye absorption. Leave damp.

To dye the shirt and leggings:
- Alice & Lois used Rit All-Purpose Dye because the shirt and leggings contained natural fabric (i.e. cotton, linen, silk, wool) or nylon. If you wanted to dye something synthetic (i.e. containing more than 35% polyester), you can use Rit DyeMore Synthetic Dye instead.
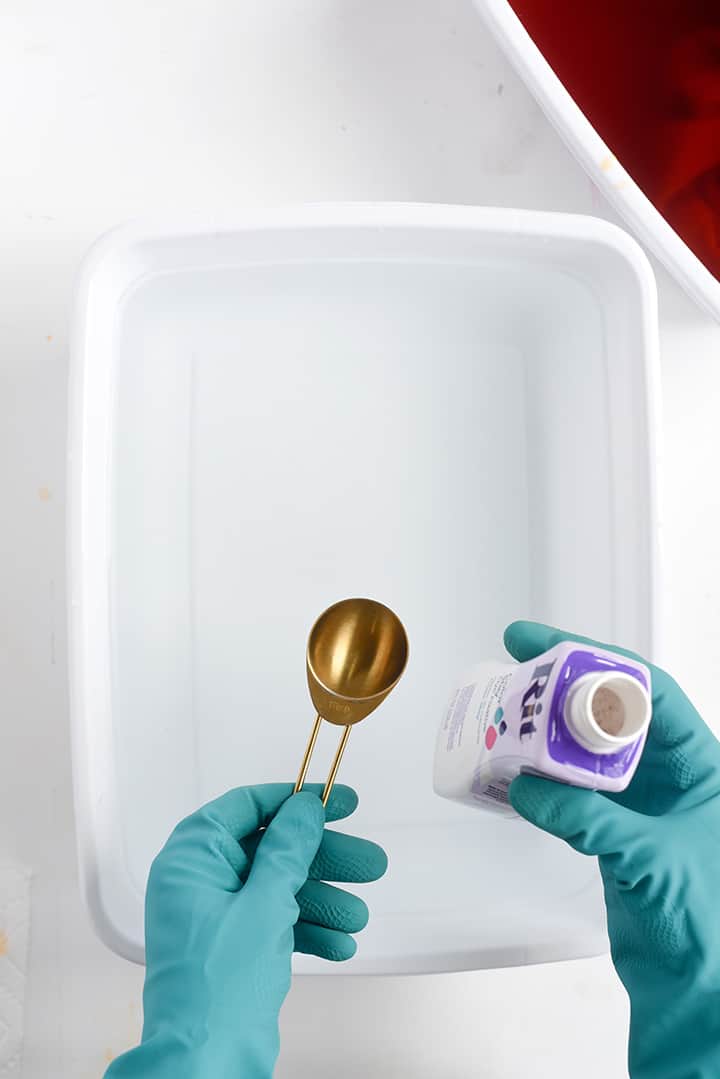
- Wearing rubber gloves, fill a large container or stainless steel sink with 3 gallons of very hot water. The water should ideally be 140ºF. If tap water is not hot enough, heat water on the stove and add to the dyebath.
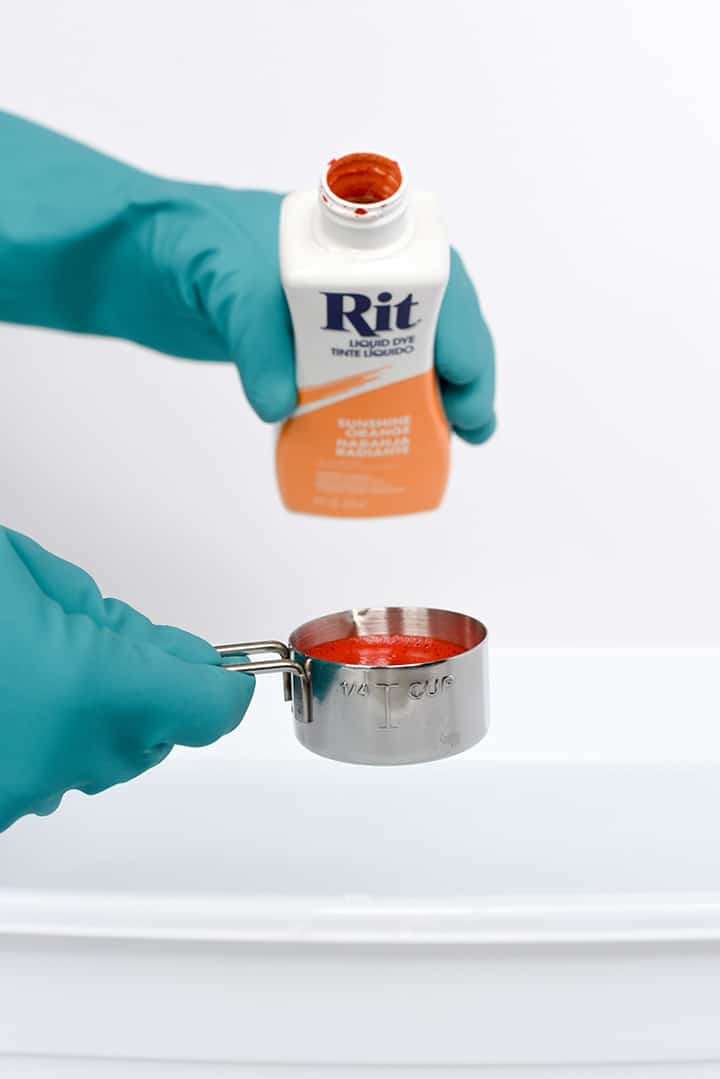
- Add 1/2 bottle of Sunshine Orange and 1 teaspoon of Camel to dyebath.
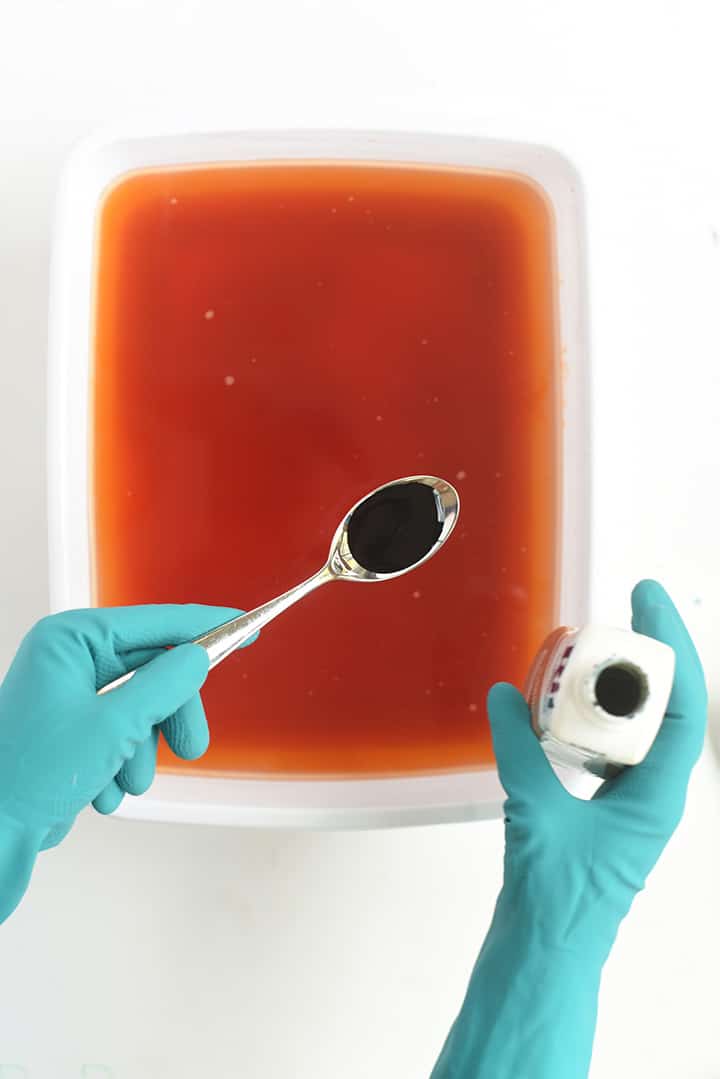
- To enhance the color, add one cup of salt. Add 1 teaspoon of dish detergent to help promote level dyeing.
- Test color by dipping a paper towel into the dyebath. If color is too light, add more dye. If color is too dark, add more water.
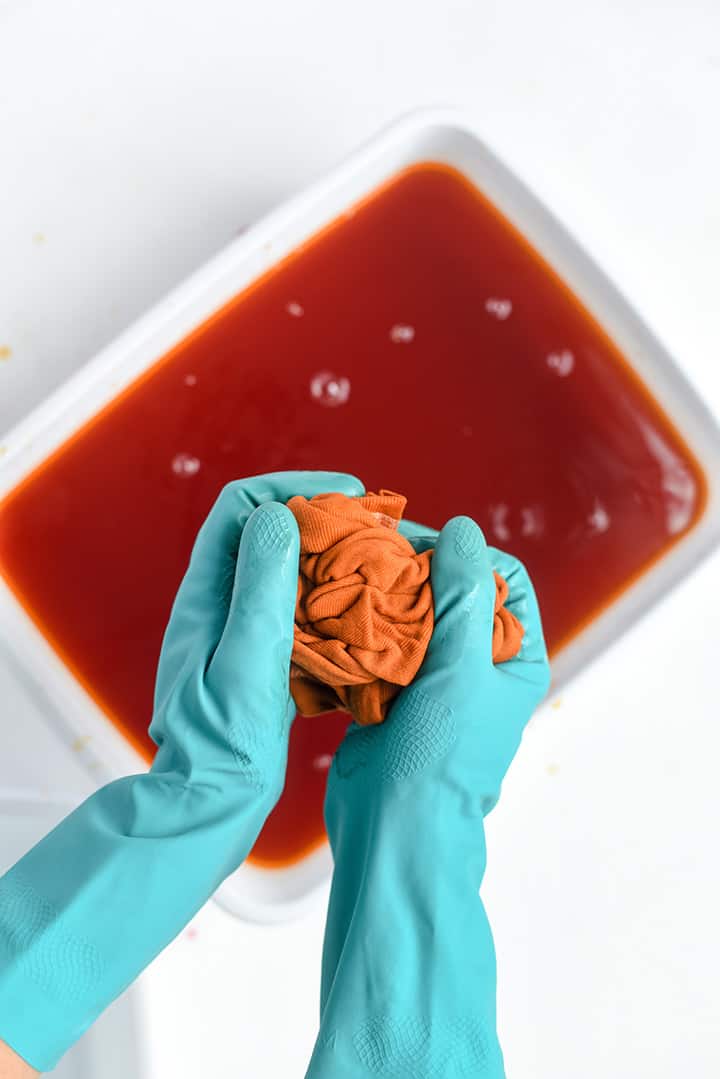
- Immerse shirt and leggings in dyebath. Stir slowly and continuously. The first 10 minutes are the most critical. Stirring helps to ensure an even color with no splotches. Alice & Lois left the leggings and shirt in the dyebath for 40 minutes.
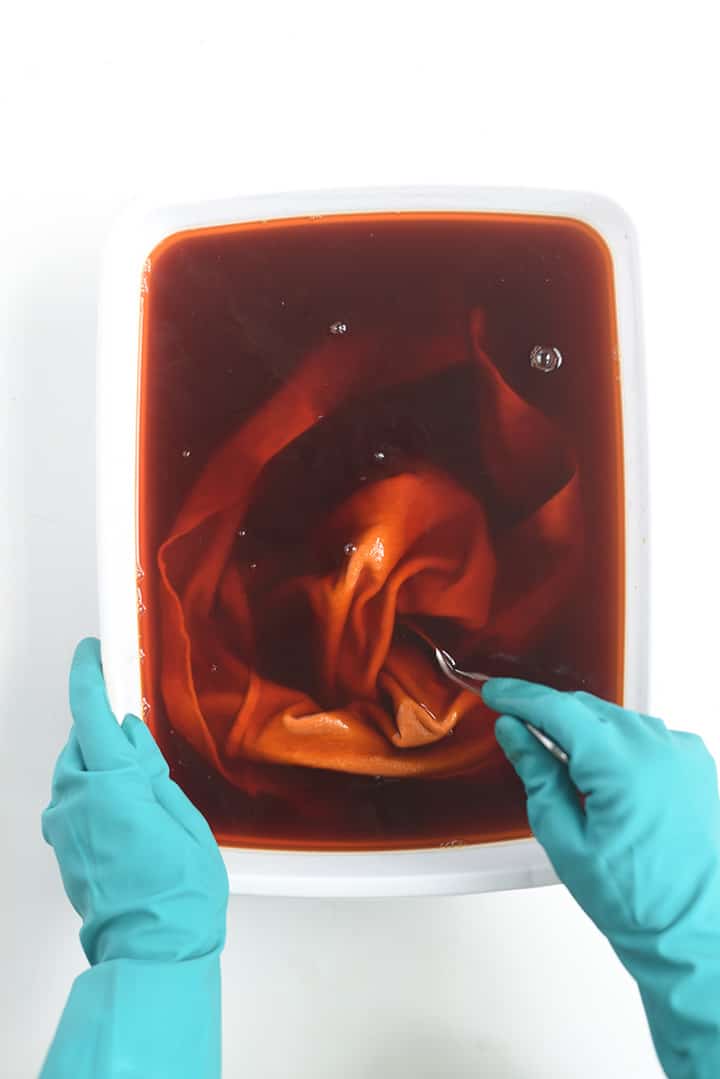
- Remove from dyebath. Fabric will look darker when wet and will dry lighter. Squeeze out excess dye.
- We recommend using Rit ColorStay Dye Fixative immediately after dyeing and before washing to enhance color, increase color retention and prevent bleeding. Follow these package instructions.
- Rinse in cool water until water runs clear.
- Wash in warm water with mild detergent, rinse and dry.


To dye the shoes:
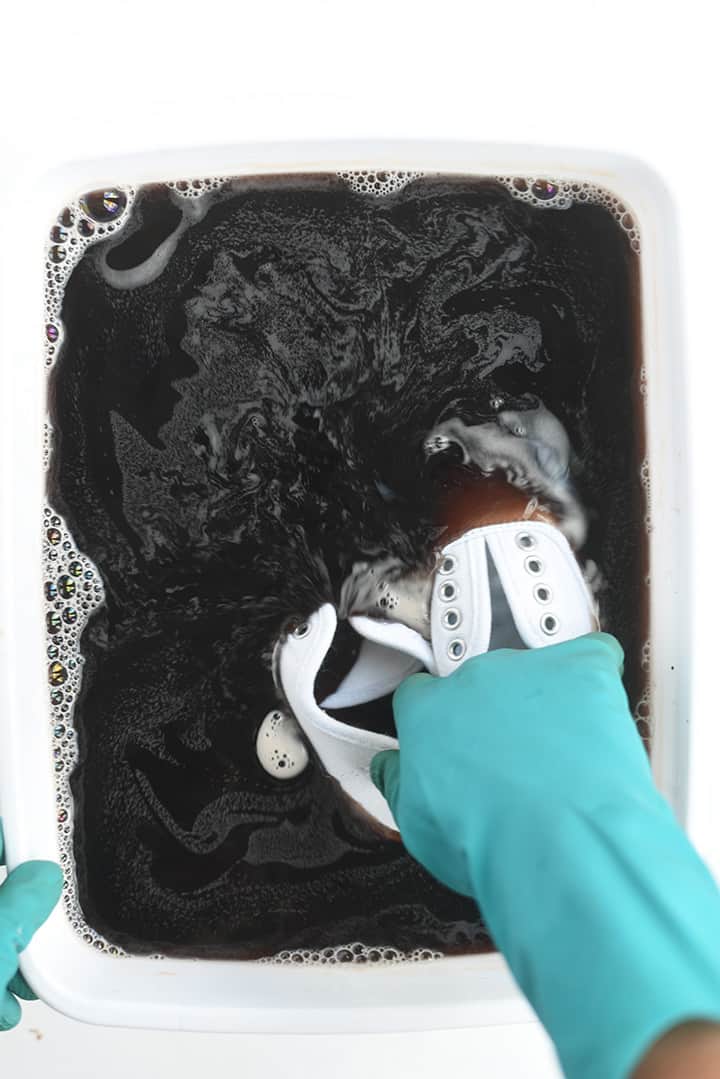
- To protect the inside of the shoes from dye, line them with electrical tape and stuff the shoes with paper towels.
- Wearing rubber gloves, fill a large container or stainless steel sink with 3 gallons of very hot water. The water should ideally be 140ºF. If tap water is not hot enough, heat water on the stove and add to the dyebath.
- Add 1/4 bottle of Dark Brown and 1/4 bottle of Camel.
- To enhance the color, add one cup of salt. Add 1 teaspoon of dish detergent to help promote level dyeing.
- Test color by dipping a paper towel into the dyebath. If color is too light, add more dye. If color is too dark, add more water.
- Leave shoes in dyebath from 10 minutes up to one hour. When desired color is achieved, remove from dyebath. Fabric will look darker when wet and will dry lighter.
- We recommend using Rit ColorStay Dye Fixative immediately after dyeing and before washing to enhance color, increase color retention and prevent bleeding. Follow these package instructions.
- Rinse in cool water until water runs clear.
- Wash in warm water with mild detergent, rinse and dry.

To create the costume:
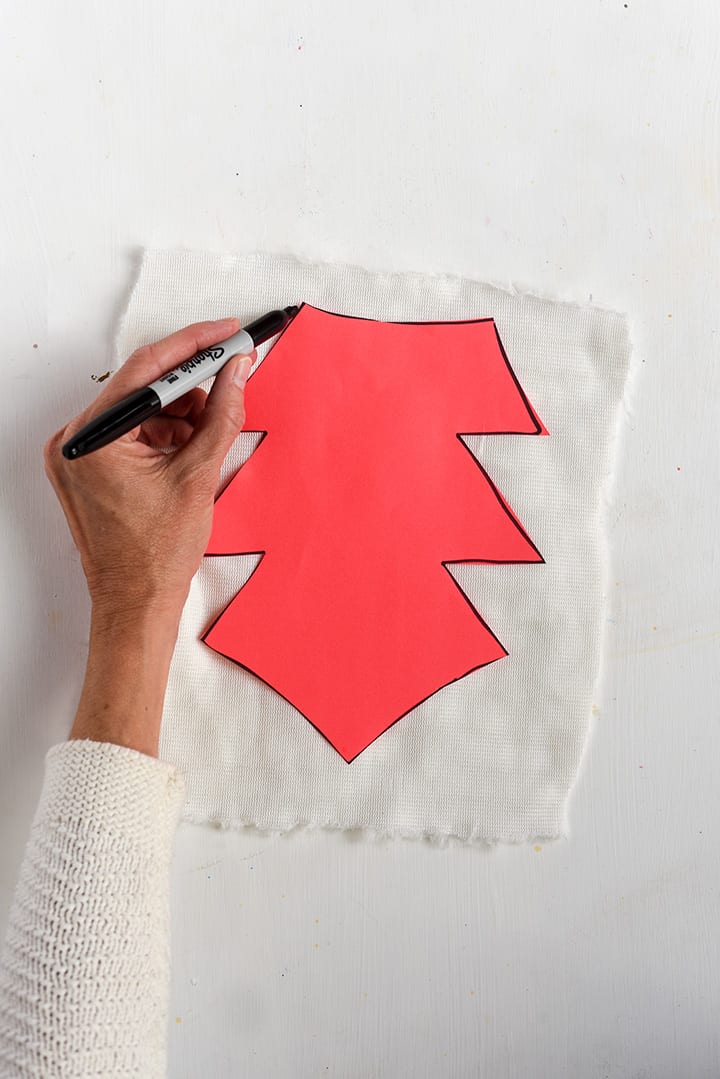
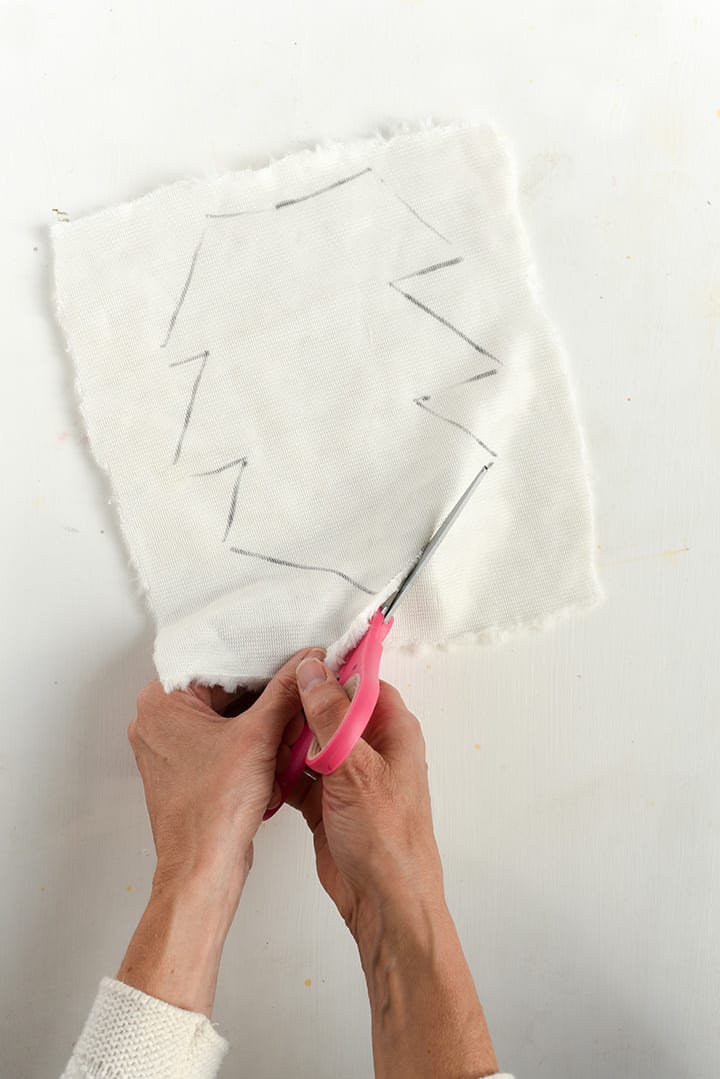
- For the furry chest piece, draw out a shape on paper. Cut out.
- Trace template onto back of faux fur piece and cut out.
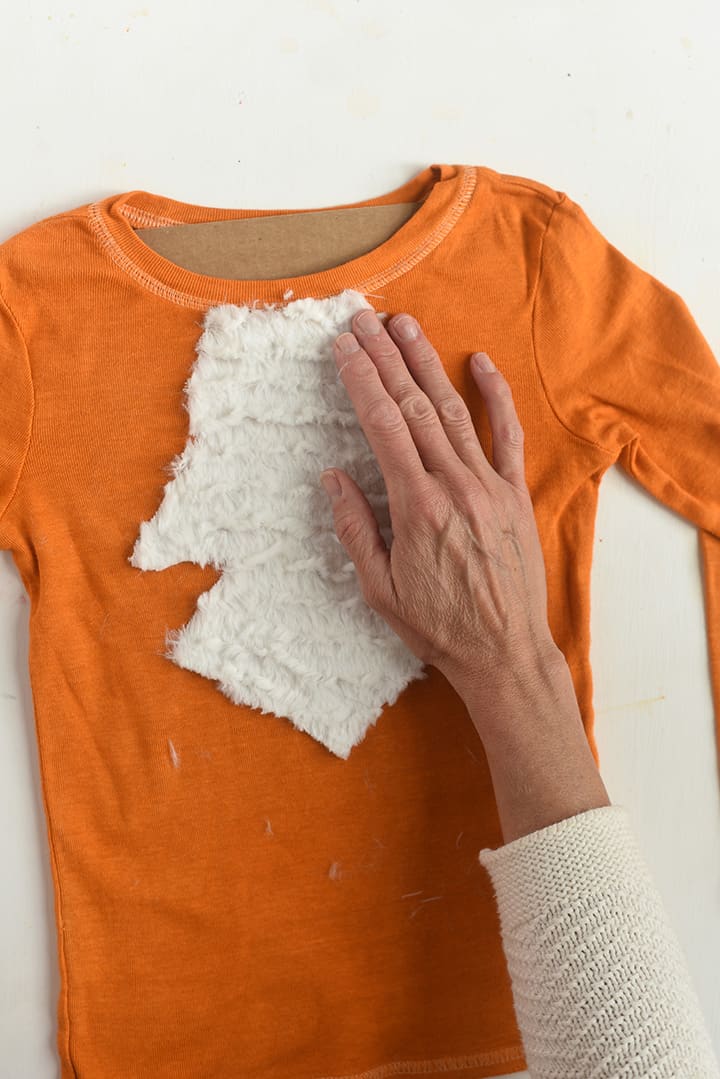
- Place a piece of cardboard inside the shirt to protect back side from fabric glue. Using fabric glue, adhere faux fur piece to chest.
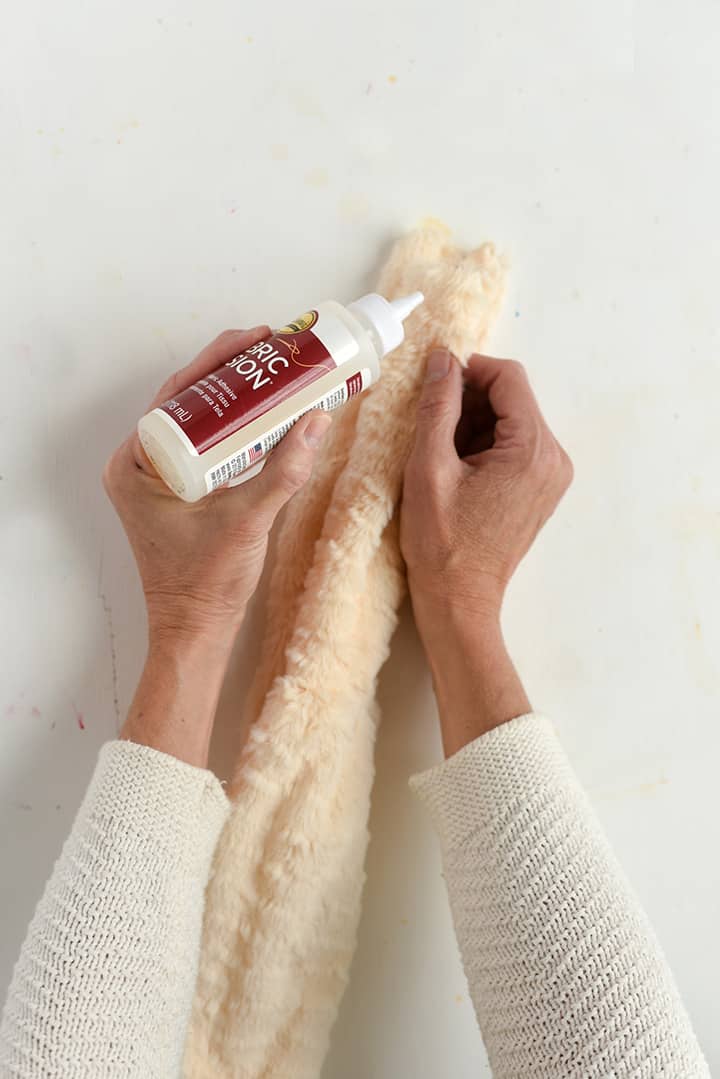
- To create the tail, cut out a piece of faux fur 10 inches wide and 20 inches long. Simply glue together long seam and let glue dry.
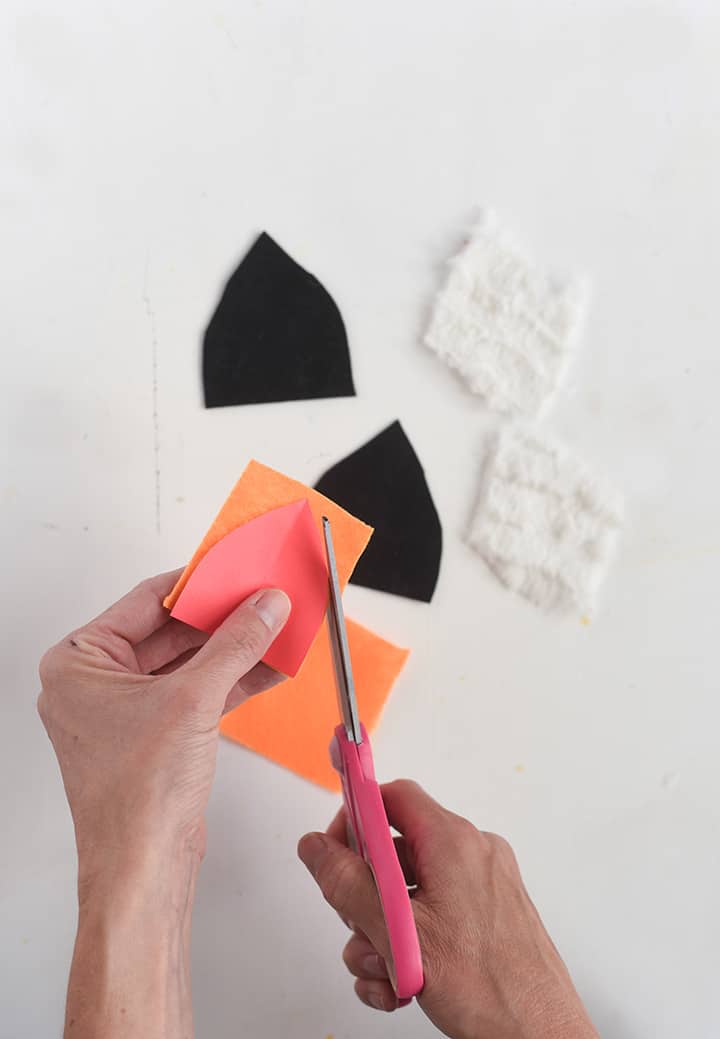
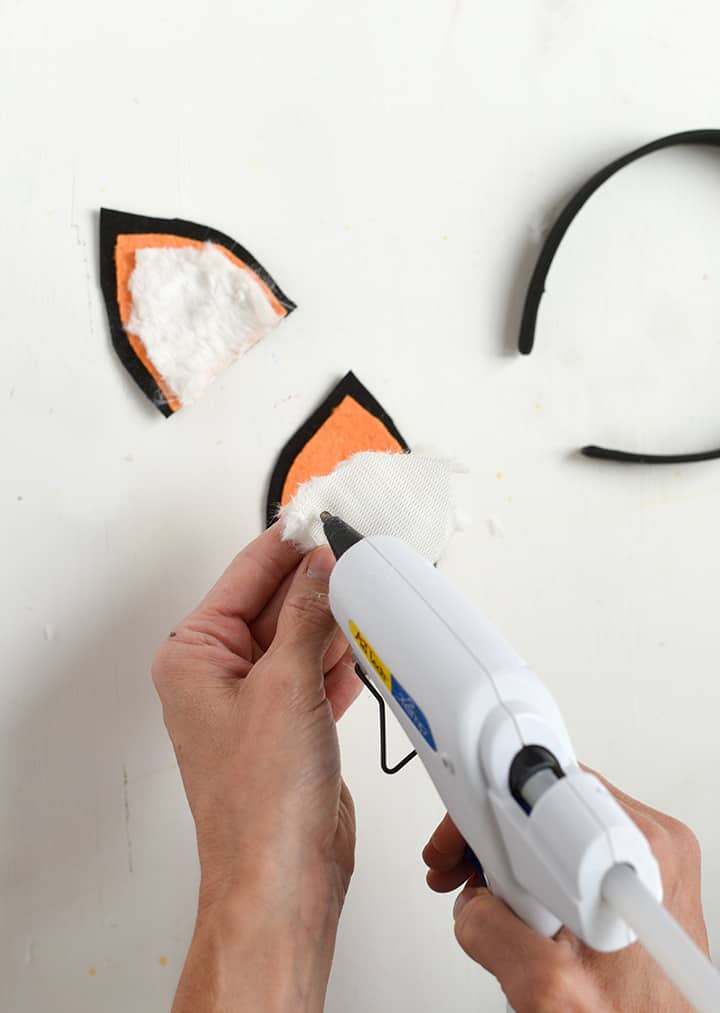
- To create the fox ear headband, draw a template for your ears and cut out pieces on black and orange felt, then cut out smaller pieces of faux fur and glue together.
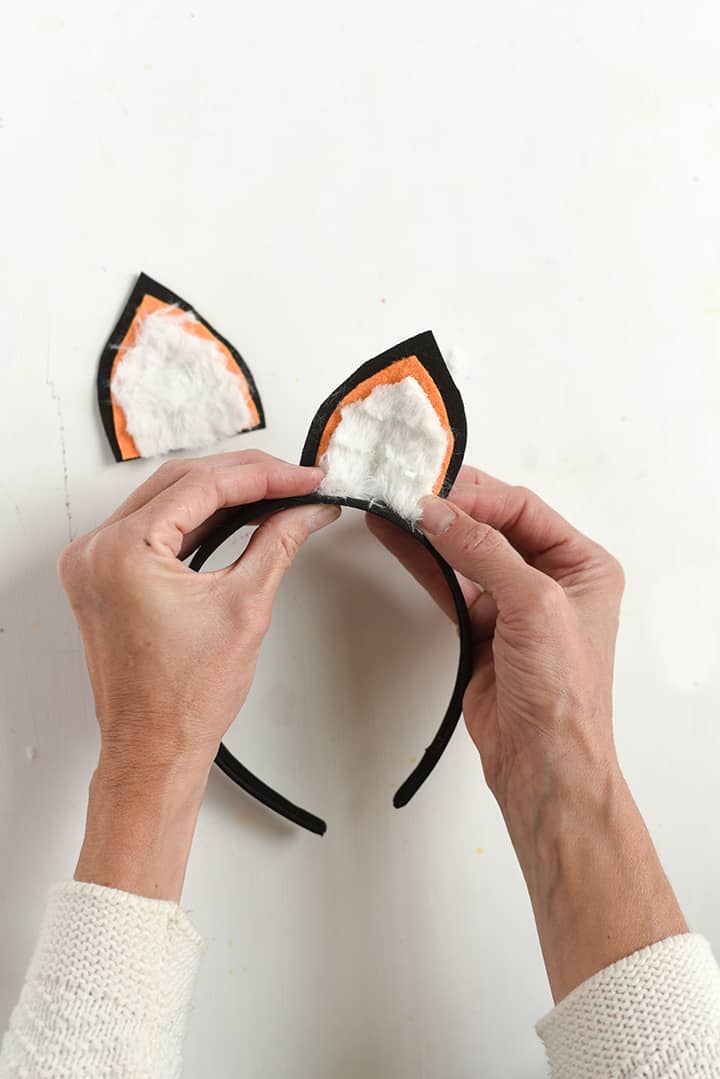
- Once ears are dry, glue bottoms of ears onto the top of the headband.
- For the tail, there are many options to adhere it. Alice & Lois opted for a tuck in tail, so they could wear this as an everyday outfit too! But you can also glue or safety pin the tail onto the leggings.


That is it. Now go have fun!
Posts You May Like
