
- NILS IKEA Stool Cover
- Rit All-Purpose Liquid Dye: Aquamarine, Royal Blue, Evening Blue (or Your Favorite Color)
- Rubber Bands or String
- Plastic Container
- Measuring Cup
- Salt
- Plastic Gloves
- Plastic Table Cover
- Paper Towels
- Rit ColorStay Dye Fixative
-
Cover work area with plastic table cover and have paper towels handy to protect against any possible spills. Gather supplies.
-
For best results, prewash stool cover to remove any finishes that may interfere with dye absorption. Leave damp.
-
Wearing rubber gloves, fill a large container or stainless steel sink with 3 gallons of very hot water. The water should ideally be 140ºF. If tap water is not hot enough, heat water on the stove and add to the dyebath. Pour well-shaken dye into dyebath. For this project, we used the Sodalite Blue color formula. However, this project was done before the launch of our new Indigo shade and is pretty much the same color!

-
To enhance the color, add one cup of salt. Add 1 teaspoon of dish detergent to help promote level dyeing.
-
Stir well.
-
Test color by dipping a paper towel into the dyebath. If color is too light, add more dye. If color is too dark, add more water.
-
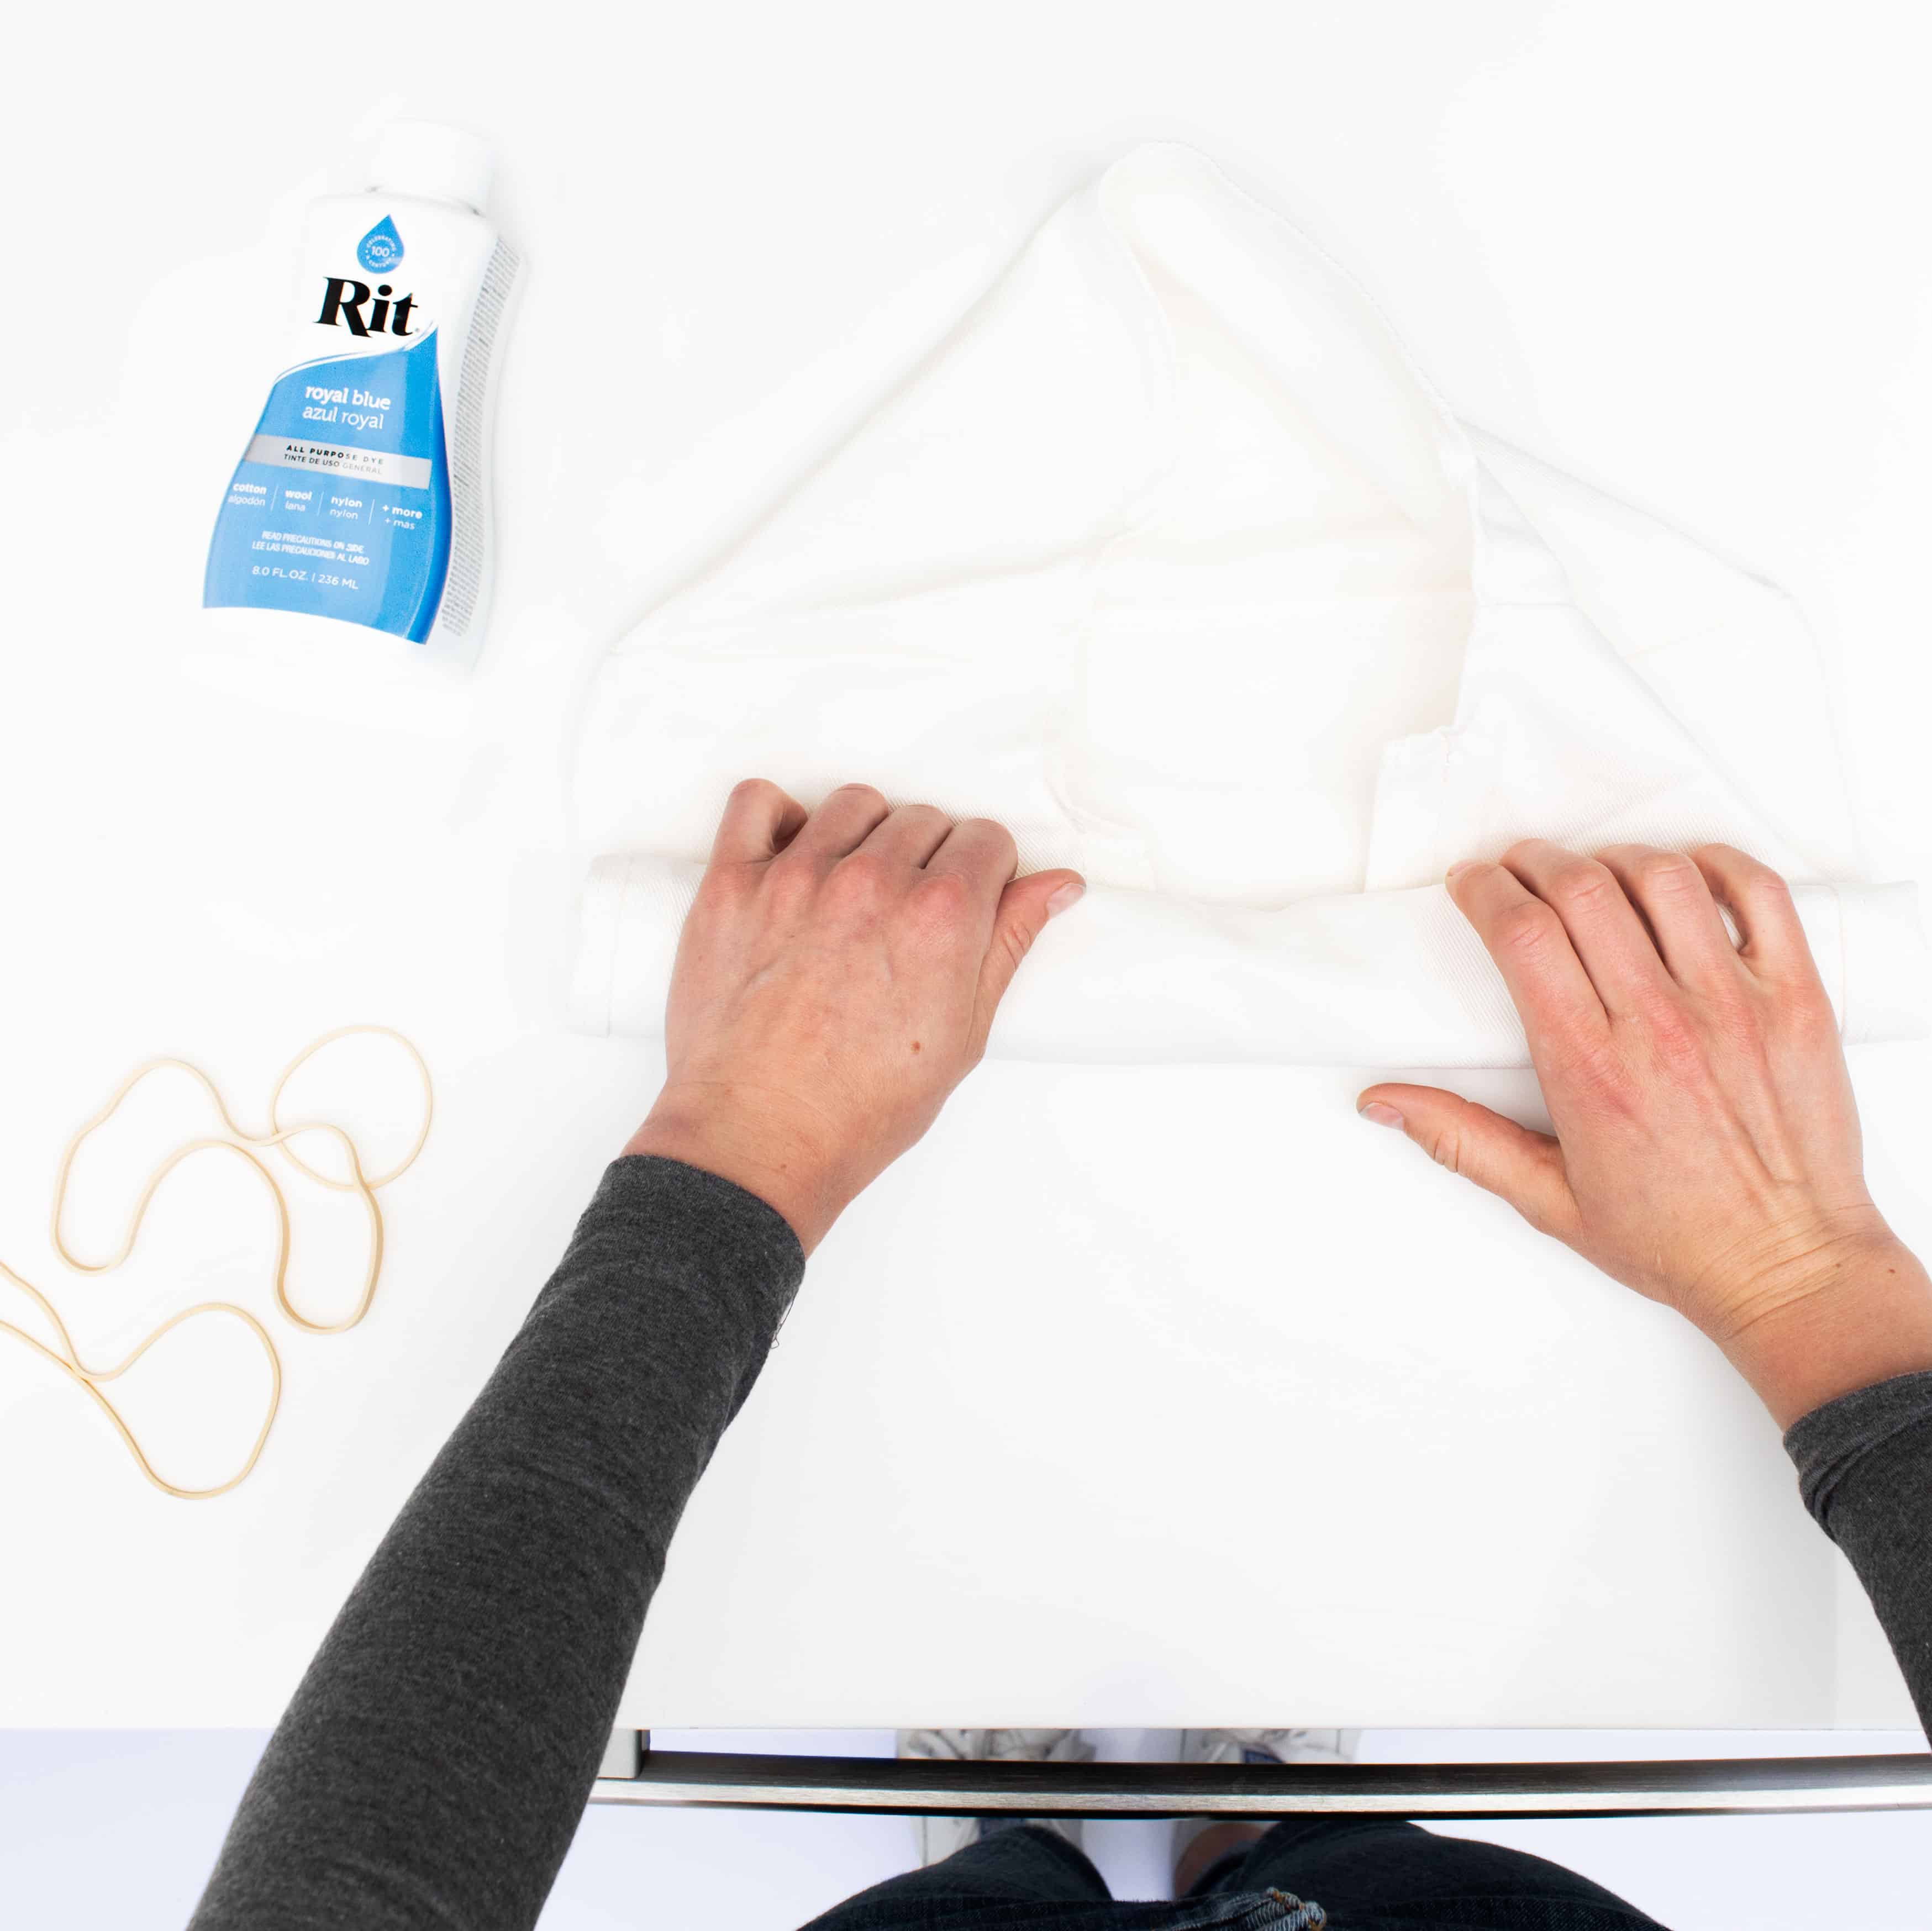
Place damp stool cover flat on work surface and fold accordion-style vertically.
-
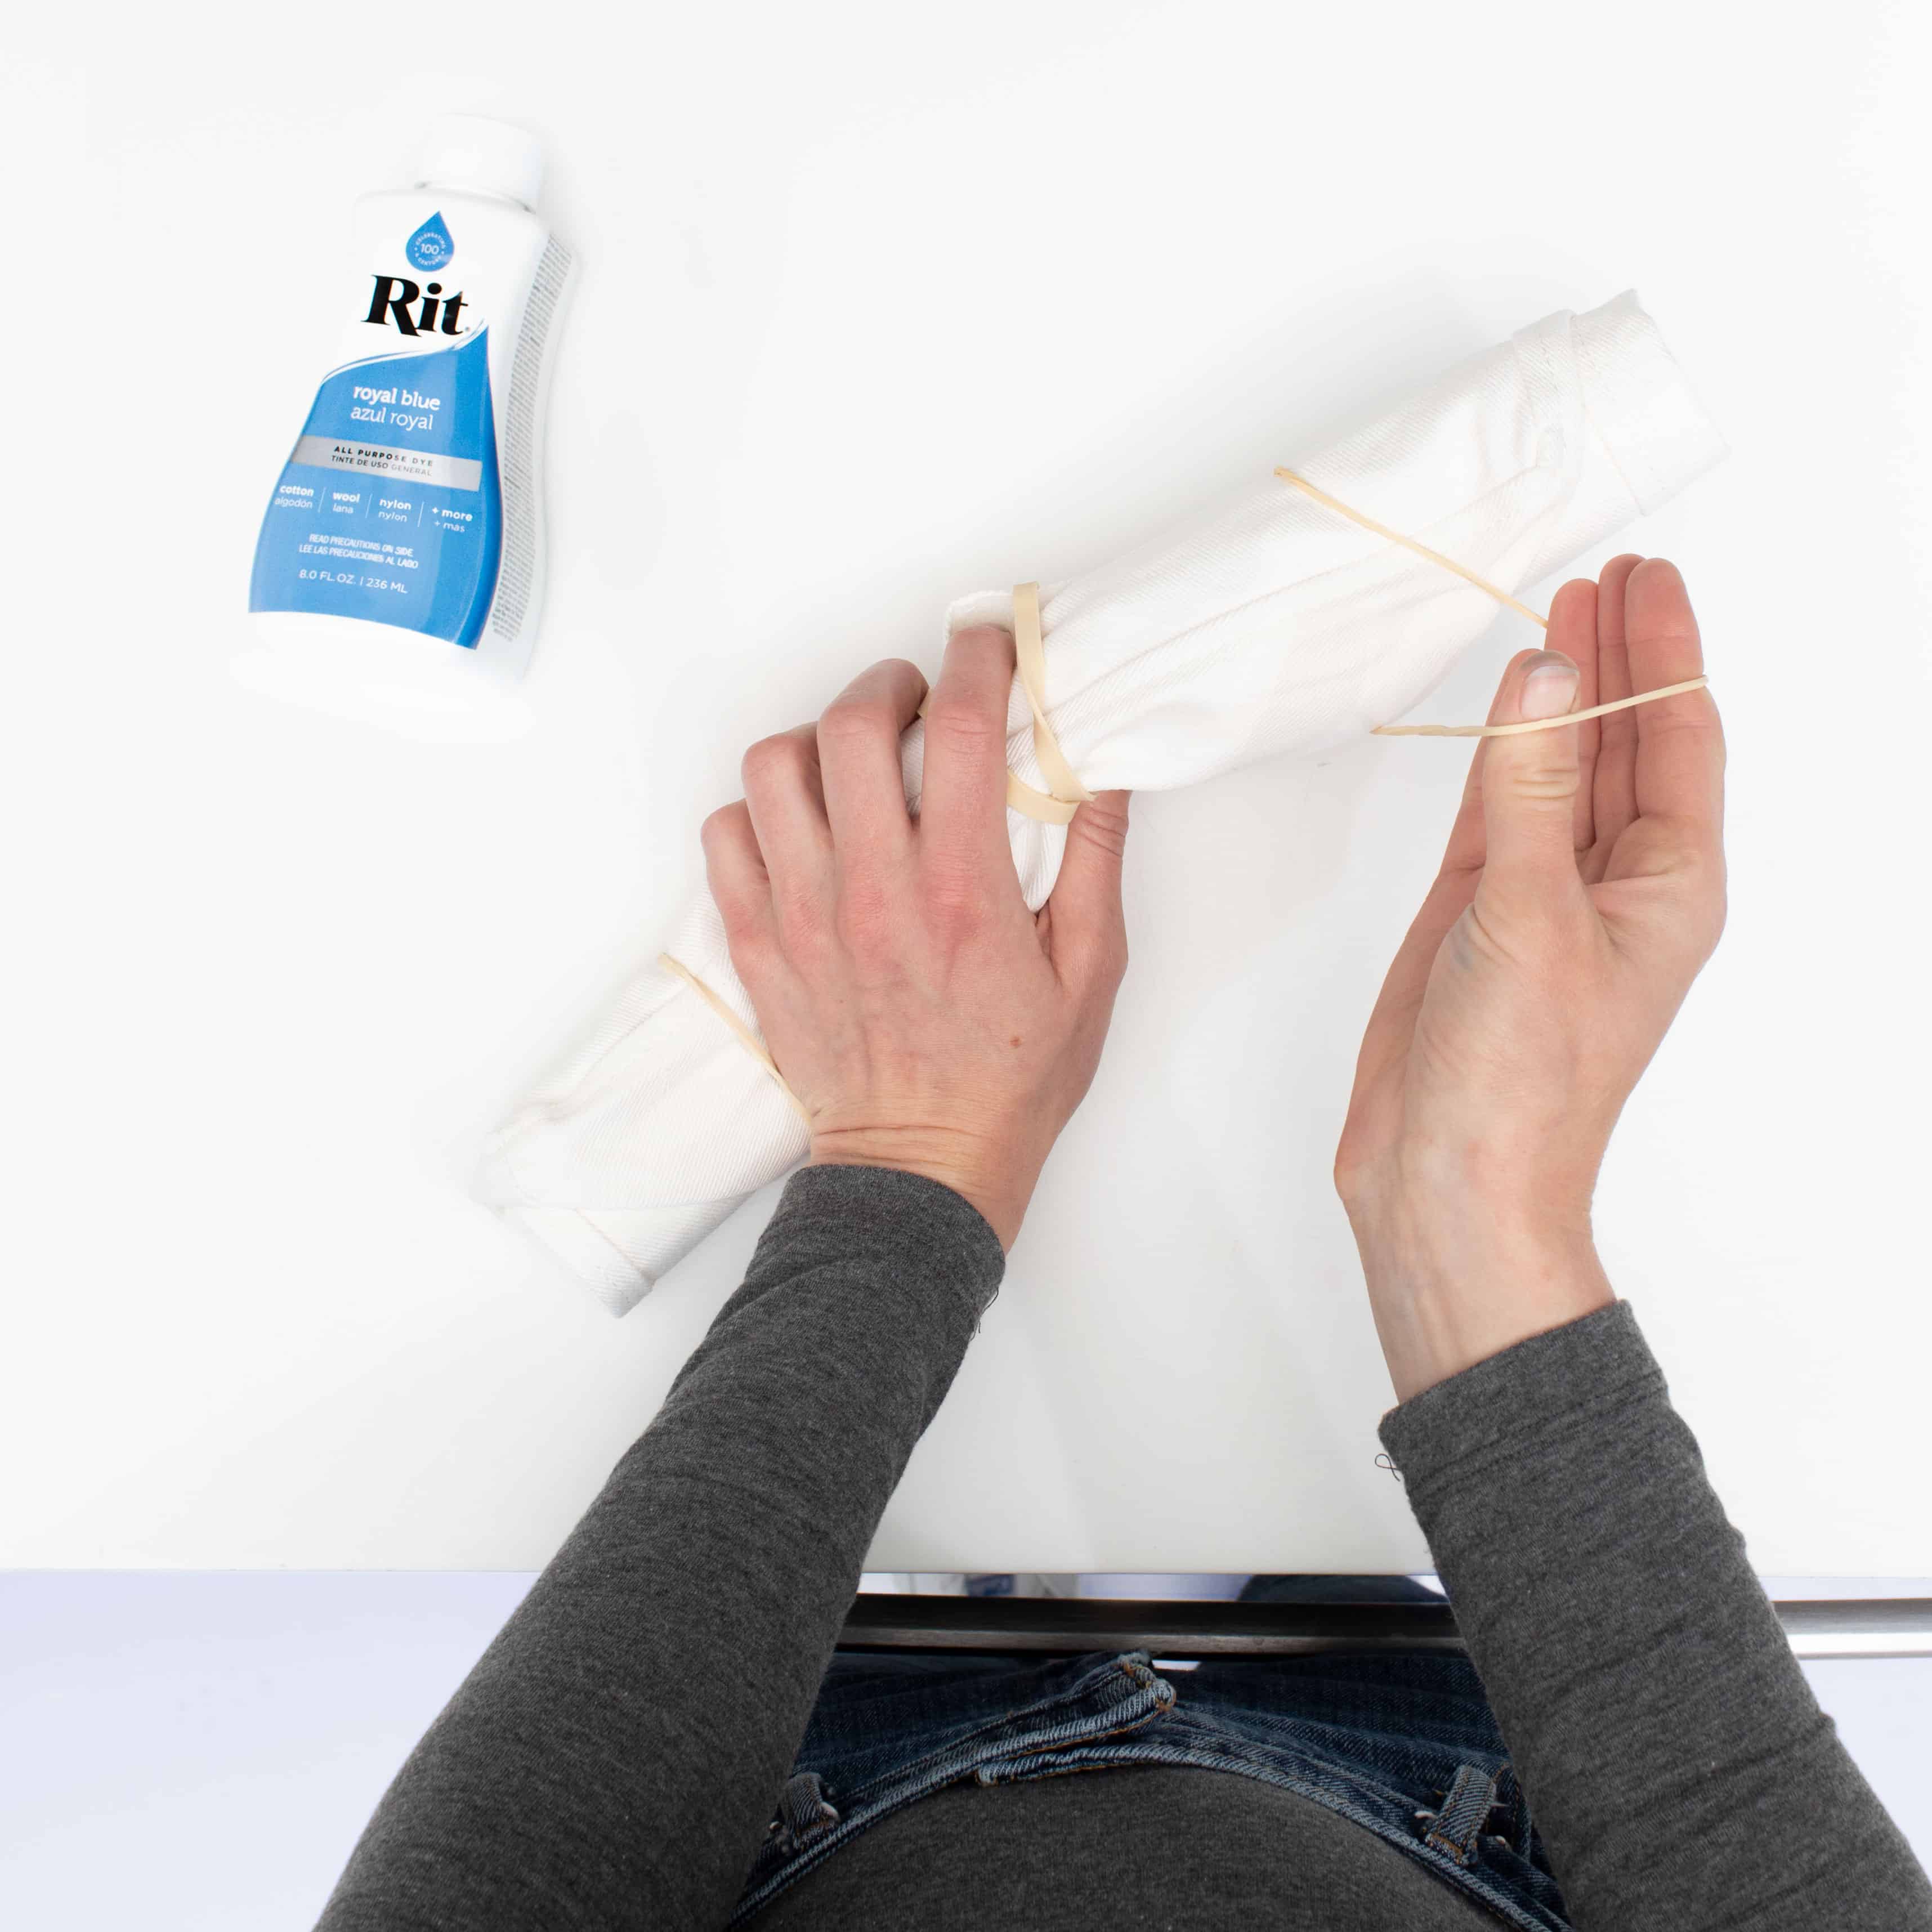
Wrap rubber bands or string tightly around the folded stool cover 3” apart.
-
Dip folded accordion side halfway into the dyebath.

-
When satisfied with color, remove cover from dyebath. Fabric will look darker when wet and will dry lighter.
-
Wearing rubber gloves, squeeze out excess dye and set cover aside.
-
We recommend using Rit ColorStay Dye Fixative immediately after dyeing and before washing to enhance color, increase color retention and prevent dye from bleeding into white areas. Follow instructions here.
-
Rinse in cool water until water runs clear.
-
Wash in warm water with mild detergent, rinse and dry.


