
- IKEA Couch (Any White Cotton One Will Work)
- Rit All-Purpose Dye in Your Favorite Color (Krys Used Petal Pink, Lemon Yellow and Tan Used For This Project)
- Large Bucket, Bathtub or Washing Machine
- Measuring Cup
- Salt
- Liquid Dish Detergent
- Rubber Gloves
- Plastic Table Cover
- Rit ColorStay Dye Fixative (Recommended)
- Mid-Century Sofa Legs
- Gold and White Paint (For Legs)
- Top Plate (To Affix Legs)
- 7/8″ Button Cover Kit
- Thread
-
Since slipcovers are so large, the easiest dye method would be with your washing machine. You can find directions on how to dye with your washing machine here. This slipcover was actually dyed in a bathtub with the directions below.
-
Cover area around tub with plastic. Gather supplies.
-
For best results, pre-wash slipcovers, rinse and leave wet. This will help to remove any finishes that may interfere with dye absorption.
-
Estimate the weight of your slipcovers. As a guideline, 1 bottle of liquid dye will color up to 2 pounds of dry fabric. For lighter colors use less dye; for darker shades use more.
-
To prepare dyebath: Fill large plastic bucket or bathtub with very hot tap water (140 ºF). If water is not hot enough, heat water on the stove and add to dyebath. Shake dye bottles before pouring. Wearing rubber gloves, add dye to water; stir well. Krys used 4 parts Petal Pink, 1/2 part Lemon Yellow and 1/8 part Tan.
-
For even dye coverage, make sure there is enough water in the container or tub for the slipcover to move freely.
-
For best results, add 1 cup of salt to dyebath. This helps to intensify the color. Then add a squirt of liquid dish detergent. Stir well.
-
Test dye color by dipping a paper towel into the dyebath. If color is too light, add more dye. If color is too dark, add more water.
-
Immerse wet slipcovers in dyebath. The wet fabric will absorb the dye more evenly and prevent splotchy results. Stir consistently for 20-30 minutes or until desired color is achieved. Fabric will look darker when wet and prior to washing.
-
When desired color is achieved, remove the slipcovers from the dyebath and squeeze out excess dye.
-
Recommended: To enhance the color and reduce color bleeding, use Rit ColorStay Dye Fixative immediately after dyeing and before washing, following these instructions. Let slip covers set in fixative for about 20 minutes.
-
Rinse slipcovers under cold running water until water begins to run clear. Wash, rinse and dry.
-
If using bathtub, immediately wipe down with a bathroom cleaner that contains bleach to avoid staining.
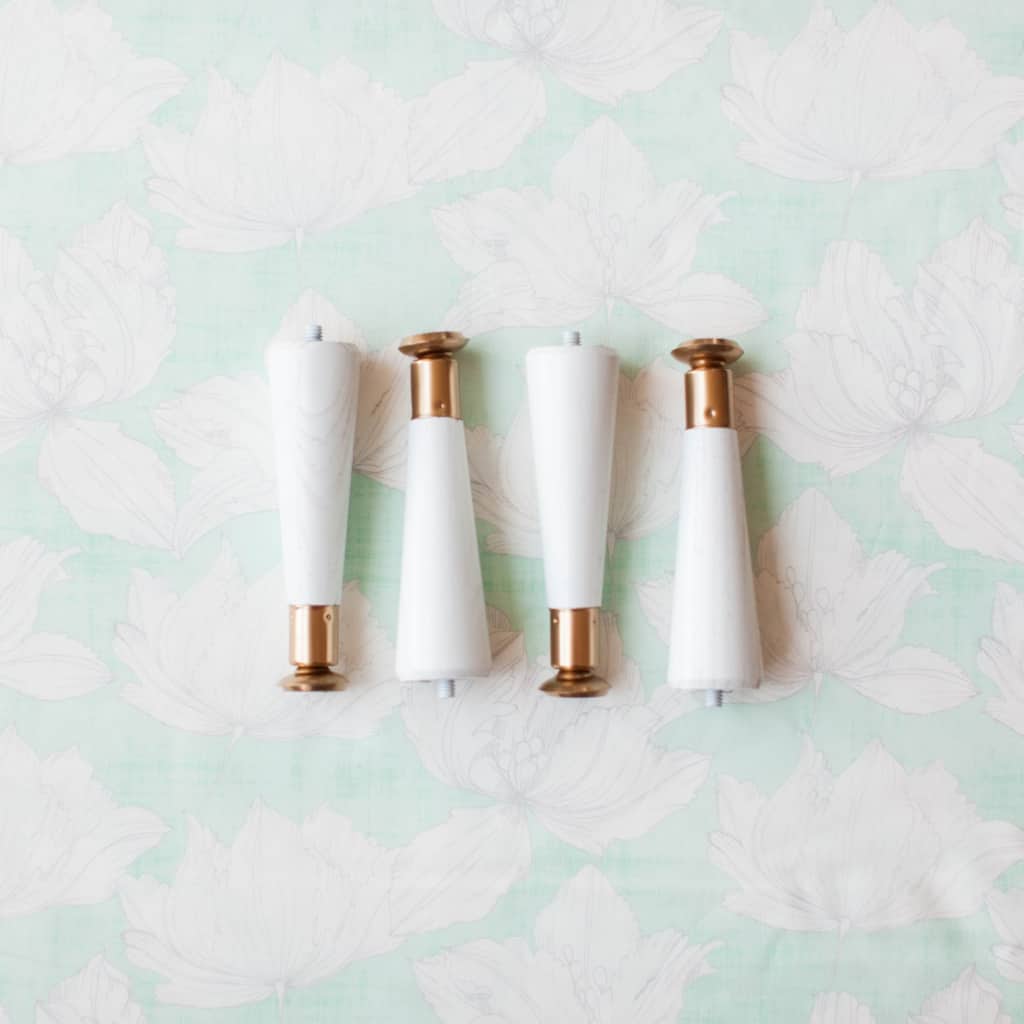
- For the legs, she painted these mid-century legs white and gold.
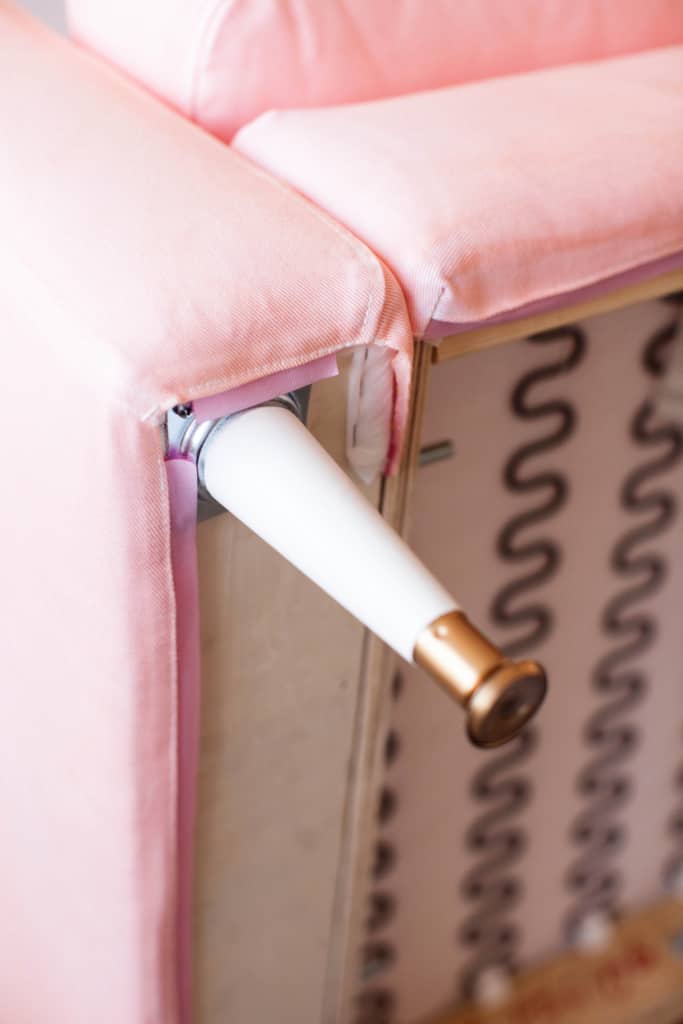
- To attach the legs to the couch, she installed them with this top plate to the corners of the sofa.
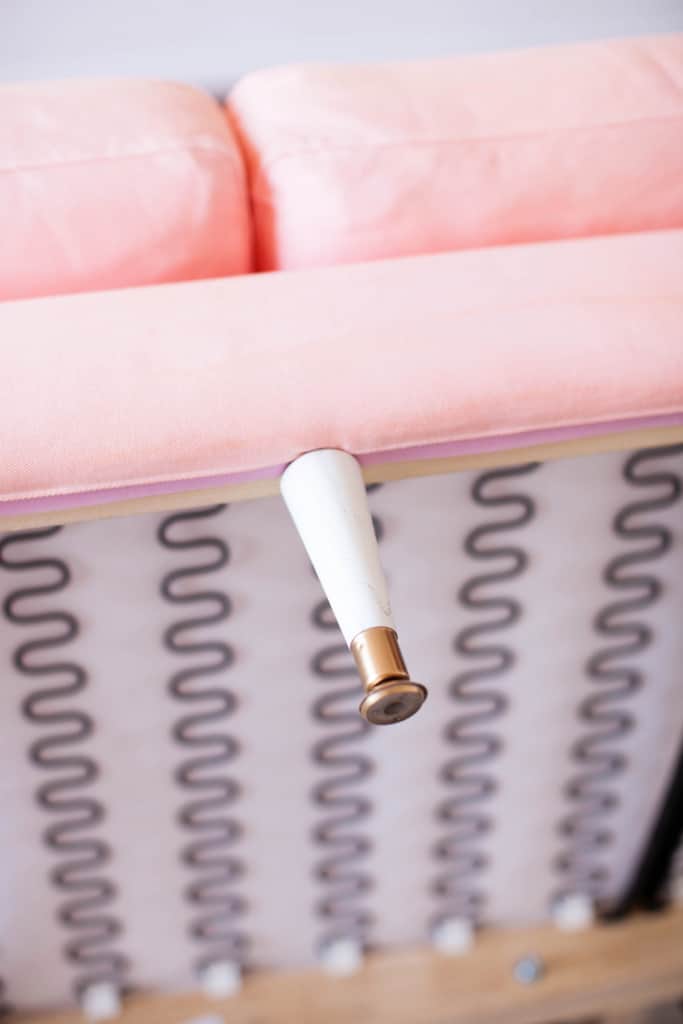
- To add the legs to the center of the couch, she simply drilled a hole into the couch and inserted he leg directly into the wood.
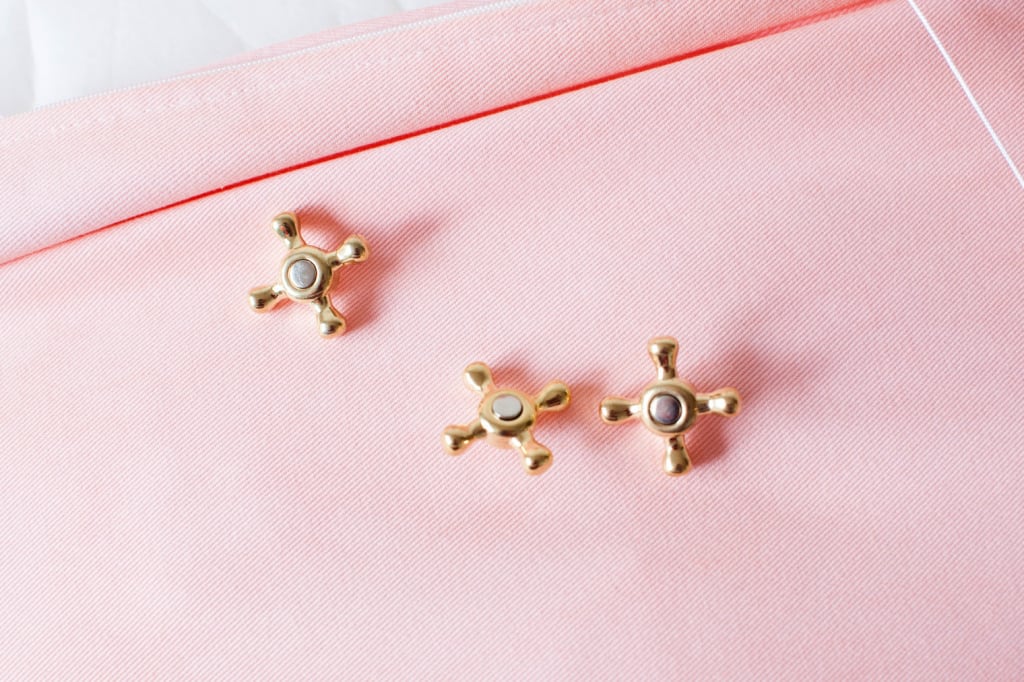
- For the tufting, she used a 7/8″ button cover kit and thread to make the buttons.

- She then attached the buttons to upholstery string and used a long upholstery needle to feed the string through the cushion.
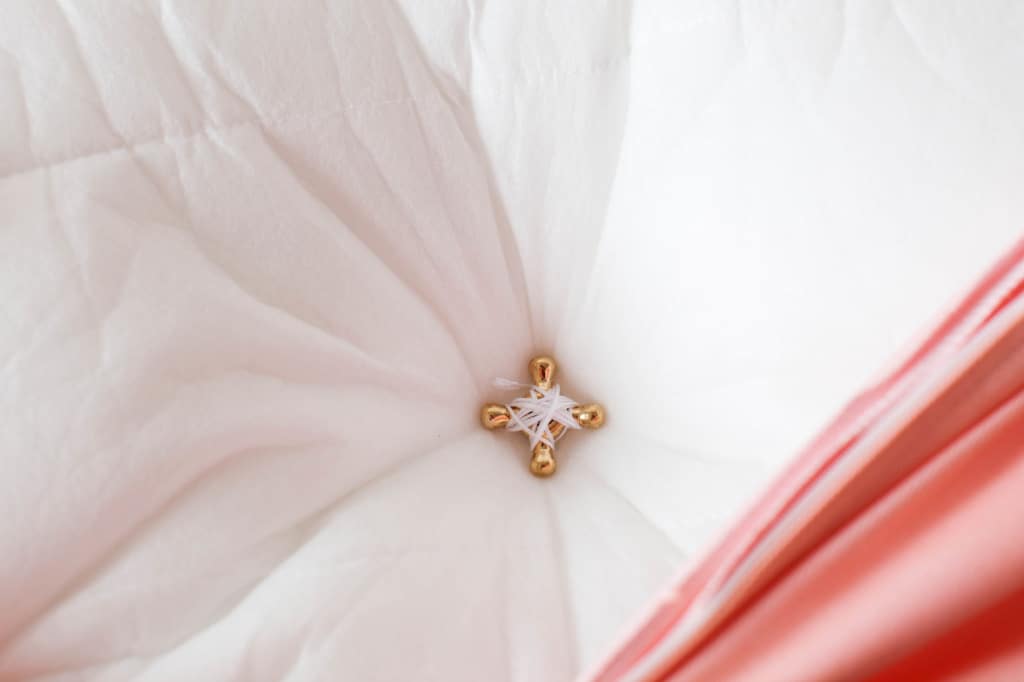
- She then pulled the string tight and used decorative buttons to anchor the string on the back of cushion. She didn’t want to go through the back of the cushion cover and a knot would have just pulled back through the cushion insert, so she used the decorative buttons to hold the tufting in place (pictured below).


Before

After


