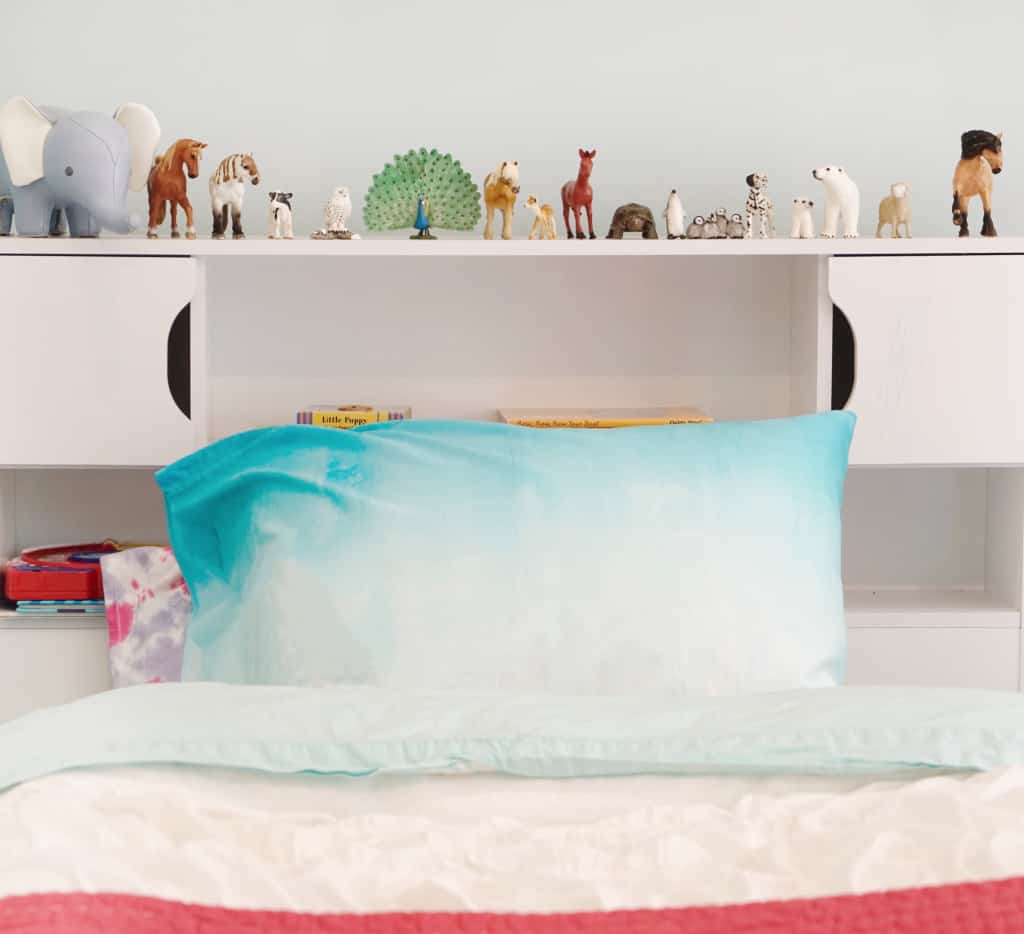
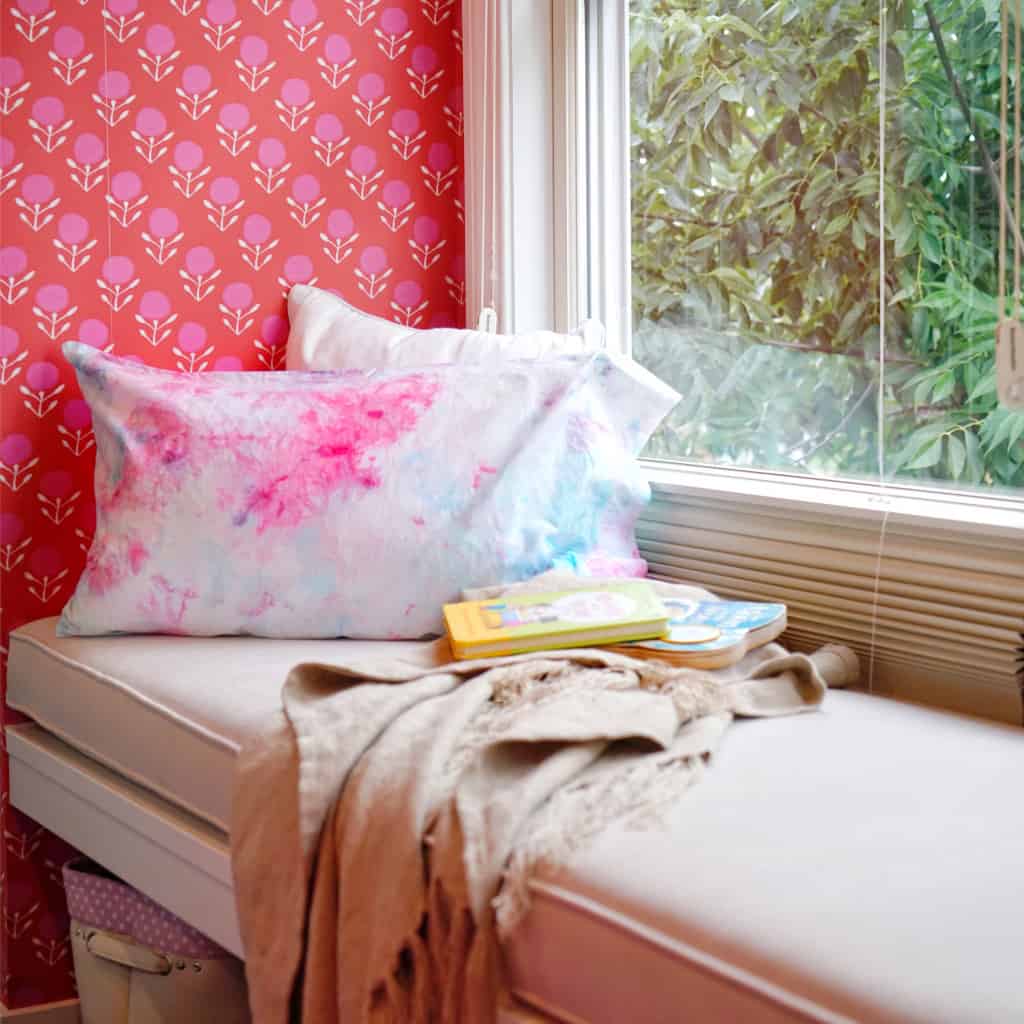
Kids Pillows!
What object do your kids use more than their bedroom pillow? Nothing! So that is why we are excited to show you two ways your kids can have a blast creating their own custom pillows. With just some dye and a pillowcase, they’ll be able to create something none of their friends will have.
Supplies
- Rit All-Purpose Dye (We Used Teal and Fuchsia)
- Cotton Pillowcase
- Plastic Container (If Dip Dyeing)
- Salt (If Dip Dyeing)
- Measuring Cup (If Dip Dyeing)
- Liquid Dish Detergent (If Dip Dyeing)
- Ice Cubes (If Ice Dyeing)
- Cooling Rack (If Ice Dyeing)
- Storage Bin or Pan to Catch (If Ice Dyeing)
- Plastic Table Cover
- Rubber Gloves
- ColorStay Dye Fixative (Recommended)
Instructions
Ombré

- Cover work area with plastic table cover and have paper towels handy to protect against any possible spills. Gather supplies.
- For best results, prewash pillowcase to remove any finishes that may interfere with dye absorption. Leave damp.
- Fill a plastic container or stainless steel sink with three gallons of hot water. The water should ideally be 140ºF. If tap water is not hot enough, heat water on the stove and add to the dyebath.
- To enhance the color, add one cup of salt. Add 1 teaspoon of dish detergent to help promote level dyeing.
- Wearing rubber gloves, add 1/2 bottle of well-shaken dye.
- Immerse the bottom of the pillowcase in the dyebath for 10 minutes, gently moving it back and forth and up and down.
- Quickly dip the middle section of the pillowcase. To prevent a straight line, keep moving the fabric and tilt it side to side so the dye colors unevenly. Let it sit for
- Remove pillowcase from the dyebath. Squeeze out excess dye.
- Recommended: To enhance the color and reduce color bleeding, use Rit ColorStay Dye Fixative immediately after dyeing and before washing. Let pillowcase set in fixative for 20 minutes.
- Rinse in cool water until water runs clear.
- Wash in warm water with mild detergent, rinse and dry.
Ice Dyed

Important: This technique must be done with Rit All-Purpose Powder Dye
- Prewash pillowcase in warm, soapy water. This helps to remove any finishes that may interfere with dye absorption.
- Gather supplies.
- Cover work area with plastic table cover and have paper towels handy to protect against any possible spills.
- Wet pillowcase and completely crumple into a small, flat ball.
- Place crumpled pillowcase on top of drying rack, over the plastic tub (to catch dripping dye).
- Cover fabric completely with ice. Different ice sizes will yield different patterns.
- Open dye packages. Use spoon to sprinkle dye on the ice.
- More powder will yield darker results.
- For more white space, sprinkle dye on as you might sprinkle salt on food. Use very little dye. You will probably think you aren’t using enough, but you are!
- Let the ice melt completely through the fabric.
- Once melted, we strongly recommend transferring the dyed pillowcase to a container with Rit ColorStay Dye Fixative. It enhances the color, increases color retention and prevents dye from bleeding into the white areas. Let it set for 20 minutes.
- Rinse in cool water until water runs clear.
- Wash in warm water with mild detergent, rinse and dry.
Posts You May Like

