
Supplies
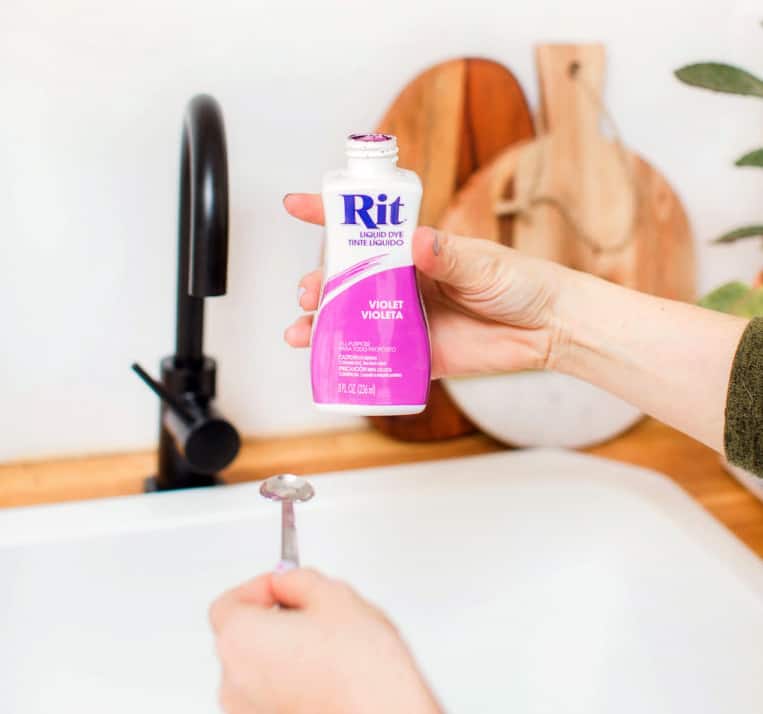
- Rit All-Purpose Liquid Dye (See Color Combinations Below)
- 2.5 Ounce Fine Mist Spray Bottles (One Bottle Per Color)
- 8 to 10 White Crepe Paper Rolls
- White Paper Honeycombs
- Scissors
- Rubber Gloves
- Paper Towels
- Measuring Spoons
- Gaffer's Tape
- Wood Dowels and Wall Hooks
- Plastic Table Cover
Difficulty
Beginner Total: {{ partial.t52A.total }}
Time
Total: {{ partial.tJJ5.total }}
Instructions
- Lay a protective cloth over the floor of your workspace.
- Select your color formula(s) here or pick a color that Oh So Beautiful used below. If using a color formula from the Rit site, select one of the medium size items and then divide the measurements by 1/4.

- Wearing rubber gloves, carefully pour well-shaken dye into small spray bottles. Top them off with hot water. Shake carefully to mix.
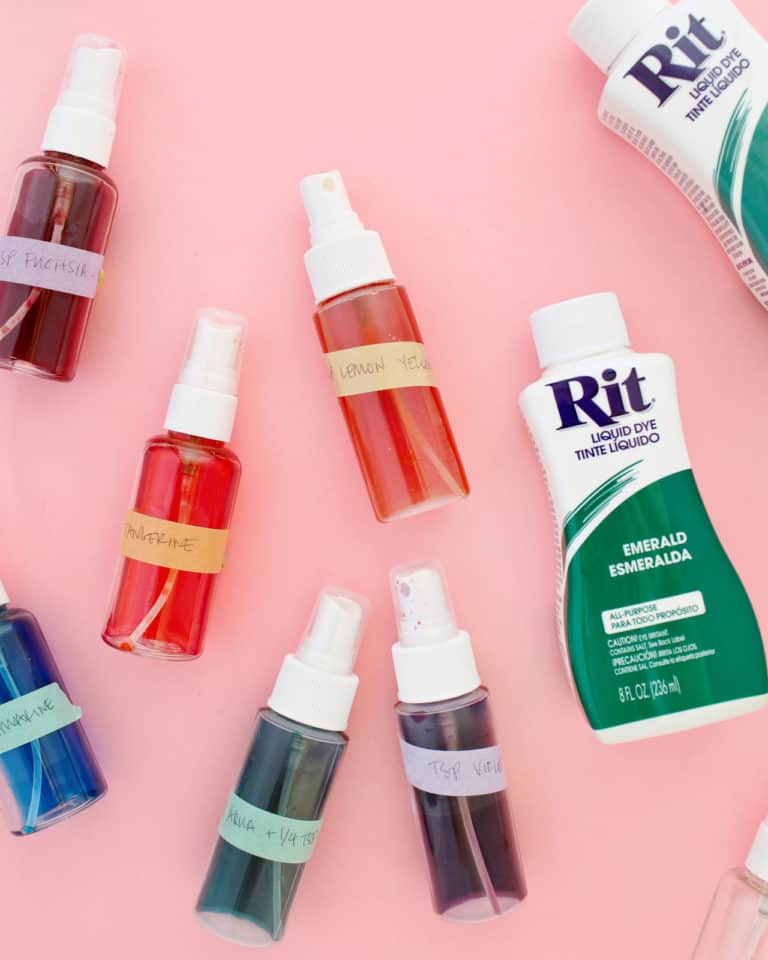

- Pro tip: Label your bottles as you go, otherwise you’re bound to lose track of what’s what.
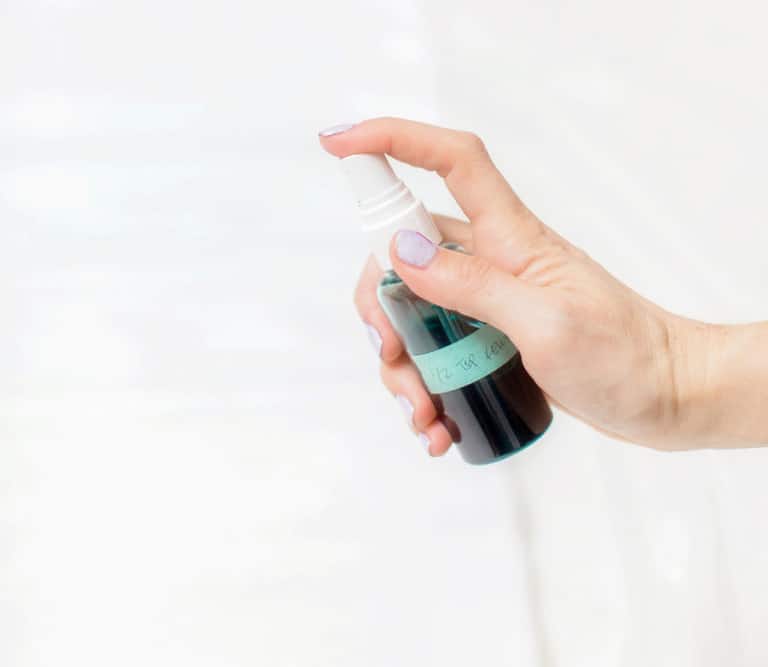
- Test each dye color by spraying the dye onto a paper towel or test sheet of crepe paper. If the color is too dark, pour out some dye solution and add water. If color is too light, start over and double the amount of dye used.
- To dye the honeycombs, simply spray a very light coat all over each honeycomb ball. For best results, make sure the paper doesn’t get too wet and blot the nozzle with a paper towel or a rag after 5-8 pumps to maintain a fine spray mist.
- To create the backdrop, unravel each roll of white crepe paper until it’s one big long sheet, then place each sheet on top of the protective cloth on the floor of your workspace. Spray a very light coat over each sheet of white crepe paper in rainbow order, placing analogous colors next to each other.
- Oh So Beautiful Paper switched things up a bit with the color order; sometimes she would start with pink or peach at the top and work her way down to lavender, other times she started with lavender and end with blue. Whatever order you choose, place analogous colors next to each other (oranges into pinks into purples) so the colors flow smoothly into each other and don’t end up looking muddy.
- After applying the dye, use gaffer’s tape to tape one side of each sheet to the floor. Then, pull on the other side of the paper to remove the stretch in the crepe paper and tape the other end to the floor. Allow the crepe paper to dry completely, around 30 minutes; then remove the tape.
- To hang the backdrop, use gaffer’s tape to adhere the crepe paper to long wooden dowels. Use non-damaging, removable wall hooks to hang the backdrop on the wall.
- For added depth and visual interest, layer the crepe paper sheets over each other and cut a few sheets into varying widths and mix them all together.


Posts You May Like
