Shibori Dyed Muslin Baby Blanket
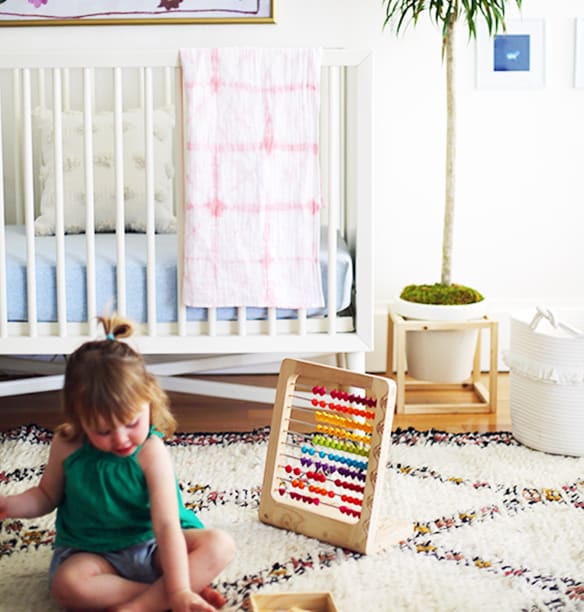
See how Little Green Notebook transformed a plain white muslin blanket into a unique one-of-a-kind shibori dyed piece with her very own gorgeous blush custom color formula.
Supplies
- Rit All-Purpose Dye (Jenny Used a Color Formula That Included Petal Pink, Sunshine Orange and Pearl Grey)
- Rit ColorStay Dye Fixative (Recommended)
- 4" Blocks of Wood
- Rubber Bands
- Salt
- Plastic Container or Stainless Steel Sink
- Dishwashing Liquid
- Measuring Cup and Spoons
- Plastic Gloves
- Plastic Table Cover
Time
Total: {{ partial.tZQ3.total }}
Difficulty
Beginner Total: {{ partial.tNZV.total }}
Instructions
- Prewash blanket in warm, soapy water. This helps to remove any finishes that may interfere with dye absorption.
- Gather supplies.
- Cover work area with plastic table cover and have paper towels handy to protect against any possible spills.
- Wet blanket.
- To create a traditional Itajime pattern, accordion fold or “fan fold” the fabric in 4 ½” wide folds down the length of the fabric. This will form a long rectangle. For more pattern variations, vary the size and width of the folds.
- Accordion fold or “fan fold” the long rectangle into a 4 ½” fabric square.
- Sandwich the fabric square between the 4” blocks of wood.
- Secure “sandwich” with rubber bands to tightly hold the fabric square together.
- Fill a plastic container or stainless steel sink with two gallons of hot water. The water should ideally be 140ºF. If tap water is not hot enough, heat water on the stove and add to the dyebath.
- To enhance the color, add one cup of salt when dyeing fabrics containing cotton.
- Add 1 teaspoon of dish detergent to help promote level dyeing.
- Shake dye bottles. Wearing rubber gloves, add Jenny’s recipe for blush.
Jenny's Blush Formula1/4 Cup Petal Pink2 Tablespoons Sunshine Orange1 Tablespoon Pearl Grey2 Gallons Water
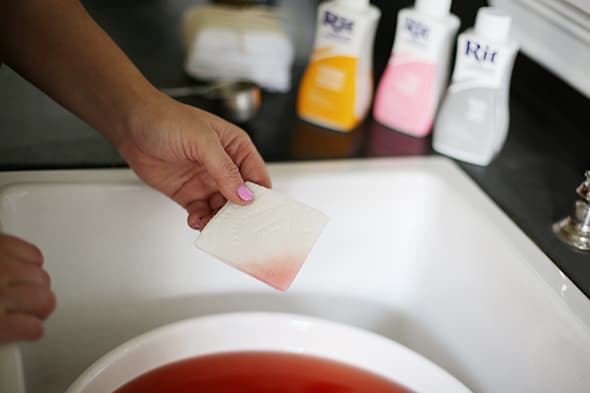
- Test color with a paper towel.

- If you think the color is too light, add more dye; if the color is too dark, add more water. If more dye is needed, add dye in increments of 1/4 of a teaspoon.
- Add sandwich to bath. Keep the sandwich in the dyebath for about 3 to 5 minutes. This ensures the wrapped parts stay dye-free.
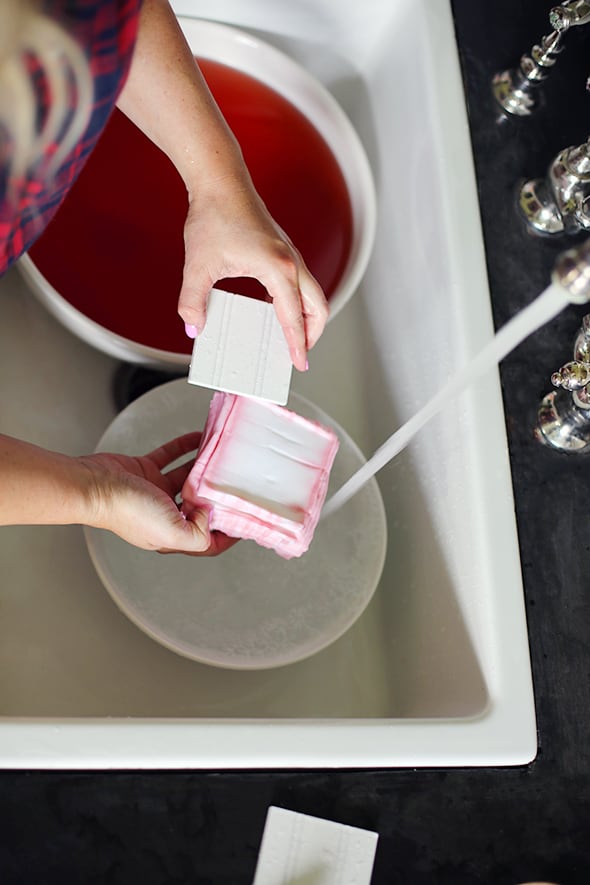
- Remove wrapped fabric from the dyebath. Do not remove wood blocks.
- We strongly recommend using Rit ColorStay Dye Fixative immediately after dyeing and before washing. It enhances the color, increases color retention and prevents dye from bleeding into white areas. Follow these instructions.
- Rinse in cool water until rinse water begins to run clear.
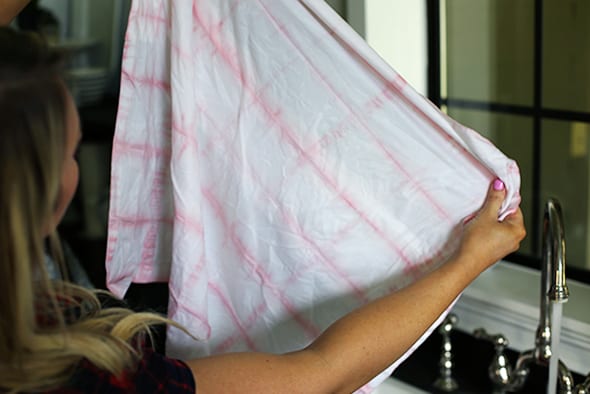
- Carefully remove wood blocks and rubber bands. Unfold the fabric.
- Wash in warm water with a mild detergent, rinse and dry.


Posts You May Like

