
Supplies
- Old White Fabric
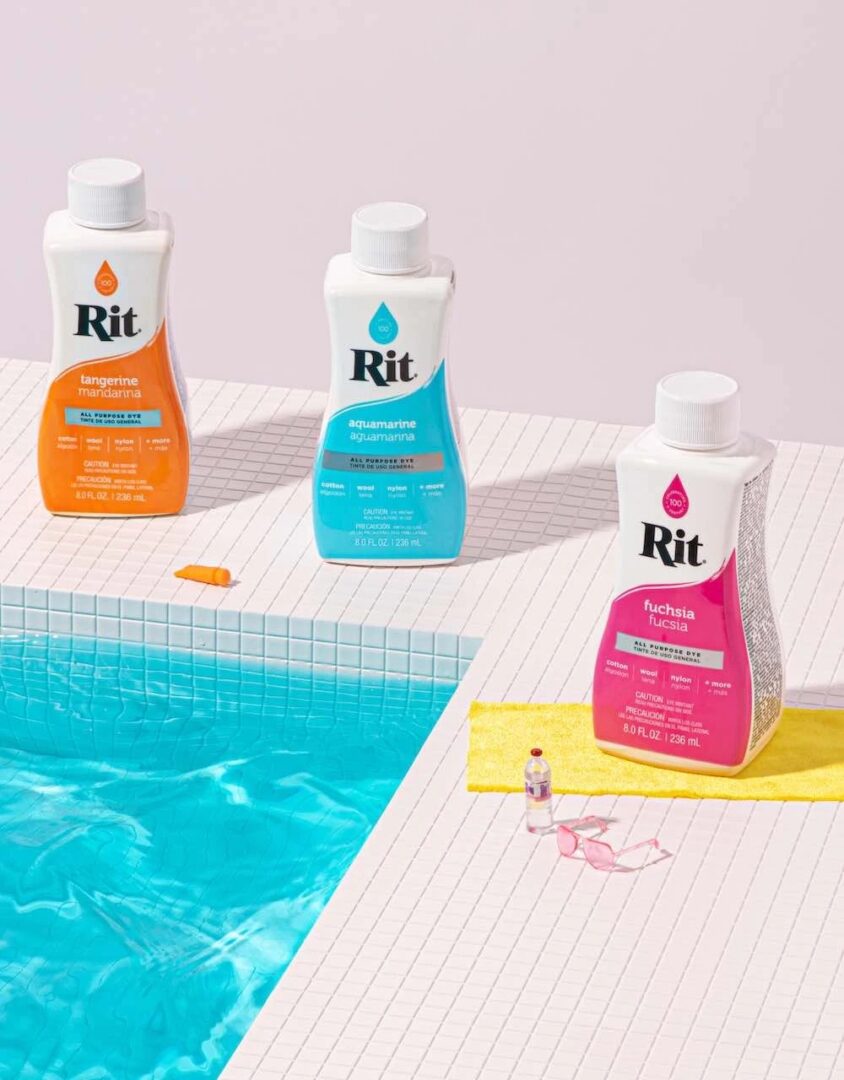
- Rit All-Purpose Liquid Dye: Black, Lemon Yellow, Apple Green and Aquamarine
- ColorStay Dye Fixative
- Stainless Steel Pot
- Measuring Cups and Spoons
- Metal Stirring Spoon
- Rubber Gloves
- Rubber Bands
- Scissors
- Foam Wreath from Craft or Repurpose Old Wreath
- Glue Gun
- Spider Webs
- Toy Spider
Time
1 HourTotal:
Difficulty
Beginner
Instructions
- Cover table with plastic. Gather supplies.
- Cut a piece of old fabric into a large square shape. A 16 x 16 piece was used for this wreath.
- Cut another piece of fabric into a rectangle shape. A 20 x 9 piece was used for this wreath.
- Fold your square piece of fabric accordion style. Fold in half and wrap with rubber bands. You can wrap in any pattern you like.
- Boil water in two different stainless steel pots and keep water at a low simmer for the duration of your dyeing.
- Shake dye bottles well and add a 1/2 bottle of All-Pupose Black to one pot of water.
- Add 1 cup of salt to dyebath (this helps to intensify the color). Add a squirt of liquid dish detergent. Stir well.
- In the second pot of water, add 9 tablespoons of Lemon Yellow, 1 tablespoon of Apple Green and 1 1/2 teaspoons of Aquamarine.
- Add 1 cup of salt to dyebath. Add a squirt of liquid dish detergent. Stir well.
- Test dye colors by dipping a paper towel into the dyebath. If color is too light, add more dye; if color is too dark, add more water.
- Immerse the square fabric bundle into the black dyebath. For a high contrast pattern, keep the bundle in the dye for about 3 to 5 minutes to keep the bound-up part dye-free. For more color and less white areas, let the square set in the dyebath for 10 to 20 minutes.
- Immerse the rectangle fabric into the green dyebath for 10 to 20 minutes.
- When desired color is achieved, remove the fabric bundles from the dyebaths. Squeeze out excess dye. Do not remove rubber bands.
- To enhance the color and reduce color bleeding, use Rit ColorStay Dye Fixative immediately after dyeing and before washing. Add four tablespoons of ColorStay Dye Fixative to three gallons of hot water. Stir well. Place dyed fabric bundle into the bath. Stir on and off for 20 minutes. Do this for both fabrics in separate dyebaths.
- Rinse fabric in cool water until rinse water begins to run clear. Carefully remove rubber bands; unfold the fabric. Wash the fabric in warm water with mild detergent by hand or in your washing machine with an old towel, rinse and lay out to dry.
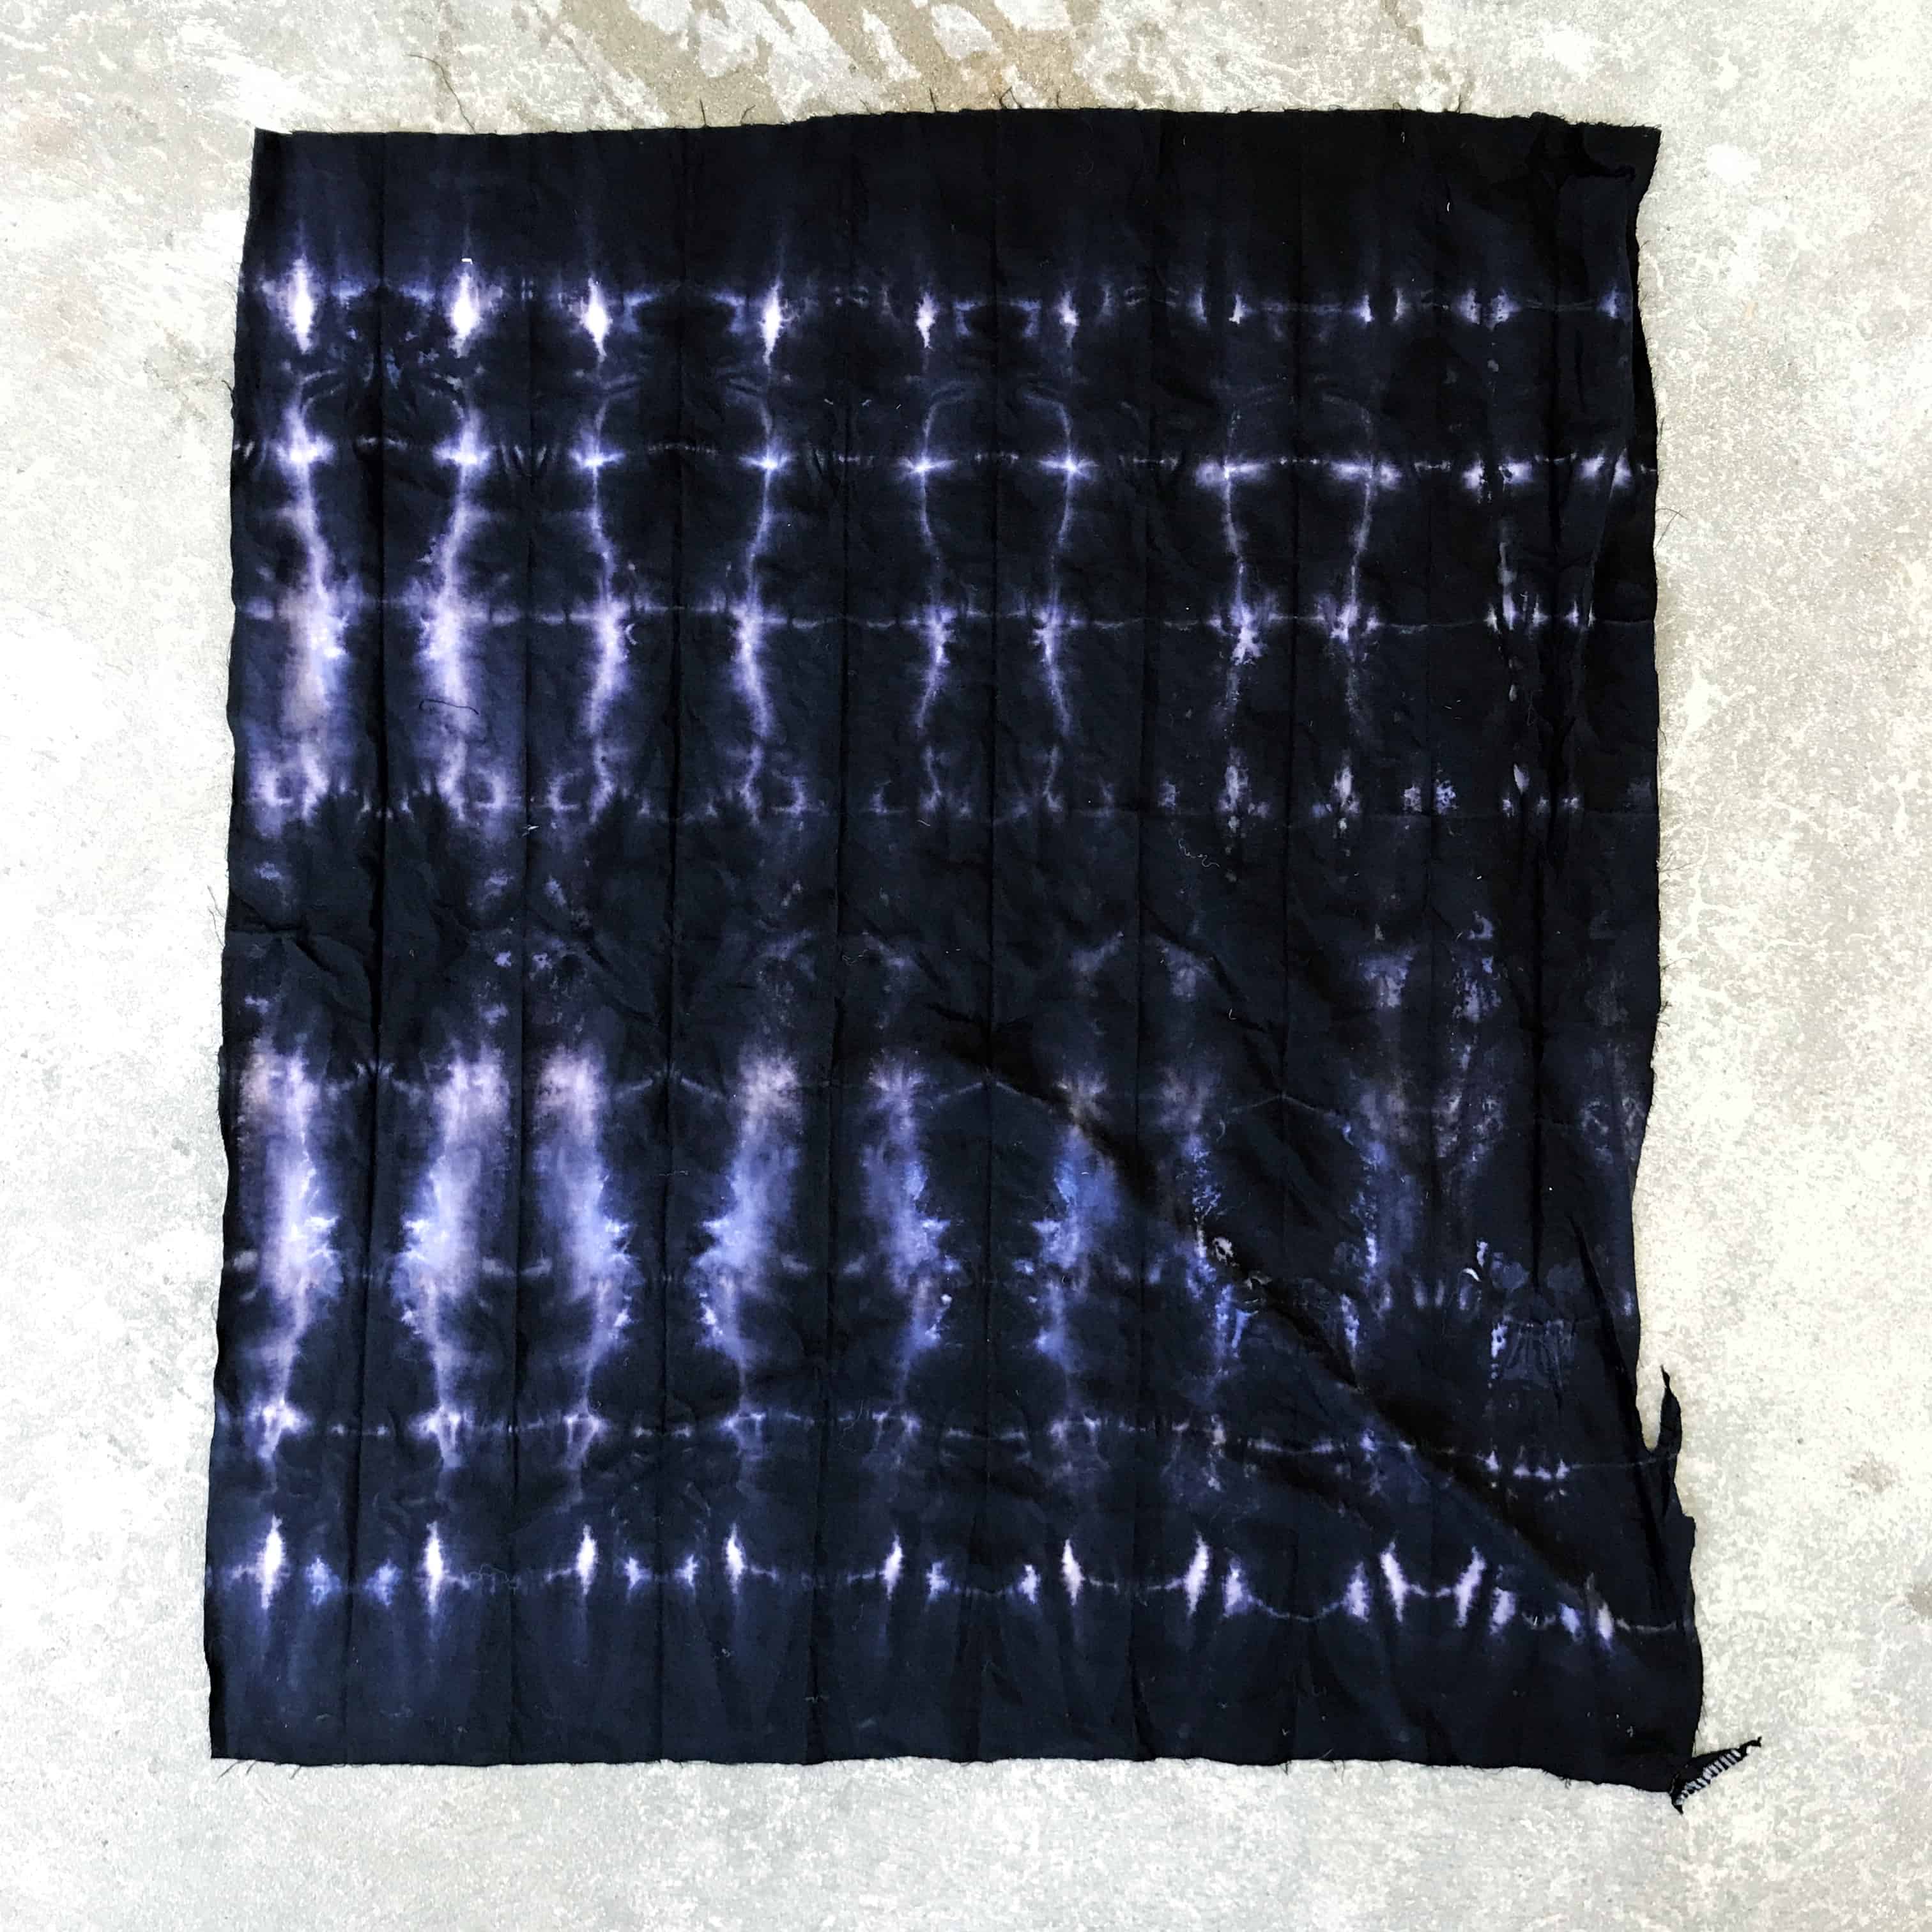
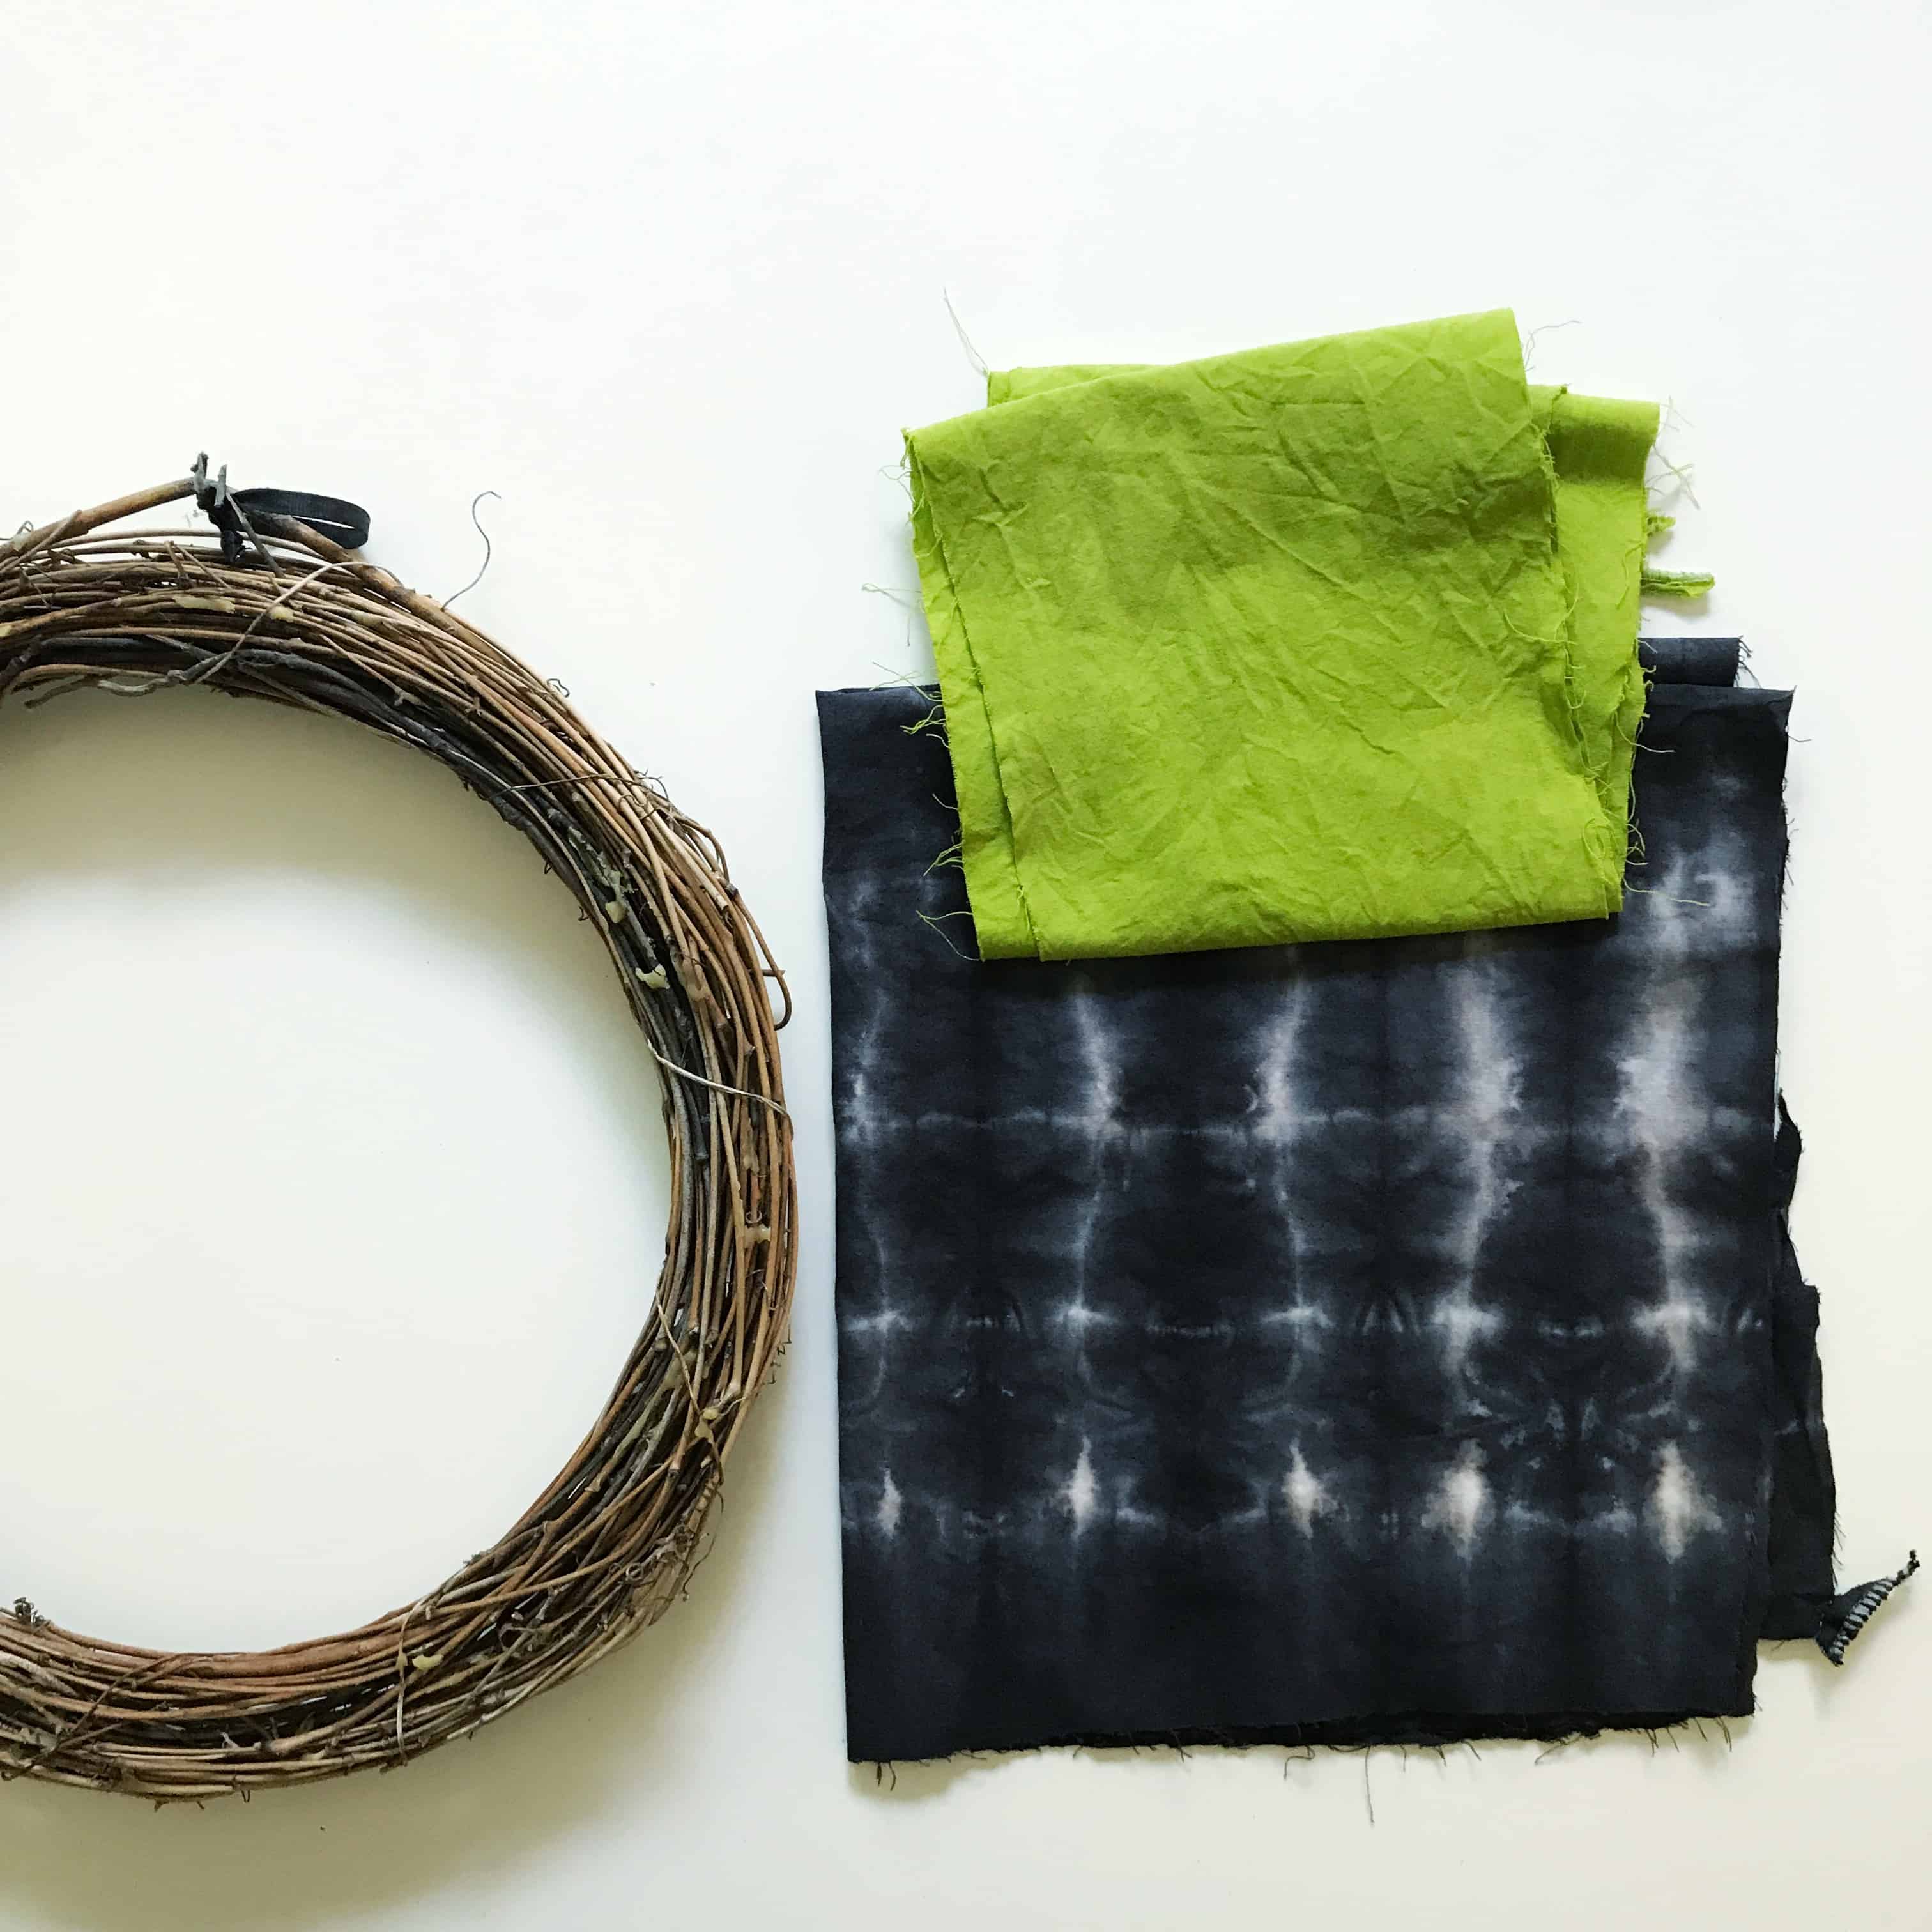
- For a more distressed look, scrunch the fabric by hand and leave the edges ragged.
- Cut the square shaped fabric into strips. Wrap and glue around the wreath.
- Tie the rectangle piece into a bow and glue it onto the wreath.
- For a spooky effect, add spider webs and toy spiders.