First Day of School Tie – Dye
BEGINNER
1 hour
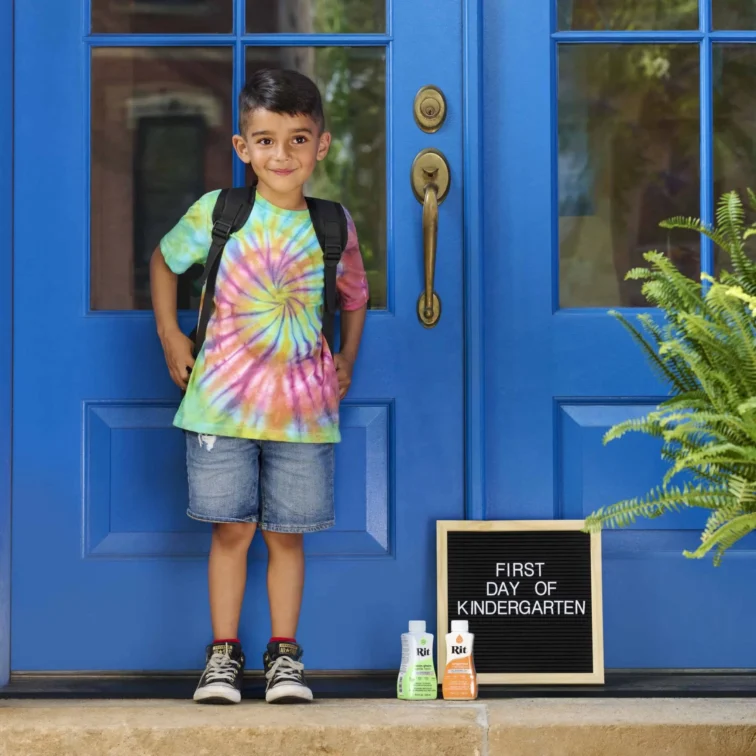
Make your little one’s first day extra special with a shirt as bright and bold as they are! This DIY tie-dye project is the perfect way to kick off the school year — personalized, playful, and packed with color.
Supplies
- Rit All-Purpose Dye in Neon Green, Lemon Yellow, Aquamarine, Fuchsia
- Rit Colorstay Dye Fixative
- Cotton T-shirt
- Rubber bands
- Squeeze Bottles
- Measuring Cup and Spoon
- Paper Towels
- Tongs
- Salt and Dish Soap
- Rubber Gloves
Instructions
- Prewash garment in warm, soapy water. This helps to remove any finishes that may interfere with dye absorption. Leave damp and lay flat on clean surface.
- Decide where to place the center of the spiral. Then position your fingers around the center point and slowly begin to twist fabric in a spiral direction.
- Wrap rubber bands around fabric to hold spiral together. Set aside.
- Wearing rubber gloves, mix 2 tablespoons of well-shaken liquid dye with two cups of hot tap water. Add 1 tablespoon of salt. Pour into a squirt bottle. Shake well. Repeat the same process to create desired colors.
- Place bound fabric on a wire rack with a tray or container under. This is very important because it keeps the dye from puddling under the fabric. Squirt each dye color on fabric in sections created by the rubber bands or as desired.
- Apply Aquamarine to ½ of the spiral and Fuchsia to the other half. Allow the center to bleed into each other to create purple.
- Flip over to apply Lemon Yellow on the backside of where Fushsia was applied in Step 6. Then apply Neon Green to the other half.
- To set the dye, do the following right after applying the dye: Apply Rit ColorStay Dye Fixative with a spray bottle, which will enhance the colors and reduce bleeding. Mix 2 tablespoons of well-shaken ColorStay Dye Fixative with water and apply liberally to both sides of the jacket.
- If your garment doesn’t have any metal components, wrap garment in plastic wrap and seal the edges. Place the wrapped garment on a paper towel in the microwave and heat for 1 to 2 minutes. Plastic will puff up, creating a heat chamber that helps bond the dye with the fabric. Once the microwave is done, remove the garment and open the plastic, letting it cool down.
- Rinse in cold water until rinse water begins to run clear. This is very important to prevent unabsorbed dye from bleeding into any white areas.
- Wash in cold water with a mild detergent, rinse and dry.