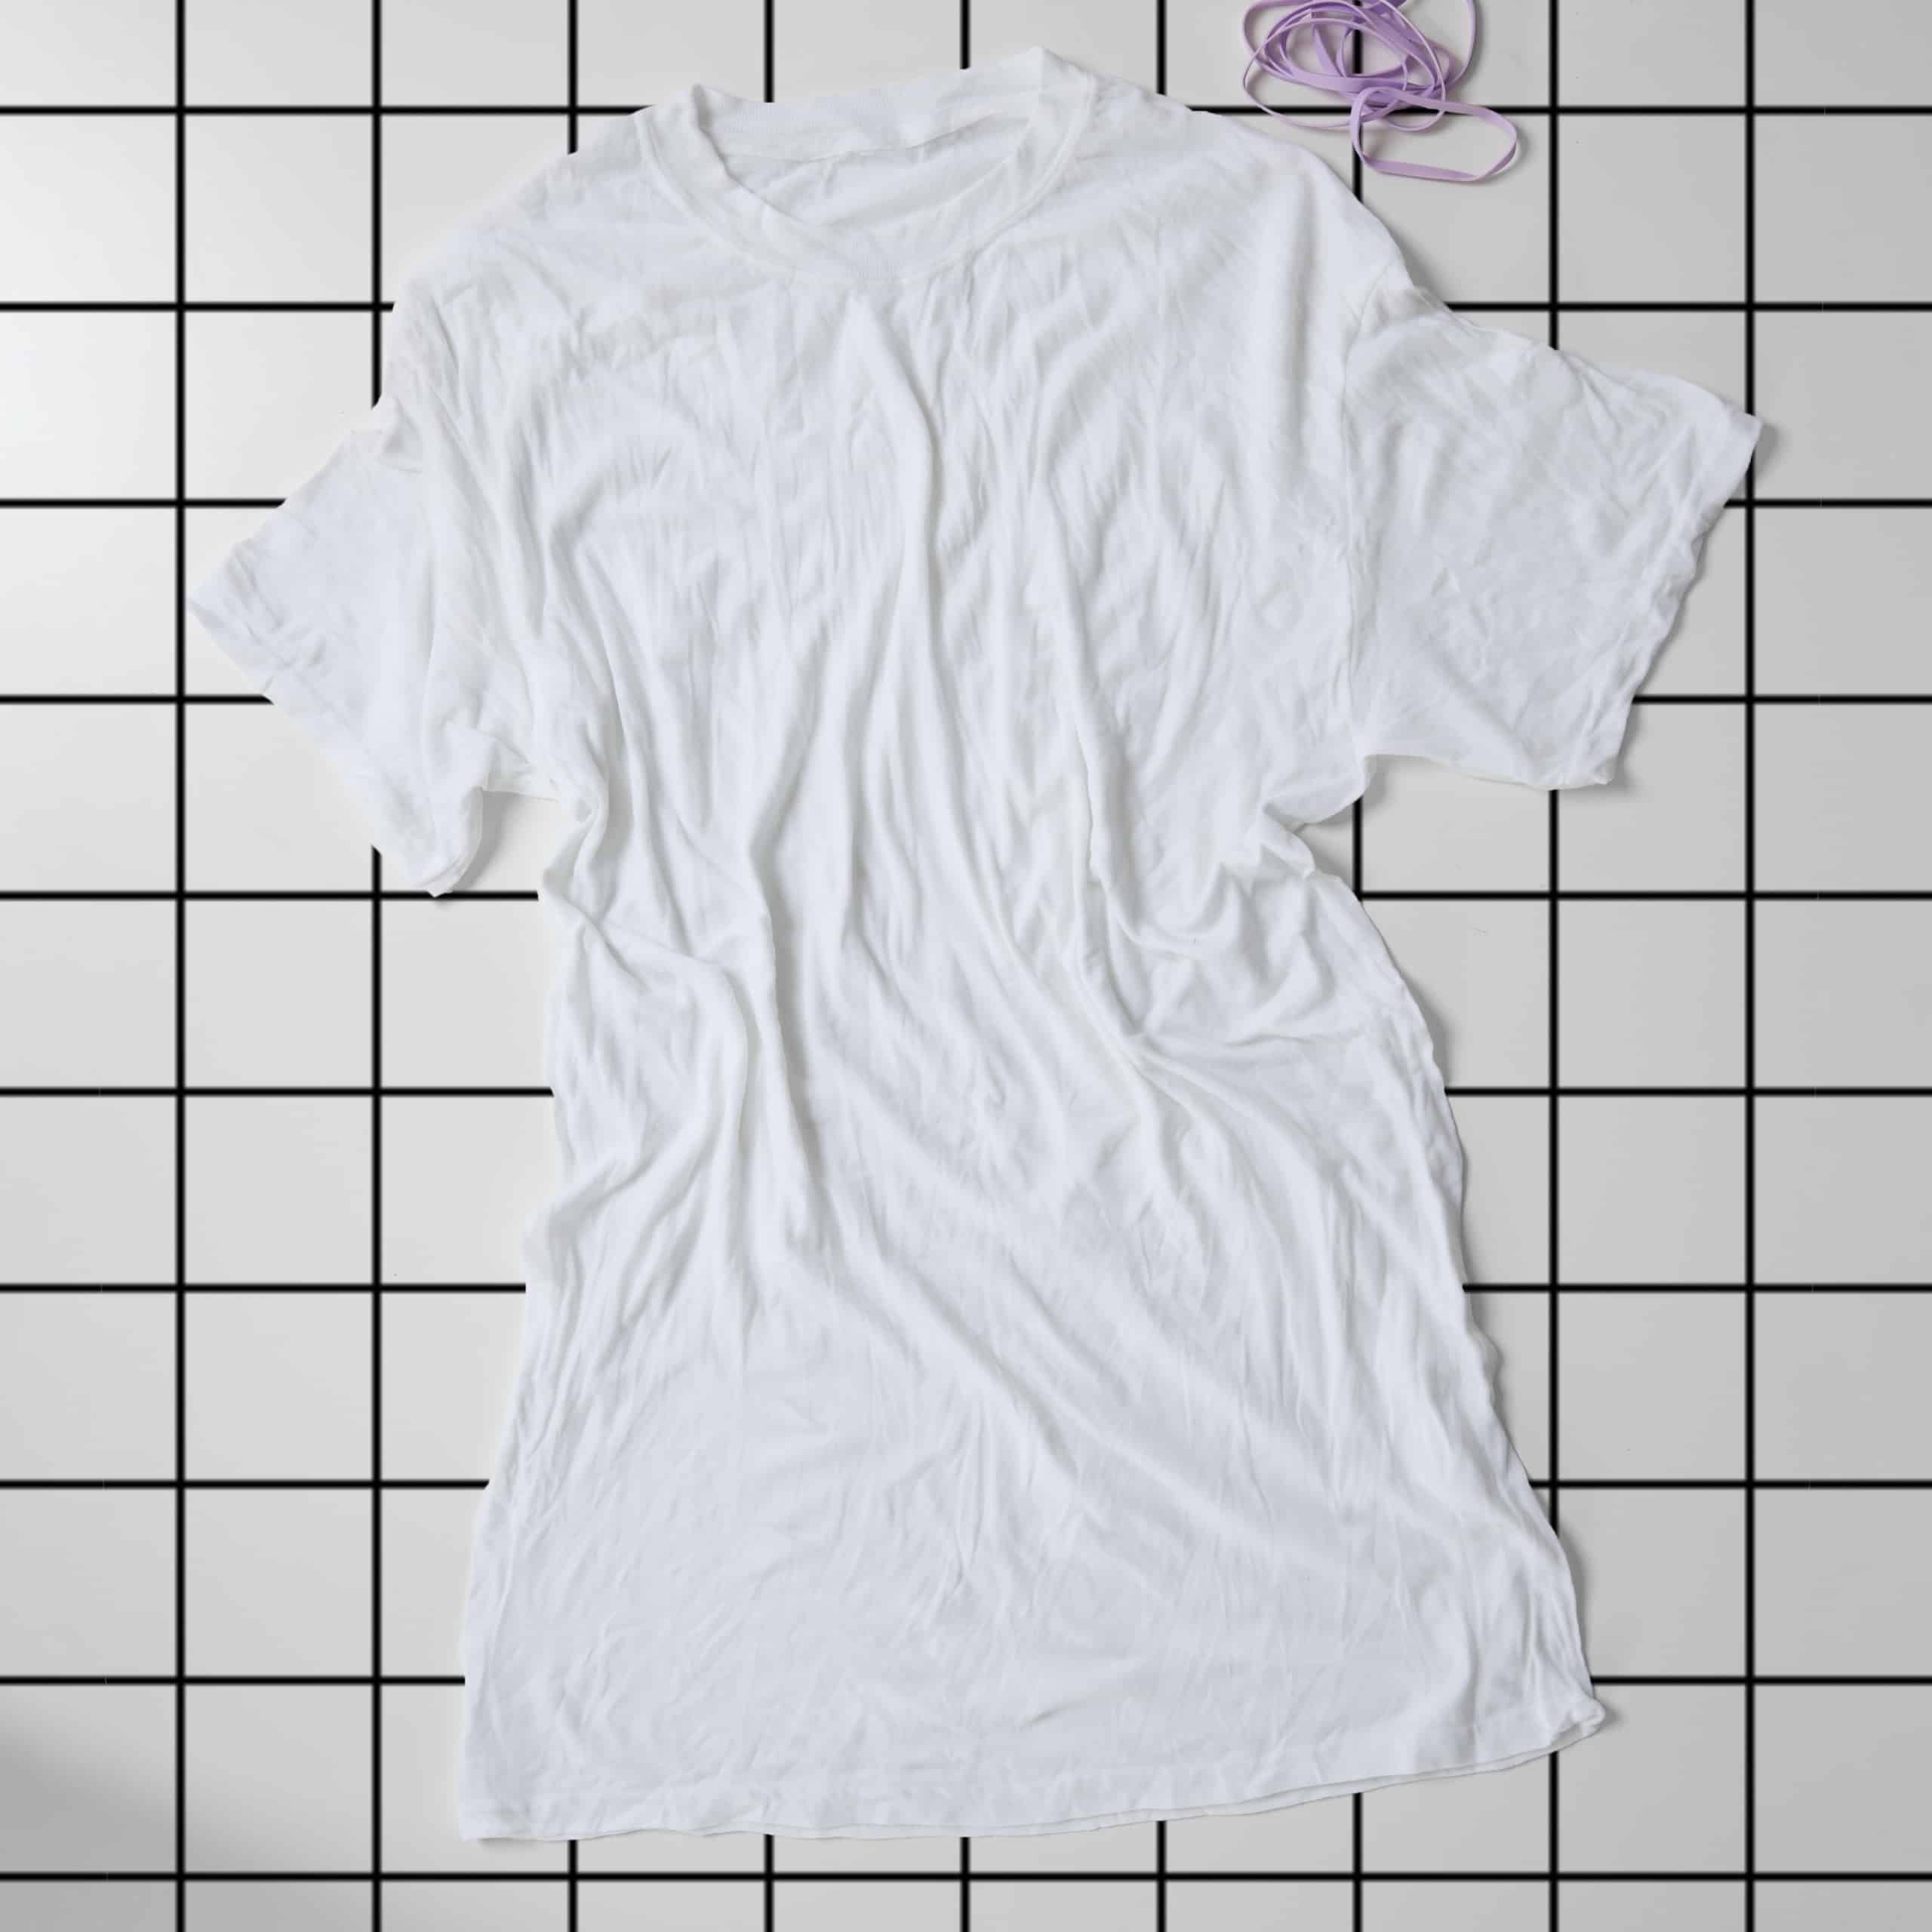
Important Notes
Instructions
- Prewash garment in warm, soapy water. This helps to remove any finishes that may interfere with dye absorption. Leave damp and lay flat on clean surface.
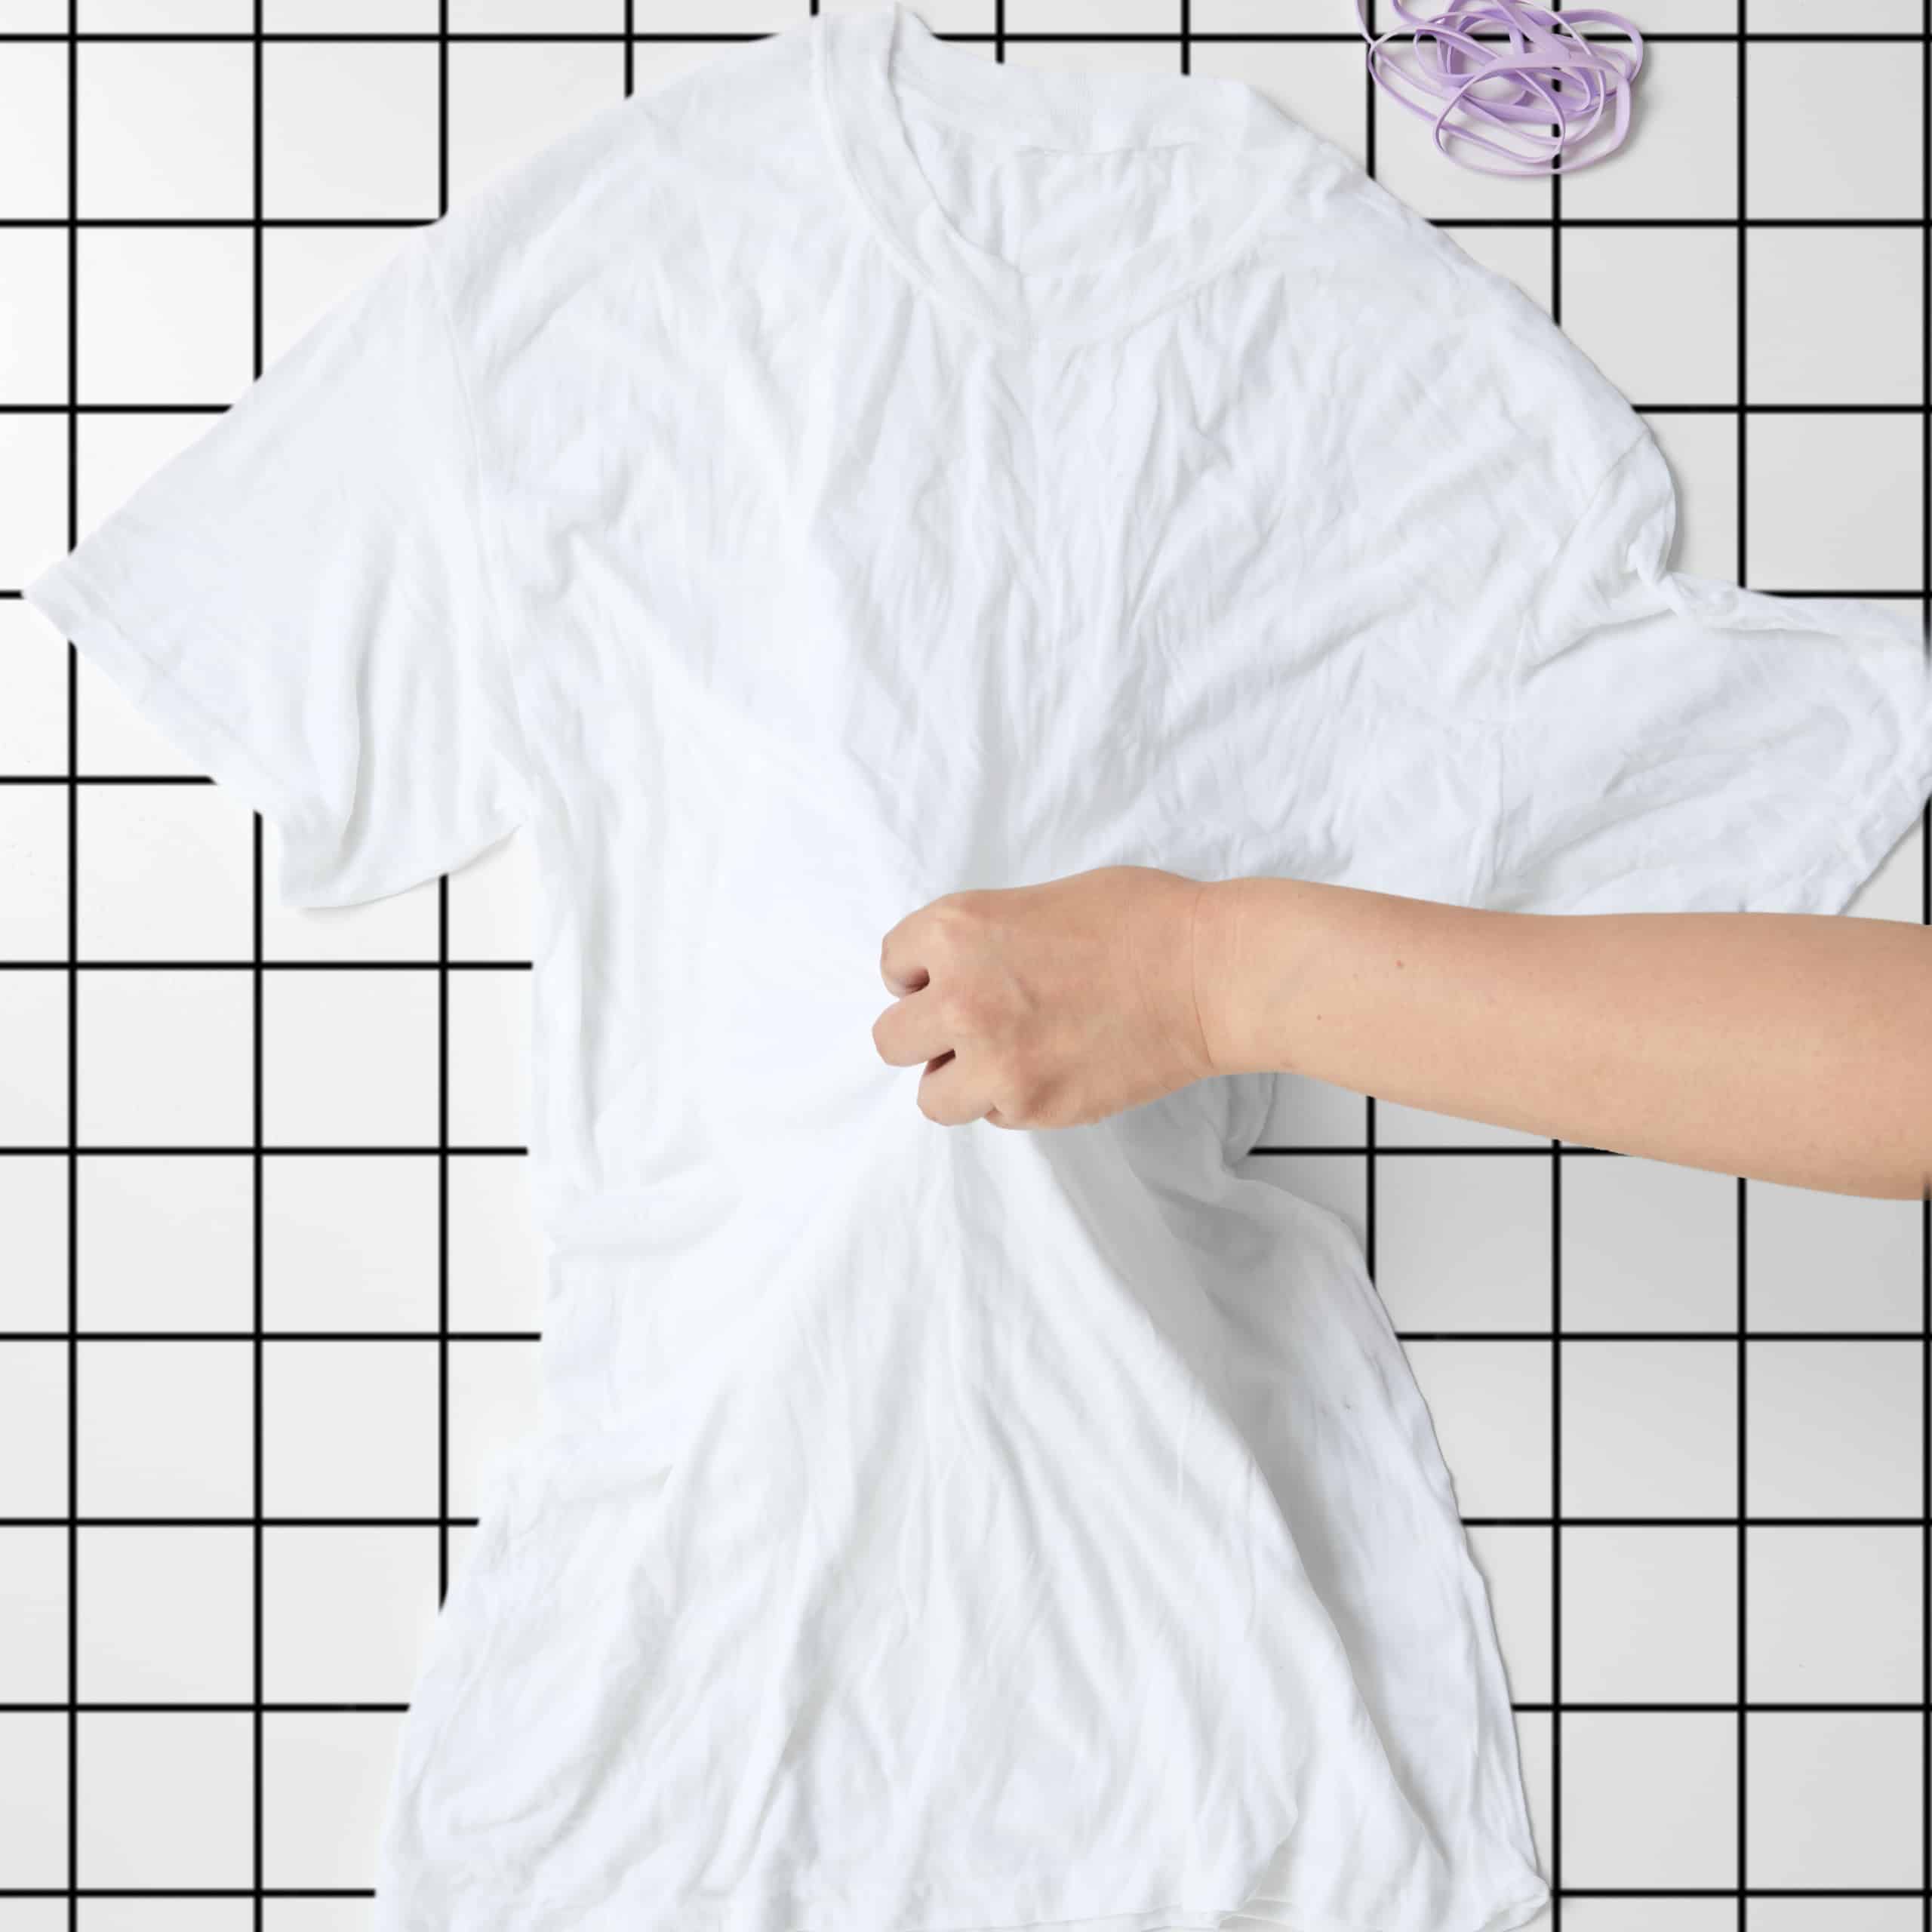
- Decide where to place the center of the bullseye. Then position your fingers around the center point and slowly pull up.
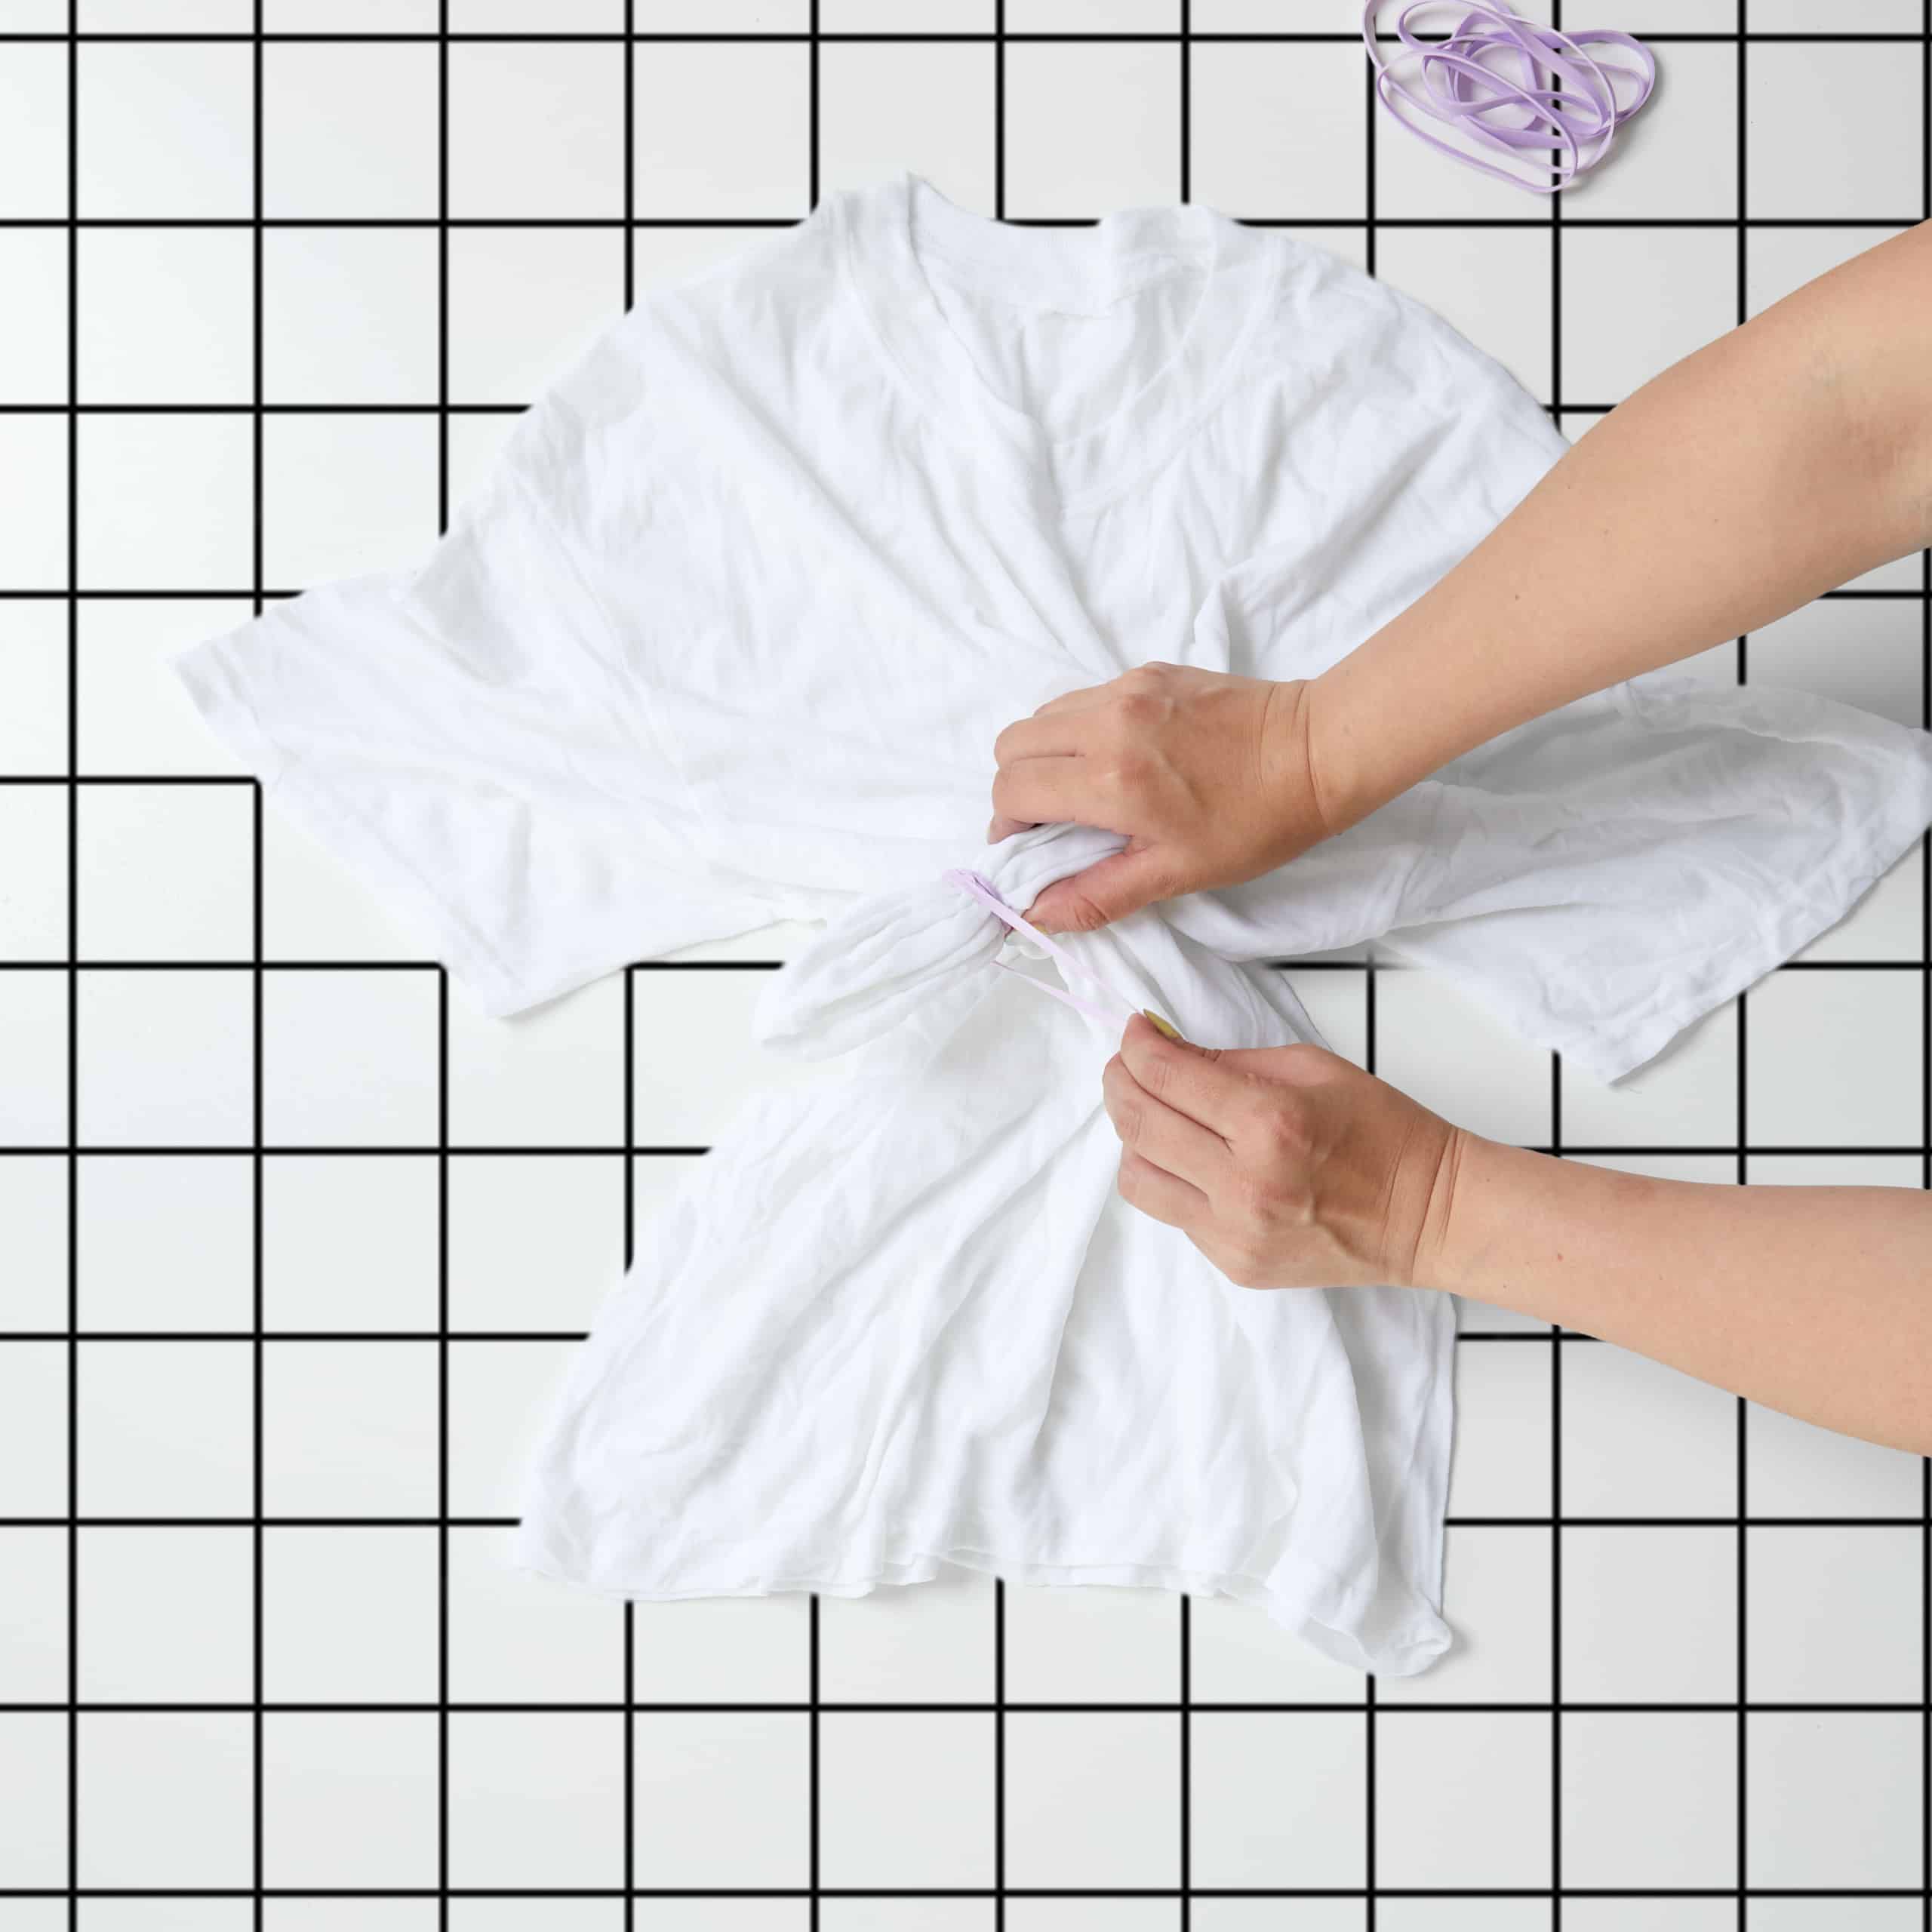
- Wrap rubber band 1” from the pinched center.
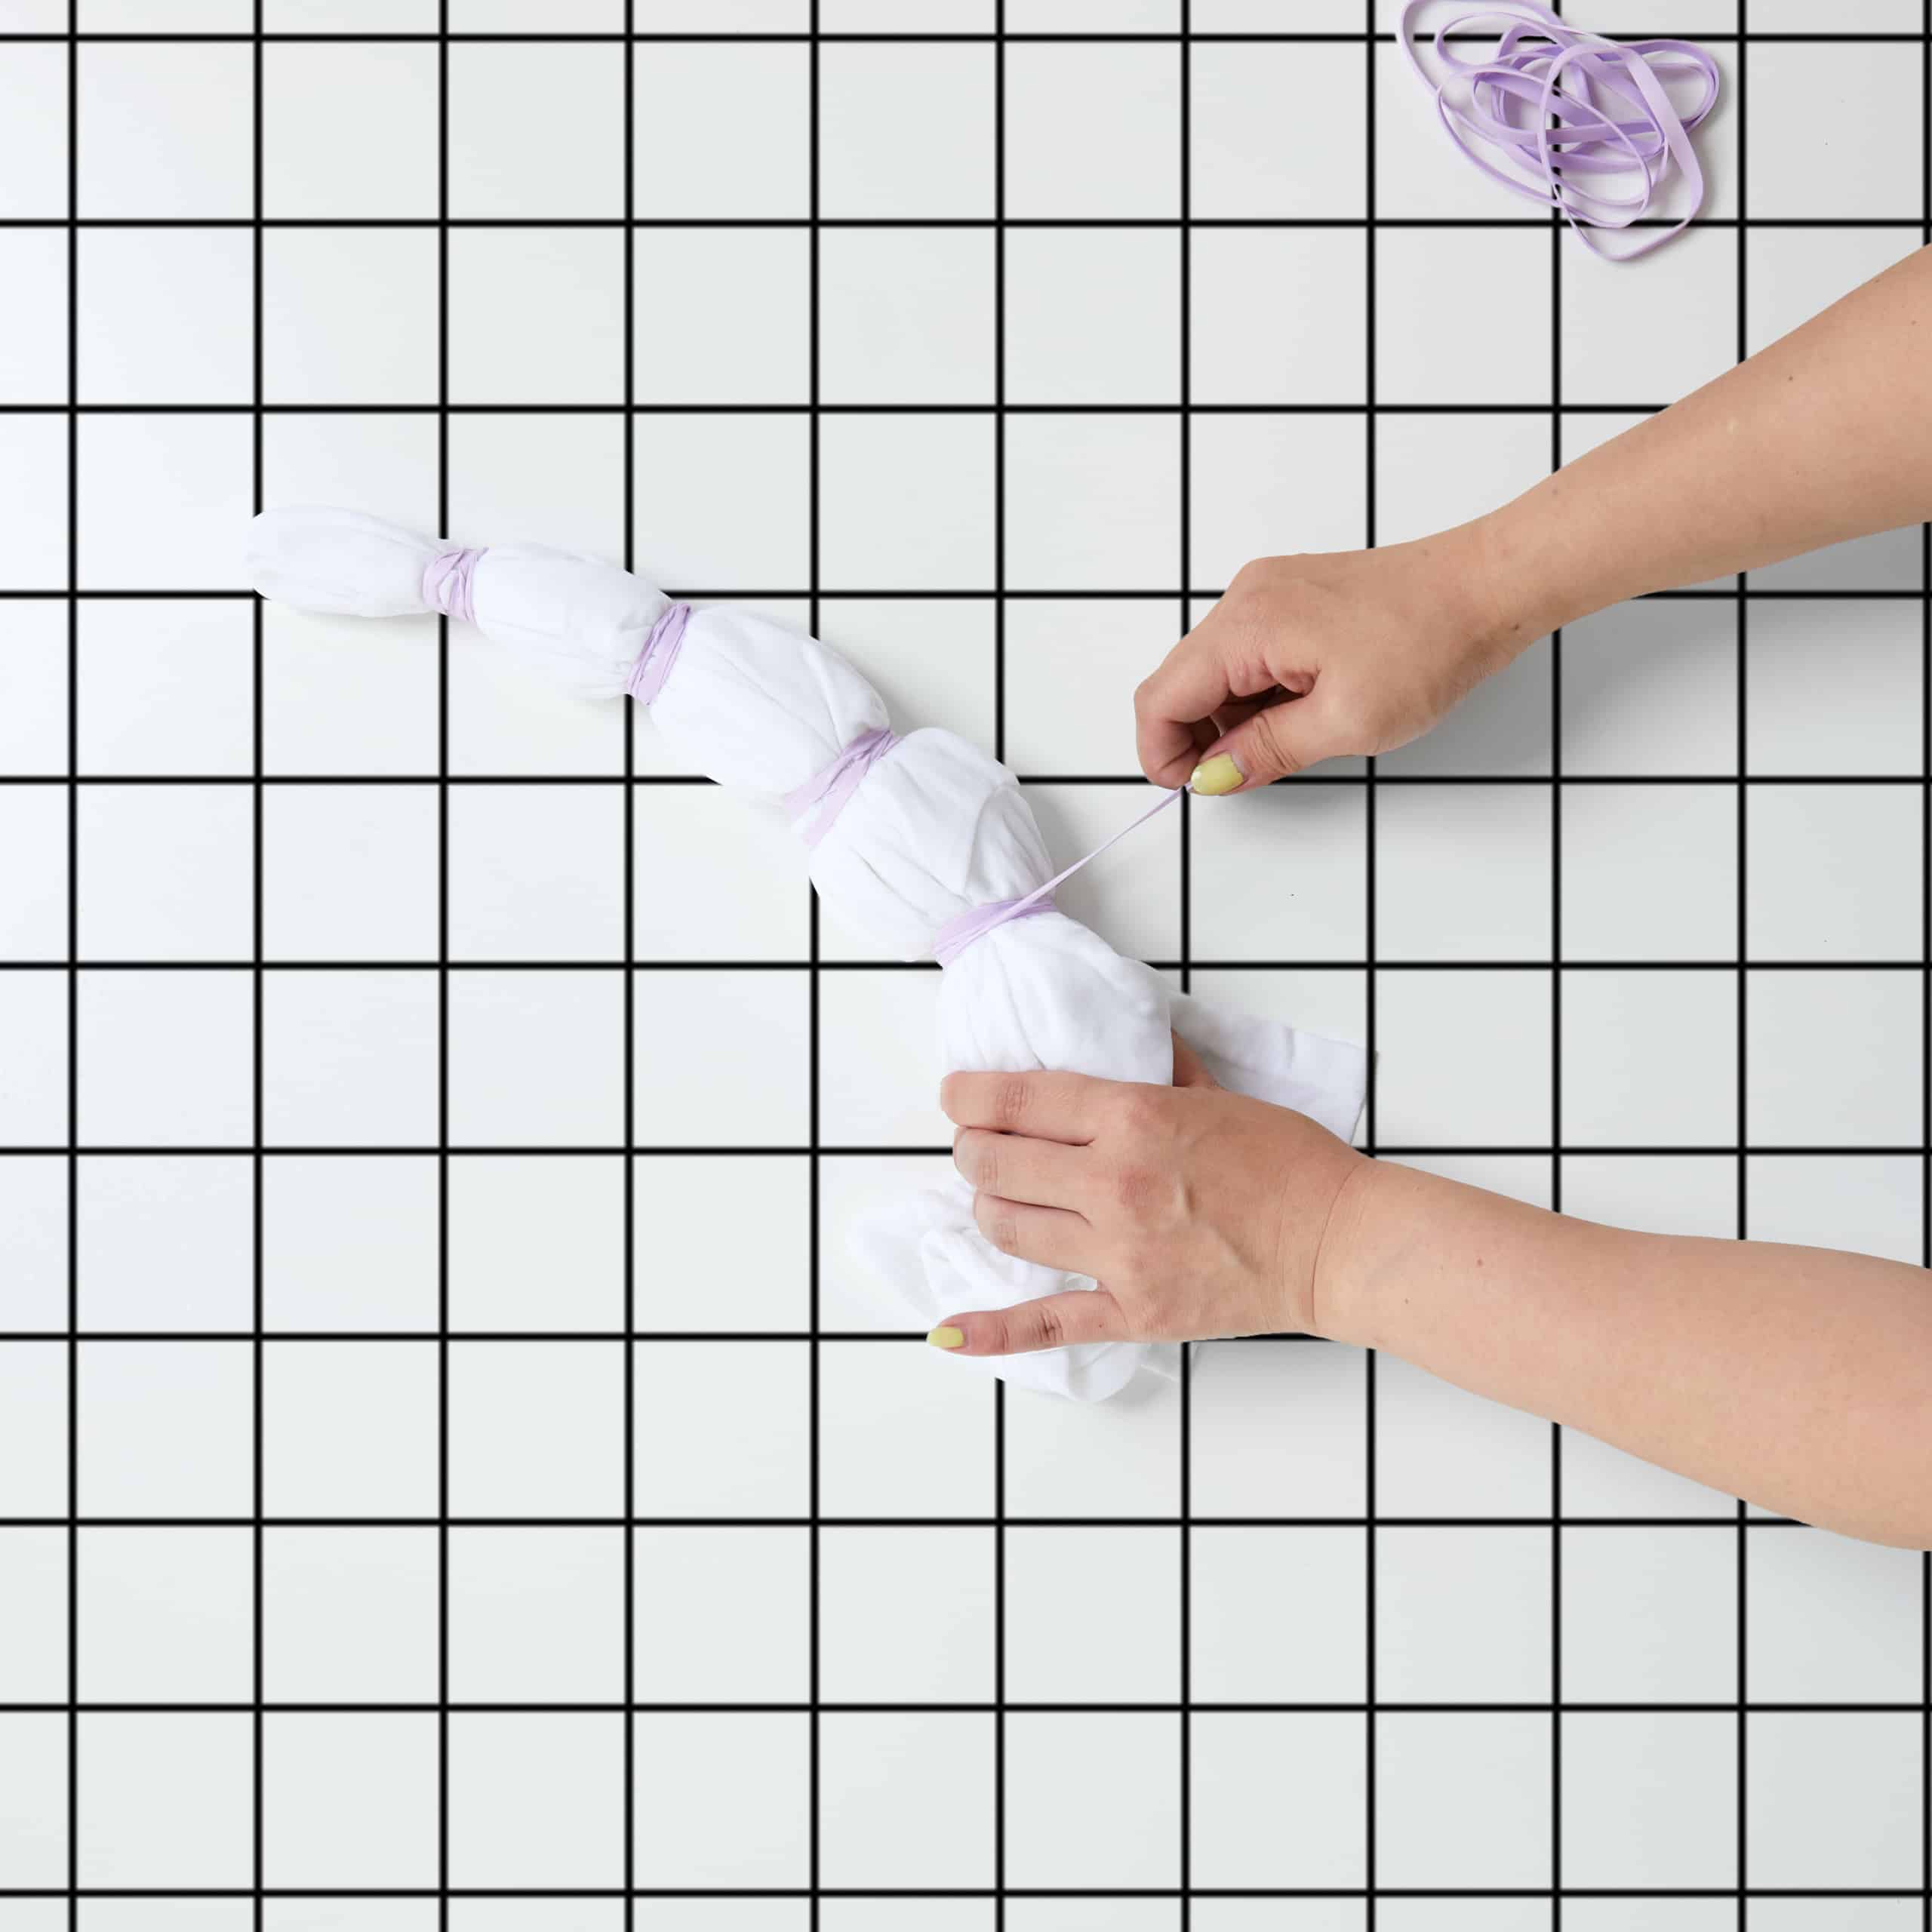
- Continue to add rubber bands incrementally down the rest of the garment. Remember, the more rubber bands you use and the tighter they are wrapped, the more white space there will be.
- Wearing rubber gloves, mix 2 tablespoons of well-shaken liquid dye with two cups of hot tap water. Add 1 tablespoon of salt. Pour into a squirt bottle. Shake well. Repeat the same process to create desired colors.
- Place bound fabric on a wire rack with a tray or container under This is very important because it keeps the dye from puddling under the fabric. Squirt each dye color on fabric in sections created by the rubber bands or as desired.
- Apply dyes in sections created by rubber bands. Flip over to repeat.
- To set the dye, do the following right after applying the dye: Apply Rit ColorStay Dye Fixative with a spray bottle, which will enhance the colors and reduce bleeding. Mix 2 tablespoons of well-shaken ColorStay Dye Fixative with water and apply liberally to both sides of the jacket.
- If your garment doesn’t have any metal components, wrap garment in plastic wrap and seal the edges. Place the wrapped garment on a paper towel in the microwave and heat for 1 to 2 minutes. Plastic will puff up, creating a heat chamber that helps bond the dye with the fabric. Once the microwave is done, remove the garment and open the plastic, letting it cool down.
- Rinse in cold water until rinse water begins to run clear. This is very important to prevent unabsorbed dye from bleeding into any white areas.
- Wash in cold water with a mild detergent, rinse and dry.


Due to the complexity of dyeing synthetics, you must use the stovetop method to maintain an almost boiling temperature for the duration of your dyeing (around 180 F°).
- Prewash garment in warm, soapy water. This helps to remove any finishes that may interfere with dye absorption. Leave damp and lay flat on clean surface.
- Decide where to place the center of the bullseye. Then position your fingers around the center point and slowly pull up.
- Wrap rubber band 1” from the pinched center.
- Continue to add rubber bands incrementally down the rest of the garment. Remember, the more rubber bands you use and the tighter they are wrapped, the more white space there will be.
- Now it is time to create your dyebath.
- Cover work area around stove with plastic table cover or newspaper and have paper towels handy to protect against any possible spills.
- Fill a stainless steel pot with three gallons of hot water.
- Add 1 teaspoon of dish detergent to help promote level dyeing.
- As a general guideline, one bottle of Rit DyeMore will dye up to two pounds of dry fabric. If dyeing 100% polyester or trying to achieve a very bold color, double the dye quantity.
- Cover pot and heat water on stove top to just below boiling (or 180°F / 82°C).
- Wear rubber gloves to protect hands from getting stained and to insulate them when working with hot water.
- When water begins to simmer, add well-shaken dye and mix well.
- Wet fabric.
- Immerse your wrapped fabric in the dyebath for 4 to 10 minutes, up to 30 minutes, stirring occasionally. Allow more time if dyeing 100% polyester. The longer the fabric is in the dye bath, the darker the color will be. Please note that fabric will look darker when wet and will dry lighter.
- When desired color is achieved, remove wrapped fabric from the dyebath. Squeeze out excess dye.
- Rinse in warm water and then gradually cool water until rinse water begins to run clear.
- Carefully remove rubber bands with a scissors and unfold the fabric.
- Wash in warm water with a mild detergent, rinse and dry.
