
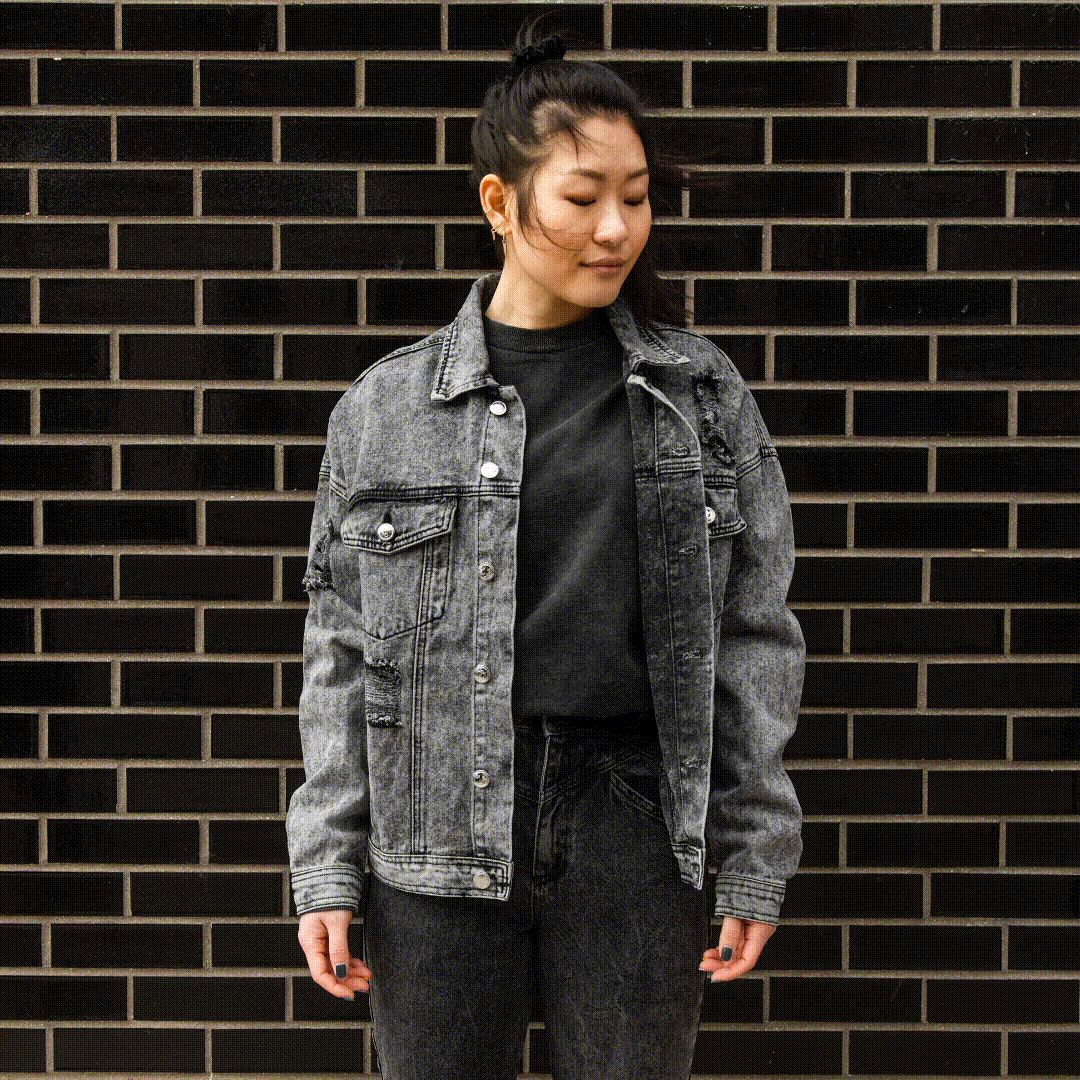


Say 👋 to Sage
The newest additional to the Rit All-Purpose Liquid family. A muted green with an air of softness that evokes a feeling of calmness and serenity. Now available at Michaels, JOANN, Blick Art Materials and online.
Dyeing Tips
Thinking of breathing new life into an old t-shirt, vintage dress, or a plain set of curtains? Curious about the tools you’ll need to pull off your first dyeing project? Here’s everything you need to know to confidently embark on your dyeing adventures.
Rit All-Purpose Dye
The only dye you need for your favorite, washable fabrics containing natural fibers like cotton, wool, and silk, as well as synthetics like nylon and rayon. With nearly 1,000 color blend possibilities, it’s made to make all color palettes happy. The opportunity to customize the fabrics in your life for one-of-a-kind looks not found in any store is just a dye job away. Not too shabby.
Rit DyeMore for Synthetics
Formulated specifically for fabrics made of synthetic fibers like polyester, acrylic, and acetate, this dye is ready, able, and willing to bring a fresh burst of color to your favorite synthetic garments, household furnishings, and more.
Rit Back to Black Dye Kit
Is your favorite black clothing faded? Now with Rit’s Back to Black Dye Kit, you can restore clothing back to a rich black in just a few easy steps. Included in the kit is Jet Black All-Purpose Dye, our darkest, richest black ever. Plus, ColorStay Dye Fixative, our secret weapon to reduce bleeding and fading.
Rit Tie-Dye Accessory Kit
Scrambling to find the supplies you need to tie-dye? Look no further than our tie-dye accessory kit, which includes perfectly-sized squeeze bottles, rubber bands, protective gloves and a microwavable tray to help speed up the dyeing process.
Rit Indigo Shibori Tie Dye Kit
Shibori is a Japanese dyeing technique that involves folding, twisting or bunching cloth, binding it and then dyeing it with indigo. We have assembled an easy-to-use kit that includes everything you need to create a wide range of unique shibori patterns.
{{ partial.tMU4.headline }}
Reduce. Rewear. Upcycle.
Saving four shirts you love with our non-toxic dye versus buying new ones reduces your CO2 emissions by 74%. CO2 is the primary gas responsible for trapping heat in the atmosphere and is the main contributor to climate change.
Celebrating 100 Years of Rit: Then and Now
We asked designers, bloggers and creators to pick their favorite vintage Rit ad and recreate it themselves. You’ll be amazed to see what they came up with!
ColorStay Dye Fixative
Sunlight, washing machine cycles, the ravages of time all conspire to fade your latest dye projects. Our ColorStay Dye Fixative has but one word to say to that: Nope.
Laundry Treatments
We want the fabrics in your life to look as fresh and colorful as the day you purchased them. Rit offers all the options you need to rejuvenate and extend the color of your clothes and home textiles, to brighten your whites, and to remove stains and add brightness to your washable fabrics.
ProLine
Sometimes there are dyeing projects that require a bit more oomf in the dye quantity department, and that’s where Rit ProLine comes in. Our ProLine formula features an advanced mix of dyes that’s applicable to natural and synthetic fibers and is ideal for scaling dye projects, no matter the size.
Hello, UK and Europe!
If you’re in the United Kingdom or Europe, you can now order direct from our UK-based warehouse.

We're closer than you think.
Rit products are available at most major retailers. Or, you can buy them online.
